
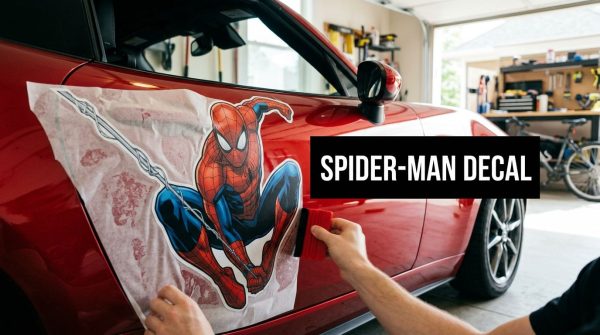
You're standing at the counter, or scrolling a shop page, and every Spider-Man option looks close enough to buy. That's how people end up with the wrong size, the wrong finish, or a decal that fights the car instead of fitting it.
A Spider Man decal for car isn't just fandom decoration. It's a placement decision, a surface decision, and, if you lease, a value decision. Spider-Man has stayed powerful in licensed products for a reason, with retail sales history that puts the character far ahead of other superhero brands in the same era, including Batman and the Avengers, and that long commercial run is why the design still reads cleanly on a car today source.
Buy this like a shop owner would. Pick the format first, then the panel, then the size and finish, then install it correctly. That order saves money and saves regret.
Why a Spider Man Decal for Car Is More Than a Sticker
You are not choosing a picture. You are deciding how the car reads from a distance, how the graphic handles weather and washing, and whether it still fits the vehicle after the novelty wears off.
Spider-Man works on cars because the design carries itself. The mask, the web lines, and the red-and-black contrast stay readable without crowding the panel, which is exactly what you want from a car graphic. That matters more than hype. Spider-Man also has a long run in licensed merchandise, and that kind of visibility is why the character still translates cleanly onto a vehicle today Spider-Man licensing history.
Think in four decisions, not one
First, choose the format. A vinyl cutout handles differently from a metal badge or a rear-window graphic. Second, match the decal to the surface. Flat paint, curved bodywork, glass, and trim all react differently to heat, washing, and daily use.
Third, decide on placement. A decal on a rear window sends a different message than one on a hood or B-pillar. Fourth, decide how permanent you want it to be. That matters a lot more on a leased car than on one you own outright.
Practical rule: if you have not decided where it belongs before you buy it, you are not ready to order it.
The biggest mistake is shopping by artwork alone. Buyers fall in love with the character, then force the wrong material onto the wrong panel. A Spider-Man graphic can still be a poor purchase if it is too large for the car or too permanent for how you use the vehicle.
Placement changes the whole job. A rear window decal works well when you want the art to read from outside without fighting the body lines, while a body-panel decal has to deal with curves, door gaps, and cleaning access. If you want a simple window graphic reference, look at a baby Yoda window decal example. Different character, same rule, the art has to fit the panel, not just the fandom.
Die-Cut Vinyl vs Metal Emblem vs Perforated Window
A Spider-Man graphic looks simple until you choose the material. That choice decides how the decal reads on the car, how much attention it pulls, and how well it survives real use. I care about that first, because the wrong format looks cheap fast.
Die-cut vinyl is the safest default for a spider man decal for car setup. It flexes well, trims cleanly, and gives you a sharp character graphic without making the car feel overdone. For most car use, a vinyl cutout around 5 inches is the right starting point, because it fits doors, fenders, glass corners, and smaller body panels without fighting the shape of the vehicle.
Metal adhesive emblems sit in a different lane. They read more like a badge than a sticker, which is exactly why some buyers prefer them. They look cleaner on trunk lids, grilles, and other flat spots where you want a harder-edged accent instead of a full graphic. One emblem style is listed at 2.36 inch square, and a similar badge comes in at 51 x 82 mm. That size belongs on a trim detail, not on a panel where the art has to carry the whole look metal emblem install guidance.
Perforated rear-window graphics are the bold choice. They work best on larger glass areas, especially on SUVs and trucks, because they let the outside view see the Spider-Man art while still leaving the inside view usable. If you want the decal to stand out without covering bodywork, rear glass is the cleanest place to do it. For a size check and a straightforward product example, see this Spider-Man sticker listing.
| Spider-Man Car Decal Formats Compared | Typical Size | Best Placement | Outdoor Life | Price Tier |
|---|---|---|---|---|
| Die-cut vinyl | Around 5 inches | Doors, fenders, glass corners | Outdoor-rated vinyl listings cite 4+ years | Lowest |
| Metal adhesive emblem | Around 2.36 inches square or 51 x 82 mm | Trunk lid, grille, flat body accents | Durable badge-style use | Mid |
| Perforated window graphic | Cut to fit rear glass | Rear window, back glass | Designed for window use | Mid to higher |
Lease status changes the call. If the car is leased, I'd start with vinyl or perforated glass before I'd attach a metal badge to painted surfaces. That keeps the install easier to remove and gives you fewer headaches at turn-in. If you own the car and want something that feels more permanent and more premium, the emblem makes more sense. If you want strong visual impact with the least body-panel commitment, rear glass wins.
Custom sizing matters more than people expect, because one generic size does not fit every vehicle cleanly. If you want a cut that matches your panel instead of forcing the panel to match the art, use a custom decal options page and size it for the actual surface.
Picking the Right Size, Color, and Finish
Size is the first decision I push buyers to get right. A Spider-Man graphic that looks clean in a product shot can look lost on a truck door or too busy on a compact car, because the panel changes the read completely.
Match the decal to the surface, not your imagination
Start with the surface you have. A 5-inch Spider-Man vinyl works well on a coupe door, a rear quarter panel, or a smaller hatch area where the art has room without taking over. On a full-size truck, that same decal can look underfed unless you're building a larger layout around it. A 51 x 82 mm badge is even more specific, and it belongs on places where small details matter more than visual dominance, like a trunk corner or a flat accent panel.
Red Spider-Man art on a red car is a bad call. The design gets swallowed. Black or white reads clean on most paint colors, and that is why those versions keep getting chosen in real installs. If you want the graphic to stand out, use contrast. Do not match the body color and expect the decal to carry the job.
Lease status changes the choice too. If the car is leased, I'd start with vinyl or a rear-glass option before I'd stick a metal badge to painted surfaces. That keeps removal cleaner and gives you fewer problems at turn-in. If you own the car and want something that feels more permanent and more premium, the emblem makes more sense. If you want strong visual impact without committing a body panel, rear glass is the smart play.
Custom sizing matters because one generic size rarely lands cleanly across different vehicles. If you want a cut that fits the actual panel instead of forcing the panel to fit the art, use a custom decal options page and size it for the surface in front of you.
Finish changes the personality of the car
Gloss gives you the brightest pop. It reads more like a display piece, especially on darker paint. Matte feels more factory and less flashy, which is what I'd choose for a daily driver that still needs to look deliberate.
Reflective vinyl has a job, but keep it controlled. It adds nighttime visibility, yet too much reflective material starts looking cheap if you use it like a gimmick instead of an accent. For a Spider-Man decal, I'd keep reflective material to a small detail piece, not the whole design.
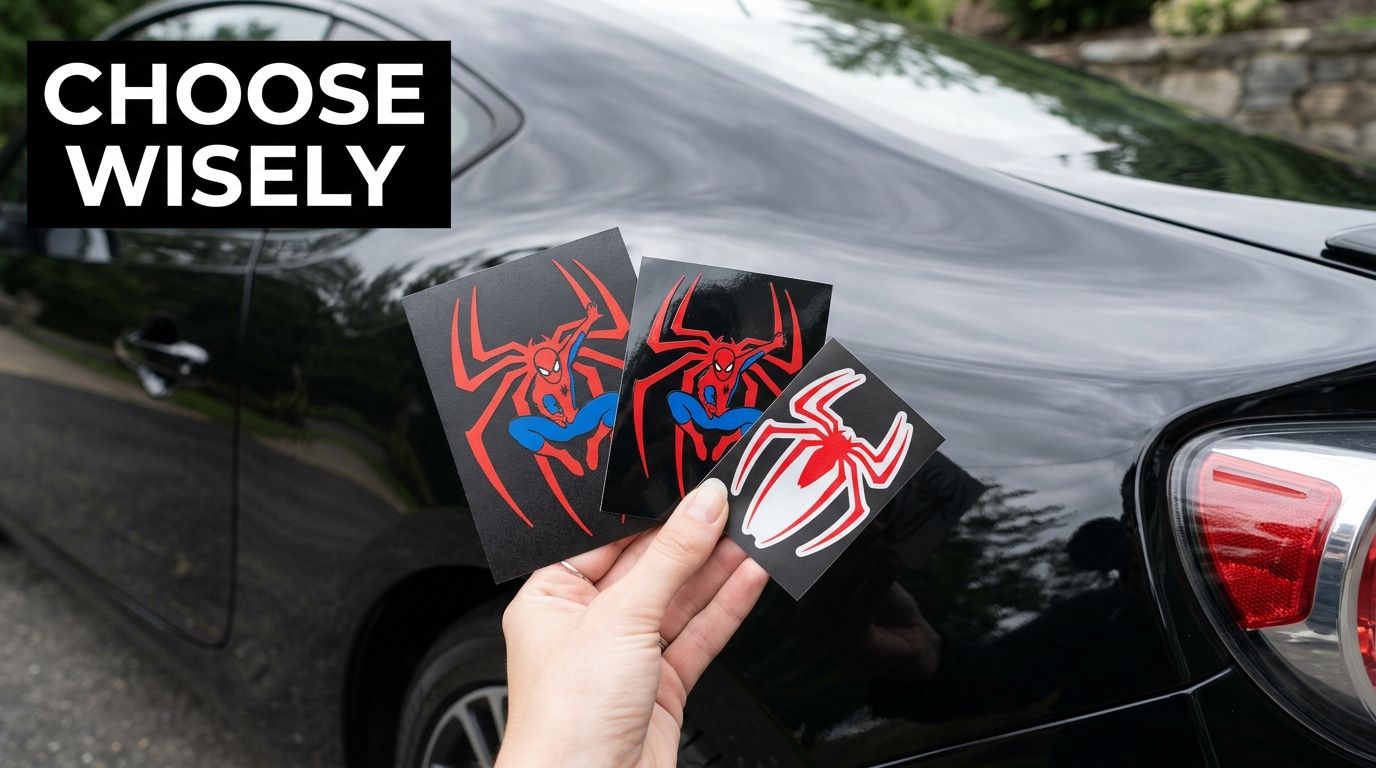
Shop-floor rule: the car should frame the decal, not the other way around.
Prep matters just as much as size. Park in the shade, wash the panel with soap and water, dry it completely, then wipe the exact install area with rubbing alcohol. Soap removes the grime. Alcohol clears wax, silicone, and the oily film soap leaves behind. Skip either step and the adhesive bonds to residue instead of paint.
Use a squeegee or credit card, masking tape for alignment, a pin for bubbles, and a hair dryer or low heat gun if the panel curves. Do not install on fresh paint under 30 days old, on a wet or hot panel, or when the surface is below 50°F. Those are bad conditions, plain and simple.
For buyers comparing decal categories across different vehicle uses, the same kind of size-and-format discipline shows up in other automotive graphics too, and it's the difference between a clean install and a regret purchase.
If you want a visual installation reference for a different type of grip surface, the logic is similar to anti slip stickers for R1 2004-2006.
Installing Your Spider Man Decal Step by Step
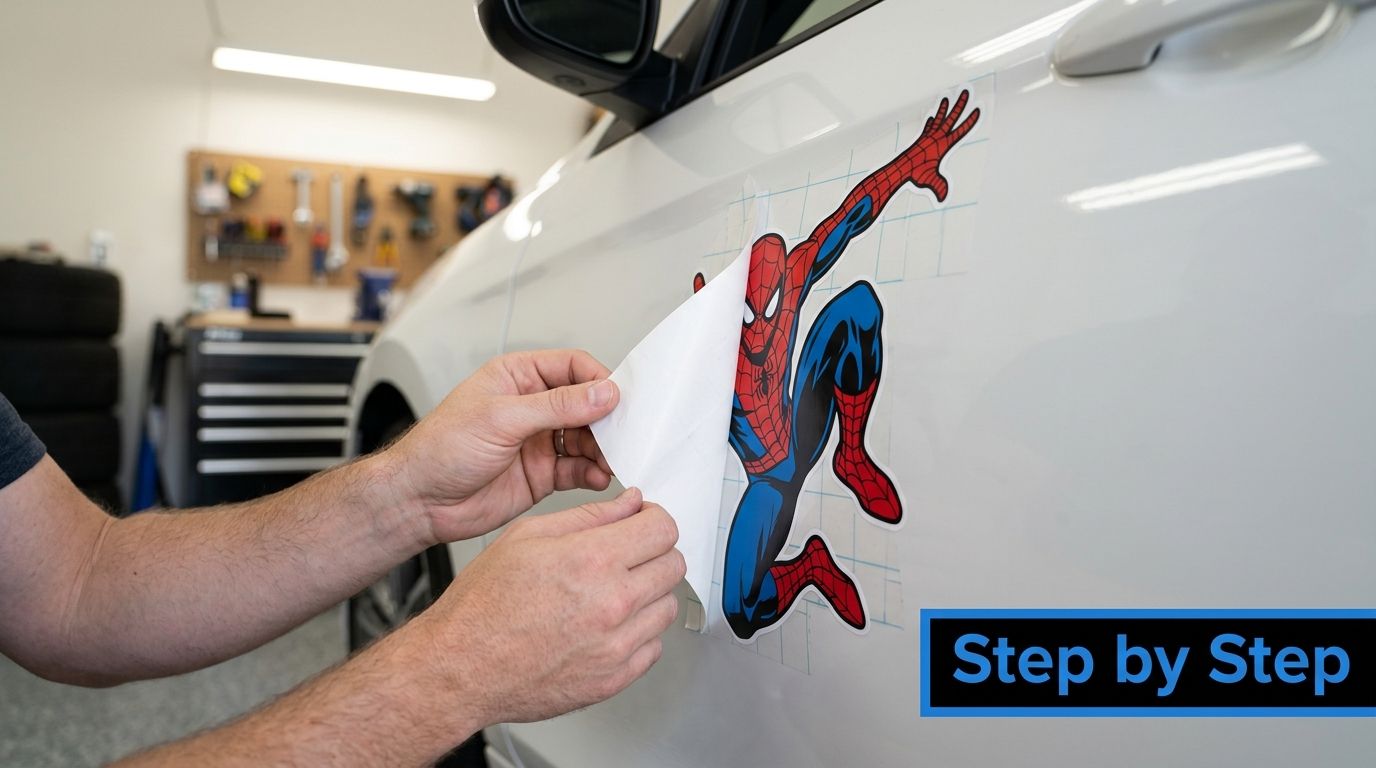
The cleanest installs start before the backing paper comes off. Tape the decal in place first, step back, and check alignment from the angle people will see it. If it looks crooked at this stage, it'll look worse once it's stuck.
Peel, hinge, squeegee, then commit
Peel the backing halfway and use the tape as a hinge. Lay the exposed half down first, then squeegee from the center outward in overlapping strokes. Don't drag the tool randomly, because Spider-Man's web lines and sharp eye shapes are the first details to trap air or lift at the edge.
Once the first half is down, remove the rest of the backing and finish the second side the same way. Pull the transfer tape back at a sharp angle, not straight out from the car. A low, controlled peel keeps the vinyl from fighting itself.
The cure window is real. Give the adhesive 48 hours before washing the car or baking it in hot sun. That's the bond-setting period, and if you rush it, you'll lift edges or trap bubbles that didn't need to be there.
If you want a visual installation reference for a different type of grip surface, the logic is similar to anti slip stickers for R1 2004-2006, where prep, pressure, and placement are doing most of the work.
Don't rush the first hour. Most decal problems start there, not days later.
The best installs feel boring while you're doing them. That's a good sign. If you're forcing curves, fighting bubbles, or guessing at alignment, stop and reset before the adhesive gets fully involved.
Placement, Visibility, and Lease-Friendly Choices
Placement decides whether the decal feels smart or sloppy. Rear glass, side panels, B-pillars, hood, fender, and trunk lid all send different signals, and some of them are just bad places for a first-time buyer.
Where I'd put it, and where I wouldn't
Rear windows work well for a bold Spider-Man graphic, especially on SUVs and hatchbacks with big glass. Side panels are the safest if you want subtle. A B-pillar is a good compromise when you want a compact accent without committing a whole panel to the character.
Hoods and front bumpers are riskier. They get more heat, more attention from the elements, and more chance of legal trouble depending on local rules. Sunroof placement is a bad idea for the same reason, it can interfere with sightlines and just looks forced.
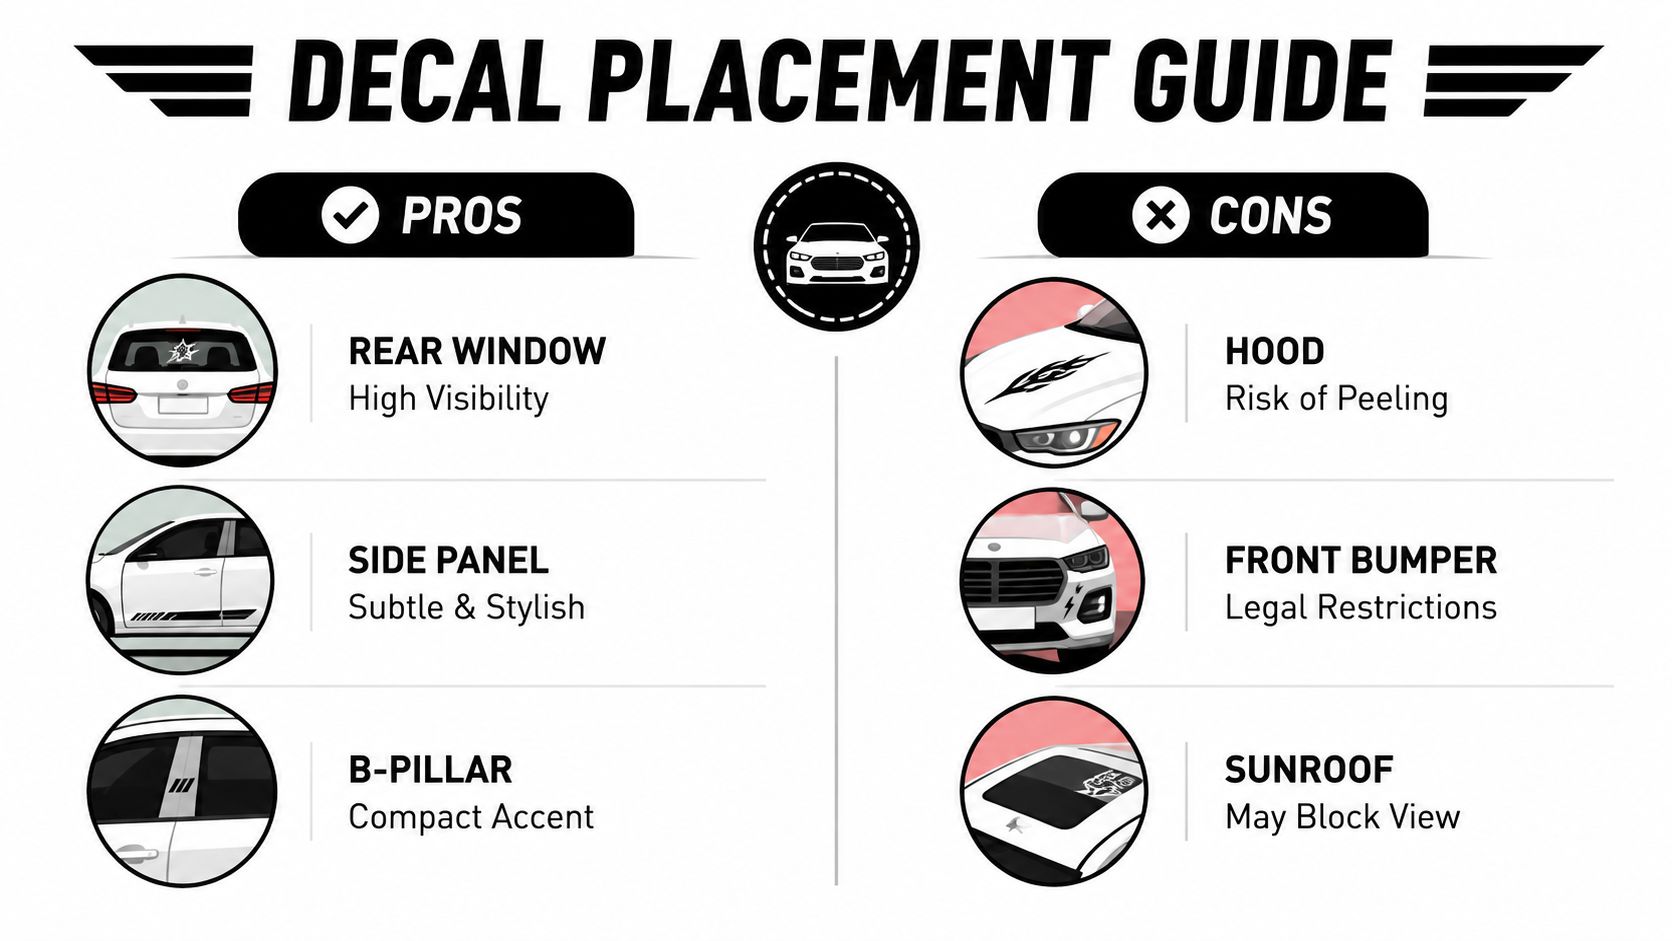
The two no-go zones most forget are the rear wiper sweep and the defroster lines. Put a decal there and the edges get chewed up faster than they should. On rear glass, that's the difference between a clean finish and a damaged mess.
If you're shopping for a lease, stay removable. Vinyl and perforated rear-window graphics come off more cleanly with heat, while permanent adhesive and metal emblems can leave shadowing on the panel. I'd treat lease vehicles as temporary canvas, not a place to test permanent hardware.
Local laws vary, but dark or reflective rear-glass material is the most common visibility problem. If you care about avoiding hassle, don't cover sightlines just because the art looks cool online. The car has to stay usable.
For buyers who want a windshield-style graphic rather than a rear glass piece, custom text windshield banners show how placement decisions change the whole look of the vehicle.
Fixing Bubbles, Lifting Edges, and Crooked Installs
Bubbles show up first, because they're the easiest mistake to see. Don't panic and start peeling the whole decal off. Prick the bubble with a pin or needle, press the air out with your thumb or squeegee, and then rub the area with a fingertip so the vinyl settles back down.
Lifting edges usually mean the install got rushed or the panel wasn't warm enough. A hair dryer on low heat is enough to soften the edge. Warm it, press it back down, and hold it for about 30 seconds so the adhesive re-bonds instead of springing up again.
Crooked installs split into two cases. If you catch it within the first hour, peel the whole decal back slowly with the transfer tape still on, re-align it with the tape hinges, and apply it again. If a full day has passed, heat the decal to soften the adhesive and try to reposition it, or accept the placement and build around it with a second layered graphic.
If a decal refuses to stick at all, stop blaming the vinyl. The panel wasn't clean enough. Re-do the alcohol wipe before you waste another minute fighting a surface that's still oily.
Blunt truth: most “bad decals” are really bad prep.
Spider-Man art with thin web details shows every mistake fast, which is why rushing the re-squeegee or lifting the transfer tape straight back causes more problems than expected. Slow wins here. The decal doesn't care that you're impatient.
Removal, Cleaning, and Long-Term Care
Pull the decal off the right way and you keep the paint clean. Warm it with a hair dryer or a low setting on a heat gun, then peel at a low angle so the adhesive lets go without ripping. Once the graphic is off, clean the residue with isopropyl alcohol or a dedicated adhesive remover, and keep scrapers away from painted panels. If the surface still feels tacky after that, wipe it again before you call it done.
That same surface discipline is what you want from professional paint cleaning options on any vehicle you plan to keep looking sharp. Good cleanup protects the finish, and it also makes the next decal install easier because you are starting with a panel that is ready.
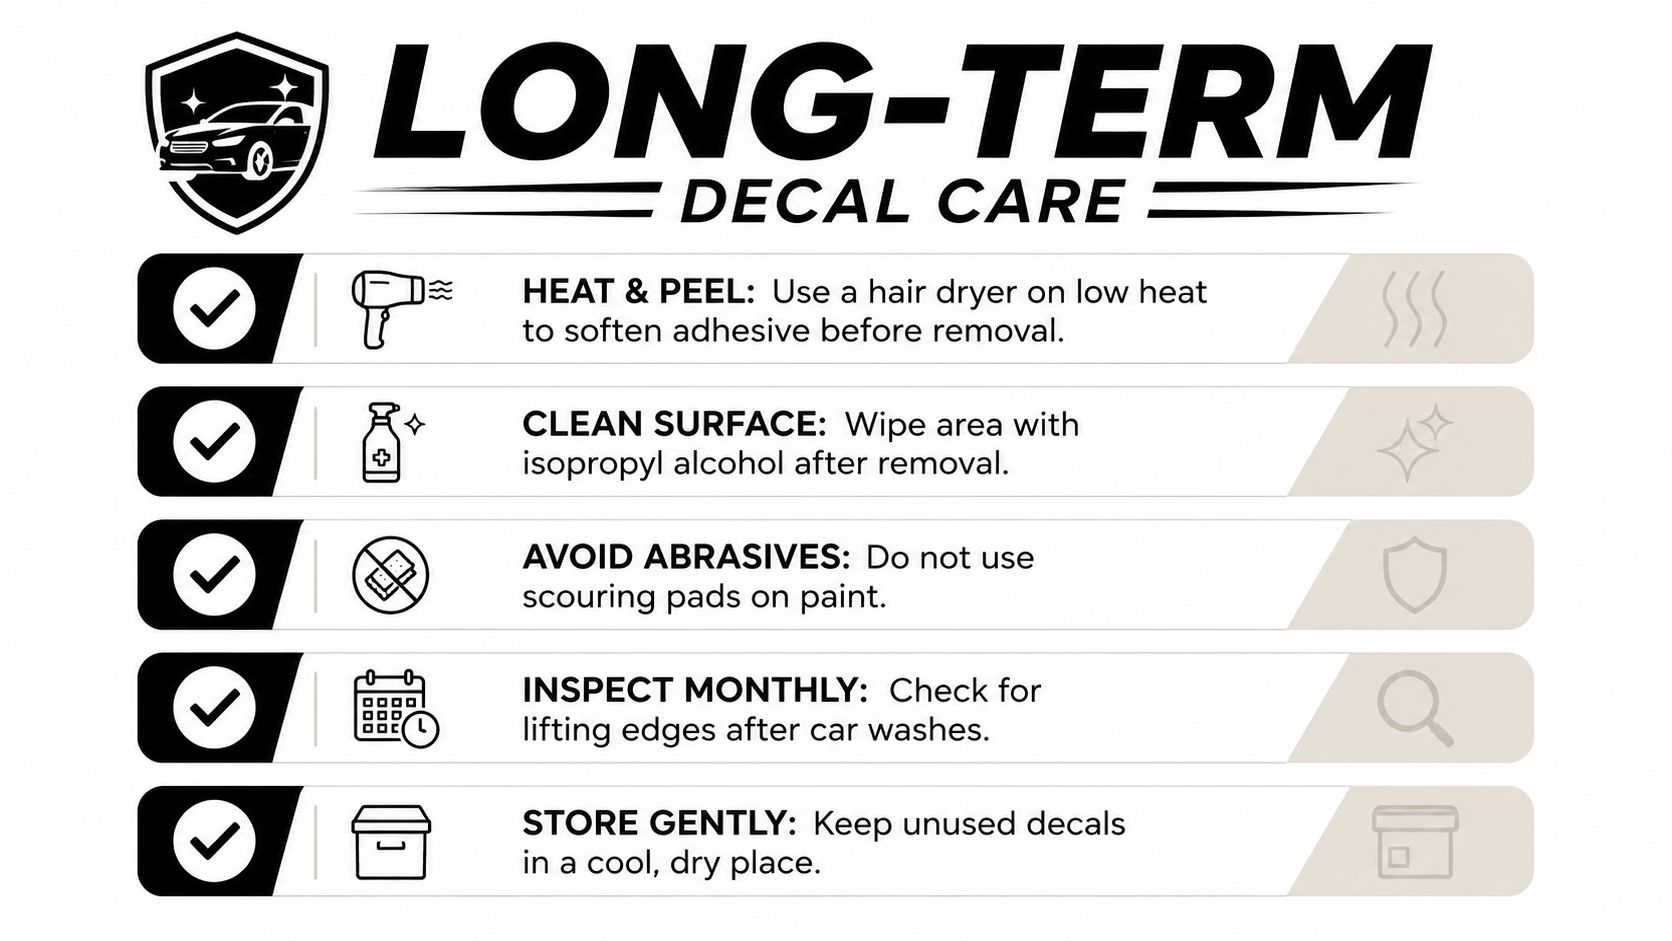
Outdoor-rated vinyl listings commonly cite 4+ years outdoors, and wrap-grade film in the 5.3 mil range is built for harder use when it is handled properly. That does not give you permission to ignore it. Wash it gently, check the edges, and keep the surface clean so the graphic stays planted.
Hand-washing wins here. Automated brushes beat up decal edges and can lift corners that looked fine the week before. Here is what I would do: inspect the edges in spring, park in shade when you can in summer, clean before road salt season in fall, and hand-wash in winter. If the car lives outside, check it more often, because sun and grime will work on the vinyl faster than you think.
If you are buying a replacement or planning a future swap, store unused decals in a cool, dry place. That matters more than people expect, because heat and damp storage shorten the life of the adhesive and can leave the film curled before you ever use it.
If you want a Spider-Man graphic done right, with the right size, substrate, and placement for your car instead of a guess, visit Custom Sticker Shop. Their decal lineup makes it easier to match the design to the panel you want to use, and that is how you get a Spider-Man install that looks intentional from day one.