
You’re probably looking at a set of stock wheels that still do the job, but don’t say anything about the vehicle. New rims cost real money. Stickers on rims are the cheaper path, but they only look sharp when they’re sized right, installed cleanly, and built to handle brake dust, rain, road salt, and the occasional lazy run through a car wash.
That’s where difficulties often arise. The decal itself gets blamed, but the failure usually starts earlier. Wrong vinyl. Wrong rim size. Wax or tire dressing left on the lip. A rushed install on a cold wheel. On daily drivers and off-road rigs, those mistakes show up fast.
Why Stickers on Rims Are More Than Just a Trend
Stickers on rims didn’t come out of nowhere. Tyre decals started in motorsports in the 1950s as quick visual ID on tire sidewalls, then moved into street culture through the 1960s and 70s as hot rods and custom cars took off. By 2019, the custom wheels market reached $1.32 billion, with pickup trucks accounting for 40% of sales according to this history of tyre decals and wheel customization.
That matters because wheel graphics have always done two jobs at once. They personalize the vehicle, and they make details easier to read at a glance. A clean ring on the outer lip can sharpen the whole profile of a truck. A subtle logo on a dark wheel can tie together other exterior graphics without shouting.
Why people keep choosing decals over new wheels
A good rim decal changes the look without committing you to a whole new setup. That’s the appeal. You can add color, a race-inspired stripe, a military tribute, or a brand-style detail without pulling the trigger on a fresh wheel package.
But wheel areas are abusive places for vinyl. Heat cycles matter. Water gets forced into edges. Brake dust sits on the surface. Mud dries hard on off-road rigs, then gets scrubbed off. If the decal isn’t made and applied for that environment, it won’t age gracefully.
Practical rule: Rim decals are cosmetic, but the process has to be mechanical. Treat them like a precision install, not like a novelty sticker.
The difference between a clean result and a cheap-looking one
Three things separate a professional finish from a disappointing one:
- Correct fit: The decal has to match the rim’s diameter and usable surface.
- Stable material: Cheap film shrinks, hardens, and lifts at the edges.
- Disciplined prep: Any contamination under the adhesive cuts the life of the install.
That’s why stickers on rims work best when you approach them the same way a good sign maker or vehicle graphics installer would. Not with luck. With fit, surface prep, and pressure in the right places.
Selecting Vinyl That Survives Heat Brakes and Car Washes
The wheel is one of the worst places on a vehicle to cut corners. It sees heat from braking, constant wash cycles, road grit, soap residue, and hand contact during maintenance. If you’re choosing vinyl for stickers on rims, start with the environment, not the color chart.
What actually holds up
In shop work, the cleanest long-term results come from premium film that can conform without fighting the curve. Wheels aren’t flat panels. Even a simple outer lip has compound shape, and some rims have sharp transitions where cheaper material starts to bridge instead of lay down.
Here’s the practical hierarchy:
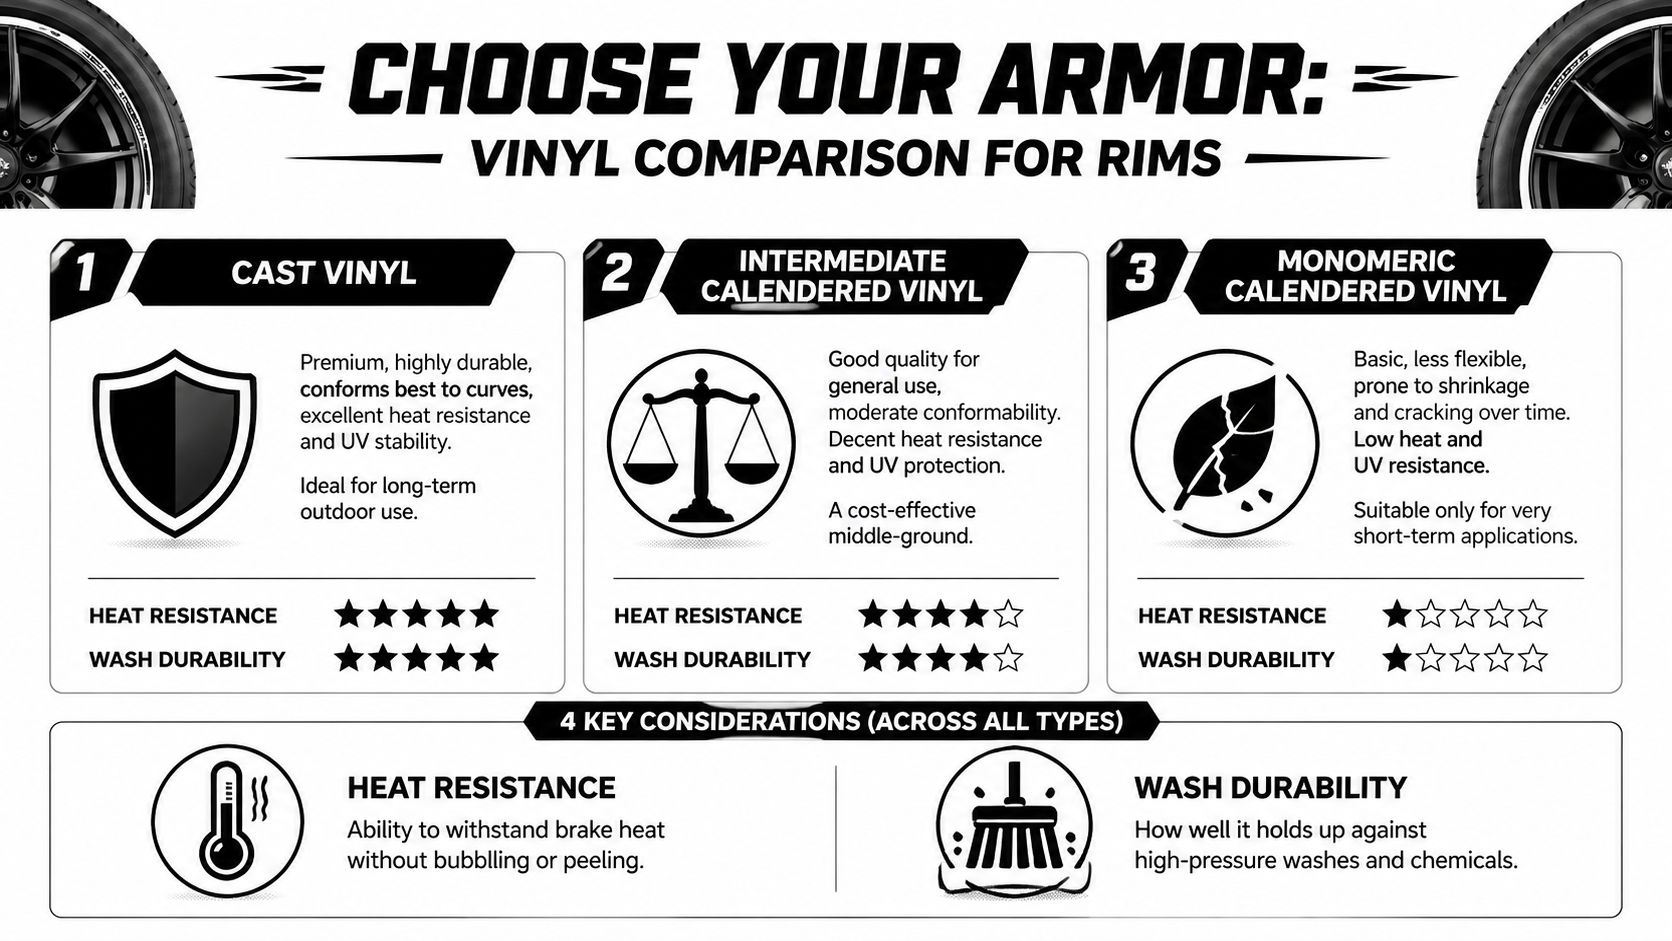
| Vinyl type | How it behaves on rims | Best use |
|---|---|---|
| Cast vinyl | Conforms better, stays more stable, handles curves well | Long-term wheel graphics |
| Intermediate calendared vinyl | Can work on simpler shapes, less forgiving on tight curves | Budget installs on mild profiles |
| Monomeric calendared vinyl | More likely to shrink, stiffen, or crack | Short-term use only |
If the wheel sees regular commuting, brake dust, and outdoor parking, premium material is the safe choice. If it also sees trail mud, gravel spray, and repeated washes, that choice becomes even more important.
Cheap vinyl usually doesn’t fail all at once. It starts by looking dry at the edge, then one corner lifts, then wash water does the rest.
Design choices that age well
A decal can be too detailed for a wheel. Fine points, skinny serifs, and tiny inner cuts may look great on a screen, but they’re harder to transfer cleanly and harder to keep bonded on a curved rim.
What tends to work better:
- Bold shapes: A clean stripe, block lettering, or simple emblem reads better in motion.
- Reasonable line thickness: Thin strokes are the first areas to catch dirt and lift.
- Contrast that fits the wheel finish: Bright on black is obvious. Satin gray on machined silver can be subtle but still sharp.
- Transparent-edge layouts when possible: These help the graphic blend in instead of looking like a patch.
For Jeep and truck owners already running windshield or body graphics, it also helps to keep the wheel design in the same visual family as the rest of the build. A strong example is matching rim accents to a Jeep Wrangler windshield banner decal so the vehicle looks intentional rather than pieced together.
How to read rim sizing before you order
A lot of installation problems start at checkout. The sticker arrives, the diameter is close but not right, and now the installer tries to force it. That’s how you get puckering, wrinkles, and stretched vinyl.
A rim code like 7.5Jx16H2 ET35 tells you what you need to know. In that format, the code identifies 7.5-inch width, 16-inch diameter, H2 hump profile, and ET35 offset, and matching the sticker to the right width and diameter is critical for fit on wheels commonly offered in 16 to 21-inch sizes, as explained in this rim code sizing reference.
What each part means in plain English
- Width: The usable area can change a lot from one wheel style to another.
- Diameter: This is the main number most buyers look for, and it has to be right.
- Hump profile: It affects how the wheel is shaped internally and where the contour changes.
- Offset: This can influence visibility and how exposed the decal is to debris and curb contact.
If a decal has to be stretched to reach, it’s the wrong size. If it buckles before you finish the arc, it’s the wrong size. Good wheel graphics should settle onto the rim naturally, not be talked into it.
The Ultimate Rim Prep for a Lasting Stick
Ask any decal maker where most failures begin and the answer is boring but true. Surface prep. Wheels collect brake dust, old dressing, road film, and cleaner residue in places you can’t always see. Put vinyl over that, and you’re building on contamination.

A proper application routine includes cleaning with isopropyl alcohol, running a razor blade firmly across the transfer sheet so the decal adheres to the tape, using tape as a placement guide, and applying sustained pressure on edges. Shortcuts during prep can reduce sticker lifespan by 30 to 50 percent, based on this professional rim sticker application guide.
What to clean and what to ignore
Don’t waste time polishing the whole wheel if the decal is only going on the outer lip or a specific band. Clean the exact bonding area thoroughly, plus a little beyond it, because your hands and tape will touch that zone during alignment.
Use a simple sequence:
- Wash off visible grime first. Dirt particles dragged under a cloth can scratch finishes and leave residue.
- Dry the wheel completely. Water hiding near spokes or bead areas can creep back onto the surface.
- Wipe with isopropyl alcohol. This removes leftover oils and cleaner film that soap won’t touch.
- Let it flash off fully. The rim should feel dry, not cool and damp.
Finishes that need extra care
Not every wheel behaves the same. Smooth gloss and machined finishes are usually the easiest. Matte finishes need gentle handling because aggressive rubbing can leave shiny spots. Powder-coated wheels can be excellent decal surfaces, but only if they’re fully clean. Textured finishes are the hard mode. They reduce the actual contact area, so edge pressure matters more.
What doesn’t work well:
- Applying over tire shine overspray
- Skipping the alcohol wipe because the wheel “looks clean”
- Trying to install on a cold, wet, or sun-baked surface
- Using a dusty microfiber that’s already loaded with residue
The adhesive doesn’t care whether the wheel looks clean. It only cares whether the surface is chemically clean.
Prep the decal before it touches the wheel
A lot of people focus only on the rim and forget the transfer itself. If you’re using pre-spaced lettering or segmented graphics, the decal needs to bond well to the transfer sheet before you peel the backing. Running a razor blade firmly across the transfer sheet helps seat everything together so the graphic lifts cleanly and stays aligned.
Then use painter’s tape to mock up the position before removing any backing paper. That simple move prevents crooked installs and uneven spacing around the wheel.
A good prep routine feels slow. That’s normal. Slow here saves you from peeling off a bad install later.
A Bubble-Free Guide to Applying Rim Stickers
Once the wheel is clean and dry, the install should feel controlled. Not rushed, not improvised. Most bad wheel applications happen because the person starts sticking first and aligning second.
Start with a dry fit
Hold the decal in place with small pieces of tape and check it from more than one angle. Step back. Rotate the wheel a little. Make sure the visual line works with the spoke pattern and valve stem position.
If you’re applying multiple matching pieces, lay them out first in the order they’ll go on. That keeps spacing and orientation consistent. The same discipline used for body graphics, like Ford Mustang fender hash decals, helps here too. Straight reference, clean repeatability, no guessing.
Use a hinge instead of freehanding
The easiest clean method is a tape hinge. Place the decal where you want it, lock one side with tape, and let that taped side act like a pivot point while you peel the backing.
That gives you three advantages:
- The decal returns to the exact position you tested
- You control the arc instead of dropping the whole piece at once
- You reduce trapped air because you’re laying it down progressively
Shop advice: If you miss alignment by a little, stop early and reset. Don’t keep pressing and hope the curve hides it. Wheels exaggerate mistakes.
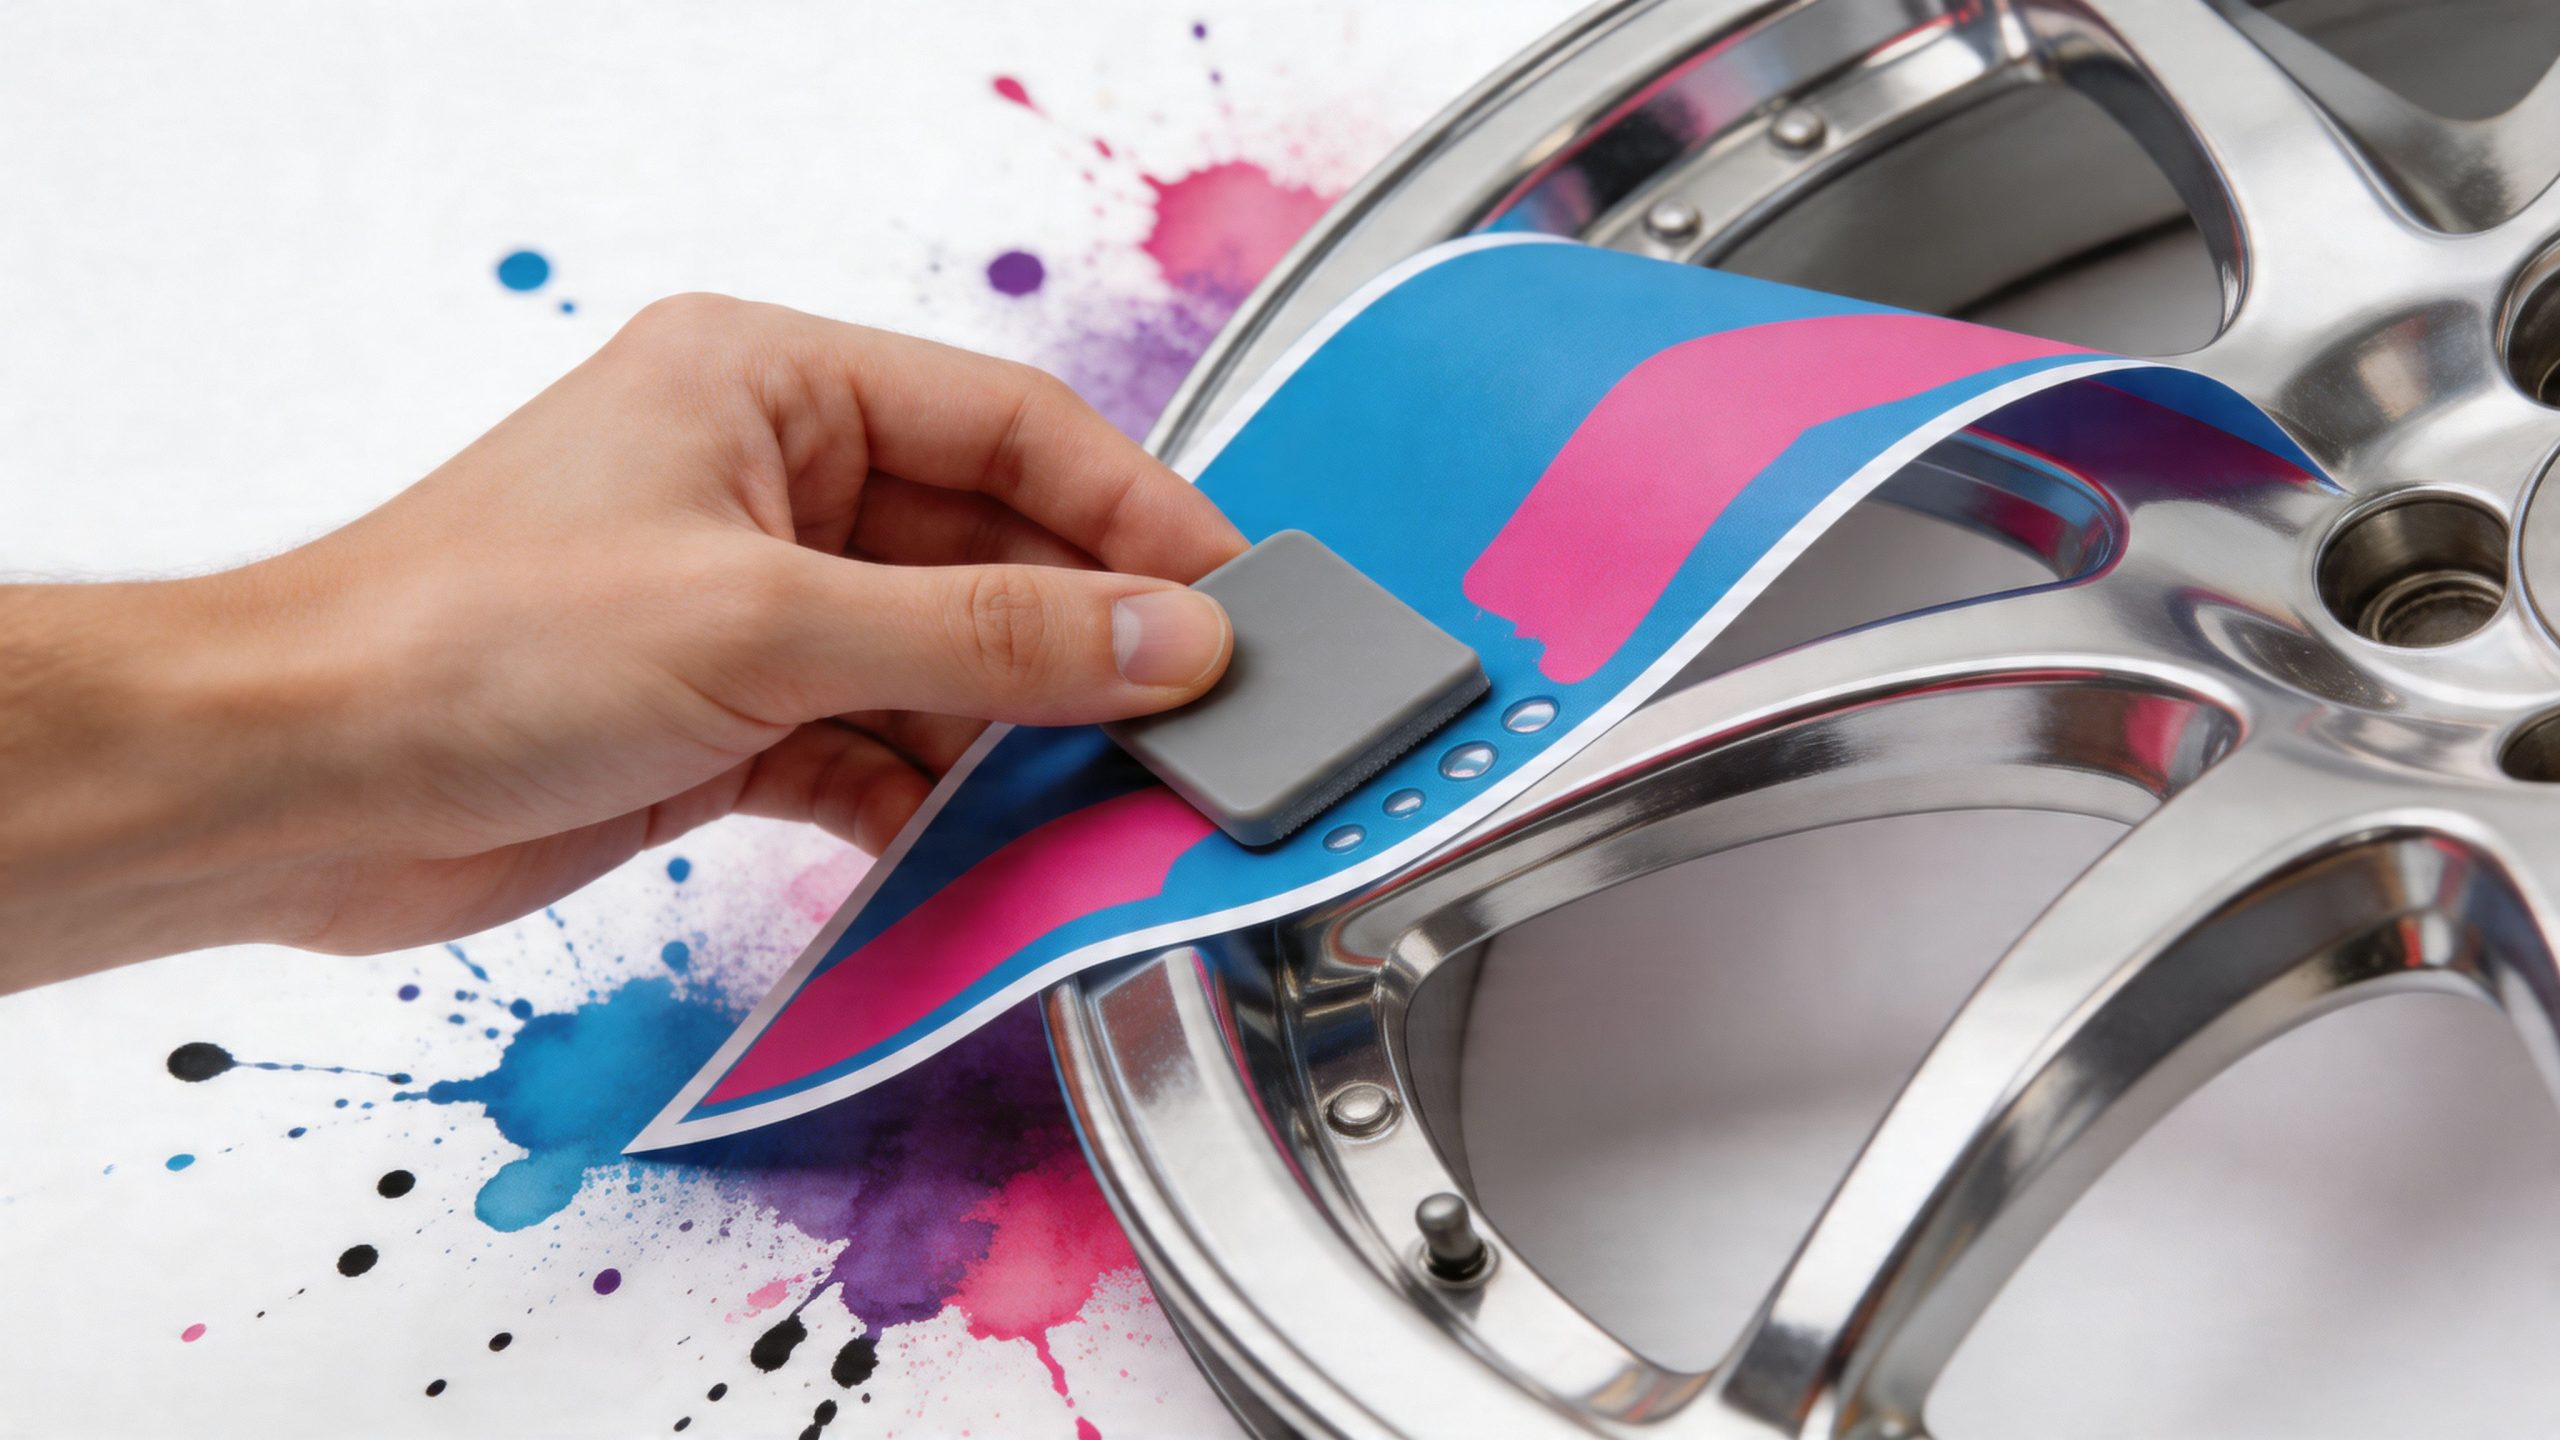
Apply from the center out
Use a felt-edge squeegee or a wrapped application card if the film allows it. Start near the center of the section and work outward in overlapping passes. The goal is to push air away from the contact line before it gets sealed in.
For rim lips and curved bands:
- Begin with light contact
- Check the curve as you go
- Increase pressure once the arc is laying correctly
- Finish with deliberate edge pressure
The edges matter most. That’s where soap, water, and road grit start working against you. If the center looks perfect but the edge isn’t fully seated, the install isn’t done.
Handling letters and segmented graphics
Lettering and cut graphics need a little more patience than a simple stripe. Peel the transfer tape back slowly, at a low angle, and watch every character. If part of a letter starts lifting, press it back down and give it more time with the squeegee.
Small details often need fingertip pressure after the main pass. Use a clean thumb wrapped in a microfiber or glove if the vinyl surface marks easily.
This visual walkthrough is useful if you want to see the rhythm of application before trying it yourself:
What to do with bubbles and wrinkles
Not every flaw means disaster. Tiny air pockets can sometimes settle if the film was otherwise laid flat. A hard crease is different. If the vinyl folds onto itself and leaves a sharp wrinkle, that section usually won’t disappear on its own.
Use this quick triage:
| Problem | Best response |
|---|---|
| Small trapped air bubble | Press outward first before doing anything else |
| Edge starting to lift during install | Re-seat immediately with firm pressure |
| Vinyl stretching around a tight curve | Lift gently and reset without pulling harder |
| Sharp wrinkle or fold | Don’t force it flat. Reposition if possible |
“The decal should follow the wheel. If you have to muscle it into shape, something is off.”
Final pressure pass
Once the transfer tape is off, go back around the full decal and press every edge again. Don’t just admire it and walk away. This is the point where a careful installer adds real life to the graphic.
Pay special attention to:
- Beginning and end points of curved strips
- Inner corners of letters
- Areas near spoke transitions
- Any spot your finger says isn’t fully seated
Leave the wheel alone for a bit afterward. Let the adhesive settle. Touching, washing, or testing the edge too soon is how a clean install becomes a preventable redo.
Keeping Your Rim Decals Fresh and Intact
A common question after installation is simple. Will they hold up on a real vehicle, not a garage queen? The answer depends on how the vehicle is used and how the decals are maintained after day one.
A known issue for daily drivers and off-road builds is durability against mud, rocks, weather, and wet conditions, with frequent complaints about peeling after exposure. Using premium outdoor vinyl rated for 7 years and following proper maintenance practices is the best way to prevent premature failure on Jeep and 4×4 wheels, as noted in this rim decal durability discussion.
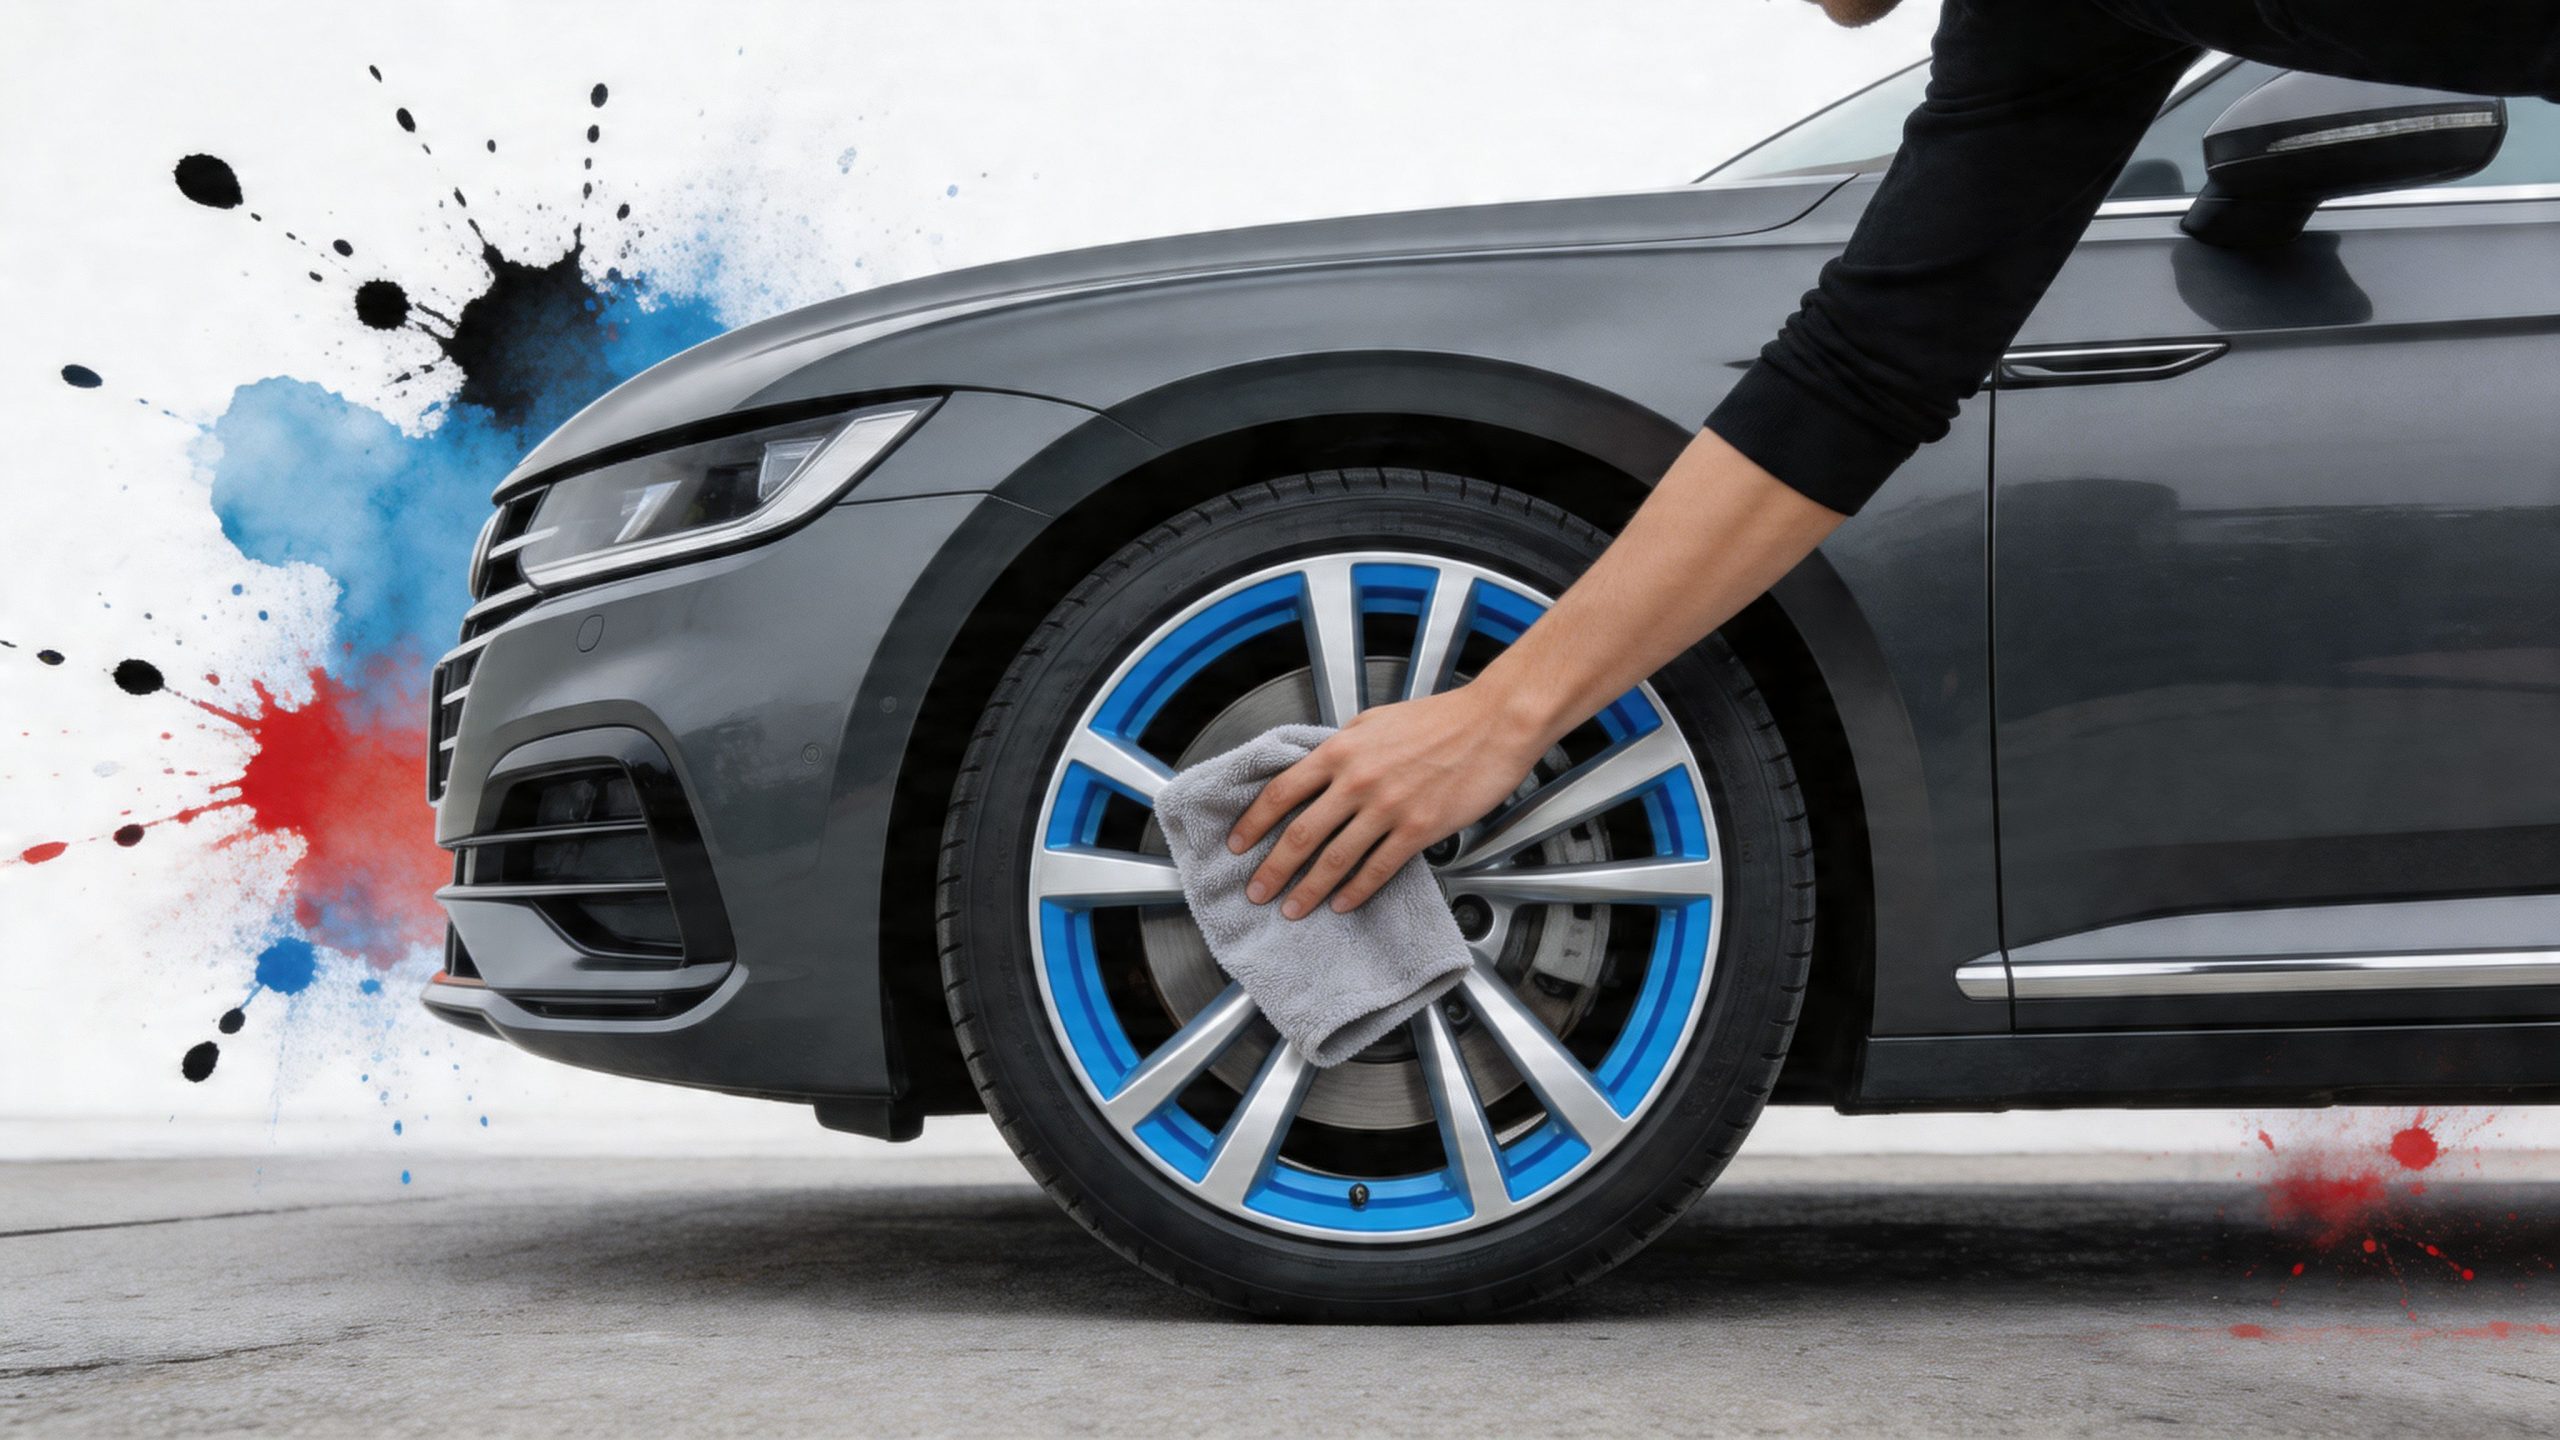
What daily drivers need most
For street-driven vehicles, the enemies are repetitive rather than dramatic. Brake dust bakes on. Cheap wheel cleaners attack the film. Automatic car washes can blast edges repeatedly if they were never fully sealed.
The best routine is simple:
- Wash gently first. Don’t let corrosive grime sit for weeks.
- Use a soft mitt or microfiber on the decal area. Stiff brushes are rough on edges.
- Keep harsh chemicals away from the adhesive line. Strong cleaners can dry out the bond over time.
- Inspect after washes. Catching a small lifted edge early is better than replacing a section later.
Water quality also matters more than often realized. Hard water leaves mineral spots that tempt owners to scrub harder than they should. If you wash at home, a guide on how to filter water for car wash success is worth reading because cleaner rinse water means less residue and less aggressive cleanup afterward.
Off-road care is different
Mud isn’t the only problem. Mud followed by drying, pressure washing, and another trail day is the problem. Off-road wheels get hit by grit that can chip finishes and abrade vinyl edges. If you run stickers on rims on a Jeep, truck, or 4×4, maintenance has to be more deliberate.
A good habit is to rinse heavy mud off before it hardens. Then wash by hand and check the leading edges of each decal section. On textured or beadlock-style wheels, inspect every transition point where dirt likes to collect.
Off-road decals don’t need babying. They do need inspection. The difference is five minutes after a wash.
Car washes and pressure washers
Can you use an automatic car wash? Usually, yes, if the decals were installed properly and have had time to settle. But touchless isn’t the same as brush-style, and neither is as gentle as careful hand washing.
With pressure washers, distance and angle matter. Don’t aim a concentrated stream directly into the decal edge from close range. That’s the fastest way to test adhesion in the worst possible direction.
Safe removal when it’s time
Eventually a design gets replaced, the wheel gets refinished, or the look changes. Removal should be boring and clean.
Use gentle heat to soften the adhesive, peel slowly, and avoid sharp tools on the wheel finish. Any leftover adhesive can be cleaned with an appropriate remover that won’t attack the rim coating. Patience protects the expensive part, which is the wheel, not the old decal.
Navigating Legal and Safety Rules for Rim Stickers
Most decal guides ignore the question that matters once the vehicle leaves the driveway. Are the graphics still compliant? That depends on where you drive, what the sticker covers, and whether the wheel itself is in legal condition.
One practical example is Wisconsin Trans 305.32, which requires rims to be free of distortion or corrosion during inspection-related review, as noted in this AAA article on bumper sticker history and vehicle sticker issues. A decal won’t fix a damaged wheel, and it shouldn’t be used to hide one.
Common sense rules that keep you out of trouble
- Don’t cover wheel weights or service markings. Balance issues are more expensive than any visual upgrade.
- Don’t apply over corrosion. Adhesion will be poor, and the wheel may already be inspection-worthy for the wrong reasons.
- Be careful with reflective products. Visibility-enhancing designs can raise local compliance questions depending on use and placement.
- Keep edges flush. Anything loose, lifted, or flapping looks unsafe because it is unsafe.
That same AAA piece also notes a 2008 Colorado State University study that found a correlation between any type of car sticker and more aggressive driving behaviors. That doesn’t change how decals are installed, but it is a reminder that graphics communicate something. If you want a clean custom look, restraint usually ages better than clutter.
Your Wheels Your Statement
Good stickers on rims aren’t about luck or gimmicks. They’re the result of proper sizing, clean surfaces, patient application, and realistic maintenance. Get those right and a modest wheel setup can look far more finished than people expect.
If you’re pulling the wheels for cleaning or access, use the correct tools and double-check your hardware before reinstalling. A quick refresher on lug nut socket size helps avoid rounded nuts and scratched finishes. And if you want a design customized for your exact build, a make your own custom sticker option gives you much more control than trying to force a generic look.
If you're ready to give your wheels a cleaner, sharper identity, take a look at Custom Sticker Shop. They make premium American-made vinyl decals in a wide range of styles, from military tributes and Jeep graphics to family and custom text designs, with pre-spaced, transfer-taped layouts that make installation much easier.