
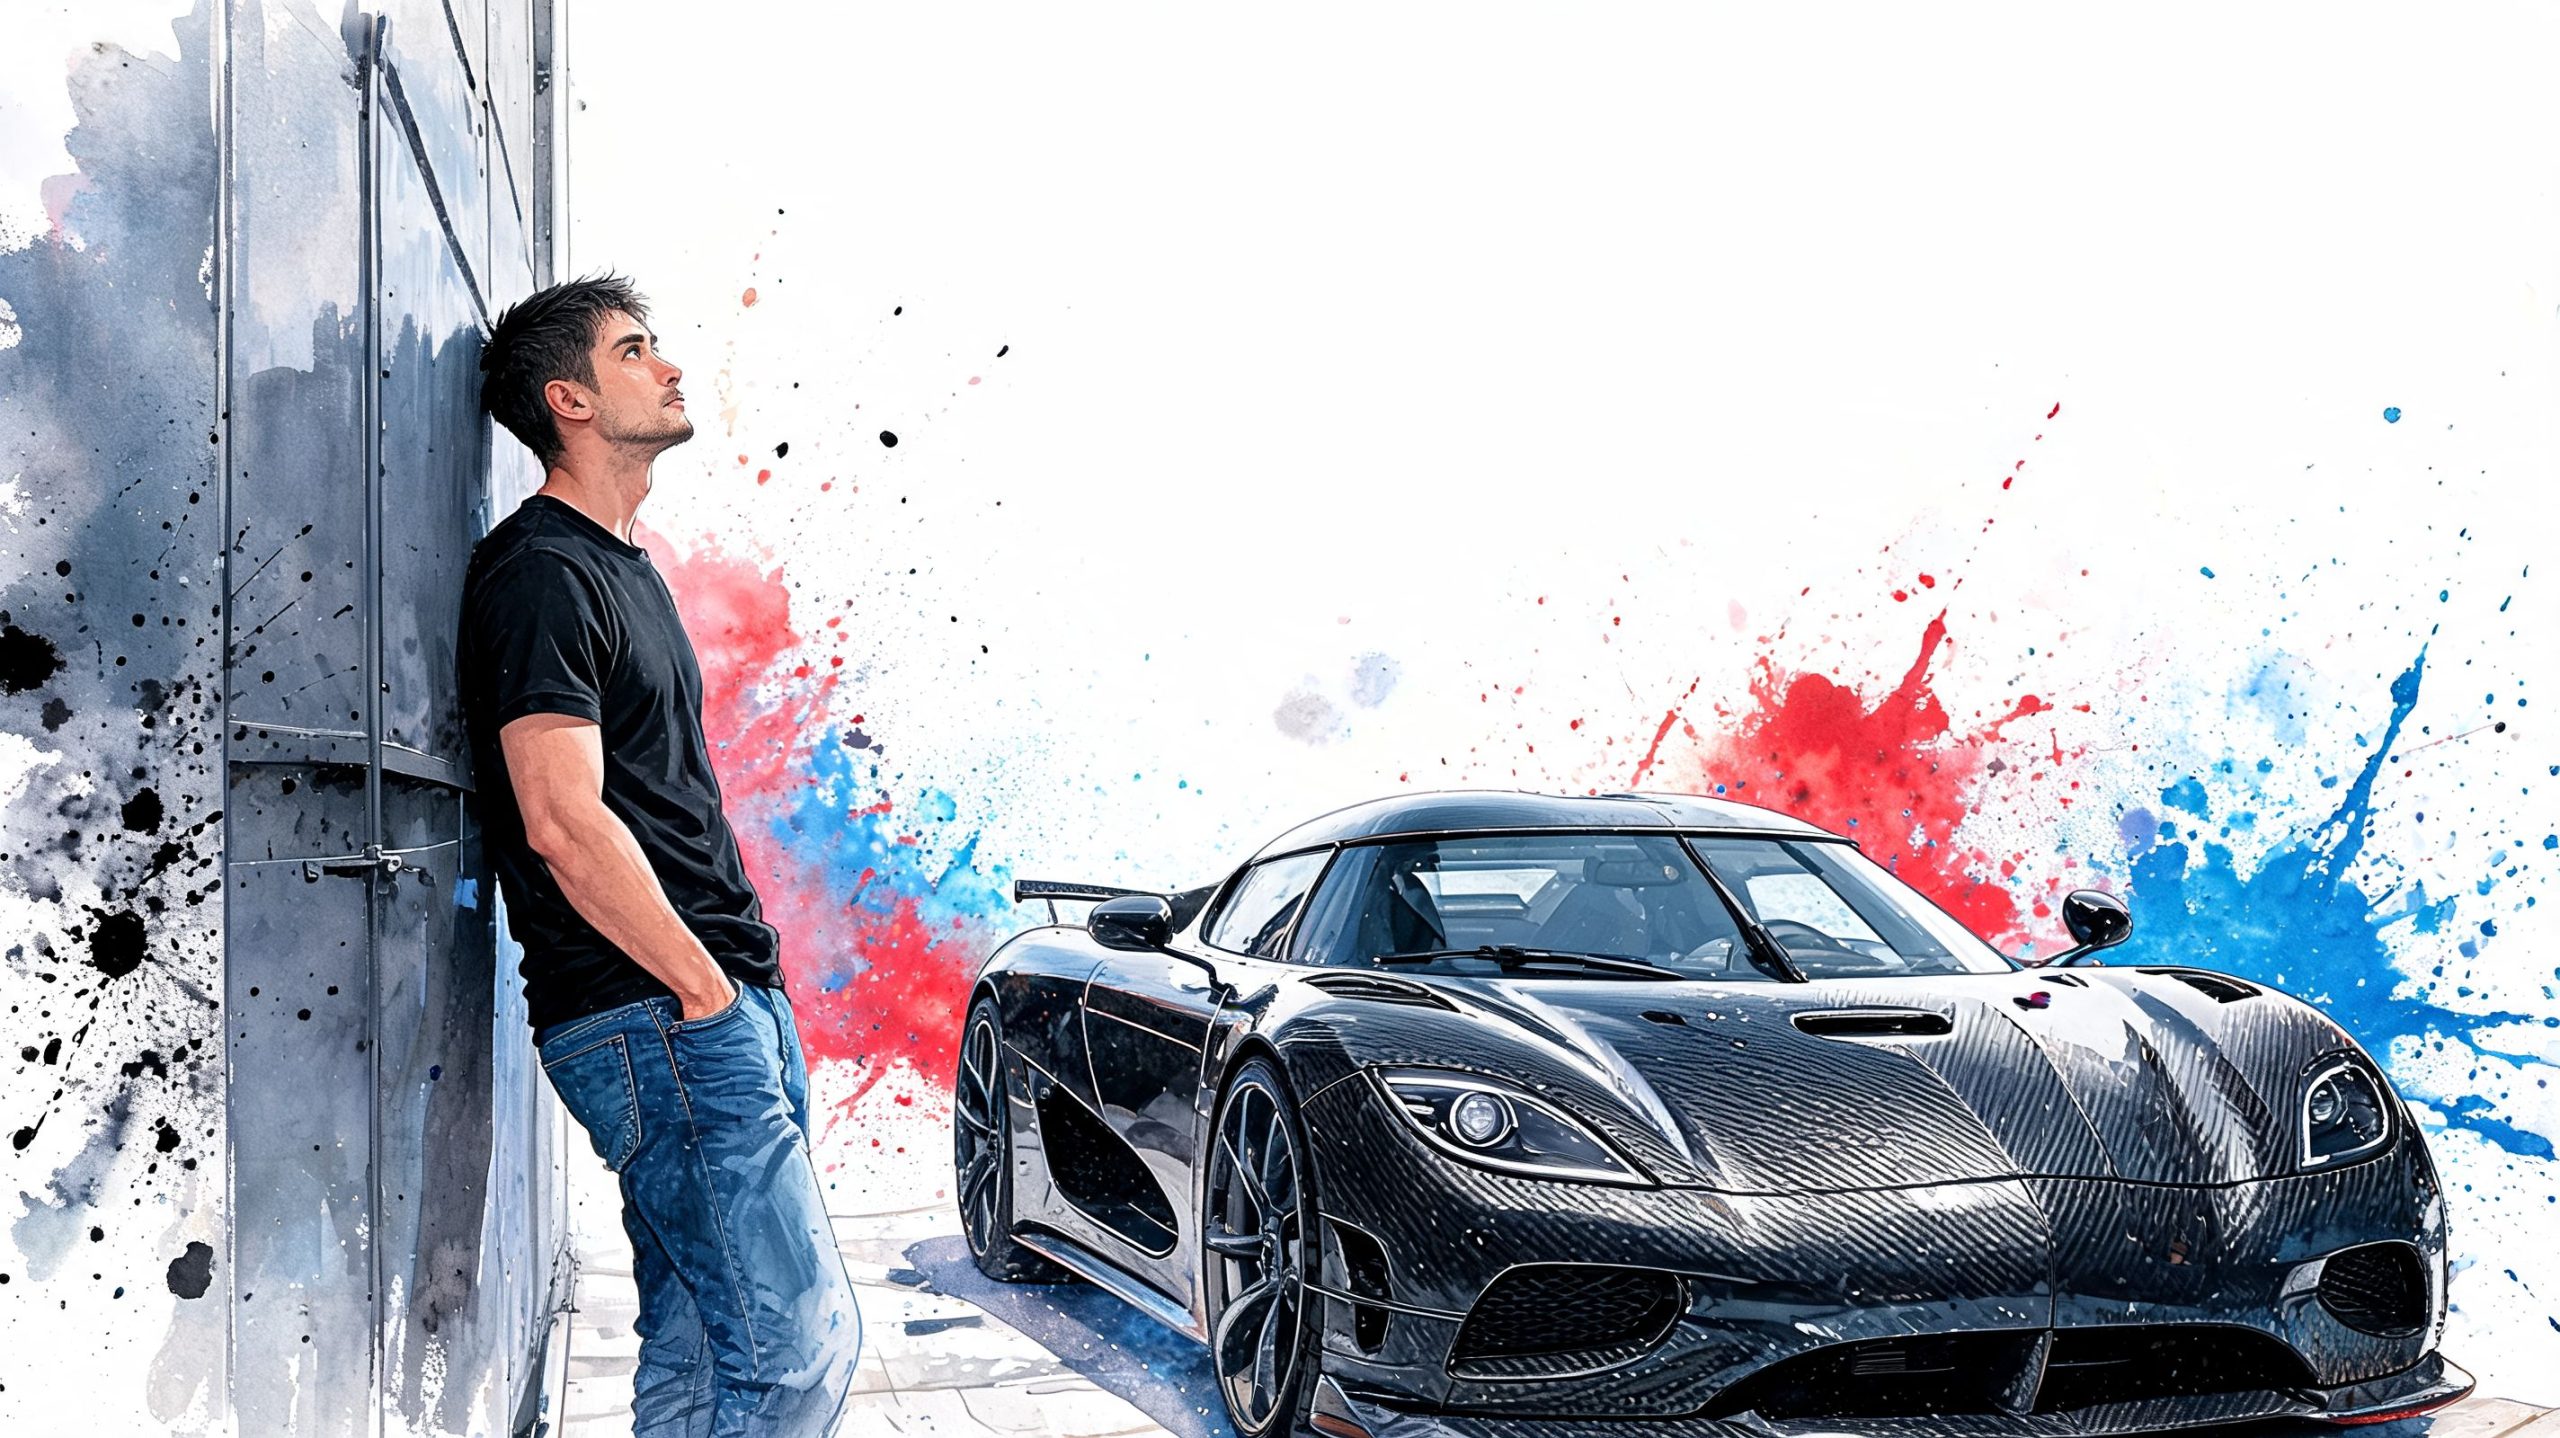
You're probably looking at your hood, mirror caps, dash trim, or door handles and thinking the same thing a lot of car owners think. Real carbon fiber looks sharp, technical, and expensive in the best way. Then you price actual carbon parts and the plan changes fast.
That's where a carbon fiber sticker makes sense. It gives you the race-inspired look without turning a simple cosmetic upgrade into a full parts budget. On the right surface, with the right film, it can look clean enough that observers assume it's a much more expensive piece.
Many drivers find themselves caught between two undesirable choices. They either purchase a budget decal that appears counterfeit once sunlight hits it, or they commit to wrap material that is excessive for a minor task and more difficult to install than anticipated. The strategic approach involves understanding what carbon fiber vinyl is, where it performs effectively, where it fails, and how to apply it so the result looks professional rather than temporary.
Elevating Your Ride with Carbon Fiber Style
A customer brings in a daily driver. Nothing exotic. Good paint, solid wheels, a few tasteful mods. The goal isn't to turn it into a show car. They just want the front end to feel sharper, or the interior to stop looking plain. Most of the time, the conversation lands in the same place. Add a carbon look to the parts your eyes naturally go to first.
That might be mirror caps, a hood accent, pillar trim, a center console piece, or a windshield banner paired with other dark trim. Done well, those small changes tighten up the whole vehicle. Done poorly, they look like leftovers from an online impulse buy.
The appeal isn't niche anymore. The global market for carbon fiber wraps and stickers was valued at USD 1.91 billion in 2024 and is projected to reach USD 3.0 billion by 2030, driven by demand for automotive appearance upgrades, according to Grand View Research's carbon fiber wrap market report. That tells you this isn't some novelty finish. Car and truck owners are actively choosing it because it delivers the look they want in a practical way.
Where the look works best
Some surfaces take a carbon pattern better than others. Flat or gently curved areas usually give the cleanest result.
- Mirror caps: Great first project. Small size, visible payoff, manageable curves.
- Interior trim: Center consoles, dash inserts, and door trim usually respond well because they avoid harsh weather.
- Hood accents: Best when the pattern direction is planned and the design doesn't fight the body lines.
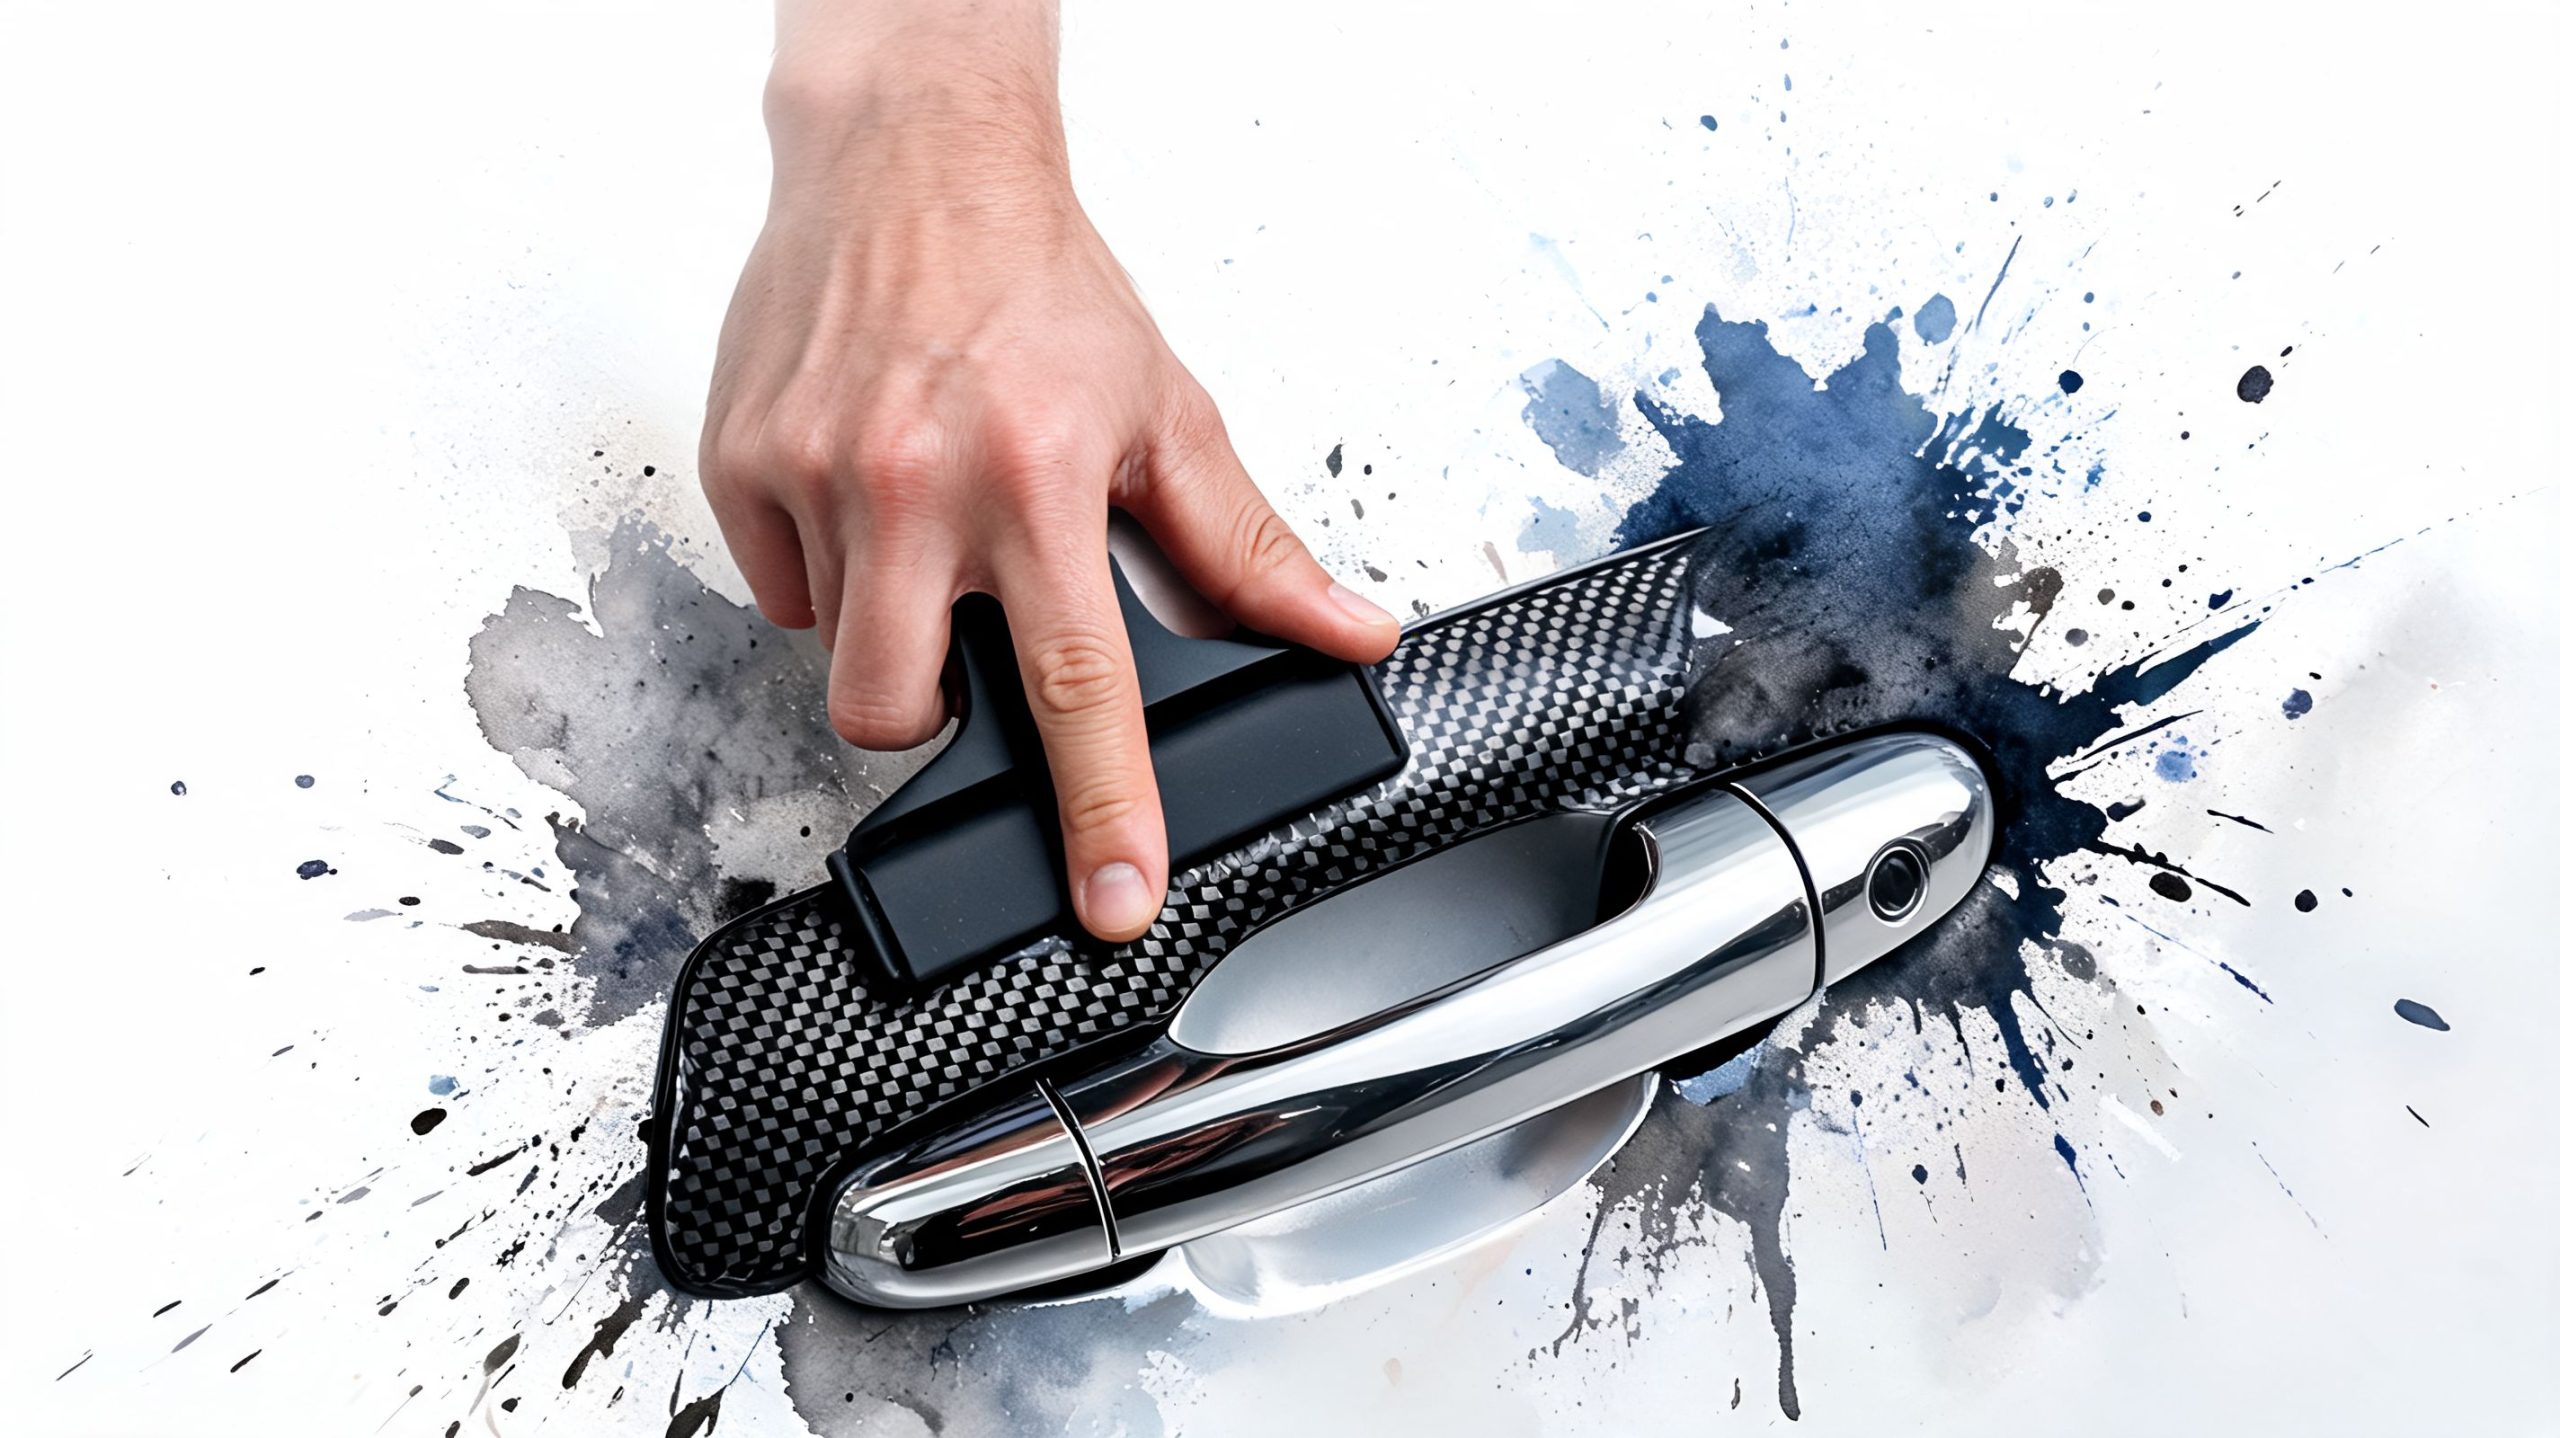
- Pillars and handles: Good for subtle contrast, especially on black, white, gray, and red vehicles.
What people usually want from it
Most buyers aren't chasing fake performance. They want visual structure. Carbon pattern adds texture, breaks up painted surfaces, and gives a modern motorsport feel that plain gloss black can't always match.
Shop-floor reality: Carbon fiber vinyl looks best when it supports the shape of the part. If the panel already has strong lines, the pattern adds depth. If the panel is busy or awkwardly shaped, the same film can make it look cluttered.
The right carbon fiber sticker doesn't need to cover half the vehicle to make an impact. A few well-placed pieces usually beat a larger install with poor alignment or cheap material. That's especially true on Jeeps, trucks, and tuner builds where each accent has to look deliberate.
Understanding Carbon Fiber Vinyl
A carbon fiber sticker is usually not real carbon fiber. It's a vinyl film designed to imitate the woven appearance and texture of carbon fiber reinforced polymer. That distinction matters because it sets the right expectations from the start. You're buying a cosmetic material with some protective value, not a structural component.
The reason the look carries so much appeal comes from the material behind it. The style is inspired by real carbon fiber reinforced polymer, a material with specific strength over 11 times stronger than steel, according to Market Research Future's carbon fiber wrap overview. Its reputation comes from aerospace and Formula 1, and that performance background is exactly why the pattern still feels advanced instead of trendy.
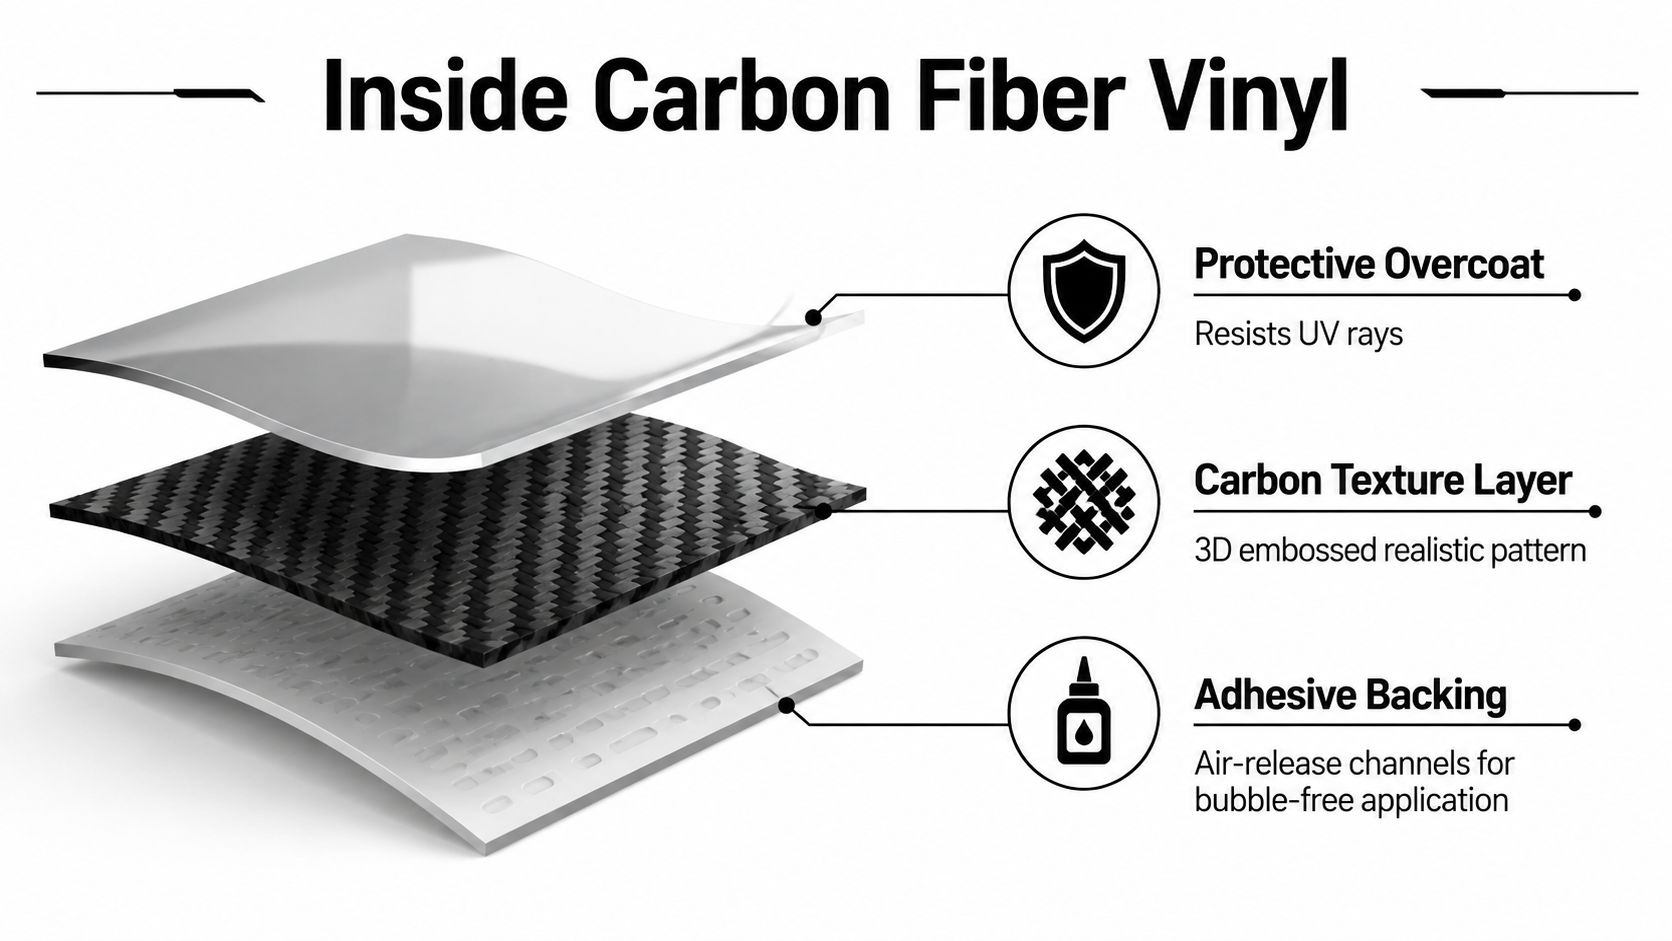
What's actually in the film
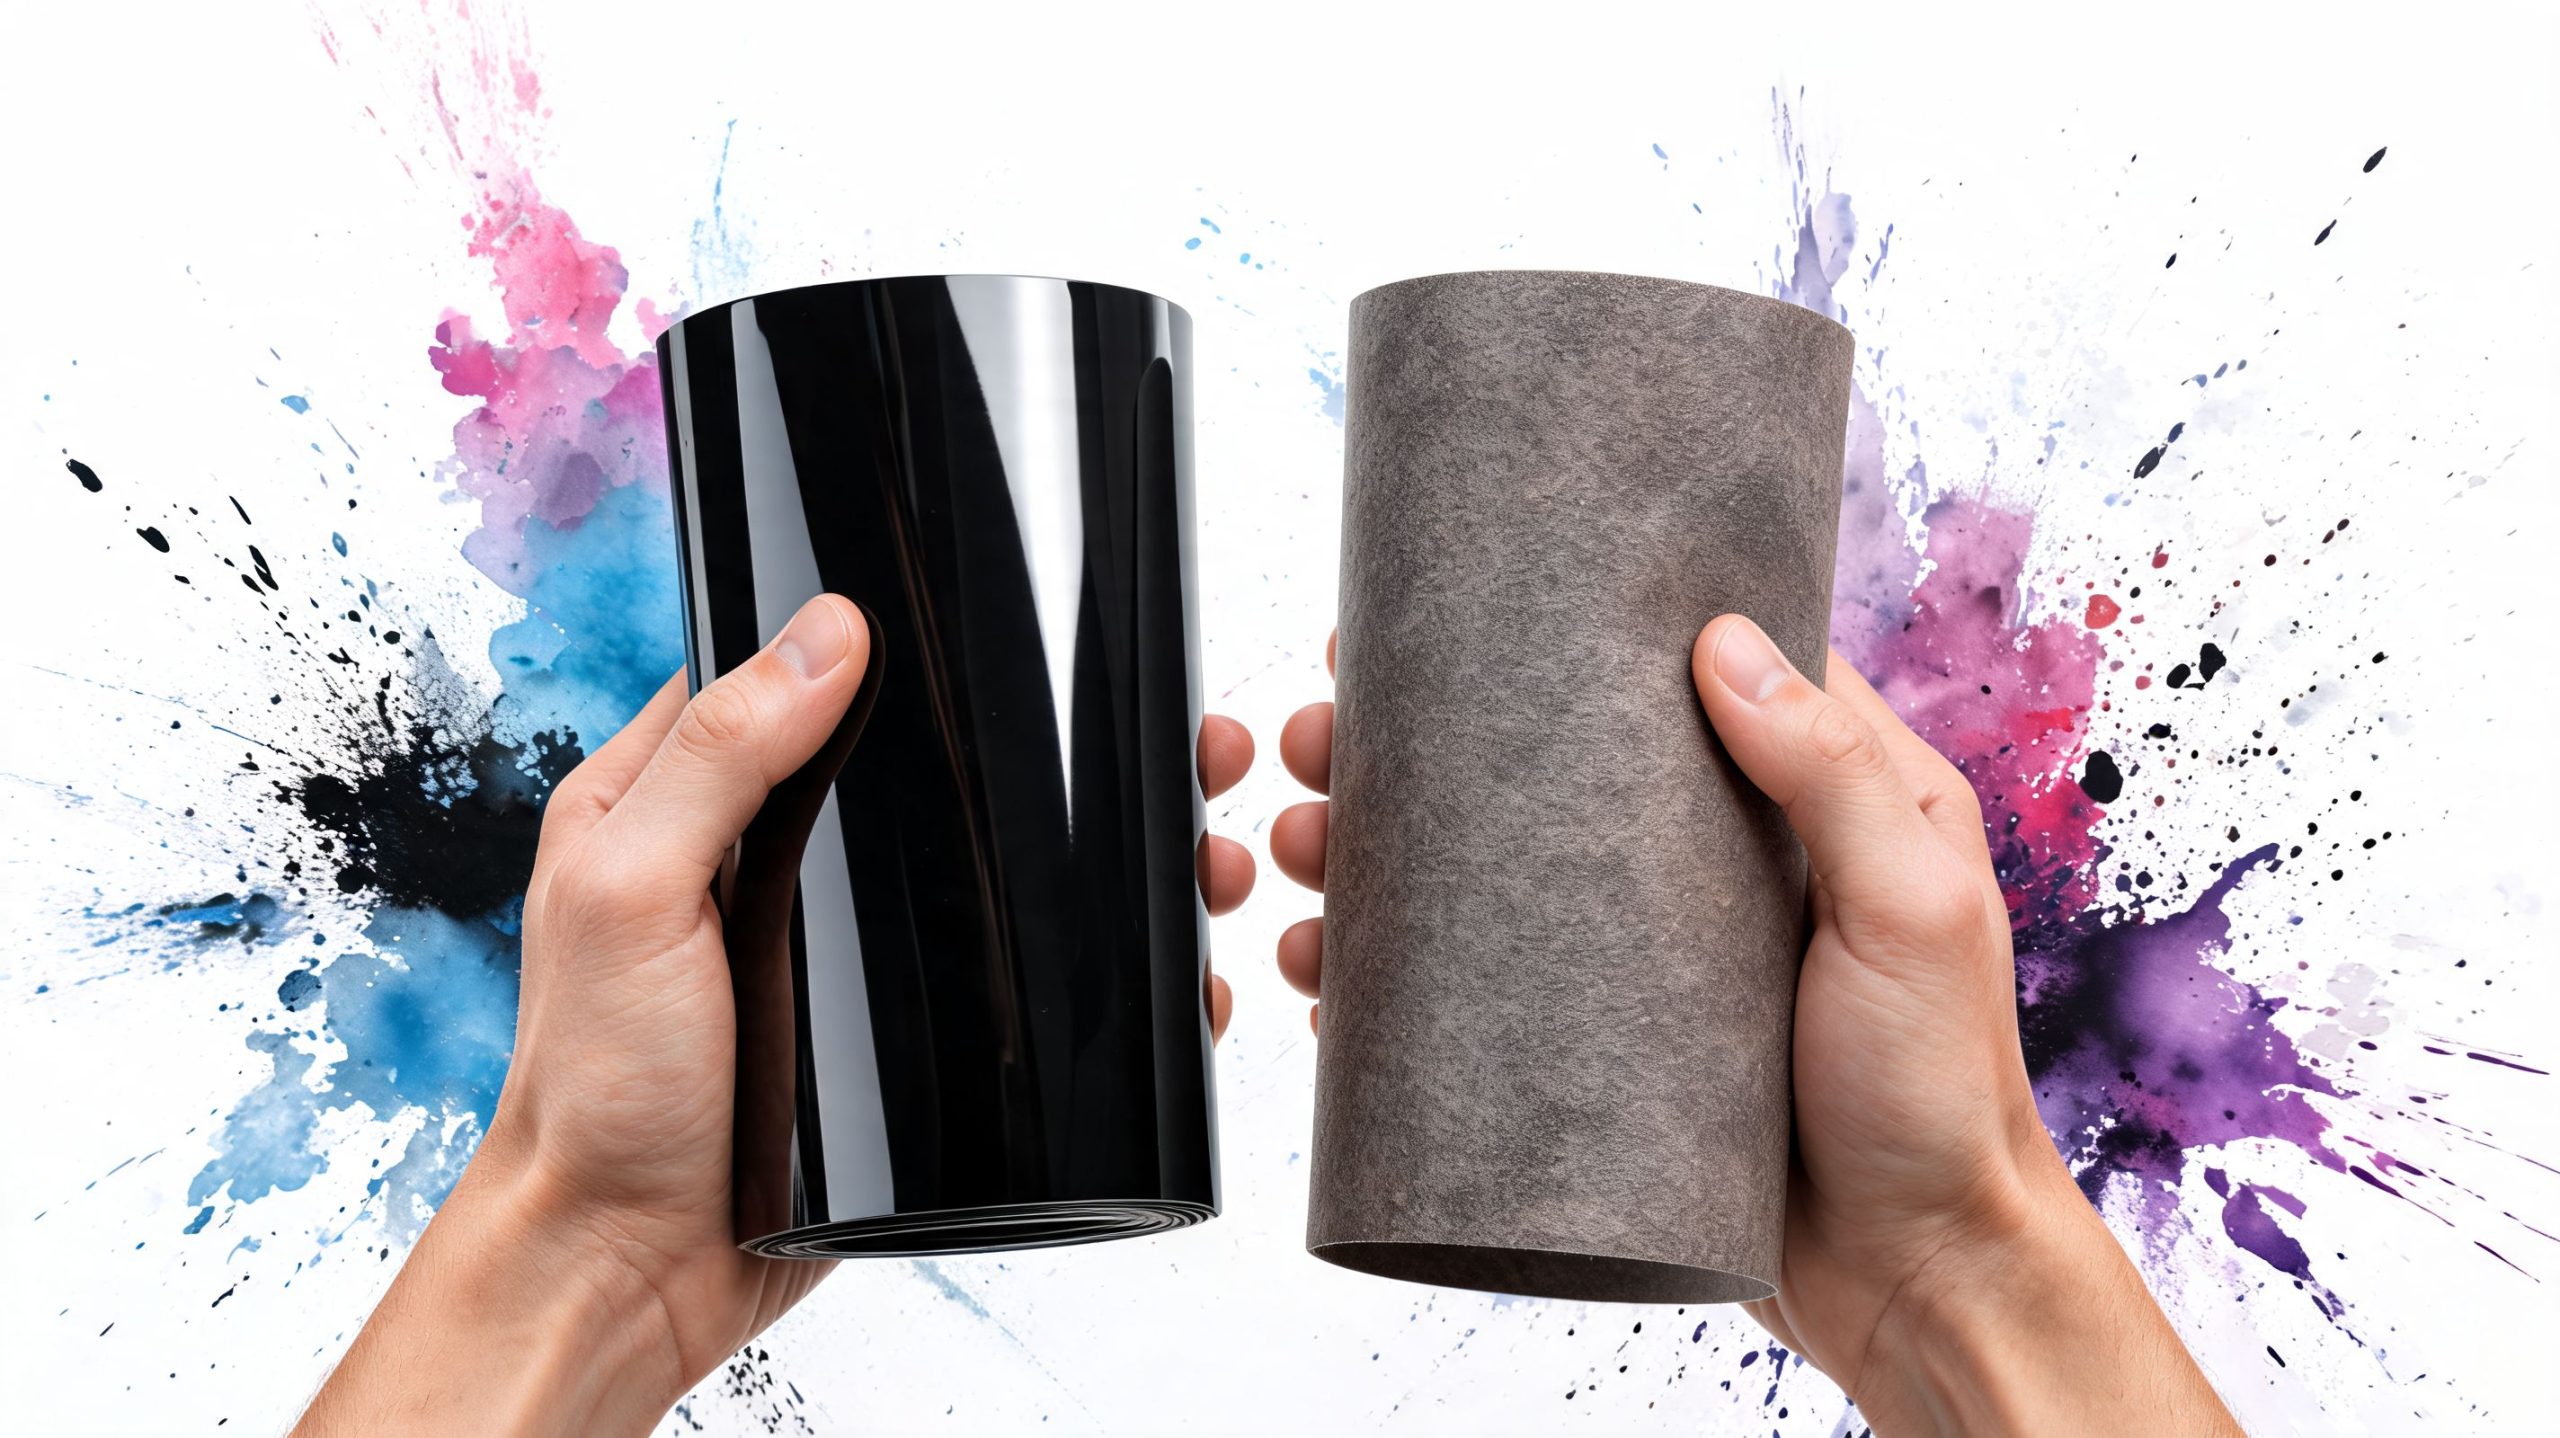
Good carbon vinyl is layered. The top surface handles exposure and gives the finish its sheen or matte character. The middle layer creates the visual weave or embossed texture. The bottom layer is the adhesive, which determines how forgiving the install will be.
Those layers are why one sheet can feel dry and cheap while another feels dense, stable, and much easier to position. A low-grade film often looks acceptable on the roll but loses the illusion once it's stretched around a curve.
3D through 6D in plain terms
The easiest way to understand the naming is to think about TV resolution. Older labels like 3D are the vinyl equivalent of standard definition. You still see the pattern, but the finish is simpler and less convincing. As you move into 4D, 5D, and 6D, the film usually adds more depth, more gloss, more reflectivity, and a stronger illusion of layered weave.
That doesn't mean higher-numbered film is always better. It means it's more dramatic.
- 3D: Usually more textured and understated. Good for interior trim or a quieter exterior accent.
- 4D: Adds more visible depth and a richer pattern.
- 5D: Tends to push gloss and visual movement harder.
- 6D: Usually the flashiest look, with more shine and a “wet” finish that stands out in sunlight.
A lot of first-time buyers choose the glossiest option they can find, then realize it looks too loud on an otherwise subtle build.
Why the terminology confuses buyers
These labels aren't a universal engineering standard. Different sellers use them a little differently. That's why product photos alone can be misleading. What matters more than the number on the listing is the actual finish, the quality of the embossing, and how the adhesive behaves when the film is installed.
If you keep that in mind, shopping gets easier. Ignore the hype terms first. Look at the texture, sheen, thickness, and intended use. Those details tell you much more than a flashy product name.
The Smart Choice Pros and Cons
Carbon fiber vinyl sits in the middle ground between real carbon parts and a full wrap. That middle ground is exactly why it works for so many owners. You get a focused style upgrade without the cost and commitment of replacing parts or wrapping the entire vehicle.
Still, it's only the right answer if you understand what you're trading for convenience and cost control.
Side-by-side comparison
| Attribute | Carbon Fiber Sticker | Genuine Carbon Fiber Part | Full Vehicle Wrap |
|---|---|---|---|
| Cost | Lower entry cost for accent areas | Highest cost | Higher overall cost than small decals |
| Look | Strong visual effect when installed well | Most authentic | Broadest visual coverage |
| Installation | DIY-friendly on smaller parts | Part replacement may be required | Harder to install cleanly |
| Durability | Good for cosmetic use when properly applied | Best for structural and cosmetic use | Good, but depends heavily on film and installer |
| Repairability | Easy to replace one section | Expensive to replace damaged part | Repairs can require redoing larger panels |
| Best use | Mirrors, trim, handles, accent panels | Hoods, spoilers, structural or premium builds | Complete color change or full style conversion |
Where vinyl wins
For cosmetic upgrades, vinyl solves a real problem. You can change the look of a part without repainting it, replacing it, or committing to a full wrap job. If a mirror cap or trim insert gets damaged later, you can usually redo only that piece instead of starting over on a much bigger section.
It's also more forgiving for people learning basic vehicle graphics. A small carbon fiber sticker project teaches surface prep, alignment, pressure, and heat control without risking an entire roof or hood in one shot.
Where vinyl loses
There are clear limits. According to TeckWrap's carbon vinyl specifications, carbon fiber vinyl can stretch 130-150% to conform to curves, but it softens above 200°F, while real carbon fiber remains stable up to 500°F. That's why vinyl works for exterior aesthetics but isn't the right choice near engine bay heat.
That trade-off matters more than many buyers realize.
- Good use: mirror caps, dash trim, pillar trim, fuel door accents, door handles
- Questionable use: areas right next to high engine heat
- Bad use: any part expected to provide strength or stiffness
If you want the look, vinyl is smart. If you want actual material performance, buy the part.
Full wrap versus accent vinyl
A lot of owners ask whether they should skip stickers and wrap more of the car. Sometimes yes. If your whole build needs a new color direction, broader wrap coverage makes sense. But if the goal is to sharpen details, a small carbon treatment often looks cleaner than overdoing the pattern.
This is the same logic used when choosing the right window tint. The best option depends on the job. A material can be excellent in one application and the wrong choice in another. Carbon vinyl is strongest when you use it with restraint and place it where the texture adds shape instead of noise.
How to Choose the Right Carbon Fiber Sticker
Shopping for a carbon fiber sticker gets easier when you stop looking at marketing names and start judging the film like an installer would. The right choice comes down to finish, shape, adhesive behavior, and outdoor durability.
Cheap vinyl usually gives itself away in two places. The texture looks flat, and the adhesive fights you during install.
Match the finish to the vehicle
Finish should fit the rest of the build, not just the product photo.
- Matte or low-gloss carbon: Better for rugged trucks, off-road builds, older interiors, and drivers who want texture without extra flash.
- Gloss carbon: Works well on modern sedans, coupes, and blacked-out trim packages.
- High-gloss or “6D” styles: Best when the car already has a bold visual theme and enough clean bodywork to support a brighter finish.
A common mistake is mixing an aggressive glossy weave with faded surrounding trim. The contrast makes the old parts look older.
Buy for the part you're actually covering
A mirror cap and a hood need different thinking. For small trim, a pre-cut or manageable piece saves time and reduces waste. For larger panels, you need enough material to maintain one clean pattern direction across the full visible area.
If you're pairing carbon accents with lettering or banners, keep the theme consistent. A windshield design, for example, often works better when the carbon elements support it rather than compete with it. If you're adding text up front, a custom text windshield banner decal gives you another way to tie the build together visually.
Adhesive quality decides whether DIY is easy or frustrating
Quality distinguishes itself quickly here. Premium carbon vinyl uses a 5.1 mil polymeric film with a micro-structured adhesive featuring air-release channels, according to Mactac's tuning film performance guide. That construction lets trapped air escape during application, which is why better film lays down smoother on curved parts.
If a product doesn't clearly mention air-release or micro-channel adhesive, assume the install will be less forgiving. That doesn't mean impossible. It means more bubbles, more lifting during repositioning, and more chances to stretch the pattern unevenly.
A quick quality checklist
Use this short filter before you buy.
- Check the surface finish: Product photos should show a clear, believable weave, not a printed checker pattern.
- Confirm air-release adhesive: This matters on handles, mirrors, and any curved trim.
- Look for outdoor durability details: Exterior use demands film meant for weather exposure.
- Choose the right sheet size: Too little material leads to seams or bad alignment.
- Avoid heat-sensitive placements: Keep it away from areas that run hotter than exterior body panels should.
Practical rule: If the seller tells you everything about style and almost nothing about adhesive or film construction, move on.
Your Step-by-Step Installation Guide
Most carbon fiber sticker installs fail before the backing paper comes off. The surface wasn't cleaned well enough, the weave direction wasn't planned, or the installer stretched the film too early and distorted the pattern.
A good install is calmer than people expect. Clean first. Align before peeling. Use heat sparingly. Press with control, not force.
Prep the panel the right way
Wash the area first if it's dirty. Then use isopropyl alcohol to remove wax, oils, fingerprints, and residue. If you skip that step, the edges will tell on you later.
For small pieces, I like to dry-fit the material and check sight lines from a few angles before peeling anything. On visible exterior parts, that extra minute saves a lot of regret.
You'll want:
- A squeegee: Felt edge if possible, especially on gloss films
- A heat gun: Gentle heat, not high blast
- A sharp blade: Dull knives drag and tear edges
- Isopropyl alcohol and clean towels: No shop-rag lint
- Masking tape: Useful for hinge positioning and alignment checks
Keep the weave direction consistent
This is one of the details that separates amateur-looking installs from convincing ones. A common DIY mistake is misaligned weave between neighboring parts. Professionals avoid that by marking a consistent 45-degree angle on the backing paper so the pattern flows from one panel to the next, as shown in this carbon weave alignment tutorial on YouTube.
If you're doing a hood accent and fender pieces, or both mirror caps, treat them as one visual set. Don't just cut material wherever it fits on the roll.
On carbon-pattern film, the eye catches direction changes immediately, even when the average person can't explain why the install looks off.
Apply with pressure, then heat
Start from the center and work outward with overlapping squeegee strokes. On gentle curves, most quality film will settle with firm pressure alone. On tighter contours, add a little heat and help the vinyl relax into place.
Don't overheat the face. Too much heat too early makes the film overly soft, and then people stretch the weave out of shape. Once the pattern distorts, the expensive-looking effect disappears.
For Jeep banners or other upper-glass styling elements, it's worth looking at a windshield banner decal for Jeep Wrangler to see how clean, pre-planned graphics simplify alignment compared with improvising every cut by hand.
A visual walkthrough helps if you want to see hand positioning and squeegee motion in action:
Fix small mistakes before they become big ones
Tiny bubbles near the middle can often be worked out with more squeegee passes. Stubborn trapped air near an edge usually means you need to lift and relay that section instead of forcing it. Wrinkles are different. If the vinyl bunches, back it up, add a little heat, let it relax, and reset the angle.
Use a sharp blade only after the film is fully laid where you want it. Trimming early usually locks in alignment errors.
Ordering with Confidence from Custom Sticker Shop
Once you know what matters in a carbon fiber sticker, buying gets simpler. You're no longer shopping by hype words or flashy mockups. You're looking for durable vinyl, clean cuts, easier installation, and a seller that understands how vehicle graphics get used in world environments.
That's where a specialist beats a generic marketplace listing every time.
What makes a shop worth trusting
A quality decal seller should do more than print a pattern and ship it. The details matter. Material quality matters. So does how the graphic arrives, how easy it is to apply, and whether the company serves the kinds of builds enthusiasts are working on.
Custom Sticker Shop stands out because it's a family-run, veteran-friendly shop in Topeka, Kansas that has been producing premium automotive decals since 2001, using American-made Oracal vinyl rated for up to 7 years outdoors. The company offers more than 1,200 designs, including 295+ military tributes, 240+ Jeep graphics, and 165+ family options, with orders that are pre-spaced and transfer-taped for easier installation. According to the publisher information provided for the shop, orders typically arrive in 5–8 days, pricing starts at $7.99, free U.S. shipping applies to orders $25+, and customers can use an unlimited Buy 2 Get 1 Free offer.
Those details line up with what experienced installers look for. Outdoor-rated film matters. Transfer-taped graphics matter. A shop that already understands Jeep, truck, military, JDM, and family-oriented designs is going to make better products for actual owners, not just generic online traffic.
Why that matters for your project
If you're adding carbon accents, windshield graphics, or custom lettering, consistency matters. The design should arrive cut correctly, sized sensibly, and ready to apply without making you rebuild the layout on your workbench. That's where specialized automotive decal shops usually earn their keep.
A broad marketplace can sell you vinyl. A focused shop can sell you something that was made with the end use in mind.
If you want to build your own design instead of picking from a stock layout, the make your own custom car decal option gives you a straightforward starting point.
If you want a carbon-inspired look that's practical, durable, and easier to install than a full custom wrap, take a look at Custom Sticker Shop. Their catalog, outdoor-rated vinyl, and vehicle-focused designs make it easier to get a result that looks intentional on the road, not improvised in the driveway.