
A lot of people open the tube, unroll the decal on the kitchen table, and feel two things at once. Excitement first. Then nerves. You can already see it on the back glass, the hood, or the side of the truck, but you're also thinking, “If I get one crease in this thing, I'm going to stare at it forever.”
That feeling is normal.
Pre-spaced, transfer-taped Oracal vinyl looks clean and professional once it's on the vehicle, but that same polished look can make first-time installers worry they only get one shot. Most bad installs don't happen because the decal is difficult; they happen because the installer rushed the setup, guessed at alignment, or tried to force vinyl over a curve without changing technique.
Good car vinyl decal installation is mostly about control. Control the surface. Control the temperature. Control the placement before the adhesive touches down. Once you do that, bubbles stop being scary, curved panels stop feeling impossible, and the whole job gets a lot more predictable.
Your New Decal Is Here Now What
The first thing most DIY customers do is hold the decal up to the vehicle and start mentally placing it in three different spots. Back window. Quarter glass. Hood edge. Maybe the windshield. That's a good instinct. Before anything gets peeled, you want to decide exactly what job the decal is doing.
If it's text, a military tribute, a family name decal, or a business message, readability matters most. If it's a graphic that's meant to blend into the vehicle's lines, appearance may matter more than perfectly level text. That choice affects where you stand, how you tape it, and even what body line you use as your reference.
Pre-spaced, transfer-taped decals are different from printed stickers. They don't give you a big background shape to hide crooked placement. Every letter and cut shape lands exactly where you put it. That's why a little patience up front saves a lot of frustration later.
Practical rule: Don't peel anything until you've stepped back from the vehicle at least twice and checked the placement from a normal viewing distance.
The people who get the cleanest results usually aren't the fastest. They're the ones who dry-fit the decal, check it from both sides, and use tape to create a controlled install instead of trying to freehand it.
A good install also starts with realistic expectations. Tiny bubbles can often be handled. A transfer tape edge can be worked slowly. A slightly intimidating hood graphic can be installed cleanly if you break it into sections. You don't need to be a wrap shop to get a result you'll be proud of.
You do need to respect the basics. Clean surface. Correct temperature. Good alignment. Smooth squeegee strokes. If you stick to those, your odds improve fast.
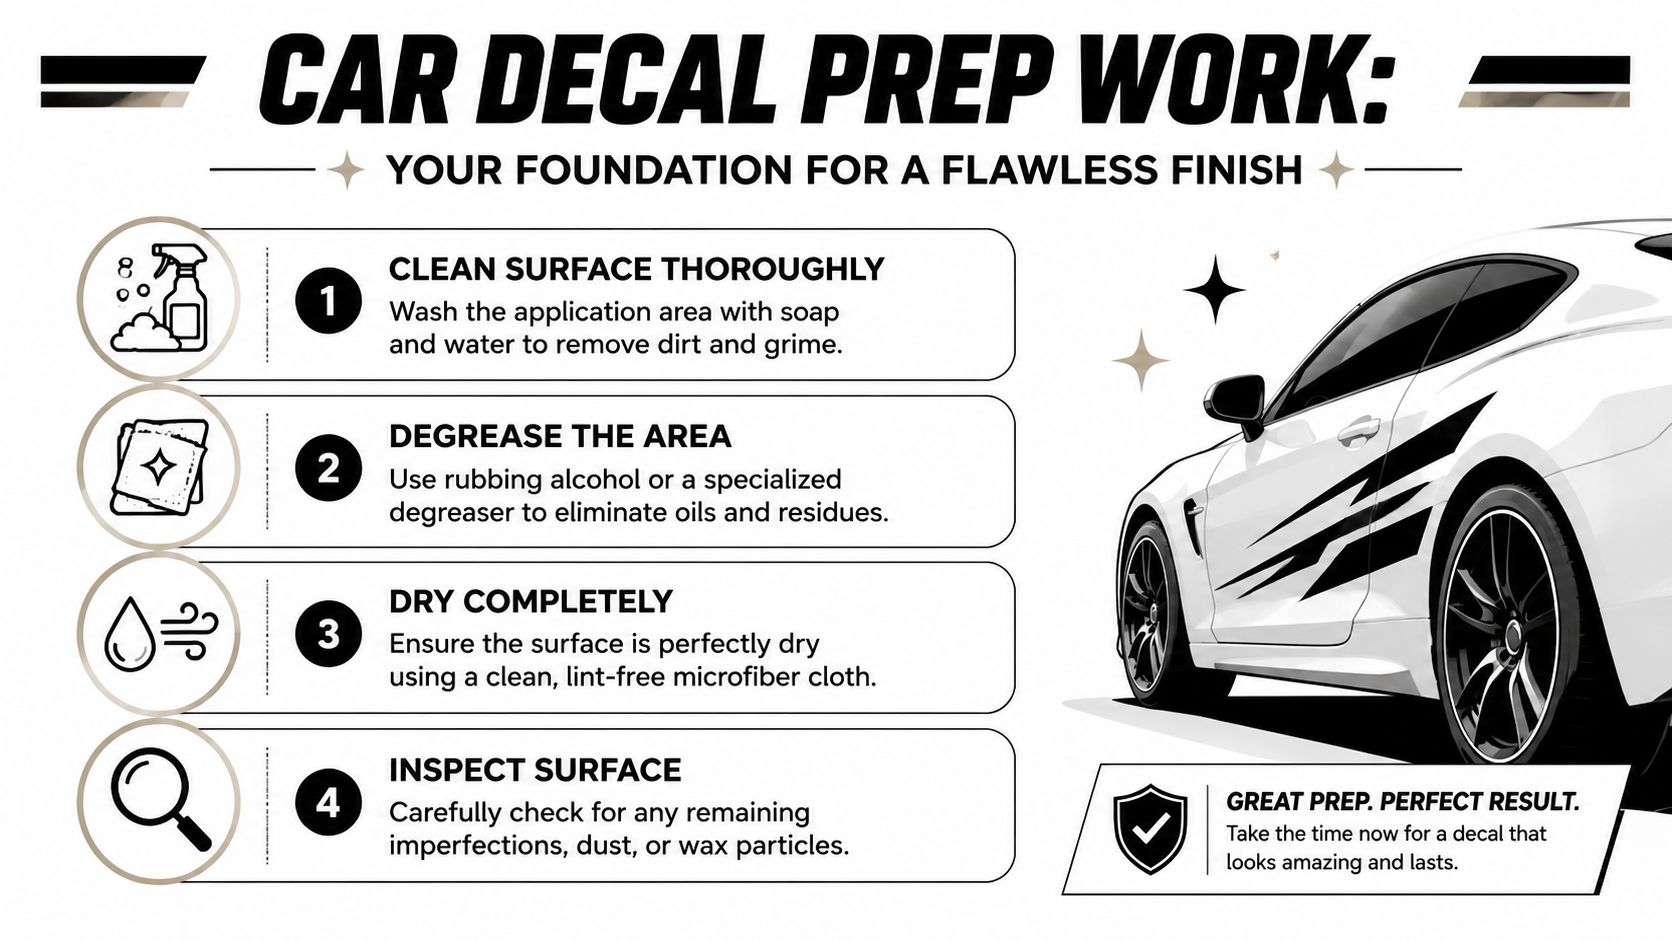
Prep Work Your Foundation for a Flawless Finish
Most decal failures start long before the vinyl touches the car. Dirt, wax, cleaner residue, leftover moisture, and bad temperature all show up later as bubbles, silvering, lifting corners, or weak edges.
Professional guidance puts the ideal application window at 60°F to 74°F, or about 16°C to 23°C, because vinyl behaves best there and temperature affects both bubble formation and adhesive performance, as noted in this vinyl decal installation guide from Decals.com. Too cold, and the vinyl gets less pliable. Too warm, and it can tack before you've positioned it cleanly.
What to gather before you start
You don't need a huge pile of specialty gear. You need a small set of tools that give you consistency.
| Item | Purpose | Pro Tip |
|---|---|---|
| Microfiber cloths | Clean and dry the panel without leaving lint | Keep one cloth for washing and another for final wipe-down |
| Mild soap and water | Removes dirt and road film | Rinse well so nothing dries back onto the panel |
| Rubbing alcohol | Cuts oils, wax traces, and residue | Use it on a fully cool surface |
| Masking tape or painter's tape | Holds the decal in position and creates a hinge | Use longer strips than you think you need |
| Squeegee or application card | Presses vinyl down and pushes air out | Work in overlapping strokes, not random swipes |
| Measuring tape | Helps center and level larger graphics | Measure from fixed body references, not visual guesses |
| Hair dryer or gentle heat source | Helps on curves and stubborn edges | Use light heat, not blasting heat |
If you're installing on a bumper or any panel that's been repaired or repainted, surface quality matters even more. The same kind of careful prep that matters with decals also matters with paint work, which is why a guide on steps for painting a bumper is useful reading if you're dealing with a refinished area.
How to clean the panel the right way
A clean-looking vehicle is not the same thing as a decal-ready surface.
Start with soap and water to remove visible grime. Then dry the area. After that, wipe the install area with rubbing alcohol or a proper alcohol-and-water mix and let it dry completely. That second cleaning step matters because road film, wax, polish, and skin oils don't always show up to the eye, but the adhesive will notice them immediately.
A few things regularly cause trouble:
- Window cleaners: Some leave residue that can reduce adhesion.
- Freshly washed but still damp panels: Water trapped around trim, badges, and weather seals can creep back onto the install area.
- Dust in shade or garages: It doesn't look like much until it gets trapped under transfer-taped vinyl.
Surface prep is not busywork. It's the step that decides whether the decal bonds flat or starts fighting you halfway through the install.
Environmental checks that save you from headaches
Shade helps. Direct sun shortens your working time and can make the panel hotter than the surrounding air. Wind is another problem because it blows dust onto adhesive and makes large decals harder to control.
Run this quick checklist before starting:
- Surface is fully dry: Check around trim and panel gaps with your fingertip.
- Panel is cool enough to touch comfortably: If it sat in the sun, let it rest in shade.
- Your tape sticks well to the vehicle: If tape won't hold position, the surface still isn't ready.
- You have enough room to step back and sight the decal level: Crowded garages make alignment harder.
The prep stage feels slow. That's exactly why it works.
The Art of Alignment and Application
This is the part people overcomplicate. The cleanest installs usually come from one simple method. Position the decal, lock it in place with tape, create a hinge, and apply it in controlled sections instead of trying to float the whole thing onto the panel at once.
Expert dry-install guidance recommends applying in shade at roughly 60–80°F, cleaning and drying the panel fully, positioning the decal with tape and a hinge, then peeling the liner gradually and squeegeeing from the center outward, as outlined in this dry vinyl decal workflow from HTVRONT. That workflow suits pre-spaced, transfer-taped decals especially well because each cut element needs stable placement from the start.
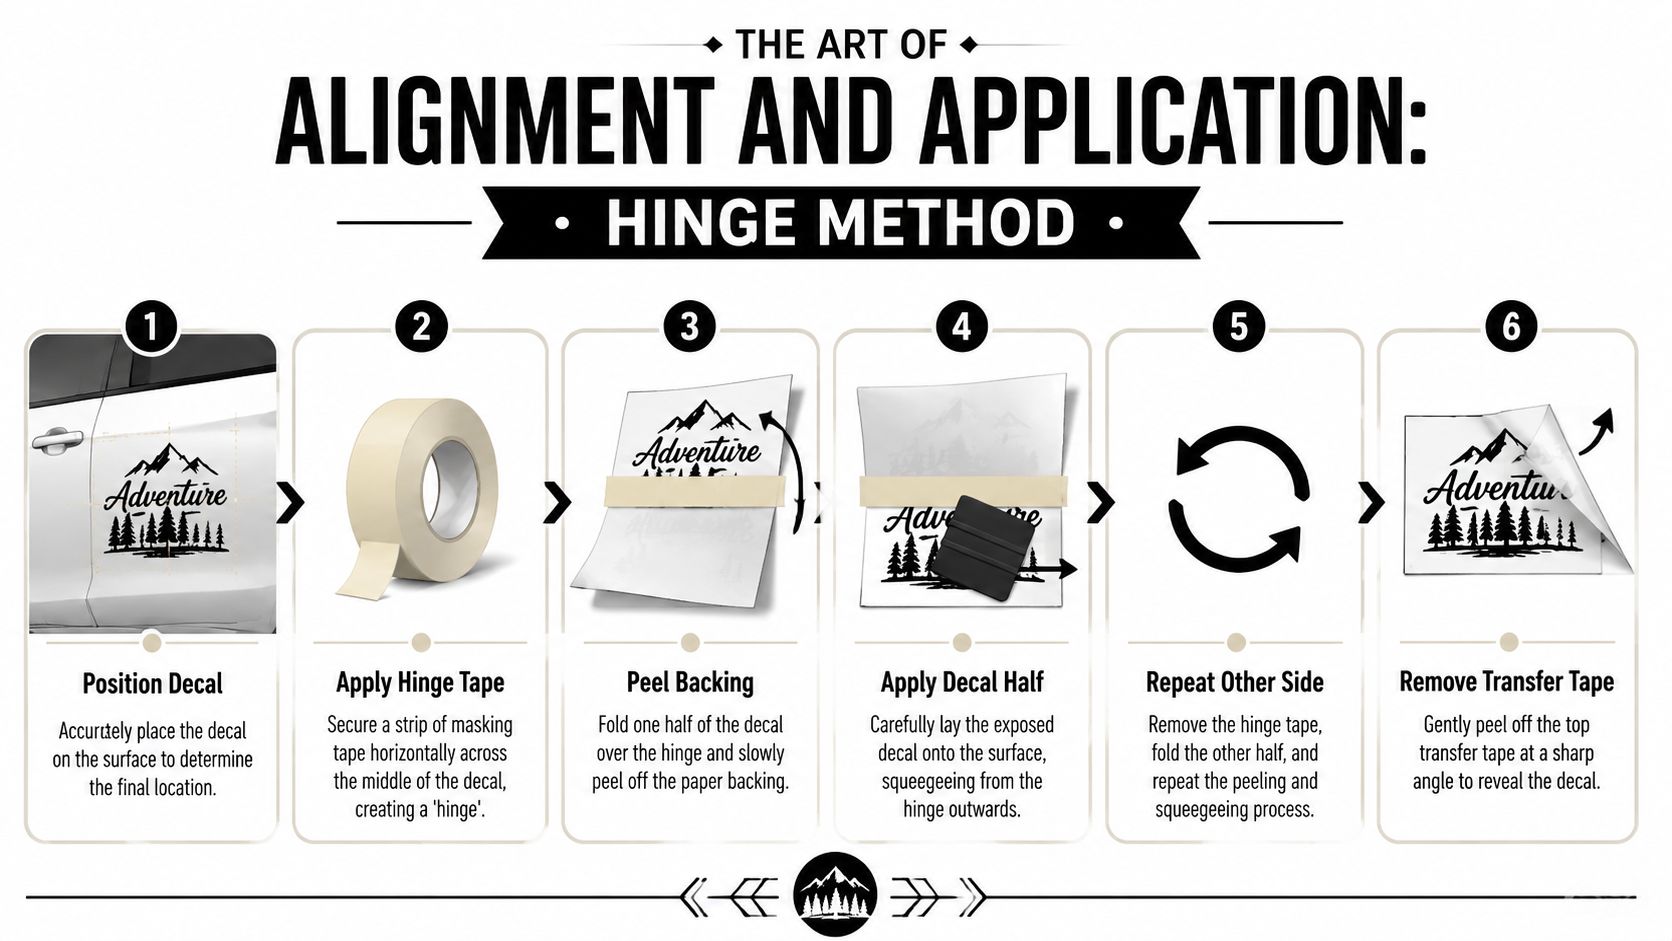
The hinge method that keeps everything under control
Here's the version used most often on windows, doors, bedsides, and windshield graphics:
Position the decal first
Hold it up with the backing and transfer tape still attached. Move it around until it looks right.Tape it in place
Use masking tape on the corners or edges so it can't drift while you check alignment.Create the hinge
Run a strip of tape across the middle, either horizontally or vertically depending on the decal shape. The hinge is your anchor.Peel one side at a time
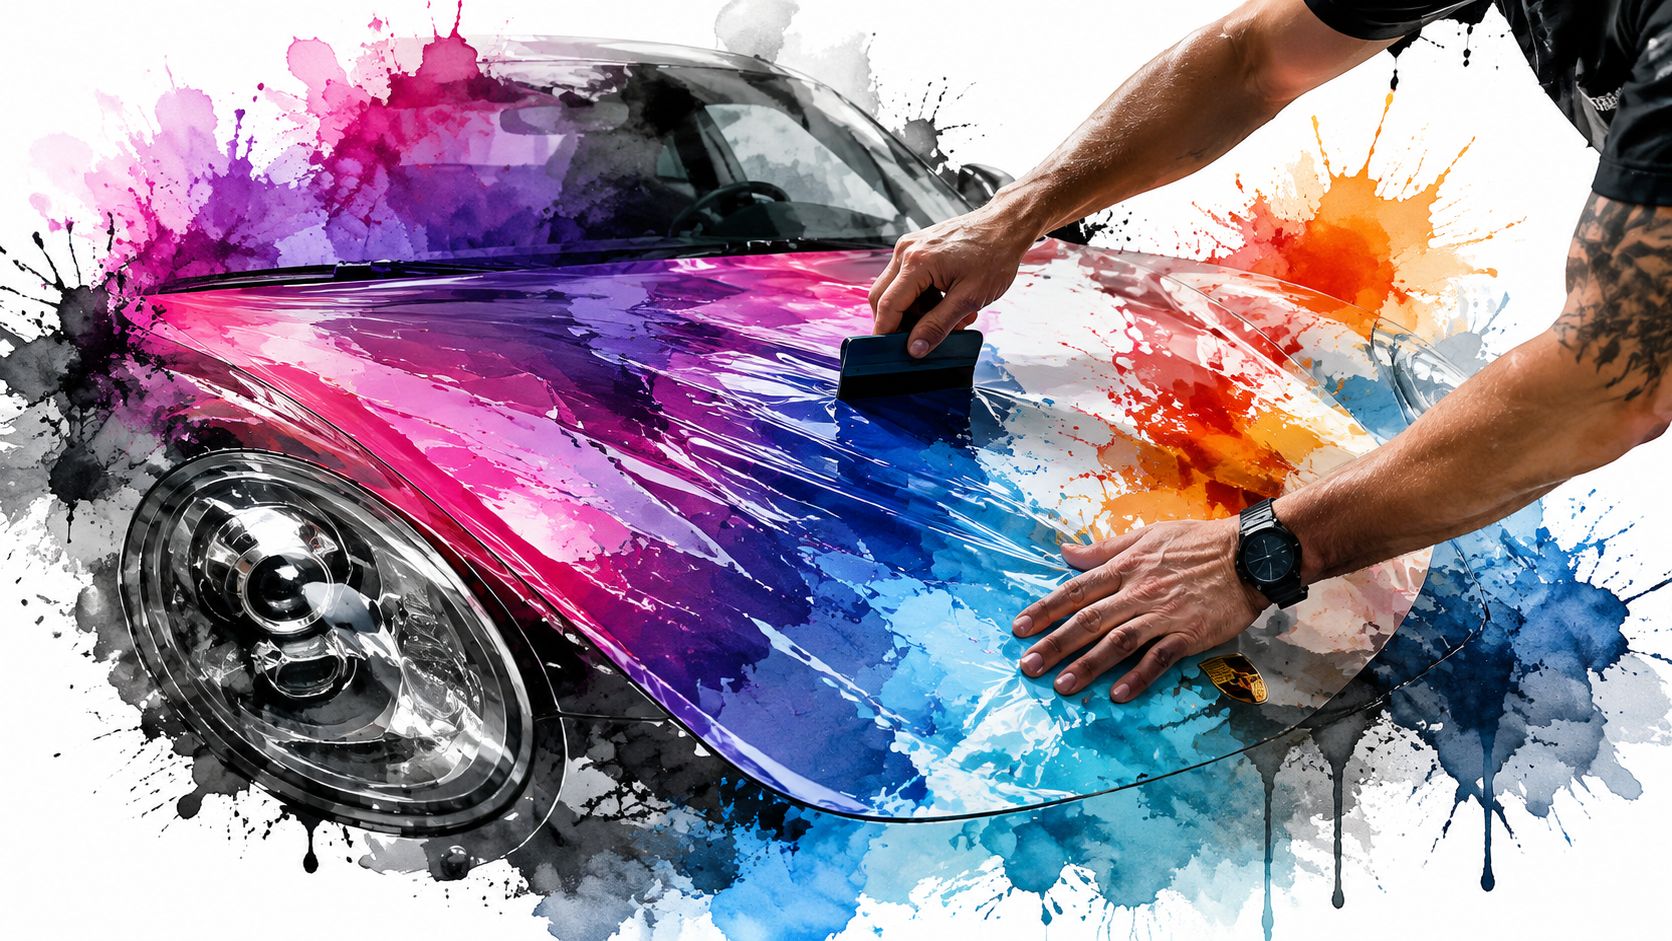
Lift one half, peel the liner away gradually, and keep the exposed vinyl controlled.Squeegee from the center outward
Start near the hinge and press outward with overlapping strokes to push air away.Repeat on the other half
Remove the hinge tape when needed, then finish the remaining side the same way.Peel transfer tape slowly
Pull it back at a sharp angle, not straight up. If a letter lifts, lay the tape back down and squeegee again.
That method works because it reduces panic. You're never trying to manage the whole decal at once.
Dry install versus wet install
Both methods exist for a reason. They just don't behave the same.
A wet install uses a light soapy-water layer so the decal can be repositioned before bonding. A dry install relies on immediate adhesion, which means it demands more precision. For pre-spaced Oracal decals, dry application is usually the cleaner choice because fine lettering and cut shapes stay more stable when you're not introducing moisture under every element.
Use this simple decision guide:
- Choose dry install when you're applying smaller to medium pre-spaced decals, text decals, windshield banners, or detailed cut vinyl.
- Consider wet install when you have a large simple shape, need some repositioning time, and you're comfortable allowing full drying time before disturbing the decal.
If you're working with a long windshield graphic like a Jeep windshield banner decal, the hinge method matters even more because length exaggerates even a small alignment error.
Slow hands beat strong hands. Most wrinkles happen because the installer pulls too much, too fast, not because the vinyl is fighting back.
Level with the ground or follow the body line
This is one of those details that separates “installed” from “looks right.”
An independent help article on decal placement notes that level alignment is better when readability matters, while contour alignment creates a more integrated look for the vehicle's shape, as explained in this guide to contour versus level decal placement.
Use that trade-off in a practical way:
- Text, business names, memorial decals, windshield wording: Keep it level with the ground.
- Side graphics, claw marks, accent stripes, stylized art: Following the contour can look more natural.
- Large door or bed graphics: Step back farther than you think you need to. Body lines can fool your eye up close.
When in doubt, tape the decal up, take a photo straight-on, and look at the photo instead of the panel. The camera catches crooked placement faster than your eyes sometimes do.
Mastering Curves Hoods and Windows
Flat glass is the easy version. Curves, hood bulges, and crowned body panels are where technique starts to matter more than confidence.
A curved panel changes how vinyl wants to sit. On a flat surface, the decal can lay down naturally as you squeegee it. On a hood edge or a rounded fender section, part of the vinyl wants to bridge across the curve instead of conforming to it. That's where people get wrinkles at the edge, little fingers in the film, or corners that look fine at first and then lift later.
The key tool here is light heat. Not a scorched surface. Not an overheated decal. Just enough warmth to help the vinyl relax and follow the shape.
How to use heat without ruining the install
Experienced installers recommend light heat on curves, patience before peeling transfer tape, and full drying time to prevent edge lift and improve bond strength on demanding surfaces, as discussed in this installer video on decal durability and curved panels.
That advice matters most in three situations:
- Mild curves: Warm the area slightly, then squeegee in smaller passes.
- Large hood graphics: Work a section at a time instead of trying to force the whole decal down.
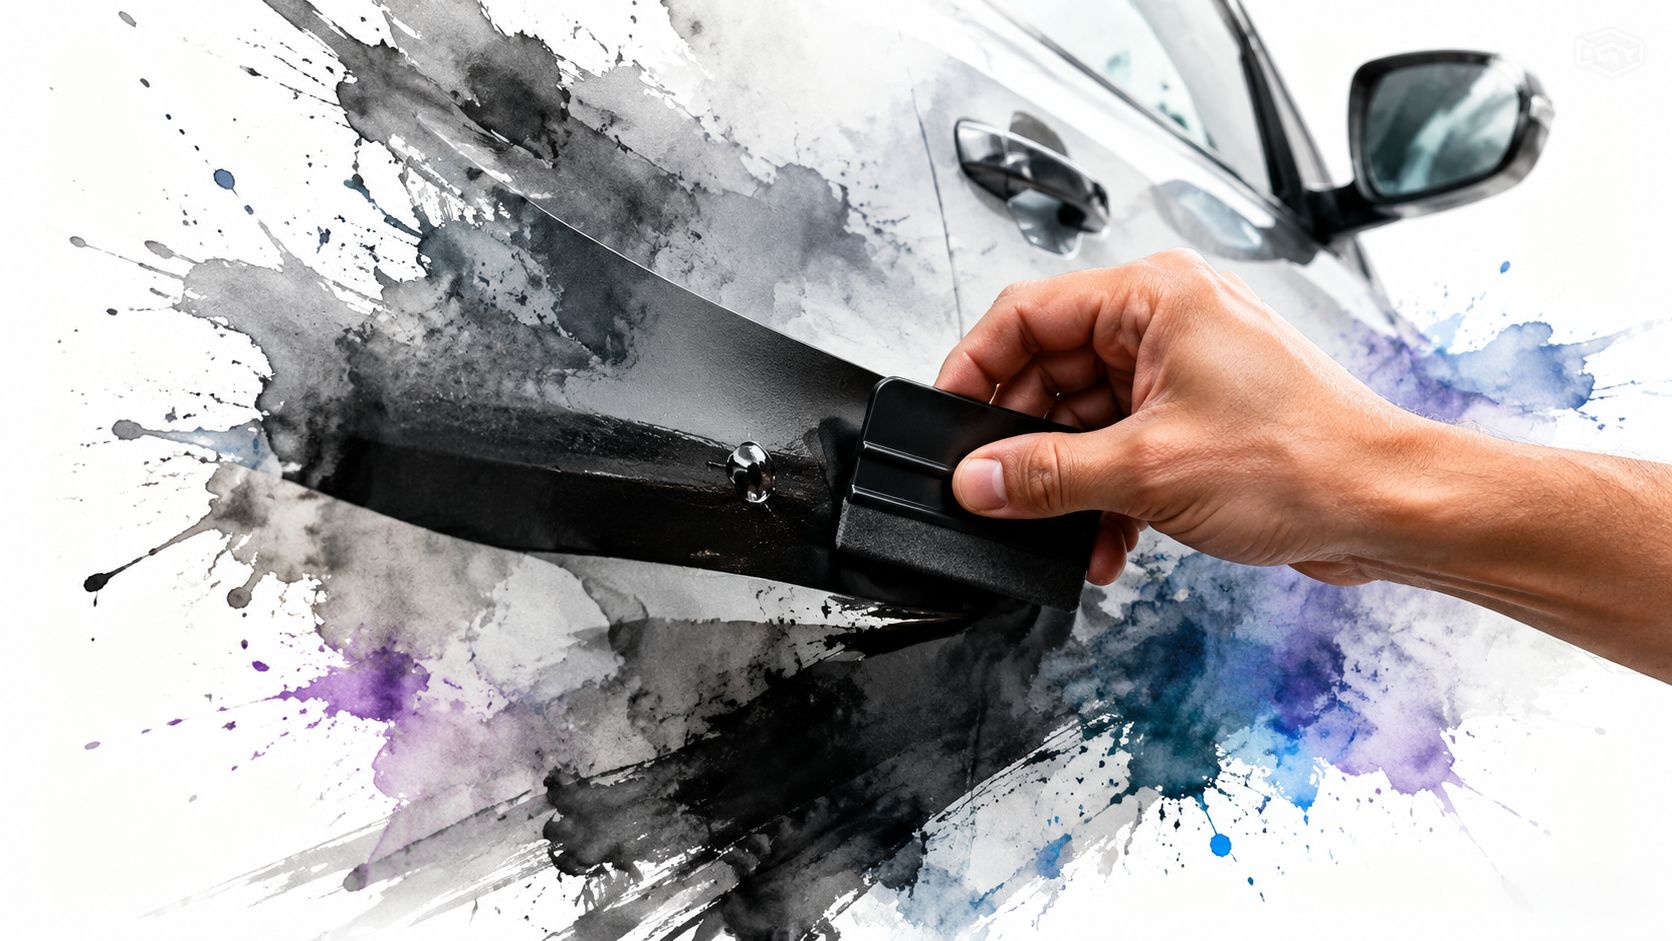
- Edges near recesses or raised contours: Press, warm lightly, and revisit the edge once more before calling it done.
A household hair dryer is often enough for DIY work. Hold it back, keep it moving, and aim for warm and pliable. If the vinyl gets floppy or the transfer tape starts feeling too soft, back off.
Bigger decals need a calmer pace
A hood graphic feels intimidating mostly because of size. The fix is to stop treating it like one giant decal. It's just several small sections applied in sequence.
For larger installs, these habits help:
- Use more tape than usual: A wide, stable hinge keeps the graphic from shifting.
- Check alignment from both sides of the vehicle: Hoods can fool your perspective.
- Don't fully remove all backing at once: Peel gradually as you work.
- Keep your squeegee path predictable: Same direction, overlapping strokes.
If you're planning a larger front-end graphic such as a Jeep Wrangler hood decal, treat the centerline and the hood's visual balance as part of the install, not an afterthought.
A quick demo always helps when you're tackling a larger panel for the first time:
Windows have their own rules
Glass is smooth, which is good. But windows also bring visibility, trim edges, and sometimes defroster lines or wiper paths into the equation.
Keep these points in mind:
- Rear windows: Make sure the decal won't interfere with rear wiper travel.
- Front windshield banners: Sight from the driver seat before final placement.
- Tinted glass: The decal bonds to the tint film surface, so that film needs to be in good condition.
- Curved glass: Use the same light-heat logic if the outer edges resist laying flat.
The main thing with windows is restraint. Don't chase every tiny imperfection while the transfer tape is still on. Finish the placement first, then fine-tune.
Aftercare Fixing Bubbles and Maintenance
Once the decal is on, the job changes from installation to protection. Many DIY installers either over-handle the decal or panic over tiny imperfections that would have settled down with a little patience.
The first priority is removing the transfer tape correctly. Peel it back slowly at a sharp angle. Don't yank upward. If a piece of vinyl starts lifting with the tape, lay that section back down, press it firmly again, and give it more time. For some installs, especially cooler conditions or firmer transfer tape, patience makes all the difference.
What to do about bubbles
Not every bubble is a problem. Some are trapped air. Some are just the look of the transfer tape before everything settles. The trick is knowing when to leave it alone and when to fix it.
Use this rule set:
- Tiny bubbles: Leave them for a bit before touching them. Some settle as the vinyl finishes bonding.
- Small stubborn bubbles: Use a very fine pin and make the smallest possible opening near the edge or center of the bubble, then press the air out gently.
- Wrinkles or trapped folds: Don't stab these repeatedly. They usually need careful lifting and reworking, not puncturing.
Most bubble fixes should be nearly invisible when done right. The goal is to release trapped air, not carve into the vinyl.
If you use a pin, keep the puncture tiny and press with a fingertip or wrapped squeegee. Heavy-handed pressure can create marks that stand out more than the original bubble.
The first few days matter most
Fresh adhesive needs time to settle into the surface. During that period, avoid doing anything that attacks the edges or forces water under them.
A smart aftercare routine looks like this:
Leave the decal alone once it's down
Repeated rubbing and poking usually creates more problems than it solves.Keep it dry for the early cure period
Don't rush straight into washing.Check edges on curves and corners
If something looks slightly raised, a little warmth and firm pressure can often settle it.Avoid high-pressure spray on the edges
That's especially important on newer installs and on decals placed near panel transitions.
Long-term maintenance that keeps the decal looking sharp
After the decal has had time to bond, normal hand washing is the safest routine. Use mild soap, soft cloths, and avoid scrubbing the edges with aggressive pressure.
A few habits make decals last better in practice:
- Wash gently: Dirt should be lifted off, not ground into the edge.
- Skip harsh abrasive cleaners: They can dull the finish or attack the adhesive line.
- Be careful with pressure washers: If you use one, don't aim directly at the decal edge from close range.
- Inspect after seasonal temperature swings: Curves and corners are the first places to check.
Good maintenance isn't complicated. It's mostly about not undoing your own careful install.
Your Custom Sticker Shop Decal Questions Answered
My decal arrived rolled in a tube. Should I flatten it first
Yes. Let it relax on a flat surface before installation. A table works well. If the ends want to curl, set a few light items on the outer edges so the decal settles flatter and becomes easier to manage with tape and alignment.
That extra patience pays off most on long text decals and windshield banners, where curl fights your placement.
How long will my Oracal vinyl decal actually last
The published product information for the shop states that its professional-grade Oracal vinyl is rated for up to 7 years outdoors on the Custom Sticker Shop website. Real-world lifespan still depends on where the decal is installed, how well the surface was prepped, and how aggressively the vehicle is washed.
In plain terms, a clean install on a good surface lasts far better than a rushed install on waxed, dirty, or textured material.
How long after installation until I can wash my car
Give it time before the first wash. A gentle hand wash is the safer choice once the decal has settled. The biggest mistake is hitting a fresh edge with strong water pressure too soon.
If you're already thinking ahead to eventual removal, it helps to understand safe techniques before you ever need them. This guide on tips for damage-free sticker removal is a useful reference for glass applications.
Can I apply these decals to a plastic bumper or textured surface
Smooth, non-porous surfaces are the best match. Painted metal and clean glass are the easiest. Smooth painted plastic can also work well. Rough, porous, chalky, or heavily textured plastic is where people run into disappointment.
The reason is simple. Vinyl adhesive likes full contact. Texture reduces contact, and reduced contact usually shows up later as lifted edges or poor bonding.
What if I'm nervous about my first install
That's normal, especially with pre-spaced decals where every character has to land cleanly. The best answer is to slow the process down. Dry-fit the decal. Tape it in place. Use the hinge method. Work in shade. Don't peel until your placement looks right from a distance.
Most first installs go well when the installer respects the setup more than the sticking.
If you're ready to put your own design, tribute, family name, hood graphic, or windshield decal on your vehicle, Custom Sticker Shop makes it easy with pre-spaced, transfer-taped vinyl decals built from professional-grade Oracal material. Browse the designs, pick the right fit for your car or truck, and install it with confidence.