
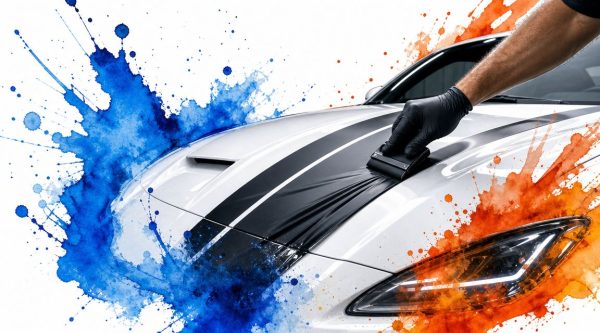
You're probably staring at your car right now thinking what often comes to mind before ordering stripes: the factory paint is fine, the body lines are good, but the whole vehicle still feels a little too stock. A stripe kit is one of the fastest ways to change that. Done well, it adds character without turning the car into a rolling billboard. Done badly, it looks crooked from across the parking lot.
That's why stripe work is one of those jobs that rewards patience more than bravery. The material matters. The layout matters more. And on newer vehicles, there's another layer most tutorials skip completely. You can't just run vinyl anywhere you want if the car has parking sensors, cameras, radar hardware, or body-panel-mounted ADAS equipment.
The good news is that a clean, professional result is absolutely within reach on a first attempt if you plan the layout before the backing paper ever comes off. That's the difference between a stripe job that looks factory-inspired and one that gets peeled back off before sunset.
Giving Your Car a Classic Performance Look
A lot of customers come in with the same goal. They don't want to repaint the whole car. They don't want anything permanent. They just want the vehicle to feel like theirs. Vinyl stripes for cars hit that sweet spot because they change the attitude of the vehicle without changing its bones.
That appeal didn't come out of nowhere. Racing stripes have real history behind them. The tradition goes back to the 1950s and 60s, especially at the 24 Hours of Le Mans, where teams used them for quick visual identification in a crowded field, as outlined in this history of racing stripes and iconic cars. What started as a practical track-side aid turned into a visual shorthand for performance on cars like the Shelby GT350.
A stripe doesn't add speed. It adds the look people have associated with speed for decades.
That's why stripes still work on everything from a modern muscle car to a daily-driven crossover. Twin hood stripes, fender hash marks, rocker graphics, and side accents all borrow from that same language. They suggest motion even when the car is parked.
If your taste leans more outdoorsy than track-inspired, the idea still applies. A side graphic can change the personality of a vehicle just as effectively as a classic rally layout. Something like these mountain and trees body side graphics creates a custom look without forcing a full motorsport theme.
Why stripes still feel right
Some modifications chase trends. Stripes usually don't. They've stayed relevant because they work with the shape of the vehicle instead of fighting it. A good stripe follows body lines, lengthens the profile, and gives the eye a path to follow.
That's the reason a properly chosen kit can make even a plain daily driver look more intentional. The trick is choosing the right style and the right material before you ever think about installation.
How to Choose the Right Vinyl Stripe Kit
You can pick a stripe color in thirty seconds and still end up with a kit that looks wrong on the car. The better approach is to choose the stripe shape for the body first, then buy film that matches the panel shape, climate, and how long you want the graphics to stay put.
Newer vehicles add one more filter. Before you fall in love with a layout, check where the car hides ADAS hardware. Front cameras near the windshield, grille sensors, bumper radar units, parking sensors, and side mirror cameras can all limit where a stripe should start, end, or change width. A kit that looks great on an older hood can create real problems on a newer vehicle if it crosses sensor covers or distracts from camera views.
Match the stripe style to the vehicle
The cleanest stripe jobs look like they belong on the vehicle from the factory. That usually means following the body lines already there instead of forcing a style you saw on a different platform.
- Rally stripes: Best for a strong centerline across the hood, roof, and decklid. They work well on muscle cars, coupes, and full-size trucks with wide, simple panels.
- Pinstripes: Better for adding definition along a beltline, shoulder crease, or lower door contour without changing the whole personality of the vehicle.
- Fender hash stripes: A good choice when you want a performance cue that stays away from windshield cameras, hood vents, and washer nozzles.
- Rocker graphics: Useful on tall vehicles that need visual length down low, especially trucks and SUVs.
- Universal side stripe kits: Good for owners who want flexibility instead of a model-specific pattern. A universal truck side stripe kit gives you room to adapt the layout to different wheelbases and door lengths.
Width matters as much as style. A wide stripe can make a narrow hood look crowded. A skinny stripe can disappear on a large truck bed side. On cars with radar in the grille or bumper, side graphics and rocker kits are often the safer choice than a front-heavy design.
Color is the easy part. Match the paint for a restrained look. Use contrast if you want the stripes to stand out from across a parking lot. Black on silver, white on dark paint, and satin charcoal on modern gray or blue paint usually age well.
The material choice matters more than the color
Often, first-time buyers try to save money in the wrong place. Film quality decides how well the stripe lays down, how much it shrinks at the edges, and how clean it still looks after a summer of heat and washes.
The practical split is cast vinyl versus calendered vinyl. Industry manufacturers such as 3M explain the difference between cast and calendered films, and that difference shows up fast during installation.
| Feature | Cast Vinyl (Professional Grade) | Calendered Vinyl (Economy Grade) |
|---|---|---|
| Conformability | Better for curves, recessed areas, and compound shapes | Better on flatter, simpler surfaces |
| Shrinkage | Lower tendency to pull back at edges | More likely to shrink over time |
| Finish quality | Usually looks cleaner on close inspection | Can work fine, but often feels less forgiving |
| Long-term use | Better suited to permanent-looking installs | Better for budget-minded or short-term use |
| Installation feel | Easier to position cleanly on complex panels | Less forgiving around curves and edges |
Use cast film if the stripe crosses hood bulges, roof channels, sharp panel edges, or sculpted fenders. That also applies to many late-model cars with camera housings, shark-fin antennas, and trim pieces that interrupt a simple straight run. Economy film can work on flatter doors and bedsides, but it gives you less margin for error.
Buying rule: If the stripe has to cross curves, panel transitions, or hardware, buy better film.
What works for daily drivers
For a daily driver, the best kit usually looks intentional from ten feet away and still holds up when you wash the car every week. Gloss stripes suit glossy paint. Satin and matte finishes fit newer trucks and sport sedans, but they show poor prep work quickly, so surface cleaning has to be thorough.
If the vehicle has ADAS features, keep the graphics clear of sensor covers and camera sightlines even if the kit technically fits the panel. A slightly narrower stripe that avoids those areas will look more professional than a wider kit forced into place. Cheap film can look fine on day one. Heat, sun, and edge shrink are what expose the shortcut later.
Measure Twice Apply Once Planning Your Stripe Layout
Most stripe failures happen before installation starts. Not because the vinyl was bad, but because the layout was guessed instead of measured. If you want vinyl stripes for cars to look professional, the stripe has to read straight from every angle, not just from standing directly over the hood.
Find the real center, not the visual center
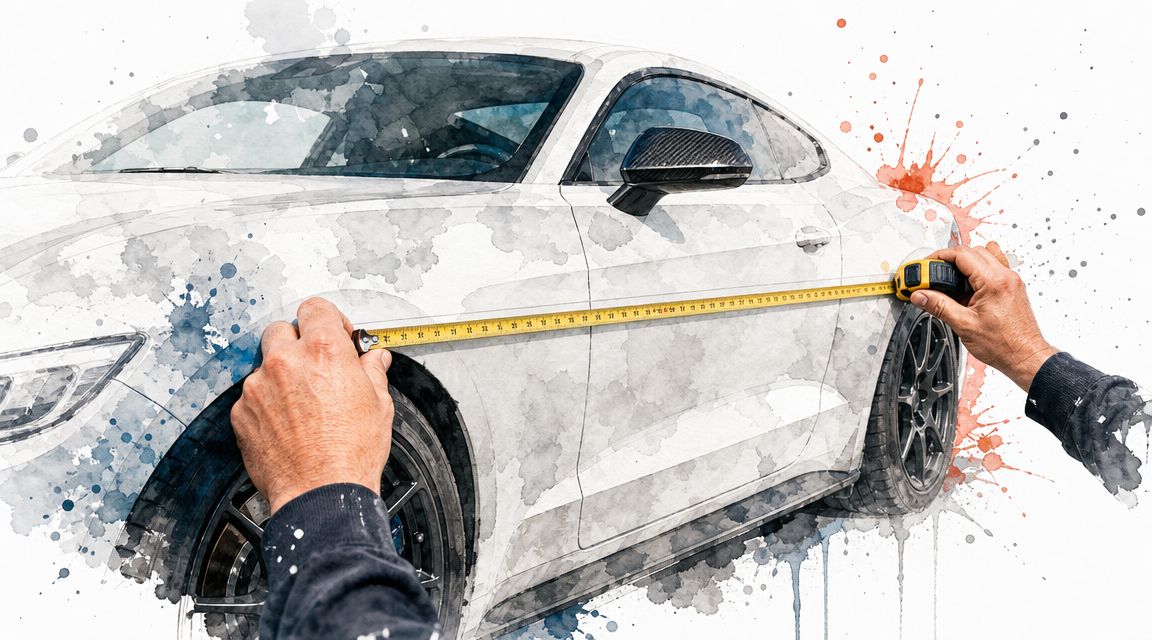
Hoods and roofs fool people all the time. The badge isn't always centered the way you think. Neither are washer nozzles, scoops, vents, or trim breaks. Use a tape measure and find true center points at the front, middle, and rear of each panel. Then connect those points with low-tack masking tape.
After that, step back. Then step to each front corner of the car. Then the rear corners. A stripe that looks centered from one position can still look off once the full body line comes into view.
Use masking tape to mock up the full stripe width before you install anything. That simple dry layout catches bad proportions fast. If the kit feels too wide for the hood or too narrow for the roof, you'll notice it before adhesive is involved.
Plan around sensors and modern hardware
This is the part most older tutorials miss. Many newer vehicles hide ADAS sensors in bumpers and body panels. Parking systems, lane-keeping hardware, cruise-related sensors, and camera-supported systems can all be affected if you cover the wrong area, as explained in this vehicle graphics and sensor compatibility guide.
That means you need to identify these areas before finalizing the stripe path.
- Front bumper zones: Check for round parking sensors and radar-related panels.
- Grille and emblem areas: Some vehicles place sensing hardware behind brand badges or smooth trim sections.
- Rear bumper surfaces: Backup and parking hardware often lives here.
- Cameras and seams: Don't bridge around lenses, washer caps, moving trim pieces, or service covers.
If your first choice of layout crosses any of those zones, adjust the design. Narrow the stripe. End it before the bumper. Split it around the hardware. Use fender graphics instead of a full-center run if that makes more sense.
A smaller graphic placed correctly always looks better than a big one that interferes with the car.
For example, a layout like these Dodge Challenger style fender hash decals can give you that performance cue while avoiding the sensor-heavy areas at the nose and tail.
On modern cars, stripe placement isn't just about symmetry. It's also about keeping every factory feature working the way it should.
A Step-by-Step Guide to Flawless Stripe Installation
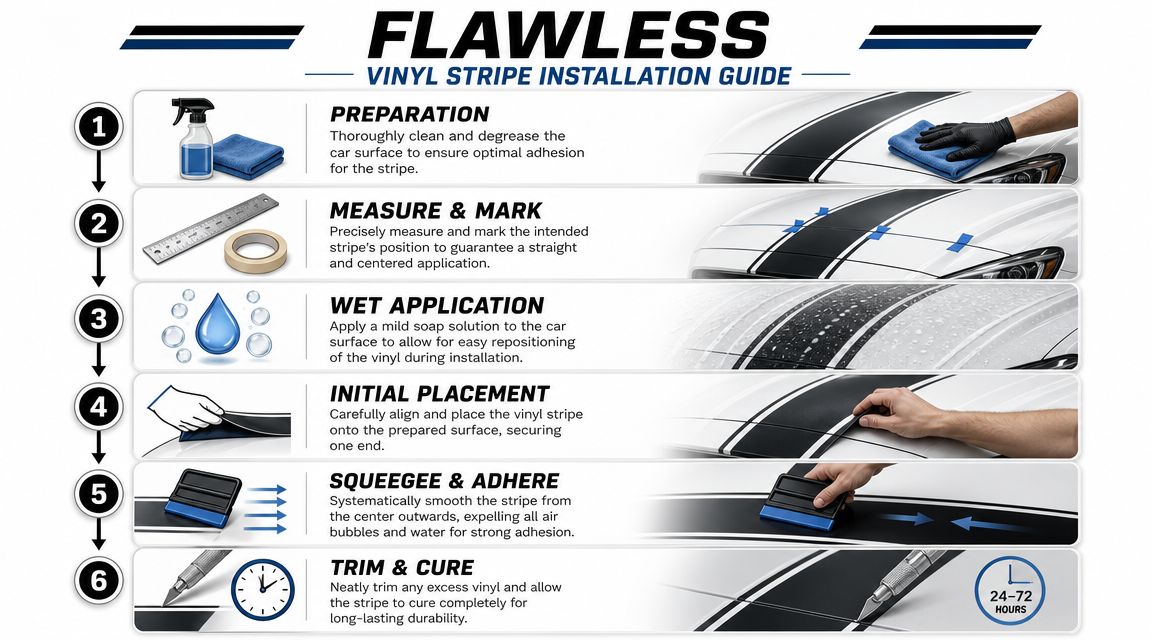
You have the stripes lined up, the hood cleaned, and the tape in your hand. This is the point where a clean install can still go wrong fast, especially on a newer car with cameras, parking sensors, or radar hardware nearby. Good results come from controlling the panel, the vinyl, and your pace.
Start with surface prep
Vinyl likes clean paint. It does not like wax, polish residue, dust, or greasy fingerprints.
Wash the panel if needed, dry it fully, then wipe the install area with a lint-free cloth and a proper surface cleaner such as isopropyl alcohol. 3M's vehicle wrap installation guidance also stresses surface cleaning and dry conditions before application. Pay extra attention to panel edges, washer nozzles, hood vents, and trim lines where residue hides.
In the shop, edge prep is where first installs usually fail. The stripe may look fine at first, then start lifting a few days later because wax or soap stayed in a gap.
Choose a method before you peel anything
For long stripes, beginners usually get better alignment with a controlled wet install. A light slip solution gives you a little working time so the stripe can be nudged into position before you lock it down.
Keep the mix mild. Too much soap leaves residue and slows adhesion.
Dry application works well on shorter pieces or for installers who are comfortable setting the vinyl down accurately on the first pass. On center hood stripes, dry installs go wrong when the film touches before the installer is ready. That is also where people stretch the stripe without realizing it.
If the stripe path runs close to an ADAS camera cover, parking sensor area, or radar-friendly trim panel, slow down and keep the film off those zones completely. Do not trim across a sensor face after the stripe is down and call it done. Plan the stop point first, then install to that line cleanly.
Use a center hinge for long graphics
A center hinge keeps the stripe registered while you work one side at a time. ORACAL shows the basic process well in its rally stripe installation guidance.
The method is simple:
- Dry fit the stripe first: Set it on the panel with the backing still on and confirm it matches your layout marks.
- Tape across the middle: Use masking tape to create a hinge that holds the stripe in place.
- Fold back one half: Peel the liner from that side in sections.
- Lay the vinyl gradually: Keep light tension so the film does not flop onto the paint.
- Repeat on the other half: Work deliberately and keep checking the centerline.
Do not peel the full liner on a long stripe all at once. That usually turns into a wrestling match.
Squeegee with control, not force
Use a real squeegee with a clean edge. Start in the center and work outward so air and application fluid have somewhere to go. Short overlapping passes give you more control than one long hard stroke.
Pressure matters. Too light, and you leave moisture behind. Too hard, and you trap a wrinkle or shift the stripe off your marks.
Break the job into sections if the stripe runs across the hood, roof, and trunk. Finish one panel cleanly before your attention drifts to the next. On contours or leading edges, a little heat helps the vinyl relax, but only after the stripe is positioned correctly. Overheating softens the film and makes stretching more likely.
Remove transfer tape carefully and inspect the full run
Pull transfer tape back low and slow at a sharp angle. If the stripe starts to lift, lay the tape back down, press that area again, and wait a moment before trying another pull.
Then check the install from a few angles, not just straight above.
- Look for silvering, bubbles, or dry spots
- Check both stripe edges in reflected light
- Confirm all edges are down near hood gaps and contours
- Verify the stripe stays clear of sensors, cameras, emblems, and service covers
The last check matters more on modern vehicles than many tutorials admit. A stripe that looks centered but overlaps a sensor zone is still a bad install.
A video walkthrough helps if you're more visual. This one is worth watching before you start:
Patience shows in the finished result. Clean prep, accurate hinge placement, steady squeegee work, and a final ADAS clearance check will get you much closer to a stripe job that looks professionally done on the first try.
Troubleshooting Bubbles Wrinkles and Other Common Issues
A stripe job can look perfect for the first five minutes and still show problems once you step back into full light. That does not always mean the install is ruined. It usually means one part of the process needs correcting before the adhesive fully sets.
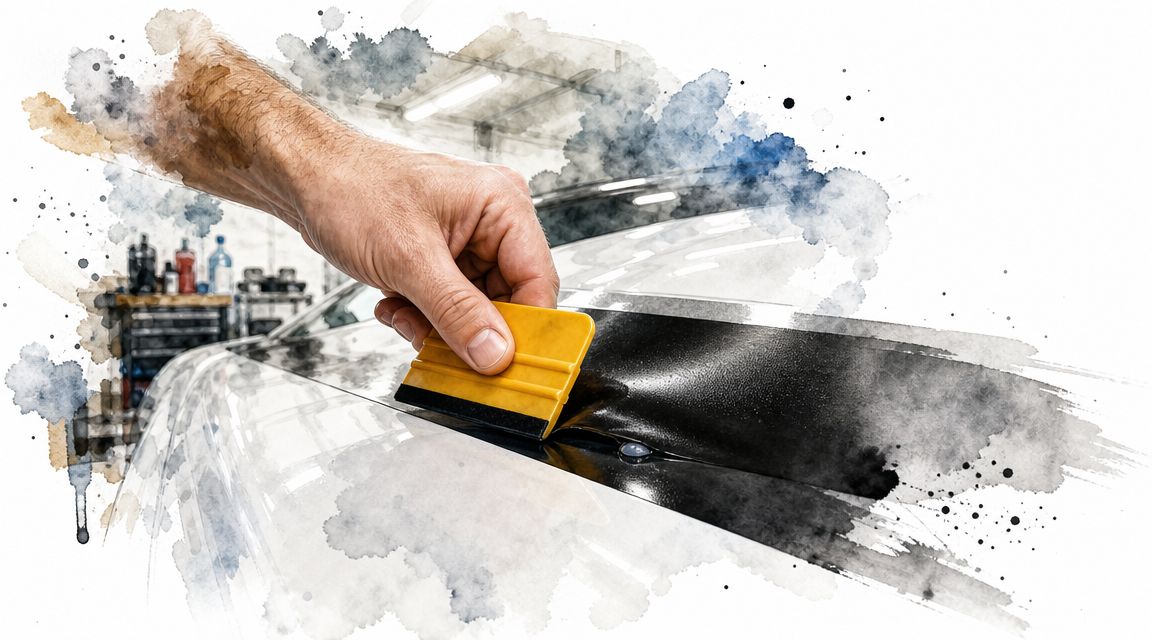
On newer vehicles, troubleshoot with the car itself in mind, not just the stripe. If a wrinkle or lift shows up near a front camera cover, parking sensor, radar badge, washer nozzle, or roof module, stop before you press harder or add heat. A small cosmetic fix is not worth distorting film around an ADAS component or blocking an area that needs to stay clear.
If you see bubbles
Bubbles usually come from trapped air, trapped moisture, or pressure that skipped a section during the squeegee pass. Tiny ones often settle down as the film finishes bonding. Larger bubbles usually need attention.
Start with the least aggressive fix:
- Push air toward the nearest edge: Use light, even pressure with a squeegee.
- Check whether it is air or moisture: Moisture looks hazy or soft. Air usually forms a cleaner round pocket.
- Puncture only if needed: Use a fine pin, not a knife, and place the hole near the bubble edge.
- Press the area again gently: Too much force can leave a shiny mark in the film.
If the bubble sits beside a sensor housing or camera trim, do not chase it with repeated hard strokes. Lift and reset that small section if the film still allows it. For cleaning habits that keep vinyl surfaces from getting grimy while you inspect and maintain them later, this guide on how to restore boat vinyl upholstery has some useful crossover advice.
If the stripe starts wrinkling
Wrinkles come from slack film, early pressure, or too much stretch over a contour. Once a crease is mashed flat, it tends to stay visible. Catch it while it is still soft.
Lift the section carefully, let the vinyl relax, and lay it back down with less tension. A little warmth can help the film settle, but heat is a finishing tool, not a rescue plan for bad alignment. If you are working near a bumper corner or grille area on an ADAS-equipped car, keep the film smooth without bridging across sensor cut lines or trim edges.
If the stripe goes on slightly crooked
A drifting stripe rarely fixes itself. Trying to pull one side back into line halfway through usually narrows the stripe visually and builds tension into the edges.
Stop and compare both sides against fixed points on the car:
- Panel gaps
- Hood vents or washer nozzles
- Body lines that stay consistent from front to rear
- Sensor covers and camera housings that must remain unobstructed
If one stripe in a pair looks centered only from one angle, trust your measurements, not the first glance. I see this a lot on late-model cars with larger grilles and sensor-heavy front ends. The stripe may look balanced off the emblem but still run too close to a radar cover.
If edges start lifting
Edge lift usually traces back to contamination, trapped moisture, or vinyl that was stretched and is trying to shrink back. Dry the area first. Then use controlled heat and firm pressure to reset it.
What usually fails later are the edges.
If the lift keeps returning on a recess, sharp contour, or near a plastic trim piece, the section may need to be lifted and trimmed or re-laid with less tension. Do not keep pressing a bad edge down over and over. That only hides the problem until sun and wash cycles bring it back.
A stripe install does not need perfection at every second. It needs good judgment at the moment something starts going wrong. Slow down, correct the issue while the film is still workable, and protect the sensor zones modern vehicles depend on.
Caring for Your Vinyl Stripes and Where to Buy
You finish a stripe install, step back, and the car looks right. Then a few bad washes, a strong degreaser, or one careless pass with a pressure washer at the edge starts the decline. I see that more often than install failure on first-time jobs.
Good vinyl stripes hold up well if you treat them like graphics, not painted clearcoat. Wash with regular car soap, a soft mitt, and plenty of water. Keep the spray wand back from the stripe edges, especially at the front of the hood, roof leading edge, and any place the film ends near trim.
Modern vehicles need one more check. If your car has front radar, parking sensors, surround-view cameras, or a camera housing near the windshield, keep those areas clean and fully exposed during routine care. Wax buildup, polish residue, or a lifting stripe edge near an ADAS component is not just a cosmetic problem. It can create a visibility or sensor issue you do not want.
Keep the finish looking sharp
A few habits make a real difference:
- Wash by hand when you can: Automatic brushes can scuff the film and catch an edge that was fine yesterday.
- Use mild cleaners: Strong solvents and heavy-duty bug removers can dull the surface or weaken adhesion over time.
- Dry the edges well: Water that sits along a cut edge attracts dirt and makes early lift easier to miss.
- Check high-risk spots monthly: Hood fronts, mirror caps, bumper corners, and areas near sensor covers deserve a quick look.
- Skip abrasive polishing: If the stripe needs cleaning, use products intended for vinyl-safe surfaces.
For product habits and cleaner selection, marine care is a useful crossover. Boat owners deal with sun, moisture, and exposed vinyl every day, so this guide on how to restore boat vinyl upholstery is a solid reference for gentler cleaning methods.
Buy a kit that makes installation easier
The best place to buy stripes is a shop that cuts clean, consistent kits and understands how graphics lay on real body panels. Pre-spaced stripes with transfer tape save time and reduce the chance of a crooked install, especially on longer hood and roof runs.
That matters even more on newer vehicles. A good seller should help you confirm width, length, and placement around camera pods, radar covers, washer nozzles, vents, and trim breaks before you order. Universal kits can work, but they often leave too much guesswork on sensor-heavy cars.
If you want a stripe kit made by people who understand both appearance and install practicality, take a look at Custom Sticker Shop. They're a family-run shop in Topeka, Kansas, producing American-made automotive graphics in professional-grade Oracal vinyl. Their decals come pre-spaced and transfer-taped, which makes alignment easier for first-time installers, and they offer a wide range of car and truck designs with straightforward ordering, fast shipping, and strong value on multi-item purchases. If you're ready to give your vehicle a cleaner, more personal look, they're a solid place to start.