
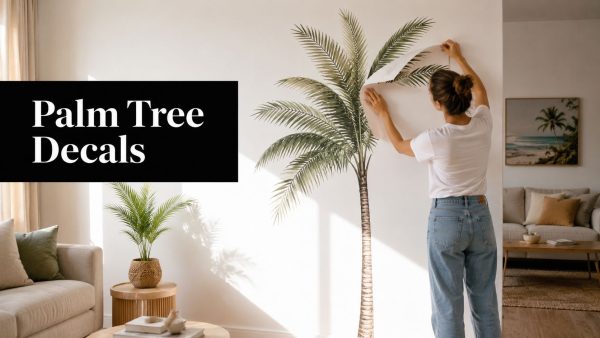
The decal is still on the floor, the backing paper is untouched, and you've already chosen the wall. That's the moment when you ask whether the palm design looks right. The more important question is whether the wall is ready for it.
Palm trees wall decals can create a calm botanical focal point, frame a bed or sofa, and give a rental room personality without the commitment of wallpaper. They can also bubble, lift, or pull paint if the surface, timing, or installation method is wrong. Treat the wall as part of the product, and the finished result will look intentional rather than improvised.
Before You Peel Anything
A homeowner usually makes the decision in the wrong order. The decal arrives first, the wall gets chosen second, and surface problems get discovered only after the backing comes off. Reverse that process. Inspect the wall before you decide whether to proceed.
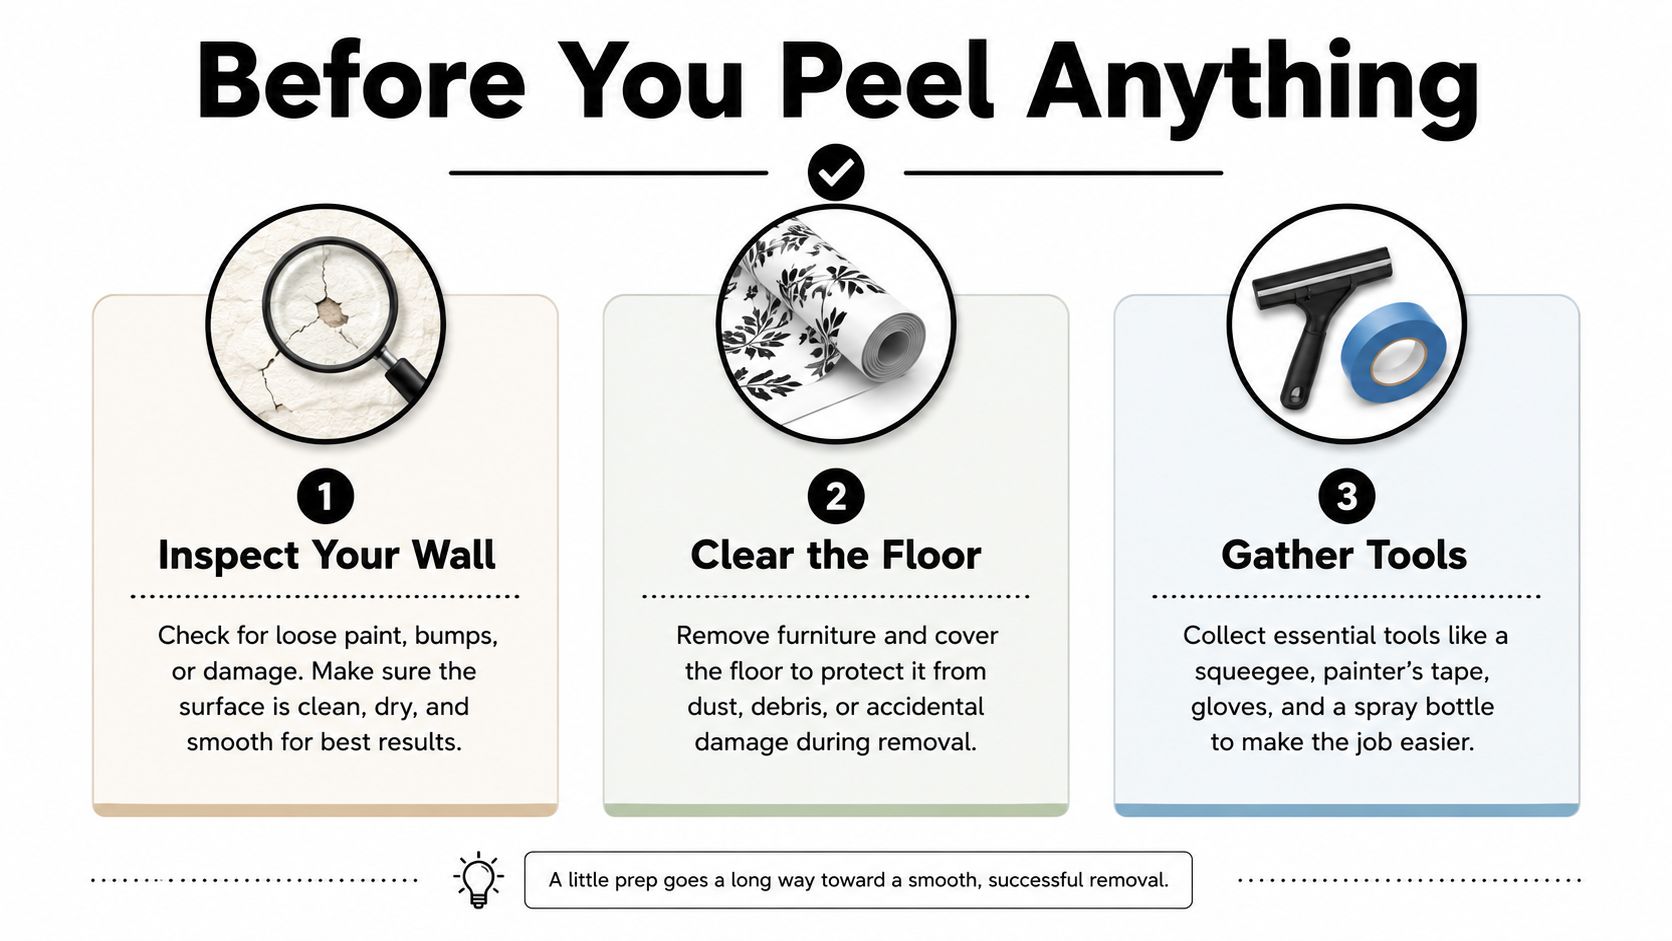
Four checks that prevent a bad install
- Wall type: Run your hand across the surface and inspect it under side lighting. A smooth painted wall gives vinyl the continuous contact it needs. Heavy orange-peel, knockdown, brick, and other textured finishes can trap air permanently and reduce adhesion.
- Paint cure: Fresh paint may feel dry while it continues releasing trapped moisture and solvents. Installation guidance warns that off-gassing can continue for about 2 weeks after painting, while independent product guidance recommends waiting at least 4 weeks before applying a decal to a newly painted wall. The cautious choice is to follow the longer interval, especially where paint damage would be costly. See the installation guidance on bubbles and wall preparation before committing.
- Room humidity: Moisture affects adhesive performance. For a moisture-resistant vinyl wall wrap, technical guidance recommends installation below 50% relative humidity and long-term conditions of roughly 30% to 60% RH. Technical advice on vinyl wall-wrap moisture and heat durability is useful if the room is steamy or poorly ventilated.
- Viewing angle: Stand where the decal will be seen most often. A tall palm beside a window may look balanced from the doorway but crowd the view from a sofa. Check it in daylight and evening light, since strong shadows can make a dark silhouette appear heavier.
Practical rule: If the wall is textured, damp, dusty, or recently painted, don't use the decal as a test of patience. Change the location or wait.
Clear the floor before opening the package. You'll need room to lay the design flat, separate transfer tape from backing paper, and avoid folding delicate fronds. If the wall passes inspection, gather painter's tape, a microfiber cloth, isopropyl alcohol, a hard plastic squeegee, and a pin before you start.
Choosing the Right Palm Trees Wall Decals
Choose the design around the room's job, not only the picture on the product page. A single palm silhouette suits a narrow wall beside a dresser or a restrained bedroom accent. A multi-palm scene makes more sense across a broad wall, but it can overwhelm a small room if the trunks, leaves, and furniture compete for attention.
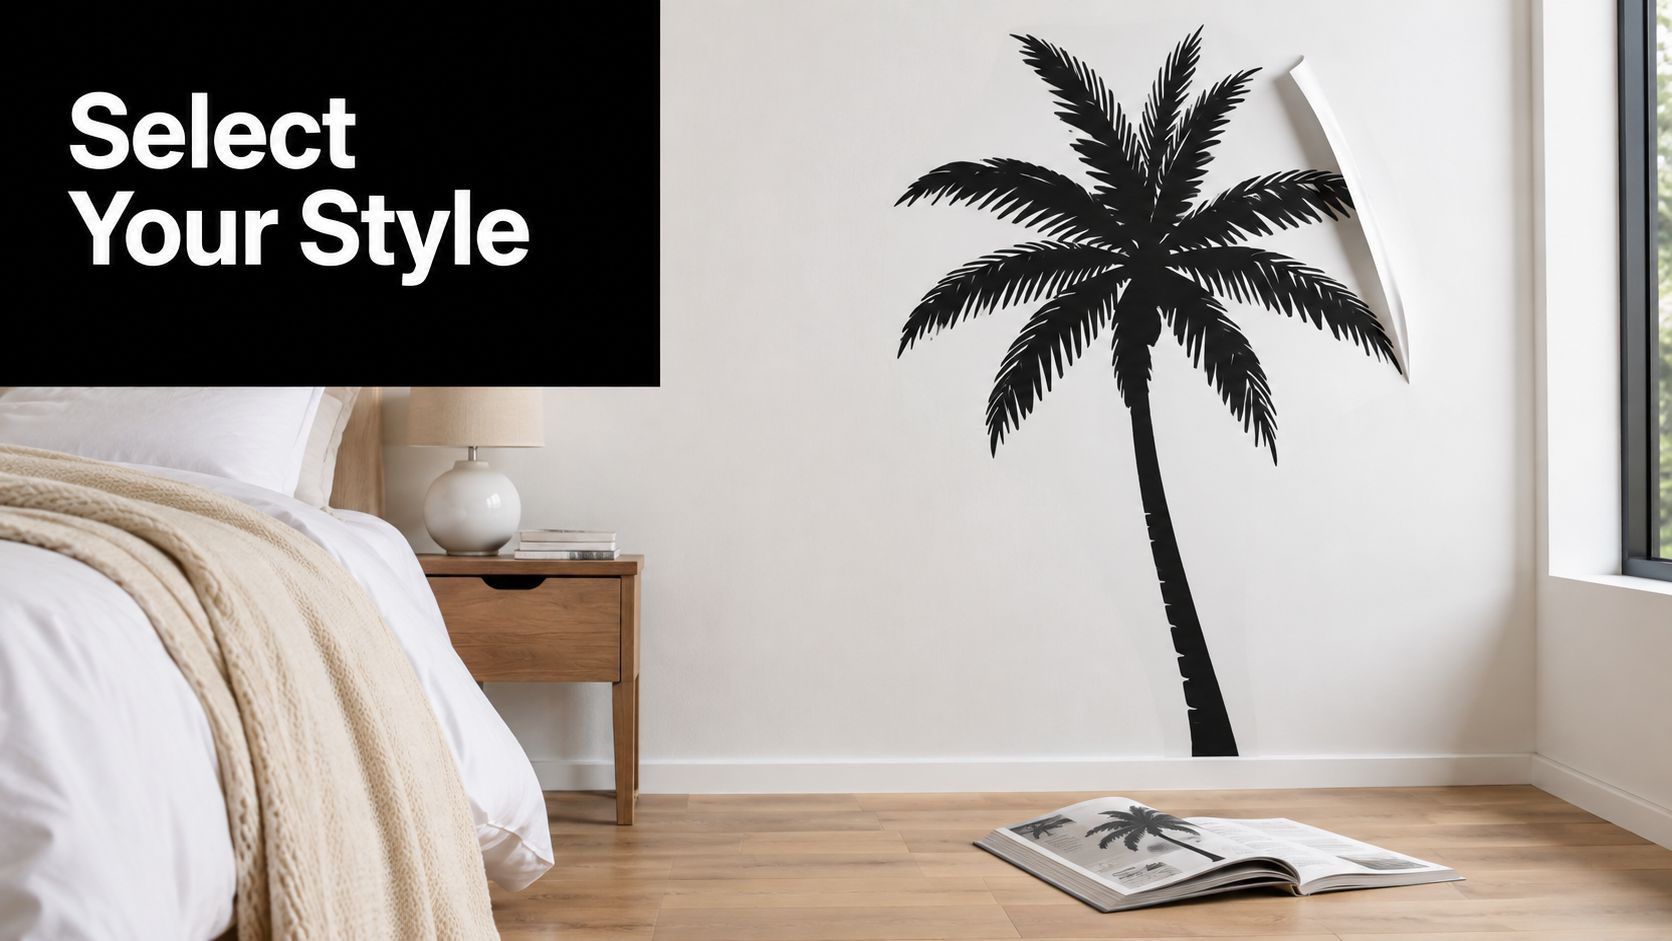
Match the material to the room
A matte finish usually sits more subtly on a bedroom or nursery wall because it reflects less light. Gloss can make colors look more pronounced, but reflections from a bright window may draw attention to the vinyl edge. In a child's room, a simple botanical silhouette in a soft neutral can support the nature-inspired mood without turning the wall into a theme set.
Bathrooms require more caution. Steam and condensation can weaken the bond, especially at edges and around poorly prepared paint. A bathroom with reliable ventilation and a dry installation window is a better candidate than a constantly damp wall, but no finish can compensate for moisture under the adhesive.
Decide how much commitment you want
For a rental, prioritize a removable adhesive and keep the design away from fragile paint, patched areas, or previously repaired surfaces. Permanent adhesive may offer stronger long-term hold, but it raises the stakes at removal. Ask the seller whether the decal is intended for painted walls and whether the material can be lifted without damaging the finish.
Sizing should follow the furniture beneath it. A palm behind a headboard can be taller and more dramatic, while a decal beside a narrow console should leave breathing room around the trunk. For more context on proportion and balanced accent wall ideas, compare the decal's visual weight with the furniture rather than judging it in isolation.
If you want a palm motif that can be adapted to your wall, review the beach life palm tree decal sticker and confirm the available size, color, and application details before ordering. The right combination is the one that fits your wall texture, light, moisture level, and tolerance for future removal.
Measuring and Planning Placement
Placement errors rarely look dramatic while the decal is still on its backing. They appear after the trunk leans toward a light switch, the crown sits too close to the ceiling, or the design disappears behind a sofa. Treat the wall like a layout problem and make the finished position visible before you expose the adhesive.
Use a tape measure, low-tack painter's tape, a pencil, and a large sheet of clean paper if the design is complex. First identify the visual anchor. Common choices include the center of a headboard, the open space above a sofa, the wall beside a window, or a vertical corner where the trunk can turn naturally toward the ceiling.
A repeatable mock-up method
- Measure the decal and wall area. Record the full width and height, including thin fronds that may extend beyond the main silhouette.
- Mark the furniture centerline. Use painter's tape rather than pencil wherever possible. A vertical tape strip gives you a reference without leaving a visible mark.
- Outline the footprint. Place tape around the approximate outer edges. Step back to the doorway, then view the wall from the main seating position.
- Check obstructions. Keep outlets, switches, vents, trim, and picture hooks out of the busiest parts of the design. A palm trunk can often be placed beside an outlet, but cutting across a switch plate usually looks accidental.
- Confirm the top edge. Tall palms need visual room above the crown. If the leaves touch the ceiling line, the design may look cramped even when the measurements technically fit.
| Decal Width | Best Room Size | Typical Anchor Point |
|---|---|---|
| Narrow | Small bedroom, hallway, compact reading area | Beside a dresser, doorway, or narrow console |
| Medium | Standard bedroom, nursery, home office | Above a headboard or beside a desk |
| Broad | Large bedroom, living room, open family space | Behind a sofa or across an accent wall |
Don't dilute alcohol cleaner with water unless the product instructions specifically call for it. Apply isopropyl alcohol to a microfiber cloth, wipe the installation area, and let it dry completely. Avoid relying on ordinary household spray cleaner, since it can leave residue that interferes with contact.
For a compact colored option, you can compare the Hawaiian palm trees full-color decal sticker with the scale of your chosen wall. The product's stated dimensions matter more than how large it appears in a listing photograph.
Installing Palm Trees Wall Decals Step by Step
A wall that looks smooth from across the room may still be too textured for a clean decal installation. Tiny ridges interrupt contact, dust creates raised spots, and uncured paint can hold moisture beneath the vinyl. Don't assume a dry-looking wall is ready just because the surface feels acceptable at first touch.
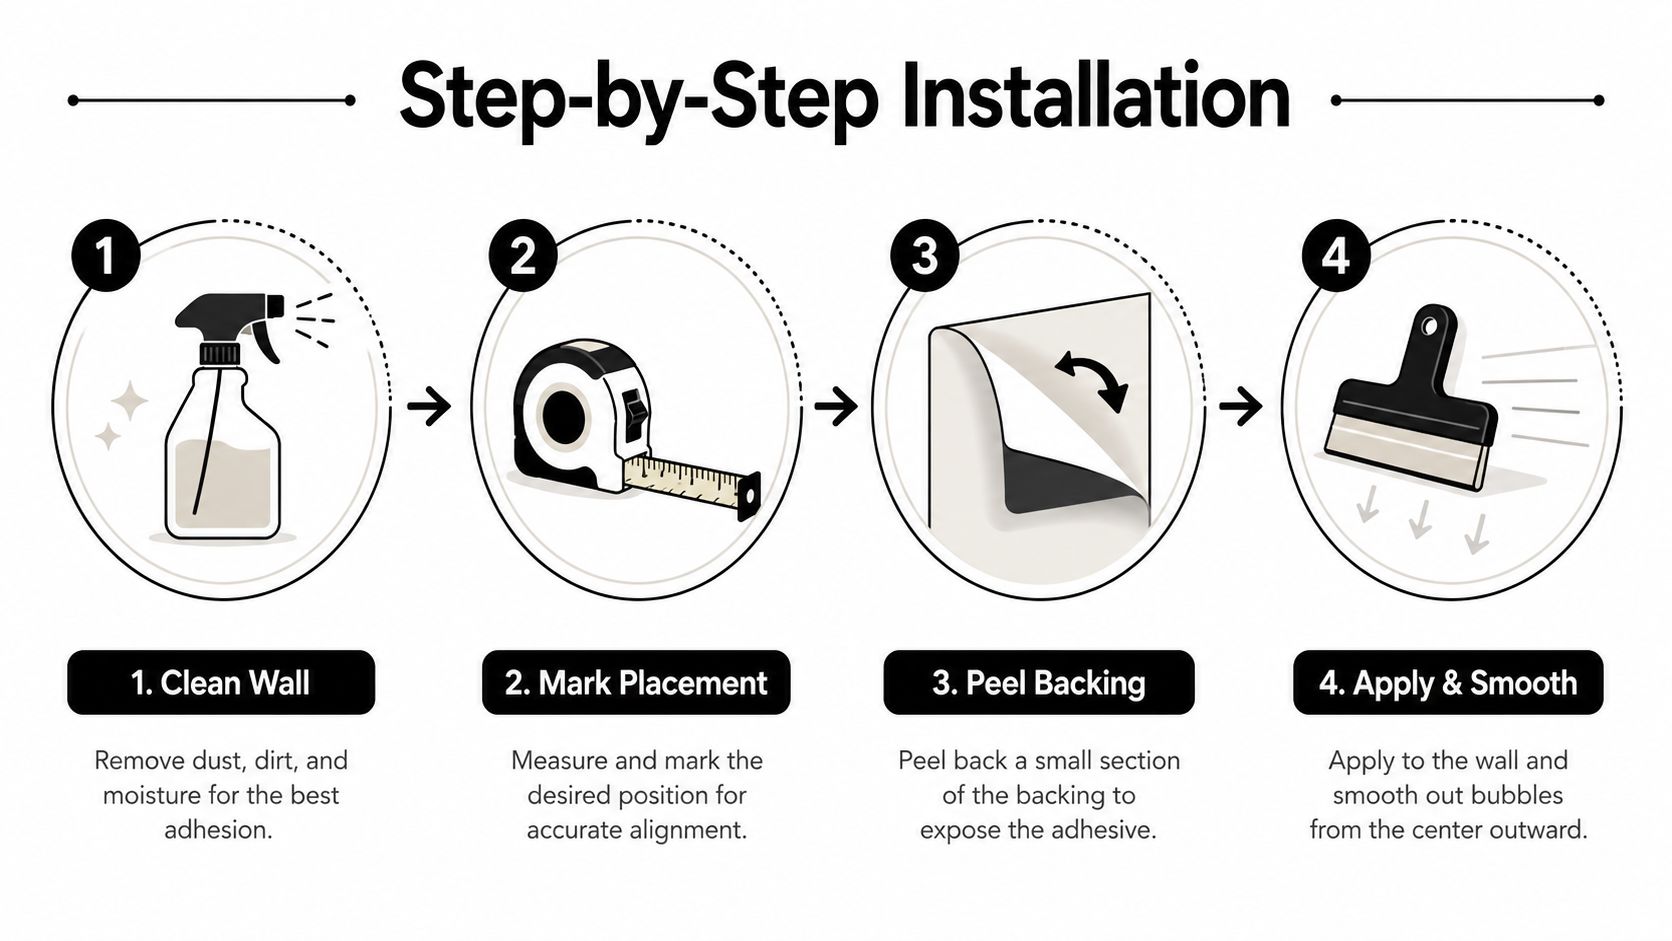
Follow the application sequence
Start by wiping the marked area with isopropyl alcohol and a clean microfiber cloth. Let the wall dry fully. Don't install over dust, grease, dampness, loose paint, or a recently painted surface that hasn't completed its cure period.
Place the decal face up and smooth the transfer tape over the design with a squeegee. Use low-tack painter's tape to create a hinge along the top edge, then fold the decal downward. Peel the backing paper away gradually instead of exposing the whole adhesive side at once.
Work in sections. Hold the decal slightly away from the wall, lower the exposed adhesive, and use firm, overlapping squeegee strokes from the center outward. Keep the squeegee flat and control the direction of each stroke so air moves toward an open edge rather than into an already applied area.
Don't chase speed. The backing should come away in stages, and the adhesive should meet the wall under controlled pressure.
Once the main section is down, remove the hinge and continue across the remaining palm leaves and trunk. Pay extra attention to thin fronds. They can stretch or fold if you pull the transfer tape sharply. Burnish the edges last, then wait before judging the final appearance. Tiny bubbles may settle as the adhesive establishes contact, but persistent bubbles should be addressed while reworking is still possible.
For another practical visual reference, review the installation process below.
If you're ordering a design that needs a different shape or wording, make your own custom car decal as a starting point, then verify that the selected vinyl and adhesive are suitable for your wall.
Fixing Bubbles, Peeling Edges, and Tricky Walls
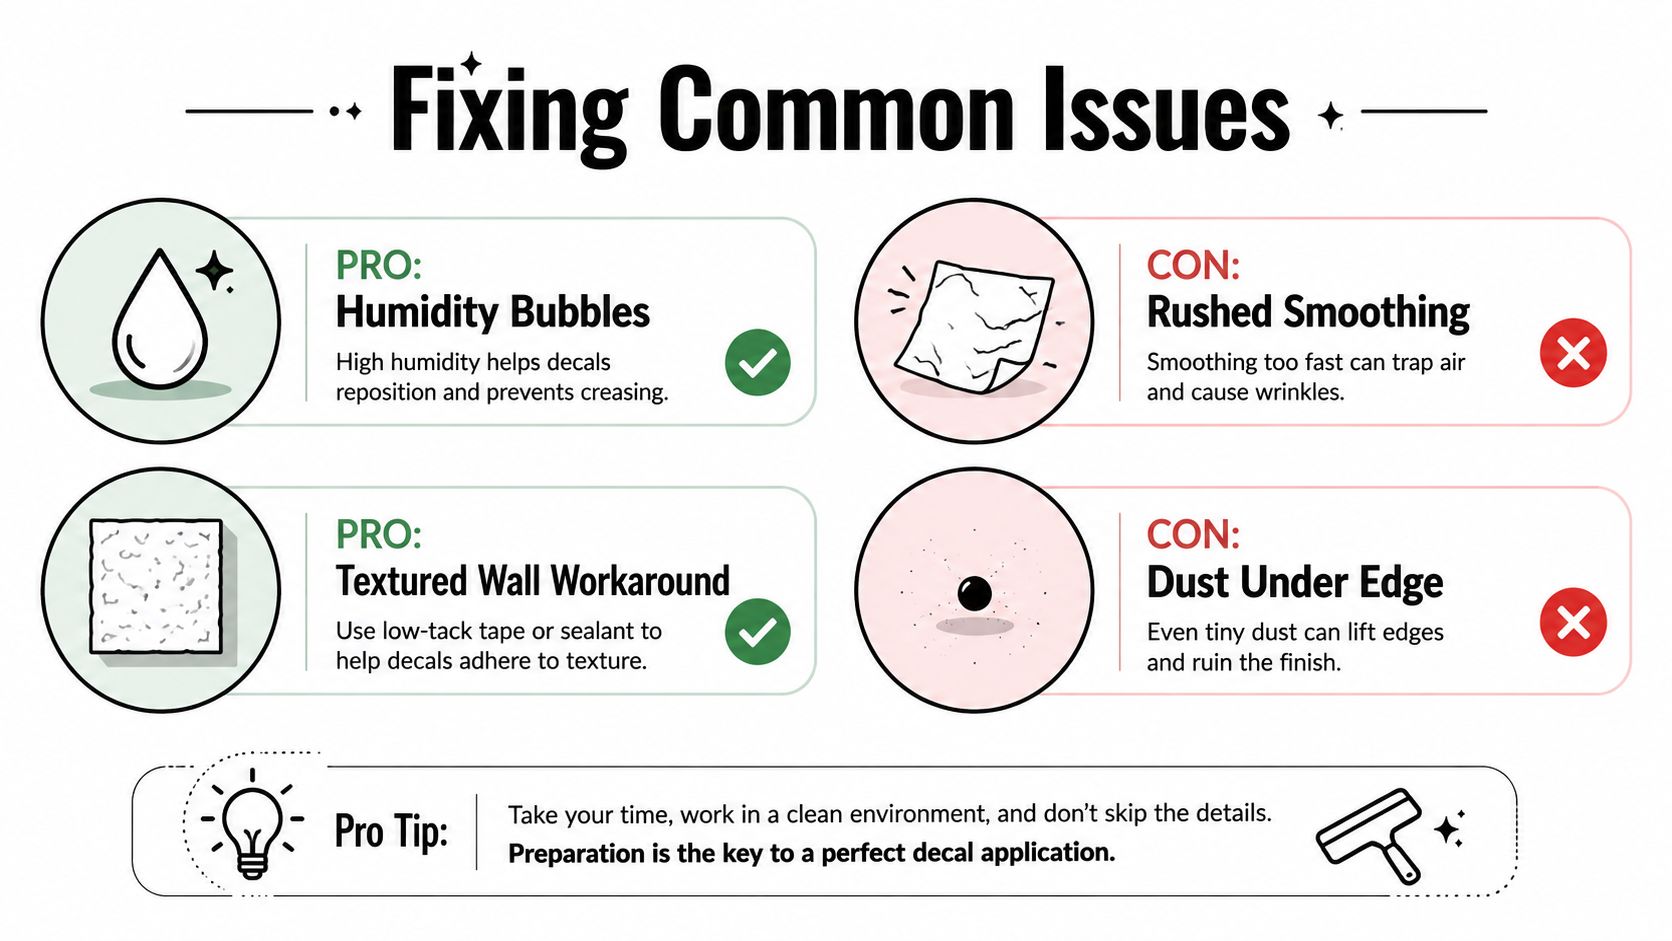
Bubbles usually point to a process problem, not a mysterious defect. Dust, rushed smoothing, unsuitable temperature or humidity, moisture beneath the vinyl, and textured paint can all prevent the adhesive from making even contact. Installation guidance also notes that small bubbles may disappear within a few days, while larger bubbles need active release.
Fix the problem according to its size
For a tiny isolated bubble, prick the center with a fine pin and press the surrounding vinyl toward the opening with a fingertip or squeegee. Make the smallest possible hole. The aim is to release trapped air without creating a visible cut.
A larger bubble may need gentle warming. Set a hair dryer to low heat and hold it several inches away from the vinyl. Warm the area briefly, then smooth from the center toward the nearest edge. Keep the dryer moving. Excess heat can soften the vinyl, affect the adhesive, or damage the paint beneath.
Lifted corners need immediate attention. Warm the edge lightly, press it back with a clean squeegee, and avoid touching the adhesive with dusty fingers. If the edge keeps lifting, the wall may have residue, moisture, incompatible paint, or texture that prevents a durable seal.
Know when the wall is the problem
Freshly painted walls are a high-risk surface because continued off-gassing can trap bubbles or cause adhesion failure. Textured walls create a different problem. Their high points may contact the adhesive while recessed areas remain open, leaving air channels that smoothing can't fully remove.
Persistent bubbles after careful smoothing generally indicate trapped moisture or inadequate contact. Reworking the decal promptly is more effective than waiting once the adhesive begins to set. If the wall is damp, stop and correct the room conditions rather than repeatedly pressing the same area.
Keep the installed vinyl dry and clean it with a soft, barely damp cloth. Don't scrub the edges or soak the wall. Moisture and friction concentrate stress at the perimeter, where lifting usually begins.
Removing Palm Trees Wall Decals Without Damage
Removal starts before installation. Renters and homeowners who may redecorate later should choose a removable product, avoid damaged paint, and test a discreet corner if the seller permits it. Even a decal marketed as removable can lift weak, flaky, poorly bonded, or uncured paint.
Use heat and a low peeling angle
Warm the vinyl with a hair dryer held several inches away. Use low heat and keep the airflow moving across a small area. Once the adhesive relaxes, lift a corner with a fingernail or plastic edge and pull slowly at a low angle, keeping the decal close to the wall rather than yanking it outward.
If a section resists, stop pulling and warm it again. Fast removal can take paint with it, especially where the wall has been patched or where the decal has been exposed to changing seasonal conditions. Older adhesive may also leave more residue than a recently installed decal, so patience matters.
Clean the wall for its next use
After the vinyl is off, roll away adhesive residue with your fingers or a clean cloth. If the product instructions allow a mild residue remover, test it in an inconspicuous spot first. Avoid aggressive scraping, abrasive pads, and strong solvents that can dull or soften the paint.
Wipe the area gently, let it dry, and inspect it under side lighting. A wall that is clean, sound, and smooth can be prepared for its next design or repainting. The same restrained approach used for a professional window-cleaning review applies here too: remove residue methodically instead of using force that creates a larger repair.
Palm decals work especially well when they're treated as low-commitment botanical styling, not disposable vacation imagery. Before ordering, check the wall's texture, paint age, humidity, viewing angle, removal risk, and the exact finished dimensions. That short checklist determines whether the design will feel calm and integrated or become a maintenance problem.
Custom Sticker Shop offers vinyl decals in customizable designs and sizes that can be adapted for wall use, including palm-inspired artwork. Visit Custom Sticker Shop to review the available options, confirm the material and dimensions, and choose a decal that suits your wall and future removal plans.