
You walk up to your Kawasaki, step back, and think the same thing a lot of riders think. The bike is right, but it still doesn't feel fully yours. Maybe the plastics look a little plain. Maybe you're restoring an older machine and want period-correct graphics. Maybe you just want something sharper than stock without committing to paint.
That's where Kawasaki motorcycle stickers come in. A good decal can change the whole attitude of the bike. A bad one looks off the second you stand on the clutch side and notice the line doesn't match the panel, the edge is already lifting, or the color choice fights the shape of the fairing.
Most guides spend too much time on design and not enough on the real make-or-break issue. Fitment comes first. If the sticker wasn't cut for your exact Kawasaki model, year, and bodywork, no amount of careful installation will make it look factory. Material is next. Then design.
Giving Your Kawasaki a Personal Touch
A Kawasaki usually already has strong visual identity built in. The angular aggression of a Ninja, the stripped-down stance of a Z, the longer lines of a Vulcan. Stickers work best when they support that shape instead of fighting it.
Some riders want a subtle accent. Others want a full race-style graphic package. Both can work. What separates a clean result from a garage-project look is choosing graphics that belong on the bike's surfaces. That means the panel size, the curve, and the visual flow all need to match.
If you're still figuring out the look before you buy, it helps to sketch ideas outside the motorcycle world first. A tool like TattoosAI for custom ideas can help you explore themes, line styles, and custom motifs before you ever commit to a decal layout. That's useful when you want something personal, but not random.
What usually works best
- OEM-style restoration graphics fit riders bringing an older Kawasaki back to period-correct form.
- Modern accent decals work well on newer street bikes when you want sharper detail without covering every panel.
- Custom name, logo, or small script pieces make sense when you want personalization without turning the bike into a race replica.
- Tank and fairing highlight pieces can tie a whole build together if your wheels, levers, and windscreen already have a color theme.
Practical rule: Buy the design only after you've confirmed the cut pattern fits your exact bike.
That sounds obvious, but it's where most sticker projects go wrong. Riders see a graphic they love, order it because it says “fits Ninja” or “fits Z series,” and then spend installation day trying to force a shape onto the wrong plastic. Vinyl doesn't forgive that.
The mindset that saves money
Start with three questions:
- What exact Kawasaki do you own?
- Which surfaces are getting decals?
- Do you want the result to look custom, restored, or nearly stock?
Answer those first. The style gets easier after that.
Decoding Sticker Types and Materials
Motorcycle decals for Kawasaki fairings are typically made from pressure-sensitive vinyl films, and the technical tradeoff is simple. Thinner cast vinyl conforms better to curves, while thicker calendared films are more stable but can lift at edges. Kawasaki's own decal sheet listing also emphasizes durable, scratch-resistant vinyl, which tells you abrasion resistance and edge adhesion matter in real road use on a bike that vibrates, gets washed, and sits in the sun (Kawasaki decal sheet details).

Cast vinyl versus calendared vinyl
Think of cast vinyl like a custom-fit jacket. It drapes better over complicated shapes. That makes it the better choice for fairings, tank contours, and recessed sections where the film has to follow shape without tenting or bridging.
Calendared vinyl is closer to something cut from a stiffer sheet. It can work well on flatter areas, side covers, or simpler accent graphics. But on aggressive bodywork, it's the one more likely to fight the panel.
| Material | Best use | Common strength | Common weakness |
|---|---|---|---|
| Cast vinyl | Curved fairings, tank sections, recessed panels | Better conformability | Usually the premium option |
| Calendared vinyl | Flatter surfaces, simple decals, short-span pieces | Dimensional stability | Can lift or bridge on complex curves |
Terms worth understanding before you buy
A listing doesn't need to sound technical to be good, but it should be clear.
- Die-cut means the sticker is cut to shape rather than printed as a rectangle.
- Transfer tape helps move letters or multi-part designs to the bike while keeping spacing intact.
- Clear carrier or clear adhesive layer matters because it affects how the piece handles during application and how clean the edges look once installed.
- Scratch-resistant finish matters on motorcycles because knees, gloves, zippers, road grime, and washing all work against the surface.
A lot of riders also buy small accent decals before ordering a full bike graphic kit, just to judge finish and handling. A simple example is a message decal like this Loud Pipes Save Lives vinyl decal. You can learn a lot from a smaller application, especially how a film behaves when squeegeed, heated lightly, and exposed to routine washing.
What fails in the real world
The failure pattern is predictable.
- Wrong material on a curved panel leads to edge lift.
- Cheap adhesive on a high-vibration area starts peeling from corners first.
- Thick film across a recessed shape traps air or leaves stress at the edges.
- A glossy bike with poor prep makes even good vinyl look bad.
A sticker can look perfect on the backing paper and still be the wrong product for a motorcycle fairing.
Nailing the Fit for Your Exact Kawasaki Model
The biggest buying mistake isn't choosing the wrong color. It's choosing a kit that doesn't match your exact bike.
The market has a fitment problem. Many sellers group decals under broad families like “Ninja” or “Z-series,” but often don't confirm the exact year or trim. That leaves buyers guessing, even though bodywork changes between generations can make one kit visibly wrong on another bike (model-family graphics listings show this gap).
Why broad fit claims cause trouble
A Kawasaki model name is not a body template. It's a family name.
A Ninja from one generation can have a different tail section, side fairing cut, vent shape, or tank shoulder than the version that came before it. The same thing happens with Z models. Naked bikes look simpler, but their tank shrouds, side plastics, and headlight cowl proportions still change enough to throw off decal alignment.
Cruiser owners run into a different version of the same problem. A Vulcan-style build may not use race-body fairings, but it still has panel-specific surfaces where a generic sticker can look undersized, oversized, or visually out of place.
What to verify before ordering
Use a short checklist. If a seller can't answer these points clearly, move on.
- Exact year match. “Fits Kawasaki Ninja” isn't enough.
- Exact model match. A family name doesn't confirm body shape.
- Trim or sub-model confirmation. Special editions and variant plastics can change fit.
- Placement map. You should know whether the kit covers the tank, side fairings, tail, belly pan, or only accent areas.
- Installed photos on the same bike. Mockups help, but real installs matter more.
A buyer who checks those five points avoids most disappointment.
How I judge a listing fast
I look for specificity first. If the listing says “for Kawasaki Z models” and stops there, that's a warning sign. If it says the exact bike and shows installed examples, that's much better. If it also mentions panel coverage and whether the pieces are designed around factory lines, that's the kind of seller who understands motorcycle graphics.
Here's another useful test. Ask yourself whether you'd trust the same seller with a sentimental one-off decal, like an in-memory motorcycle decal, where placement and presentation matter. If the answer is no, don't trust them with a full fairing kit either.
Fitment certainty beats design excitement every time. A decent design cut for the right bike will look better than a great design cut for the wrong one.
Where buyers talk themselves into a bad purchase
They assume one of these things:
- “It's close enough.”
- “I can trim it.”
- “Heat will make it fit.”
- “Nobody will notice.”
You'll notice. Every time you wash the bike.
Trimming can save a tiny alignment issue. It won't fix a design built around different panel geometry. Heat can help vinyl conform. It can't turn the wrong shape into the right one. And “close enough” tends to become a lifted edge near a corner or a graphic line that misses the body crease by just enough to look homemade.
The right buying question
Don't ask, “Do I like this design?”
Ask, “Is this design cut and confirmed for my exact Kawasaki?”
That one question protects your money, your time, and the look of the bike.
Kawasaki Design Ideas and Customization
Kawasaki sticker design works best when it draws from the brand's actual identity instead of copying generic sportbike graphics. This is one reason Kawasaki-themed decals stay popular across generations. The motorcycle division itself was formed in 1963, growing from a company founded in 1878, and one of the most influential style anchors is the Z1, whose overseas sales began in 1973. Kawasaki's history describes the Z1 as having the world's first air-cooled, DOHC, inline four engine, which is exactly the kind of performance heritage riders still reference in retro-inspired graphics today (Kawasaki corporate history).
Retro themes that actually suit the bike
If you own an older Kawasaki, or a modern retro-styled build, Z1-inspired graphics make sense because they connect to a real chapter of the brand. That's different from slapping a random stripe package on a tank and calling it vintage.
Good retro Kawasaki motorcycle stickers usually share a few traits:
- They respect the panel shape instead of covering it.
- They use linework that feels period-correct.
- They leave breathing room instead of filling every visible inch.
- They look integrated with the tank and side covers, not pasted on afterward.
Modern performance-inspired looks
A different rider wants a sharper message. That usually means graphics inspired by Kawasaki's current high-performance image. On newer sportbikes and aggressive naked bikes, riders often lean into angular layouts, race-influenced striping, and bolder Kawasaki branding because the bike's bodywork can carry it.
Exercising restraint remains important. A full race-style kit can look excellent on one machine and overdone on another. If the bike has a lot of bodywork, you can carry more graphic mass. If the bike is visually sparse, smaller accents often look more intentional.
The best design usually follows the motorcycle's lines. It doesn't compete with them.
Subtle customization for riders who don't want a full kit
Not every rider wants race plastics energy. Some of the cleanest Kawasaki builds use just a few targeted additions.
Consider these lower-commitment options:
- Rim stripes for a small color echo that ties into body accents.
- Tank-side logos or script for a cleaner custom look.
- Small fairing badges that sharpen a stock bike without overwhelming it.
- Custom text pieces for names, garages, crew references, or one-off themes.
- Partial graphics that leave most painted surfaces visible.
Those choices are often smarter on commuter bikes, streetfighters, and mature builds where subtle detail reads better than full-panel coverage.
Matching style to Kawasaki family
A simple design framework helps:
| Kawasaki style | Graphic direction that usually works |
|---|---|
| Ninja | Angular accents, speed lines, race-inspired side graphics |
| Z | Minimal sharp cuts, tank-focused pieces, restrained side-panel detail |
| Classic or retro builds | Heritage striping, period logos, Z1-influenced layouts |
| Cruiser-oriented models | Small script, emblem-style decals, less cluttered side coverage |
A good custom job doesn't just say “Kawasaki.” It says the right kind of Kawasaki.
How to Order Stickers and Get the Best Value
Ordering decals online is easy. Ordering the right decals is where people lose time and money.
Value doesn't come from buying the cheapest listing. It comes from getting the right material, the right cut, and a seller who explains what you're receiving. If the product page is vague about fitment, vinyl type, or installation format, you're taking on risk that should've stayed with the seller.
A better way to judge a seller
Look at the listing like a technician, not just a shopper.
- Material detail matters. A seller should tell you what kind of vinyl they use, or at least describe the intended use clearly.
- Application format matters. Pre-spaced, transfer-taped decals are easier to install cleanly when dealing with lettering or multi-part shapes.
- Photos matter. Installed images beat computer mockups every time.
- Policies matter. If there's no clarity on shipping, replacement, or custom-order communication, that usually shows up again when something goes wrong.
For riders who want a one-off phrase, logo, or personal layout, a listing like make your own custom sticker shows the kind of customization path that can make more sense than forcing a pre-made design to do a custom job.
What “cheap” usually costs you
Low-price decals often hide one of three problems:
- The material is fine for a window but not a motorcycle fairing.
- The cut is generic rather than panel-specific.
- The adhesive and finish won't hold up to washing, sun, and normal handling.
That doesn't mean every affordable decal is bad. It means the listing needs enough detail for you to judge whether it belongs on a motorcycle.
Buying checklist before you hit checkout
Use this fast screen:
- Bike details confirmed with exact model and year
- Surface type considered, especially curves versus flat sections
- Finish preference chosen so the decal matches the bike's existing look
- Installed examples reviewed for scale and edge behavior
- Seller communication tested if you have fitment questions
If the seller answers clearly, that's a strong sign. If they dodge basic fitment questions, keep your card in your pocket.
Step-by-Step Installation and Long-Term Care
Installation is where a good sticker becomes a clean result or a peeling headache. Even experienced owners sometimes hand decal work to a pro when precision matters, especially on curved fairings where long-term exposure to sun, washing, and gas spills can punish weak application or poor alignment (restoration-focused install experience highlights that challenge).
Surface prep is not optional
Most failures start before the backing paper comes off.
Wash the panel first. Then remove residue that washing leaves behind. If there's wax, silicone, polish, fuel film, or leftover adhesive on the surface, the vinyl may stick at first and fail later. Fairings, tanks, and side covers need to be dry, smooth, and stable before application.
If the panel has fresh paint, texture, chips, or a repainted surface with uncertain finish quality, be careful. Decals only look as good as the substrate under them.
A flawless install starts with a boring prep job. That's normal.
Dry fit before committing
Hold every piece in place before removing the liner.
Use small strips of masking tape to position the decal and check body lines from multiple angles. On longer graphics, make a tape hinge so the sticker returns to the same position when you peel the backing. That's one of the easiest ways to avoid crooked placement on tanks and side fairings.
A few practical habits help:
- Check from standing height because that's how others will see the bike.
- Use reference lines on the bodywork rather than trusting the panel edge alone.
- Start from the center and work outward with even pressure.
- Don't overstretch the vinyl just to make it hit an edge.
Applying on curves and recesses
Curved Kawasaki fairings demand patience. Press the vinyl gradually and use a squeegee with controlled strokes. If the film needs a little help around a contour, gentle heat can improve conformity, but don't cook it. Too much heat can distort the graphic or create tension that shows up later as lift.
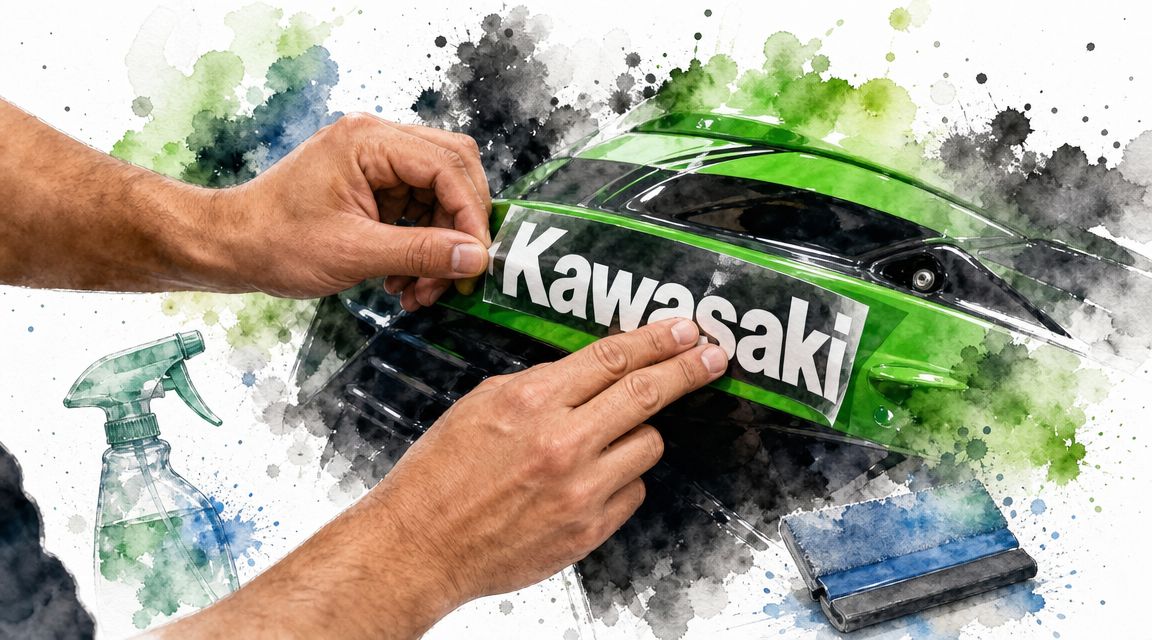
This installation walk-through shows the kind of hand control and placement rhythm that makes a visible difference:
Long-term care that keeps edges down
After installation, leave the bike alone long enough for the adhesive to settle. Don't rush straight into a wash.
For ongoing care:
- Wash with a soft mitt or cloth instead of scrubbing edges aggressively.
- Avoid picking at corners if you see dirt collecting near a seam.
- Clean fuel spills quickly, especially on tank decals.
- Be cautious with harsh chemicals around printed or laminated surfaces.
- Inspect edges during routine cleaning so you catch problems early.
If a graphic sits over a sharp contour, the edge area is always the first place to watch. That's where good prep and good material pay off.
Frequently Asked Questions About Kawasaki Stickers
Are Kawasaki motorcycle stickers legal on a street bike
Usually, decorative decals themselves aren't the issue. The important part is where you place them and whether they interfere with lighting, visibility, registration markings, or anything your local rules require to remain visible. Reflective and highly conspicuous designs can also fall into a gray area depending on jurisdiction, so check your local vehicle regulations before covering major surfaces.
Will stickers hold up on a gas tank
They can, but the tank is one of the harsher places to put a decal. It sees hand contact, jacket friction, sun, washing, and the occasional fuel drip. That's why tank graphics need better material choice, careful edge placement, and realistic expectations. If a design runs too close to frequent fuel contact, it needs more care than a side-fairing decal.
Can I remove old Kawasaki decals without hurting the paint
Usually yes, if the paint underneath is sound. Warm the old decal gently, lift it slowly, and remove residue carefully instead of scraping aggressively. The danger isn't the sticker by itself. The danger is old paint, weak repaint work, or rushing the job with sharp tools.
Why do so many riders choose aggressive Kawasaki graphics
Because the brand has a real performance image behind it. In 2015, Kawasaki introduced the Ninja H2 and H2R, described in external reporting as the world's first supercharged production motorcycles, and the H2R is cited at 310 horsepower. That kind of headline performance naturally feeds demand for bold, high-impact Kawasaki graphics that signal speed and power (Ninja H2 and H2R background).
Should I install the decals myself or pay a pro
If the graphics are small, simple, and going onto flatter surfaces, DIY is often fine. If they're large, multi-panel, or headed onto curved fairings where alignment has to be exact, professional installation can be money well spent. The more visible the placement, the less forgiving the mistakes.
If you want decals that are made to last and easy to install cleanly, Custom Sticker Shop is worth a look. They produce American-made vinyl decals, offer custom options, and focus on practical value with transfer-taped graphics that are easier to apply neatly on your vehicle or gear.