
You’re probably looking at your vehicle right now and thinking one of two things.
It either feels too plain, or it no longer says what you want it to say.
That is usually when custom graphics for vehicles stop being a casual idea and become a real project. A Jeep owner wants a hood decal that fits the lines of the vehicle instead of fighting them. A veteran wants a tribute graphic that feels respectful, not generic. A small business owner wants side graphics that look clean on Monday morning and still look clean after a long season of road grime, sun, and washing.
Good graphics do more than decorate sheet metal. They give the vehicle a role. Sometimes that role is personal. Sometimes it is commercial. Sometimes it is both.
The mistake I see most often is treating a decal, a wrap, and a long-term graphics plan like they are the same purchase. They are not. Design choice, vinyl type, placement, prep, maintenance, and eventual removal all matter. If one of those is handled poorly, the job may still look fine on day one, but it will not age well.
Your Vehicle Your Story
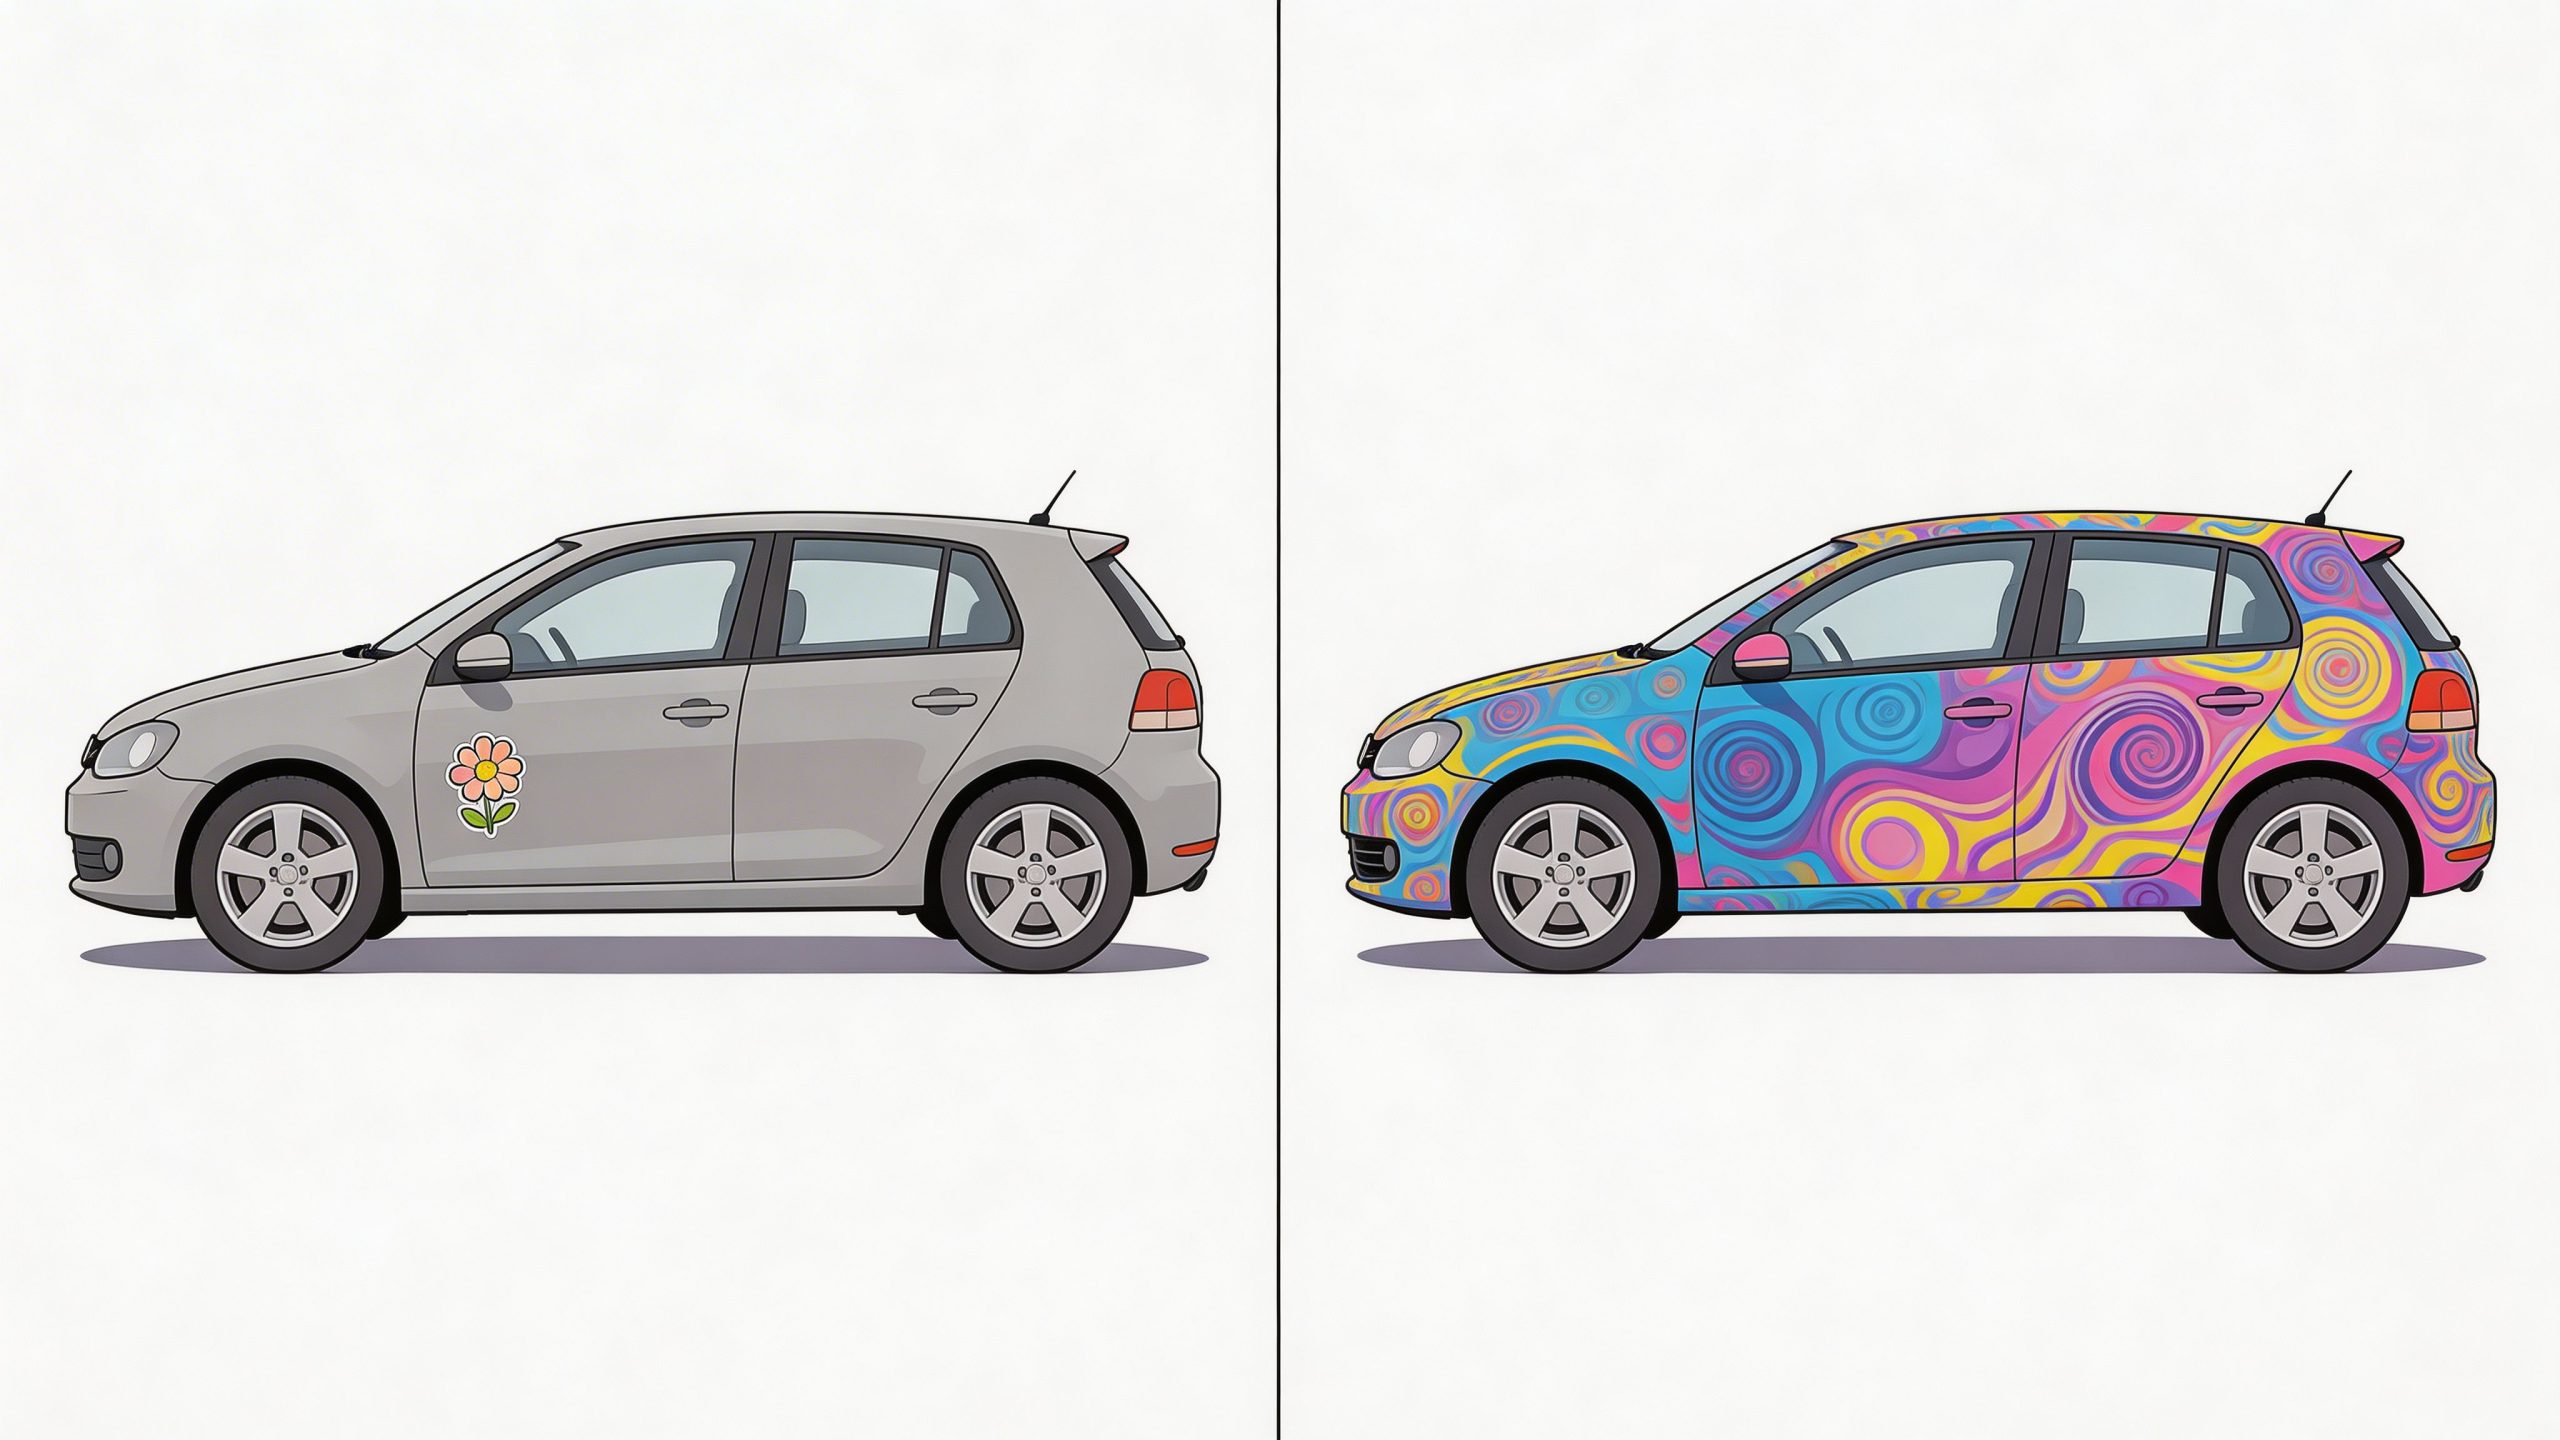
A vehicle says something before the driver ever steps out of it.
A windshield banner on a tuner build, a subdued military tribute on a truck window, family graphics on the back glass, or bedside stripes on a work truck all send a message. The best ones feel like they belong on that exact vehicle, not like they were borrowed from somebody else’s build.
That shift toward personal expression is one reason custom graphics for vehicles have become such a large category. The global automotive decals and graphics market was valued at $7.8 billion in 2024 and is projected to reach $13.4 billion by 2033, with passenger vehicles accounting for over 55% of the market, according to Market Intelo’s automotive decals and graphics market report.
Personalization is not just for show cars
Most customers are not building a trailer queen. They are driving a daily truck, a family SUV, a Jeep that sees trails, or a car they want to recognize in a crowded parking lot.
That matters because the right graphic is not only about style. It has to fit how the vehicle is used.
- Daily drivers need graphics that stay readable and clean without constant upkeep.
- Off-road vehicles need better prep and smarter placement because mud, abrasion, and pressure washing are hard on edges.
- Family vehicles usually look better with simple, uncluttered graphics placed where visibility works without overwhelming the body lines.
- Tribute builds need restraint. A good memorial or military design feels intentional, not crowded.
The same customization mindset shows up beyond cars and trucks. If you like seeing how personalization ideas translate to smaller electric vehicles, these golf cart customization ideas are useful because they show how placement, proportion, and theme still matter even on a very different body style.
Start with the story, then choose the product
A lot of buyers start by shopping shapes and colors. I recommend starting one step earlier. Ask what the vehicle needs to communicate.
If the answer is “just a clean personal touch,” a simple custom decal may be enough. If the answer is “I want this whole truck to have a stronger identity,” then you are probably looking at larger graphics or wrap elements.
For people who already have artwork or text in mind, a make your own custom sticker option is often the most direct starting point because it forces you to think about wording, size, and placement before you buy.
A graphic lasts longer visually when it matches the vehicle’s shape and purpose. The loudest design is rarely the one that looks best six months later.
Decoding Vehicle Graphics Decals vs Wraps
Most confusion starts with vocabulary.
People say “wrap” when they mean a door decal. They say “sticker” when they need a partial panel graphic. That leads to bad expectations on price, installation time, and final look.
What a decal is
A decal is a cut or printed graphic applied to a specific area. Think windshield banners, rear window names, hood stars, side stripes, memorial text, club logos, or bedside graphics.
It is the most targeted option. You are adding a design element, not changing the whole vehicle.
A decal usually makes sense when:
- you want a low-commitment personalization
- you only want one area changed
- the paint color should remain the main visual
- installation needs to be manageable for a careful DIY owner
A lot of truck owners land here first with products like shield-style bedside graphics for a Dodge Ram, because they want a factory-style accent rather than a full visual overhaul.
What a partial wrap does better
A partial wrap covers a larger section of the vehicle, but not all of it. Common examples are hoods, side sections, tailgates, or a coordinated set of panels for branding.
This is the middle ground.
It works when a decal looks too small but a full wrap feels unnecessary. Partial wraps also let you use the original paint as part of the design, which can look sharp if the color contrast is planned correctly.
Decal vs partial wrap
| Option | Best for | Main advantage | Main drawback |
|---|---|---|---|
| Decal | Names, tributes, stripes, single accents | Lower commitment and easier replacement | Can look undersized if chosen too small |
| Partial wrap | Hoods, doors, bed sides, business panels | Bigger impact without covering everything | More demanding install on larger surfaces |
| Full wrap | Full color change or complete brand coverage | Total visual transformation | Highest cost and the most surface prep |
Full wraps change the whole vehicle
A full wrap covers nearly the entire exterior visible surface. If a decal is a tattoo, a full wrap is a complete outfit change.
This option makes sense when the goal is dramatic. Color change builds, fleet branding, and high-visibility promotional vehicles all benefit from full coverage because there is no visual gap between the message and the vehicle.
But a full wrap is not automatically the smarter buy.
If all you want is a hood treatment, side stripe, or windshield banner, a full wrap is overkill. You add cost, installation complexity, and more maintenance obligations than the project needs.
What works and what does not
What works:
- A decal sized to the panel, not to the product photo.
- A partial wrap that uses body lines to define its edges.
- A full wrap designed for the exact vehicle, including contours and interruptions.
What does not work:
- Tiny graphics on oversized trucks.
- Large printed designs crossing trim, handles, and seams with no thought for interruptions.
- Buying a wrap-level design when your goal is just a cleaner accent.
The right format is the one that matches your goal, your budget, and how long you want to live with the look.
Choosing the Right Material for Your Mission
Most buyers focus on color first. Shops focus on vinyl first.
That is not because color does not matter. It is because the material decides how the graphic behaves during install, how it handles curves, how it ages in sun and rain, and how hard it will be to remove later.
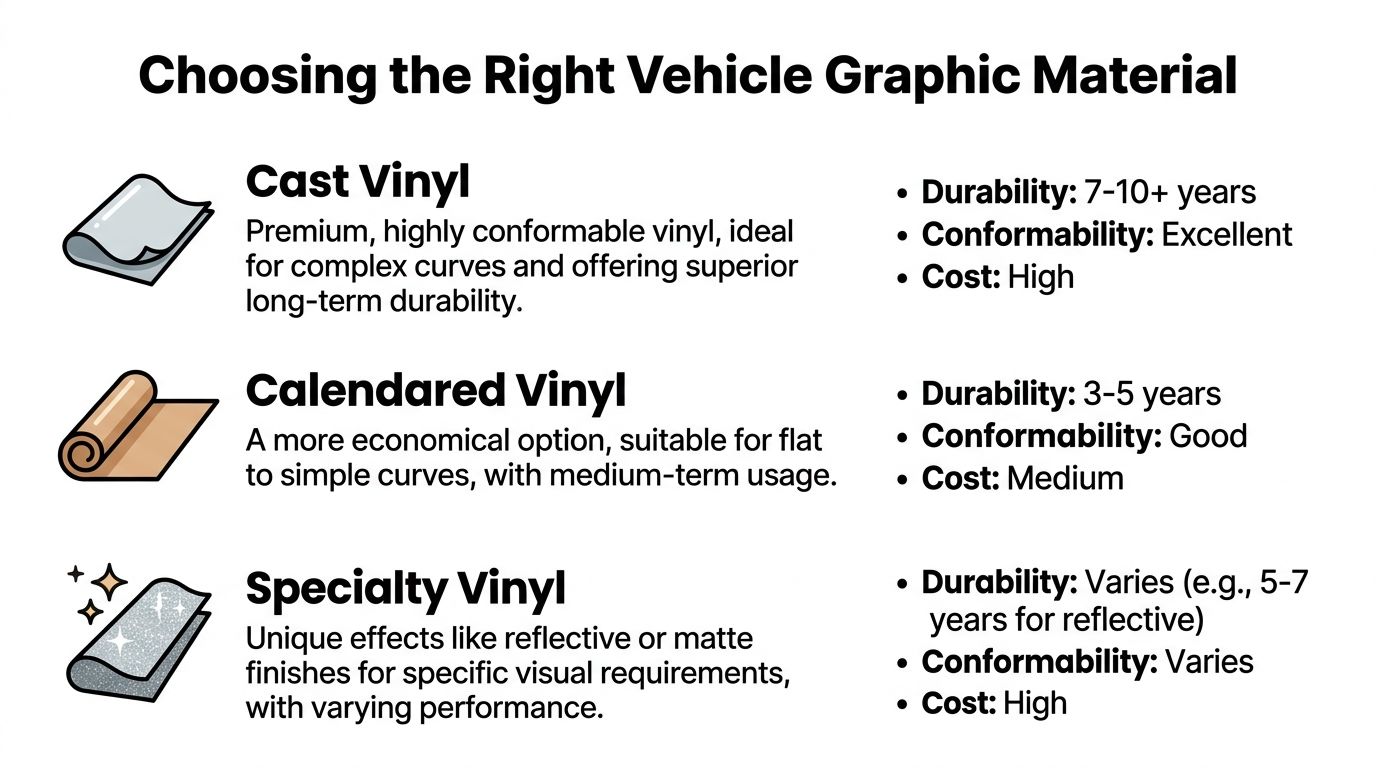
Cast vs calendared in plain terms
If you strip away the jargon, the key difference is flexibility and long-term stability.
Cast vinyl is the material you want when the surface has curves, recesses, or compound shapes. It conforms better and usually stays more stable over time. It is the premium choice for wrap work and for graphics that have to settle into more challenging body shapes.
Calendared vinyl is stiffer and more economical. It works well on flatter areas and gentler curves. For many decals, window graphics, and straightforward panel applications, it does the job just fine.
A lot of disappointment comes from using a less conformable film on a surface that demands more stretch. That is where edges lift, corners fight you, and the finish starts looking tired early.
Why long-term outdoor rating matters
For standard automotive use, outdoor durability is not just a marketing line. It affects whether the graphic still looks crisp after regular weather, washing, and road exposure.
Custom Sticker Shop uses Oracal vinyl rated for up to 7 years outdoors, which is why it fits well for windshield banners, hood decals, side graphics, and other common vehicle applications where buyers want a durable film rather than a short-term novelty product.
That does not mean every job should use the same vinyl in the same way. A flat rear window graphic and a contoured fender area ask different things from the material.
A practical way to choose material
Flat or mostly flat panel
Standard automotive decal films often work well here.Curved hood or body contour
Step up to a film that handles conforming better.Deep recesses or wrap-level coverage
Use premium wrap-grade material. This is not the place to save money.Off-road use
Prioritize adhesion, edge security, and surface prep over appearance alone.
Cheap vinyl often looks acceptable in the shipping tube. Its real quality shows up after heat, washing, and time.
Oracal, 3M, and specialty finishes
Buyers often ask whether Oracal or 3M is “better.” The honest answer is that both can be appropriate, depending on the application.
What matters more is matching the film to the job. A premium brand does not rescue a bad design, a dirty surface, or poor placement. It gives you a better starting point.
Reflective, matte, textured, and specialty films all have their place too. Reflective graphics can be excellent for visibility. Matte films can look clean and aggressive. Specialty finishes can also be less forgiving during install and more particular about care.
If you are ordering a windshield piece, body stripe, or custom text, it helps to choose products already sized and cut for common vehicle use, such as a vinyl windshield banner decal for Ford models, rather than trying to adapt a generic sign decal to an automotive shape.
The eco-friendly question is now real
A few years ago, “green vinyl” was mostly a niche conversation. It is no longer niche.
According to Bubbles Designs’ market summary on eco car decals, searches for “eco car decals” increased by 150% since January 2025, and emerging biodegradable vinyls now offer a 5-year lifespan with a 20% lower environmental impact.
That does not mean traditional films are obsolete. It means buyers now have a real trade-off to consider.
Where eco-friendly films make sense
| Priority | Traditional long-term film | Emerging eco-focused film |
|---|---|---|
| Maximum proven durability | Strong fit | May depend on application |
| Lower environmental impact | Less compelling | Stronger fit |
| Daily family vehicle graphics | Good option | Worth considering |
| JDM or style-focused short-to-mid-term look | Good option | Often a practical match |
| Harsh off-road use | Usually safer choice | Choose carefully |
If your priority is absolute durability on a trail Jeep or work truck, established automotive vinyl still makes the safer choice. If your vehicle is a commuter, family car, or style build with a shorter planned design cycle, newer eco-oriented materials are worth asking about.
Designing and Sizing Your Graphics Like a Pro
A strong design can still fail on the vehicle.
Usually it fails for one of three reasons. The graphic is the wrong size, the file quality is poor, or the design ignores the body lines of the vehicle.
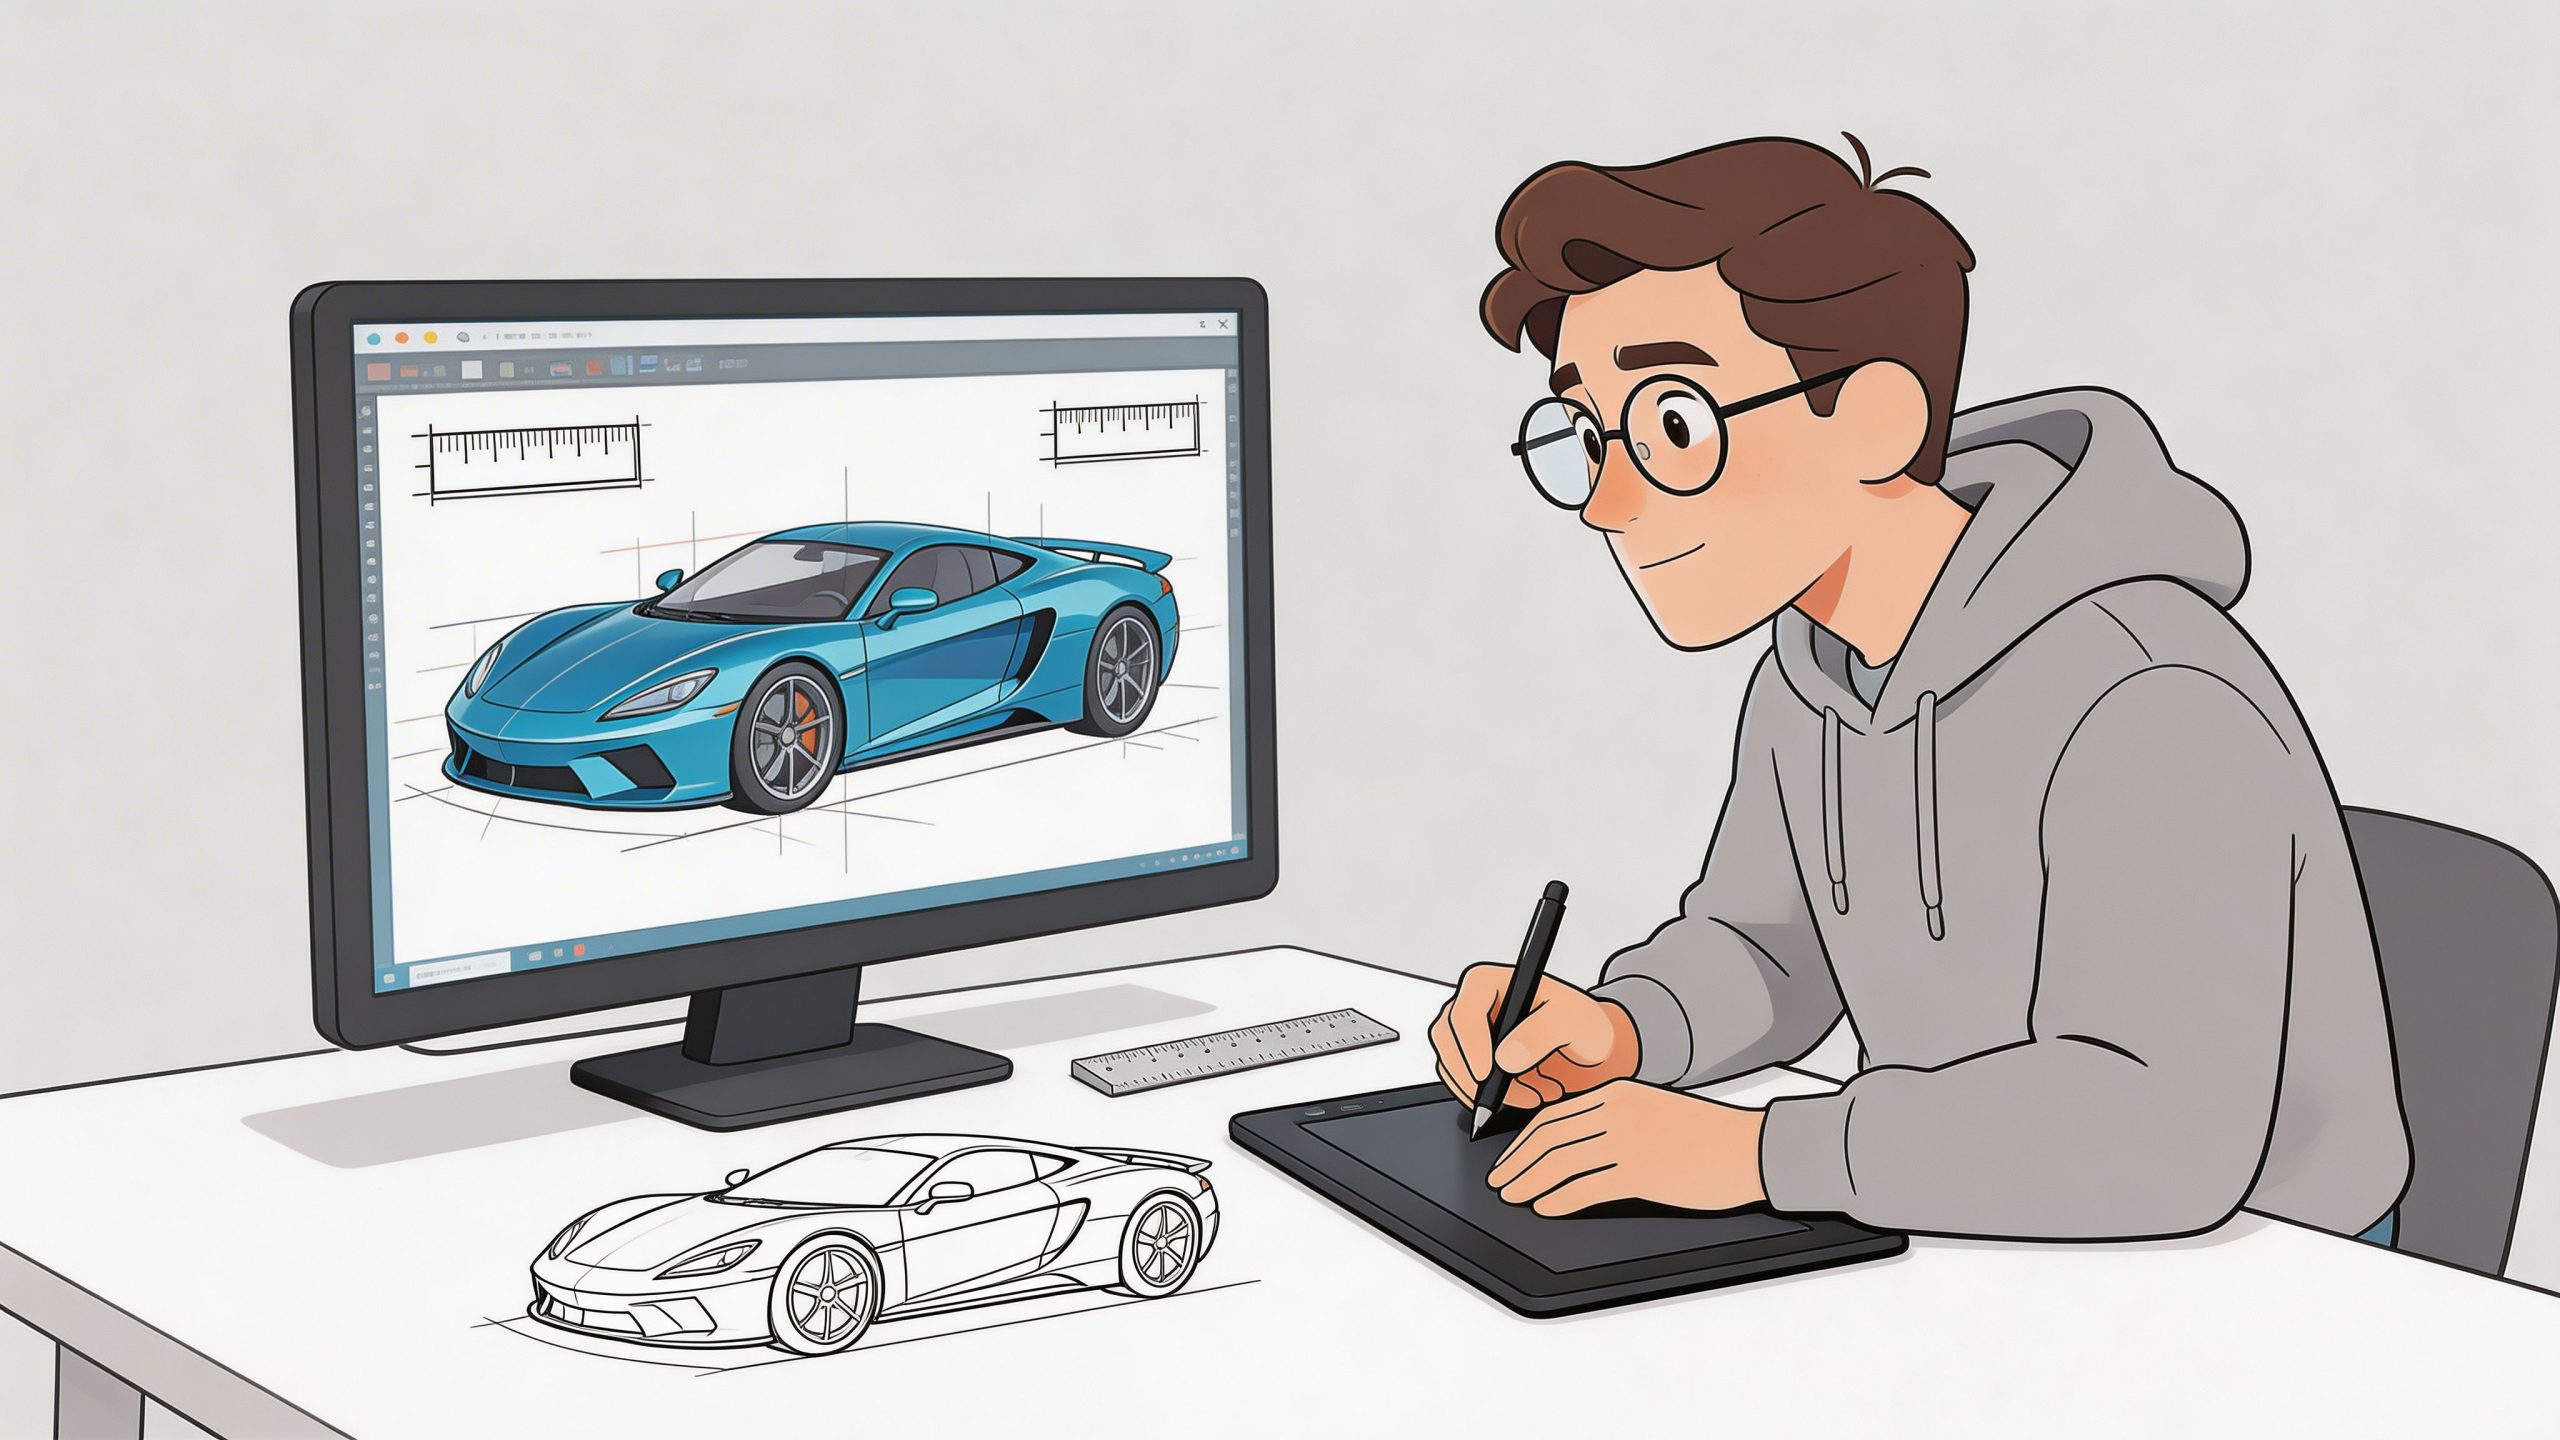
Start with the vehicle, not the artwork
The vehicle decides the design boundaries.
A long hood can carry a larger center graphic without feeling crowded. A compact hatchback needs restraint. Truck bedside graphics need to account for wheel arches, fuel doors, and body breaks. Window text needs to read cleanly from a distance and not get lost against dark tint or reflections.
When I review customer art, I look for visual flow first. Does the graphic move with the body shape, or does it look pasted on?
Use contrast that works with the paint
Color choice is not just style. It is readability.
A matte black decal on dark tinted glass can look sharp in close-up photos but disappear at a distance. Thin white lines on a silver truck can get washed out in daylight. Metallic-looking effects can also lose clarity if the shape itself is too intricate.
A safer approach:
- dark vehicle, use lighter or higher-contrast graphics
- light vehicle, use darker graphics or stronger outlines
- busy paint color, choose a simpler shape
- subtle message, keep the color restrained and let scale do the work
Size for the panel, not for the screen
One of the oldest design mistakes is approving a graphic based on a phone mockup.
A hood decal that feels large on a screen can look undersized on an actual truck. A windshield banner that seems bold in a product preview can become overwhelming once installed.
Quick sizing checks before you order
- Tape the area off with painter’s tape.
- Step back to street distance.
- Open and close doors or the hatch if the design approaches seams.
- Check sight lines from the driver seat if the graphic goes near the windshield.
- Look at it in daylight, not only in the garage.
If a graphic only looks good from three feet away in the driveway, it is not yet sized correctly.
File setup is where pro results begin
This is the part most buyers never see, but it has a direct effect on the final install.
For professional-quality graphics, Craftsmen Industries’ installation guide recommends 150 dpi for full-scale art, 300 dpi at 50% scale, and 600 dpi at 25% scale. It also notes that vector files such as .ai with outlined fonts are preferred, because poor file quality can cause up to 30% visual degradation on curved surfaces.
That tracks with what shops see every day. A file that looks acceptable on a laptop can break down once it is enlarged, cut, and applied over body contours.
What to send your designer or shop
If you want crisp production, send the cleanest source files you have.
- Best choice is a vector file such as AI or EPS with fonts outlined.
- Usable choice is a high-resolution raster image if it is large enough for final size.
- Weak choice is a screenshot, compressed social image, or logo pulled from a website header.
A good shop can sometimes redraw simple art. Complex artwork with poor source quality usually means compromise, delay, or a redesign fee.
Design choices that age well
Some graphics look exciting on day one and dated by month six. Others stay sharp for years.
Designs that usually age well:
- clean stripes tied to body lines
- simple military tribute layouts
- readable custom text
- windshield banners with proper spacing
- modest hood graphics with strong symmetry
Designs that often age poorly:
- too many small details
- mixed fonts with no hierarchy
- oversized tribal shapes that ignore panel breaks
- heavily cluttered family or memorial layouts
Good custom graphics for vehicles do not need to be complicated. They need to be scaled well, cut cleanly, and designed for the actual surface they will live on.
Placement Rules and Legal Considerations
The same decal can look clean in one location and awkward in another.
Placement affects style, durability, visibility, and whether you stay street legal. A good design put in the wrong spot is still the wrong job.
Where graphics usually work best
Windshield banners suit bold text, club names, and simple brand marks. They need careful height control so they do not crowd the driver’s view.
Rear window decals are popular because they are visible without competing with body lines. They also tend to be easier for DIY install if the glass is clean and relatively flat.
Hood graphics work best when the design respects the centerline and shape of the hood. Symmetry matters here. If it is off, everyone sees it.
Side body panels give you the most room, but they also create the most chances to run into handles, trim, flares, fuel doors, and wheel openings.
Practical placement rules
- Avoid edges first. Leave enough room from panel edges and trim so the graphic does not look cramped.
- Respect moving parts. Doors, hatches, and fuel doors can cut through a design in awkward ways.
- Check visibility from normal angles. The side of a truck is read differently than a windshield or rear glass.
- Think about cleaning. Recessed spots and edge-heavy placements usually collect grime faster.
Legal issues come before style
Vehicle graphic laws vary by state and local enforcement, especially around windshields, front side windows, lights, and reflectors.
That means a windshield banner that looks perfectly normal in one place may be too deep or too low somewhere else. The same goes for graphics that interfere with front side window visibility or cover any required lighting surface.
A useful starting reference for broader general street legal requirements for vehicles can help you think through compliance categories, but you should still verify the rules that apply to your state and your exact vehicle setup before ordering.
The safest placement rule is simple. If a graphic affects the driver’s view, lighting function, plate visibility, or required markings, check the law before you install it.
What not to do
Do not place a decal based only on where it looked good in a product photo.
Photos rarely show the exact curvature, tint, trim package, or state law issue that your vehicle may have. Measure your own vehicle, mock the area with tape, and keep function ahead of novelty.
Installing and Maintaining Graphics for Maximum Life
The install decides whether the decal looks professional. The maintenance decides whether it stays that way.
Many vinyl failures blamed on “bad material” start with contaminated paint, rushed application, poor edge pressure, or rough cleaning habits after the install.
Surface prep is where longevity starts
If the paint or glass is dirty, waxed, oily, or dusty, the adhesive has to fight through that contamination. It usually loses.
Clean the surface thoroughly. Then clean it again. Pay extra attention to wax residue near panel edges, bug remover residue on the front of the vehicle, and any off-road grime lodged around trim or hinges.
For older vehicles, inspect the paint itself. Vinyl sticks to paint. If the paint is unstable, failing, or lifting, the decal can only be as reliable as the surface under it.
Dry install vs wet install
Both methods have a place.
Dry install is common for many automotive decals and gives strong immediate tack. It works well when the surface is properly prepped and the installer has enough control to place the graphic accurately.
Wet install can help with some larger graphics by allowing repositioning before final squeegee work. It can also create problems if the wrong fluid is used or the installer traps moisture and expects the adhesive to bond instantly.
For most transfer-taped automotive decals, the right answer is to use the method the film and application call for, not improvise halfway through.
The hinge method still works
For medium and large decals, the hinge method remains one of the most reliable ways to get straight placement.
Basic hinge workflow
- Position the decal with the backing still on. Use masking tape to hold it in place.
- Measure from fixed points. Body lines, window edges, and panel gaps help more than eyeballing.
- Create a tape hinge. Run tape through the middle or along the top edge.
- Peel one side of the backing. Cut or fold it away without touching the adhesive.
- Squeegee from the hinge outward. Use firm, overlapping strokes.
- Repeat on the other side.
- Remove transfer tape slowly. Pull it back on itself, not straight out.
If you rush the last step, you can lift corners that were correctly seated.
Real-world care after installation
Fresh graphics need time to settle. Avoid immediate abuse.
That means no aggressive washing right after install, no picking at edges, and no pressure-washer nozzle held close to seams or corners. Hand washing is the safer habit for long-term appearance.
Good maintenance habits include:
- Use mild soap. Harsh cleaners can dull the finish.
- Rinse grit first. Dirt dragged across the vinyl acts like sandpaper.
- Pat or wipe with microfiber. Dirty shop towels are rougher than people think.
- Protect edges. Do not aim high-pressure water directly into them.
A quick visual check every so often helps too. If an edge starts lifting, address it early. Small issues are easier to correct before dirt gets under the film.
Off-road use changes the rules
Trail rigs and tribute vehicles used outdoors need more attention.
According to Xtreme Digital Graphix’s summary of off-road durability concerns, up to 40% of off-road users report peeling within 3 years without specialized prep, even though many vinyls are rated for longer service. That gap between rated durability and real-world use is exactly why trail vehicles need careful surface prep, smarter placement, and gentler cleaning around edges.
That is also where “ghosting” concerns come up. After years in the sun, the paint under the decal may age differently than the surrounding exposed paint. When the graphic comes off, the outline can remain visible because the surrounding surface weathered more, not necessarily because adhesive damaged the finish.
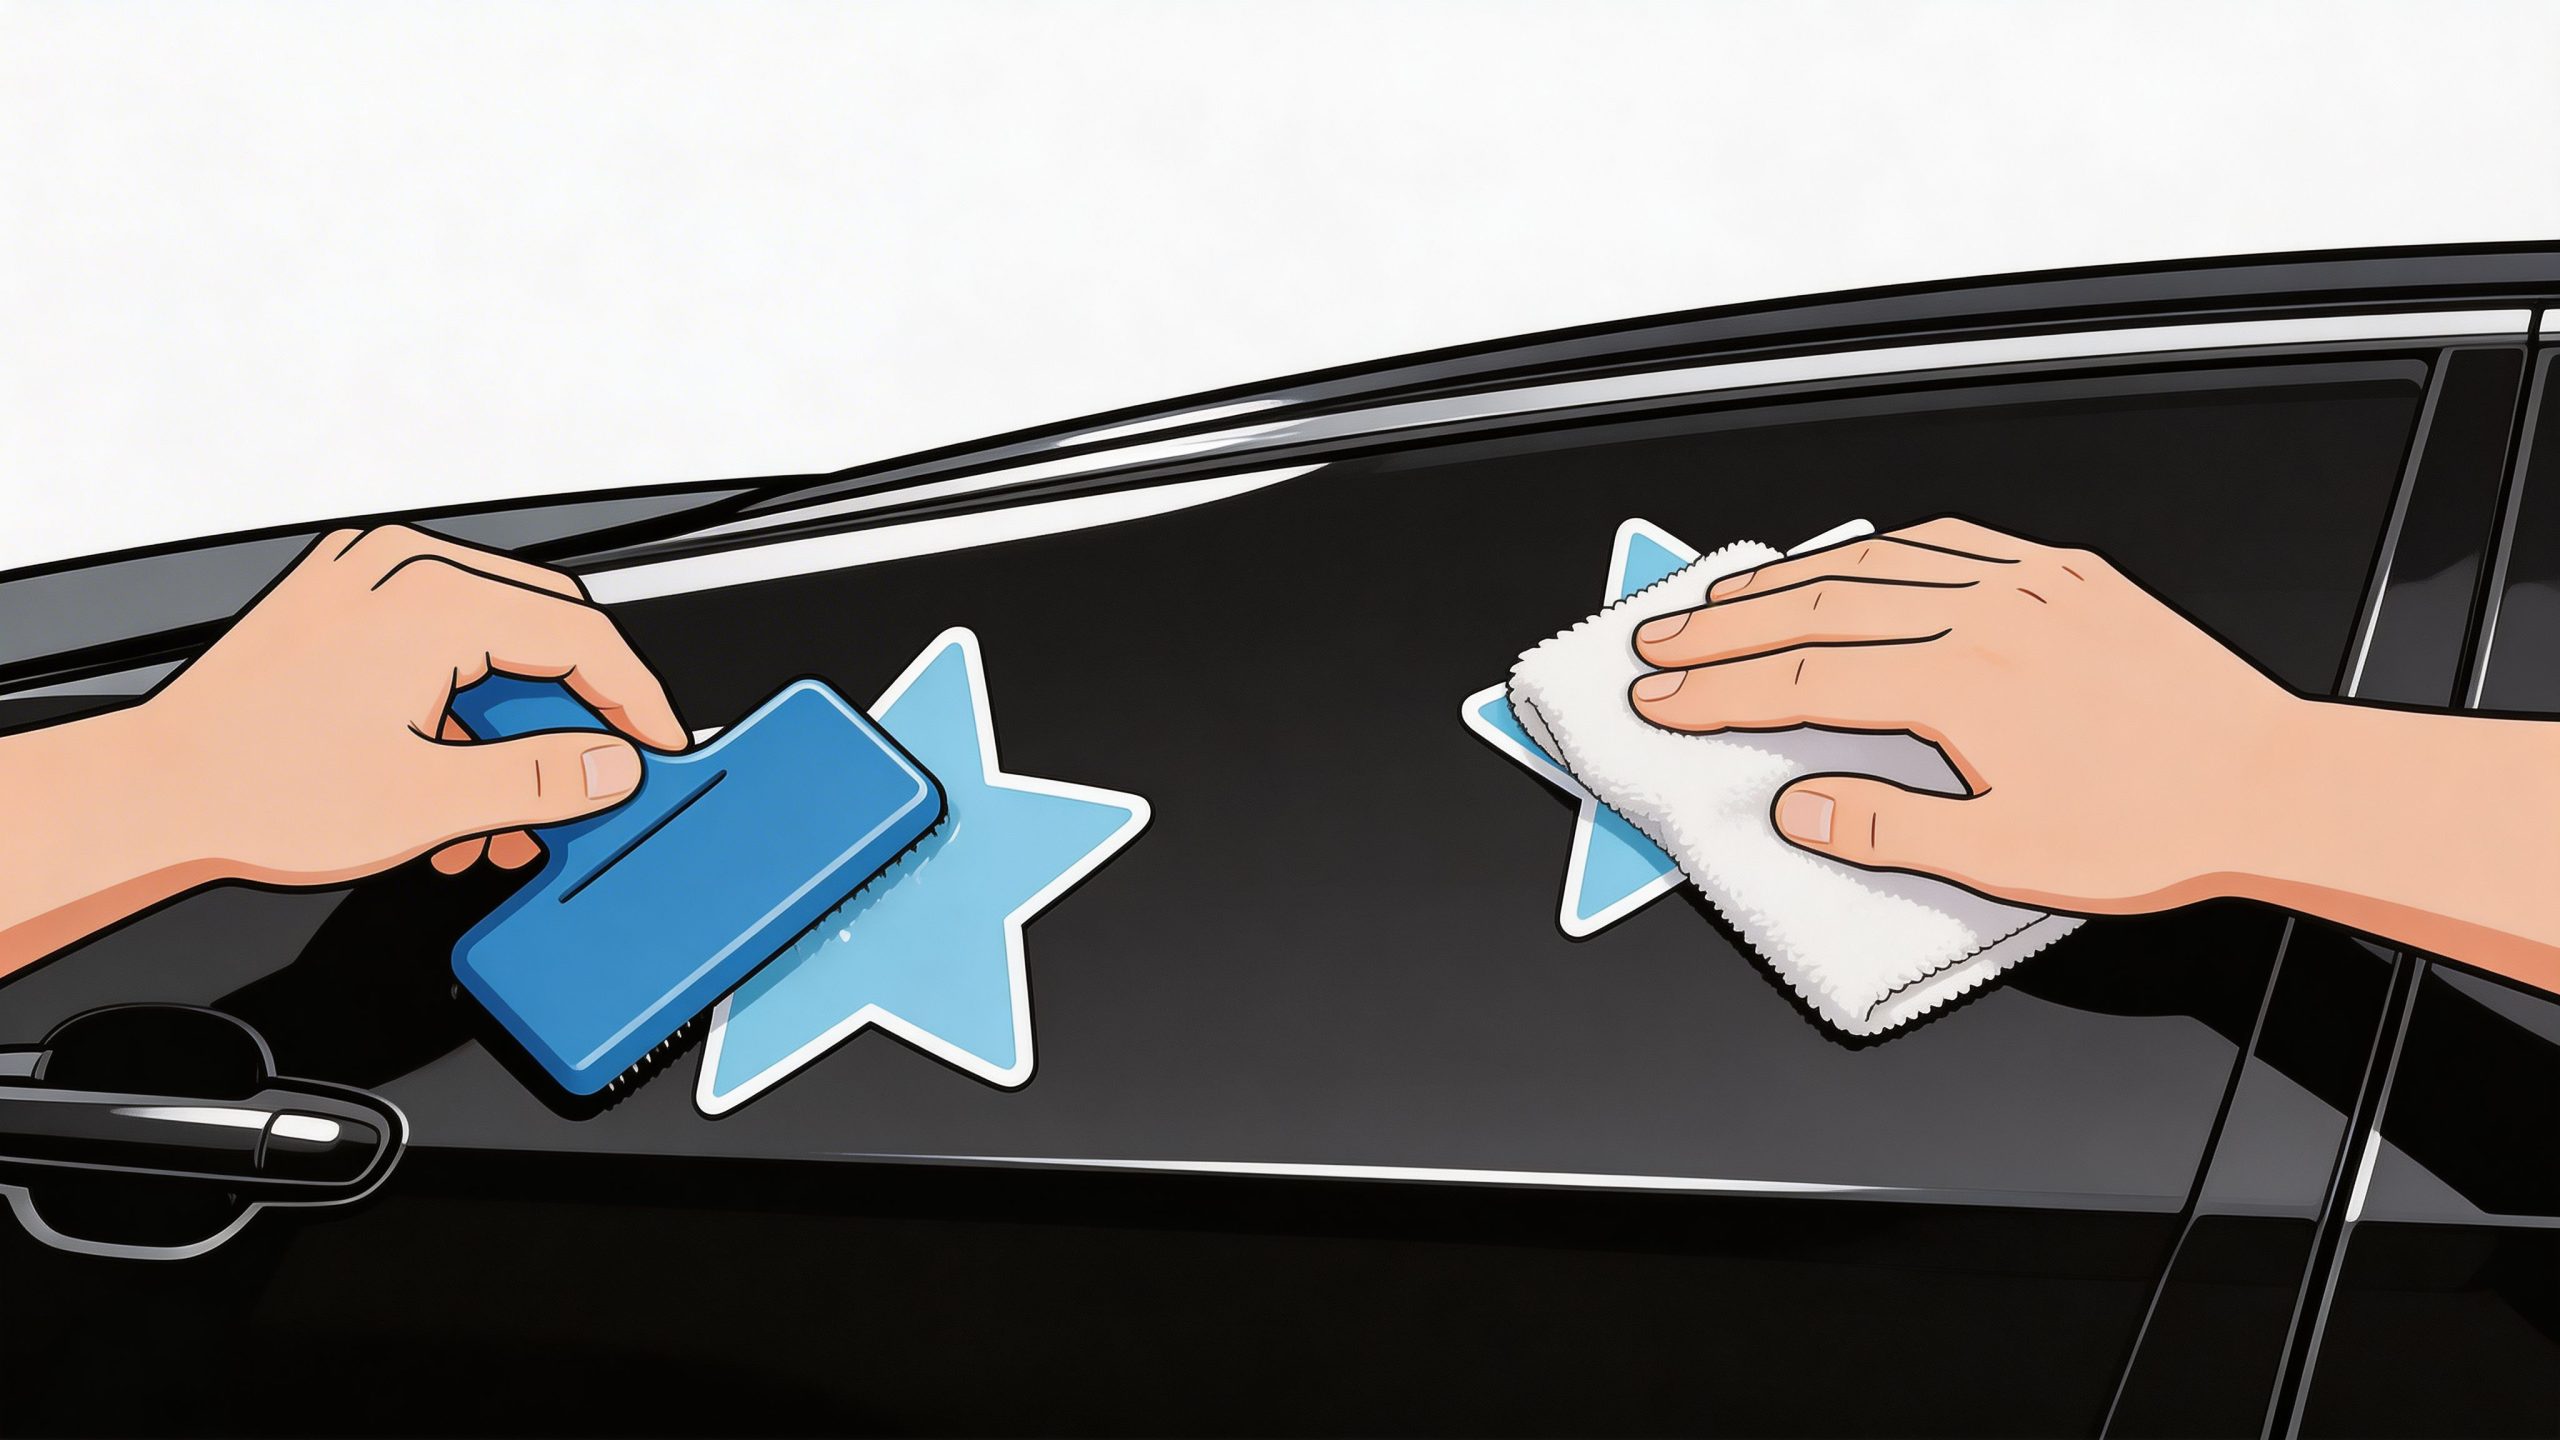
Here is a useful visual overview of application basics before tackling a larger install:
Safe removal without paint damage
Removal gets ignored until the day the owner wants a change.
Old vinyl should come off slowly, with heat used carefully to soften the adhesive. Pull at a low angle. Do not jerk upward. Adhesive residue should be cleaned with a product appropriate for automotive finishes, and you should always test in a small area first.
Removal mistakes to avoid
- Do not scrape aggressively with hard tools.
- Do not overheat one spot. Excessive heat can affect paint or clear coat.
- Do not assume ghosting is glue. Sometimes it is uneven paint aging.
- Do not remove brittle, sun-baked vinyl in a hurry. That turns one job into a hundred tiny fragments.
If the vehicle has older paint, bodywork, or powder-coated parts, removal deserves extra caution. In those cases, patience matters more than force.
A Buyer's Guide to Custom Vehicle Graphics
Most buying mistakes happen before the order is placed.
People choose on appearance alone, skip measurements, ignore material details, or assume every seller is delivering the same cut quality, transfer method, and durability. They are not.
What a solid seller should tell you clearly
A trustworthy provider should make a few things obvious without making you chase answers.
Look for:
- Material information so you know what vinyl you are getting.
- Sizing details tied to vehicle placement, not vague “small, medium, large” labels.
- Installation format such as pre-spaced and transfer-taped lettering or layered graphic sets.
- Shipping expectations that are written plainly.
- Support for custom questions if your panel, model, or placement is unusual.
If a listing leaves all of that fuzzy, assume you are taking on more risk.
Buy for the vehicle you own
This sounds basic, yet it gets ignored all the time.
A graphic designed around a wide online mockup may not fit your exact cab style, bedside length, hood shape, or glass area. If you drive a truck, Jeep, or SUV with trim differences, verify dimensions before checkout.
When in doubt, use tape on the panel and physically mark the footprint. That simple step prevents a lot of returns, disappointment, and awkward installs.
Business buyers should think beyond the first cost
For business use, the right question is not just “what does the graphic cost?”
The better question is what the vehicle does with that graphic once it is on the road. According to TKO Graphix fleet graphics statistics, vehicle wrap advertising generates 30,000 to 70,000 daily impressions, costs as little as $0.48 per 1,000 impressions, and 97% of consumers recall ads seen on trucks.
That is why mobile branding is such a practical category. A work van, service truck, or delivery vehicle can keep doing its normal job while also carrying the message.
A simple buying checklist
For personal vehicles
- Match the graphic to the use case. Daily driver, tribute build, off-road Jeep, and family SUV all need different decisions.
- Choose the right scale. Bigger is not always better, but undersized almost always looks accidental.
- Think about removal now. If you expect to rebrand later, choose placement and material with that in mind.
For commercial vehicles
- Prioritize readability first. A clean message beats a crowded design.
- Use the body lines. They help frame the brand rather than interrupt it.
- Plan for maintenance. Drivers and wash crews need to know how to treat the graphics properly.
What a smart order feels like
A smart purchase feels specific.
You know the exact placement. You know the approximate footprint. You know whether you are buying a simple decal, a larger panel graphic, or a wrap element. You know what kind of surface it is going onto, and you have at least thought about how it will be removed later.
That is the difference between buying a graphic and planning a result.
If you want a practical place to start, Custom Sticker Shop offers vehicle decals and automotive graphics in a wide range of styles for trucks, cars, and Jeeps, including military, family, and custom-text options. Measure first, choose the graphic type that fits your actual goal, and order only after you know where it will live on the vehicle.