
Vinyl graphics for cars are thin, pressure-sensitive films applied to vehicle surfaces to customize appearance, and the right choice is either a basic decal or automotive-grade cast vinyl rated for years outdoors. If you want a graphic that still looks tight after real driving, the material matters as much as the design.
You can feel the difference the first time you're standing in the driveway with a roll in your hand, a squeegee on the fender, and a car that's either about to look intentional or awkward. Vinyl graphics for cars are not one product, they're a family of films, from small cut letters to printed wraps that cover hoods, doors, glass, and body panels. Some are made for a quick visual change, others are engineered to conform, resist outdoor wear, and come back off without turning the car into a cleanup job.
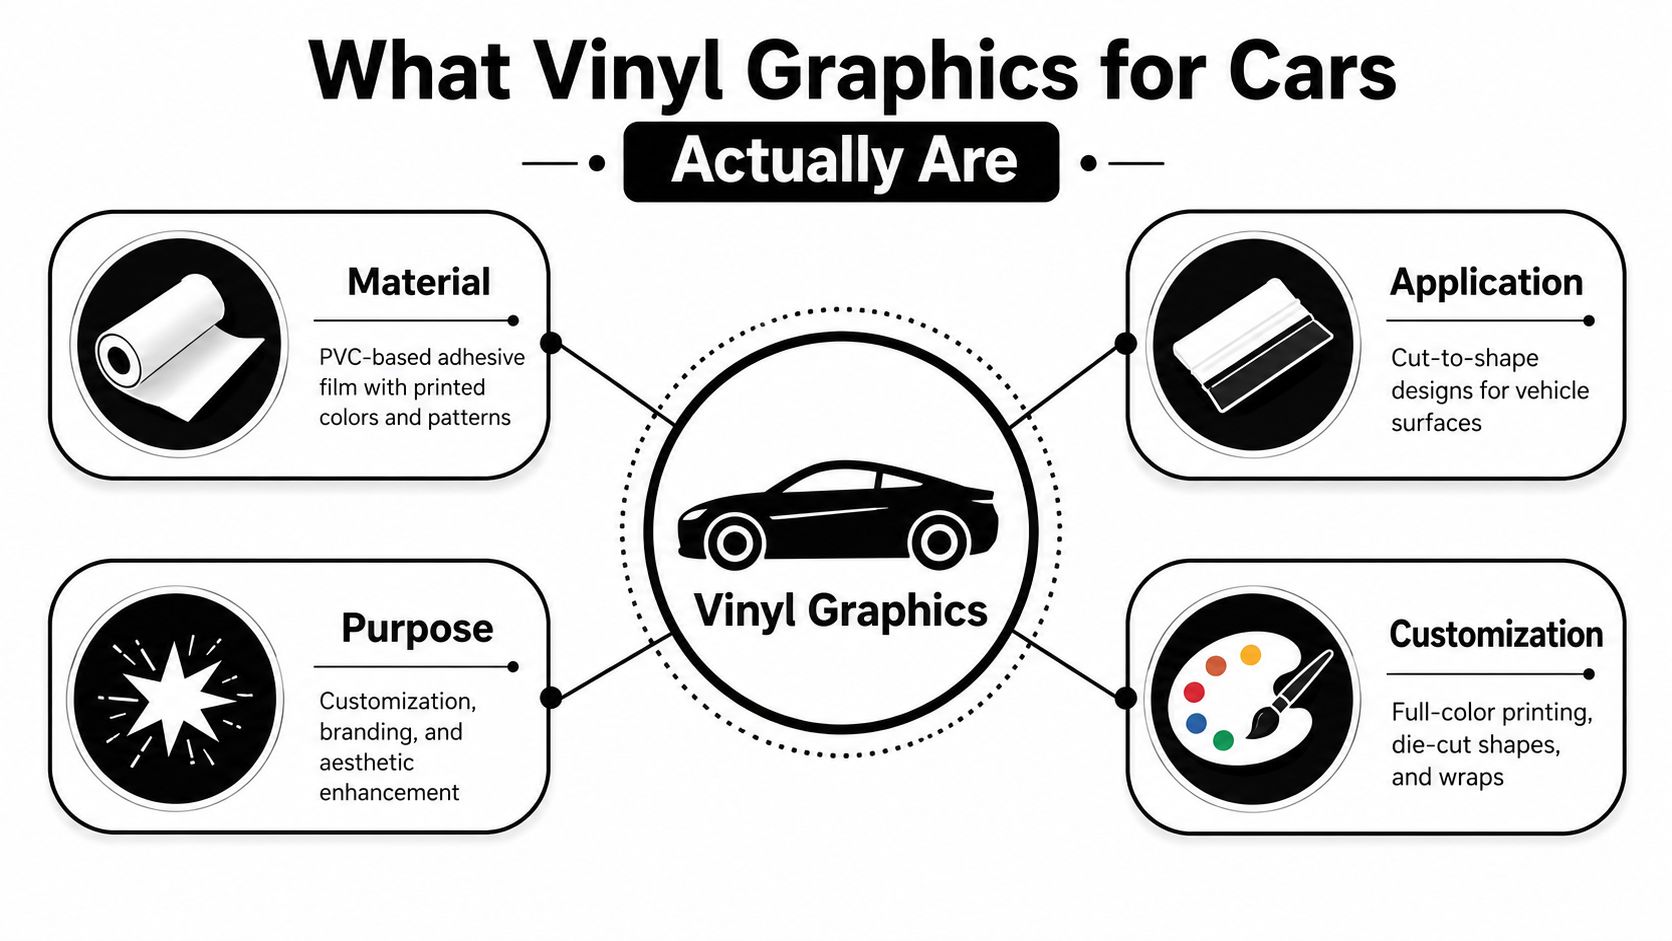
What Vinyl Graphics for Cars Actually Are
The first mistake most buyers make is treating every car decal like the same thing. A small logo on a rear window, a stripe on a hood, and a full-body wrap all sit under the umbrella of vinyl graphics for cars, but they're built for very different jobs.
The practical definition
At the simplest level, these graphics are pressure-sensitive films cut or printed into a design and applied to painted metal, plastic trim, glass, or other smooth vehicle surfaces. Think of them as a second skin for the car, one that's meant to stick cleanly, follow the body, and eventually come off without destroying the finish underneath. That broad category includes everything from a tiny stick figure on the back glass to full hood accents and complex printed panels.
Where the confusion starts is that a catalog photo rarely tells you whether you're buying a basic decorative decal or a more engineered automotive film. Those look similar in the listing, but they behave differently on the vehicle. A simple flat decal can look fine on a door panel, then struggle on a curved bumper or a deep recess.
Practical rule: match the graphic to the surface first, then choose the design second.
That's why a shopper who wants lettering on a rear window has a very different need from someone laying graphics over a hood scoop or a body crease. The more the surface curves, the more the material choice matters. For buyers who want custom-cut artwork rather than generic decals, a shop like Custom Sticker Shop is one place that offers that kind of made-to-order format.
Why the product category matters
A graphics kit is not just decoration. It affects how the car reads at a glance, how much installation patience you need, and how long the result keeps its shape. A flimsy decal might satisfy a weekend project, but a film built for automotive use is doing a different job entirely, especially when the panel isn't flat and the car spends its life outdoors.
That's the line to keep in mind from the start. If the goal is a temporary visual accent, basic vinyl may be enough. If the goal is to make the car look finished after months of heat, washing, and road time, the product needs to be chosen like a vehicle material, not a craft supply.
Understanding Vinyl Types and Finishes
Film construction is where the difference shows up. Two graphics can look almost identical on a product page, but if one is built for flat signage and the other is made for automotive curvature, they will not install or age the same way.
Cast, calendared, and wrap-grade films
Thickness is a practical performance variable. In automotive graphics, film thickness is typically 3 to 4 mils to balance a smooth appearance with enough body to handle installation and outdoor wear, according to 3M's vehicle graphics guidance and product data for cast and wrap films, including 3650 at 2 mils before adhesive and 3 to 4 mils with adhesive, and a 2080 sample at 3.5 mils before adhesive and 4.5 mils with adhesive (3M Scotchcal Graphic Film Series 3650). Thinner cast films conform more easily to contours and compound curves, while thickness alone does not guarantee durability.
That distinction matters because the vehicle decides the job. A flat door logo can work with a thinner graphic film. A mirror cap, bumper contour, or deep recess usually calls for a cast wrap film, not a basic calendared decal. Wrap-grade films also tend to use pressure-activated adhesives and air-release channels so installers can reposition the film and reduce trapped air during installation. That helps when the panel has body lines and changing curvature.
Finishes affect both look and handling
Gloss, matte, and textured finishes each change the result in small but important ways. Gloss tends to read like paint from a distance. Matte reduces glare and can suit some colors better because it does not reflect as sharply in daylight. Textured finishes add visual character, but they also demand more attention during layout because their surface can make flaws easier to spot if the graphic is stretched or misaligned.
A clean installation starts with the right material, not the right squeegee pressure.
Vinyl Types at a Glance
| Vinyl Type | Thickness | Durability | Best Use |
|---|---|---|---|
| Calendared decal film | Varies by product, usually thinner and less conformable | Shorter-term use on simpler surfaces | Flat logos, simple lettering, temporary graphics |
| Cast automotive vinyl | Around 3 to 4 mils in market guidance, with examples from 3M at 3 to 4 mils with adhesive (see 3M product data above) | Designed for longer outdoor use and better conformity | Curves, compound panels, body contours |
| Wrap-grade film | Often in the same practical thickness band, with adhesive systems built for repositioning | Built for installation on complex vehicle shapes | Full or partial wraps, panels with deep geometry |
That is why product labels matter more than design mockups. If you are evaluating vinyl graphics for cars, read the film type first and the finish second. The look you want only matters if the material can stay where you put it. For a placement-specific example, vinyl windshield banner decal stickers show how a graphic can be built around a particular shape and use case rather than treated like a one-size-fits-all decal.
Where to Place Vinyl Graphics on Your Vehicle
Placement changes everything. The same graphic can look sharp on a hood, awkward on a door, and nearly unreadable on a surface with a hard crease if the size or film choice doesn't respect the panel shape.
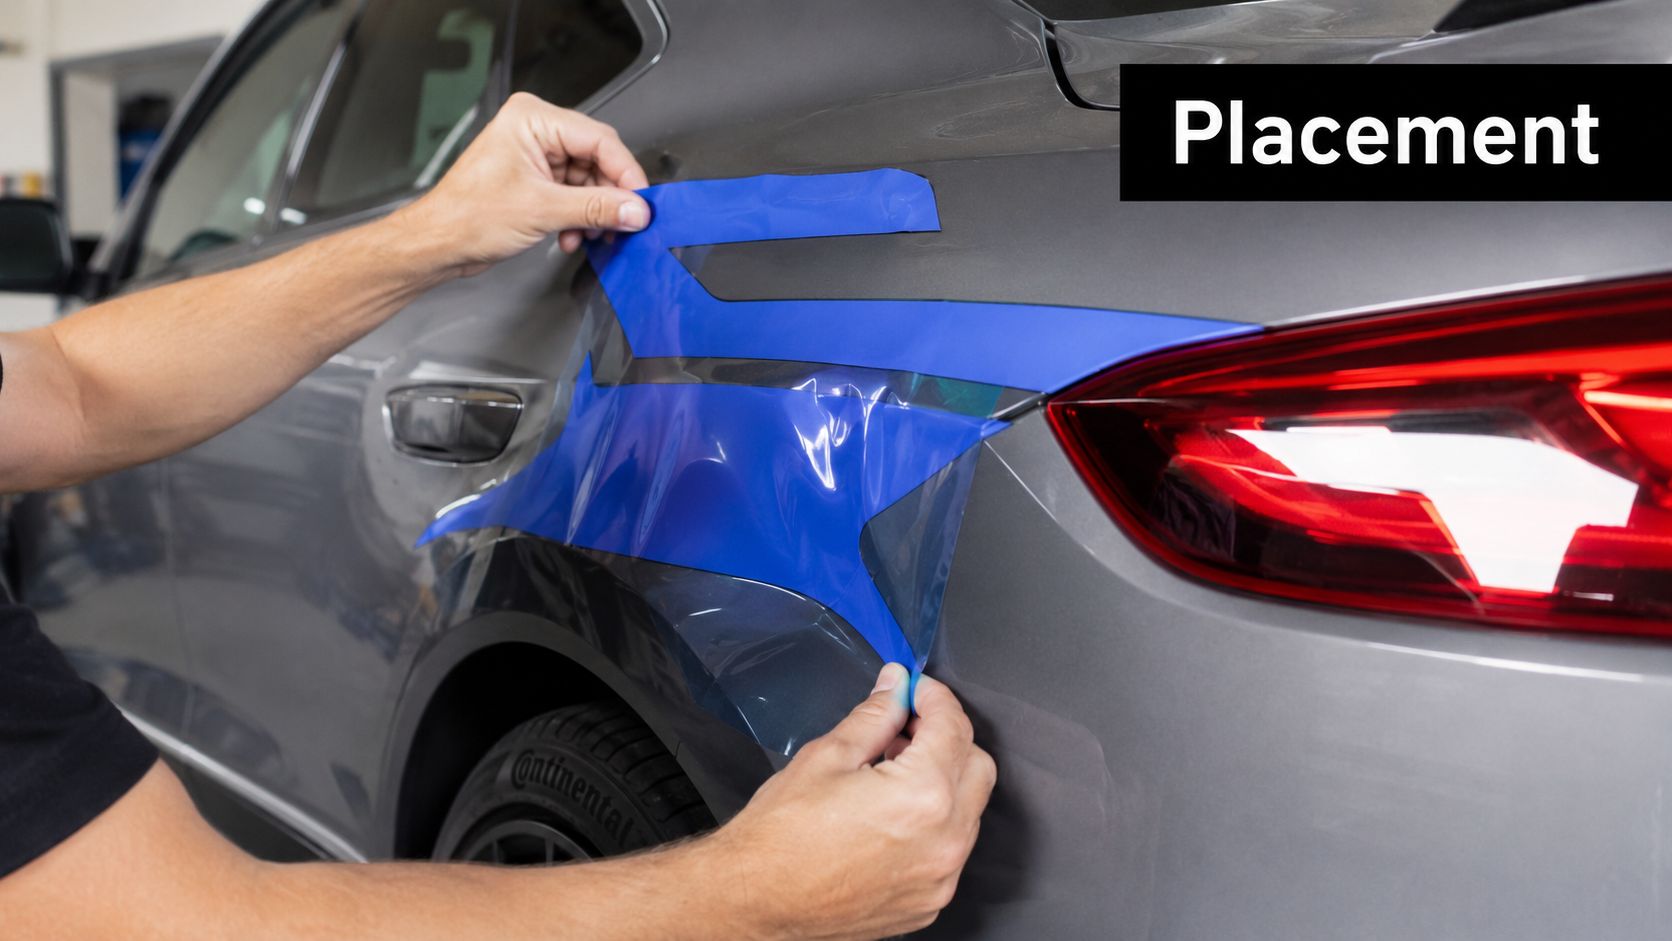
Windows, hoods, doors, and tailgates each behave differently
Rear glass and side windows are common because they give you a visible canvas without altering painted surfaces. Perforated film gets used here when the graphic needs to be seen from the outside while still allowing visibility from inside the vehicle, which makes it more of a practical workaround than a purely decorative choice. On the windshield, the legal and visibility picture gets more sensitive, so a graphic that looks good on a catalog page may not be a smart daily-driver choice.
Body panels are a different story. Hoods and doors give you larger uninterrupted areas, but they also expose every alignment mistake. A simple stripe or logo can sit cleanly there if the sizing respects the panel edges and trim. Tailgates work well for bold text or centered graphics because the surface is often flatter than bumpers or quarter panels, but bad sizing makes them look like afterthoughts.
Best placement rule: use the flattest area for the most important message.
The deeper issue is that modern vehicles aren't simple rectangles anymore. Bumpers, mirrors, body creases, and molded transitions interrupt the surface. A neutral installer guide notes that curved areas and body moldings require heat, careful squeegee work, and sometimes cutting across panel gaps to avoid wrinkles (custom auto decals and vinyl graphics guidance). That's why a graphic that looks fine on a sedan door can become a problem on a crossover bumper.
How modern geometry changes the decision
The more a surface changes direction, the more you need a film that will move with it. Flat text and logos can stay simple. Complex curves and deeper recesses push you toward cast wrap film because the material has to settle instead of fight the panel. If you're choosing between a hood accent and a rear glass banner, think about which surface can support the design without distortion.
For Jeep owners and off-road builds, placement on body trim and fender areas can work well when the graphic is cut to the part instead of stretched across it. A placement-specific example is the Jeep Wrangler side fender decal set, which reflects how some graphics are designed around a very specific panel rather than a generic vehicle template.
Durability and Outdoor Performance Expectations
Longevity is where cheap materials and automotive-grade products part ways quickly. A graphic's behavior after heat, washing, sun, and road grime says more than the box copy ever will.
What the ratings actually suggest
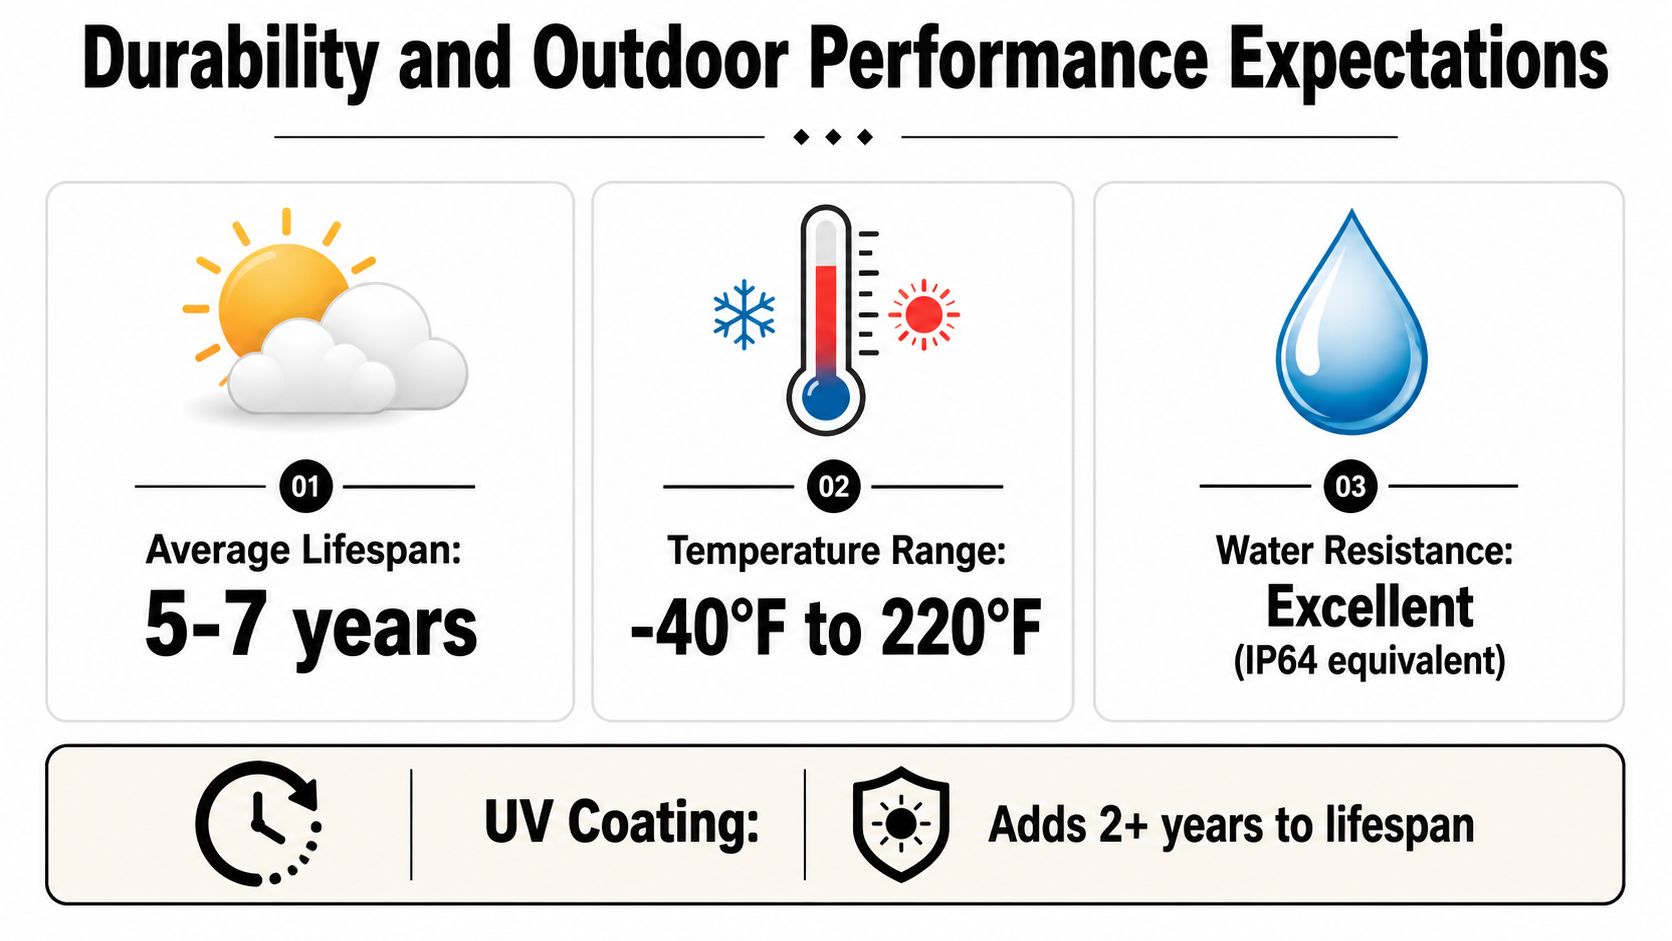
3M's 8518, 8519, 8520, 8914, and 8925 cast vinyl line is rated for an expected performance life of 8 years on a flat, vertical outdoor surface, and the 8528 variant is rated for 9 years under the same conditions (3M vehicle graphics product bulletin). Other vehicle vinyl products are often rated much shorter, with one supplier listing 1+ years for car decals and another listing up to 3 years outdoors if the graphic is not subjected to significant abrasion. That contrast is the point.
The technical takeaway is straightforward. Longevity is tied to material chemistry and exposure conditions, not just to whether the graphic looks thick or expensive. Abrasion, fuel vapors, and frequent washing all shorten service life. Premium cast films are built with solvent resistance and broad in-use temperature windows, and one 3M vehicle graphics line specifies an operating range of -65 to +225°F plus resistance to mild acids, mild alkalis, salts, and occasional fuel spills (same 3M product bulletin).
What survives real driving
A graphic that lives on a garage queen has an easier job than one that sees highway miles, frequent washes, and seasonal heat swings. Installers usually see the failures first at edges, corners, and tight recesses, where stress starts to lift the material. Sun exposure fades weak products, and aggressive cleaning can turn a decent-looking decal into a peeling edge quickly.
Reality check: if the product is not built for automotive exposure, install quality cannot save it for long.
The practical test is simple. If the graphic is temporary, treat it as temporary. If it is meant to stay on the vehicle and keep looking clean, choose a cast film made for that job and follow the maintenance instructions that come with it.
Design and Sizing Tips for a Clean Look
A good graphic can still look wrong if the scale is off by even a little. Size is one of the easiest things to get wrong because a design that looks balanced on a screen can feel huge or timid once it lands on sheet metal.
Measure the car, not the imagination
Start with the actual panel edges. Hood width, door height, rear glass shape, and the break lines around badges or trim all matter more than a rough visual guess. Paper templates, painter's tape outlines, or a measured mockup on the garage floor can save you from ordering a graphic that looks sharp in isolation and ridiculous on the car.
A common mistake is using a design meant for a larger truck on a compact car. It doesn't just look oversized, it can fight the body lines and overwhelm the vehicle's proportions. The eye reads that mismatch immediately, even if the artwork itself is clean.
Keep the design hierarchy simple
Use the main graphic as the focal point, then let the accent elements support it. Strong contrast works best when the paint color underneath gives the vinyl room to stand out. On dark paint, lighter vinyl reads crisply. On light paint, deeper colors tend to hold their shape visually.
For curved areas and body moldings, simpler shapes usually install more cleanly. Heavy detail near a crease often gets lost, and intricate geometry on a contoured panel asks more from the film than it can comfortably give. That's where cast vinyl earns its place, because it lays down more willingly than a basic decal when the surface stops behaving like a flat board.
Keep the message short when the panel is busy.
A quick sizing mindset
- Map the biggest shape first: place the main design where the panel is widest and least interrupted.
- Leave margin near edges: trim and panel gaps should frame the graphic, not crowd it.
- Reduce detail on curves: the more the panel bends, the less small text and tight linework should dominate.
- Match design energy to the car: a subtle accent suits a daily driver, while bold graphics fit a build meant to stand out.
If you get the proportions right, the graphic looks integrated instead of pasted on. That's the difference between a car that looks customized and a car that looks like it was stickered up in the parking lot.
Installation, Removal, and Maintenance Basics
Good vinyl can still fail in the hands of someone rushing the job. The process is straightforward, but each step matters because the film reacts to dirt, alignment mistakes, and heat exactly the way you'd expect a pressure-sensitive material to react.
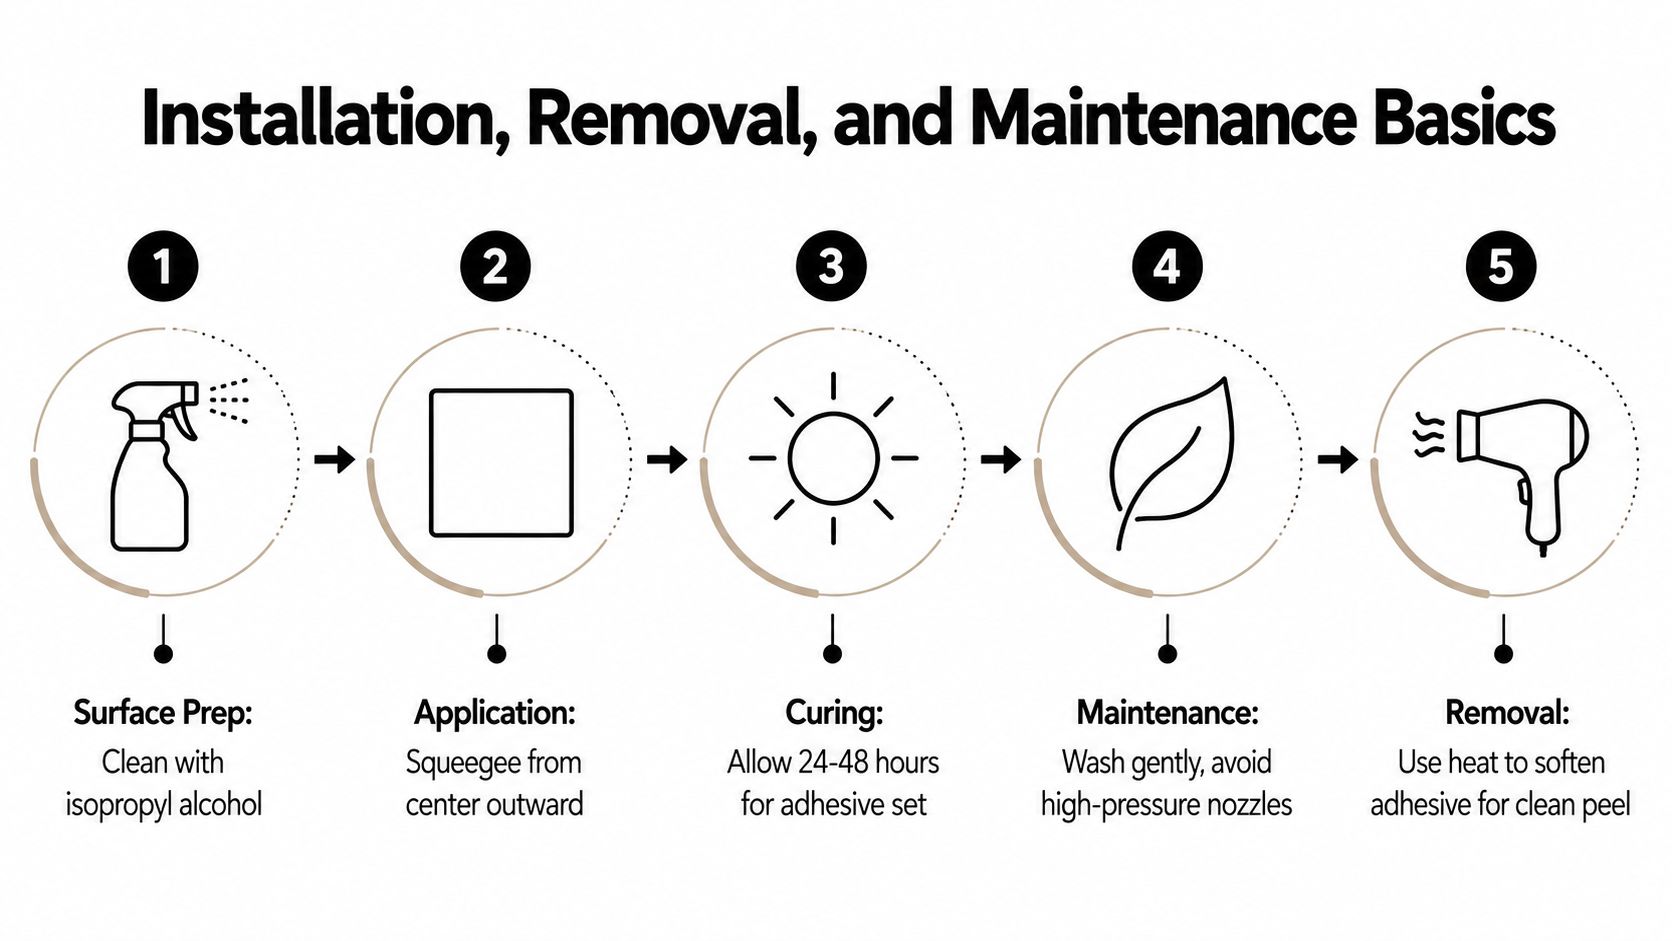
Installation that doesn't fight you
Surface prep comes first. Clean paint and glass with isopropyl alcohol so the adhesive isn't trying to bond over wax, dust, or road film. Position the graphic before it touches down for good, then squeegee from the center outward so air has somewhere to go. On curved panels, gentle heat helps the film settle instead of bridging over the shape.
Pre-spaced, transfer-taped graphics make this easier because the letters or shapes stay aligned while you work. That's one reason a quality maker matters. Custom Sticker Shop produces pre-spaced, transfer-taped decals in Oracal vinyl, which is the kind of setup that helps a DIY installer avoid the worst handling mistakes.
Removal without wrecking the finish
Heat softens adhesive and usually makes removal cleaner. Pull slowly, keep the angle low, and don't yank the film straight up unless you're asking for leftover adhesive and possible stress on old edges. If residue remains, remove it carefully rather than scrubbing hard.
The best analogy is paint protection work. A useful overview of PPF installation mistakes to avoid shows the same kind of discipline, clean surface, controlled heat, and patient edge work, and those habits carry over to vinyl graphics too.
Maintenance that extends the life of the graphic
Wash gently. Avoid harsh solvents and aggressive brush washes that can chew up edges or lift corners. High-pressure nozzles aimed too close to seams can force water under the film and shorten the life of the install. If the graphic is outdoors for long stretches, inspect the edges every so often so a small lift doesn't become a full peel.
The cleanest removal starts with a clean install.
A quality vinyl graphic should make the car look finished, not fragile. That's why material choice, fit, and routine care matter more than the sticker price. Custom Sticker Shop fits into that conversation because it offers pre-spaced vinyl graphics made for cars and trucks, so the result is easier to install and better suited to outdoor use than a bargain decal that wasn't built for the same job.
If you want vinyl graphics that fit the vehicle instead of fighting it, take a look at Custom Sticker Shop. It offers pre-spaced automotive decals and graphics made for cars, trucks, and Jeeps, so you can choose a design that matches the panel, the placement, and the kind of use your vehicle sees.