
You're probably looking at the back window of your truck, your cooler, or your toolbox right now and thinking the same thing a lot of duck hunters and DU supporters think. You want a decal that looks clean, goes on straight, and still looks right after sun, rain, road grime, and a few wash cycles.
That sounds simple until you've dealt with a bargain-bin sticker that curls at the edges, traps bubbles, or starts looking tired before the season even settles in. A duck unlimited sticker should feel like a small badge of pride, not an afterthought.
Show Your Support with a Lasting Decal
A good DU-style decal does two jobs at once. It shows where you stand, and it has to hold up in the places real people use them, on rear glass, painted metal, gun safes, coolers, and boat gear that gets handled hard.
That matters because Ducks Unlimited isn't some tiny niche club. According to Ducks Unlimited's national overview, DU has about 715,000 members nationally, including roughly 31,000 volunteers who organized 4,500 fundraising events in the last year, and the organization also says it delivered 1 million acres of conservation across North America in a single year for the first time in its 87-year history. If you're putting that mark on your truck, you want it to look sharp.
I've seen the same pattern for years. Someone buys a cheap sticker because it's easy, slaps it on a dusty window in the driveway, and then wonders why it wrinkles, lifts, or fades fast. Then they see a clean-cut vinyl piece on another truck, one that sits flat, has a crisp edge, and still looks intentional months later.
There's a big difference between a throwaway sticker and a proper decal. A proper decal looks like it belongs on the vehicle.
A duck unlimited sticker works best when it looks simple, centered, and deliberate. Most installation problems start before the backing paper ever comes off.
If you're after that classic duck-head look for a pickup or hunting rig, a duck head hunting window decal for cars and trucks gives you the same visual idea people want from DU-inspired gear, but with the cleaner finish you get from automotive-style vinyl.
What makes it worth doing right
- Cause matters: You're not just decorating a window. You're signaling support for wetlands, waterfowl habitat, and hunting culture.
- Visibility matters: A decal on the wrong surface or in the wrong finish disappears instead of standing out.
- Longevity matters: If it starts peeling early, it doesn't say “support.” It says “temporary.”
That's why the little details matter. Material, finish, location, and install method all change the final result.
Choosing the Right Duck Unlimited Sticker
Many collectors start with the logo and stop there. That's where mistakes begin. With duck unlimited stickers, the better question is what finish, material, and cut style truly fit the surface you're applying it to.
Ducks Unlimited decal listings commonly use the familiar duck-head silhouette, and product pages show a common benchmark of around 6 inches with retail pricing often in the $5.99 range, while also noting that finish and material can vary by seller, as shown in this DU decal product listing. That's useful because it tells you what “standard size” often looks like in the market, but it doesn't tell you what will look best on your specific setup.
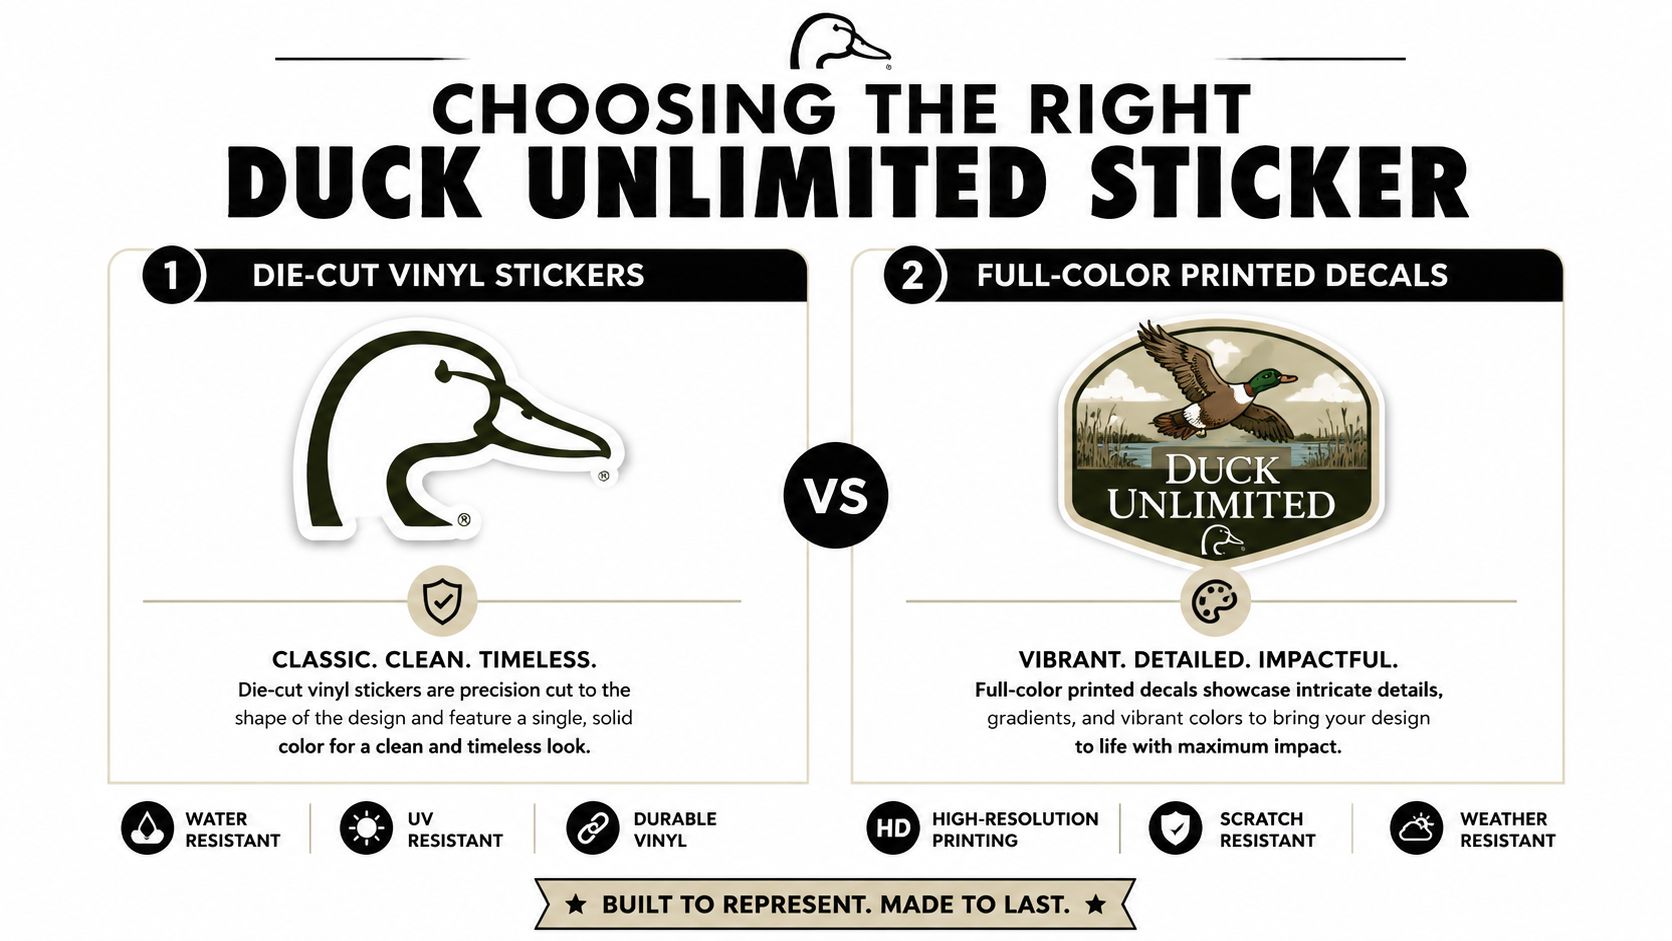
Die-cut versus printed
A die-cut vinyl decal is the clean, classic option. You see the shape and nothing extra. On a truck window, that usually means a stronger look because there's no printed background trying to compete with reflections or tint.
A full-color printed decal gives you more detail, but that doesn't always mean it reads better from a distance. On dark glass, a busy graphic can turn muddy fast.
Here's the practical split:
| Style | Best use | What works well | What usually goes wrong |
|---|---|---|---|
| Die-cut vinyl | Rear windows, toolboxes, body panels | Crisp outline, easy to read at a glance | People choose too small a size |
| Printed decal | Coolers, laptops, flatter gear surfaces | More artwork detail | Background edges and visual clutter can cheapen the look |
Finish changes everything
White and chrome are the two finishes people ask about most often with DU-style graphics.
White is the safe choice on tinted rear glass. It gives strong contrast, reads from farther away, and keeps the logo shape clean. If you want the decal to be seen first and admired second, white usually wins.
Chrome can look excellent on darker paint or glass, but it's more surface-dependent. On silver toolboxes or bright metallic paint, chrome can blend in and lose punch. On black glass or a deep paint color, it catches light and looks premium.
Practical rule: Match the finish to the background, not to the logo in your head. Contrast always beats theory.
What a 7-year outdoor vinyl rating means in plain English
When a decal shop uses Oracal vinyl rated for up to 7 years outdoors, that doesn't mean every install will look perfect for exactly that long. It means the vinyl is built for real weather exposure, not just indoor display use.
In the field, that translates to a decal that's made to deal with:
- Sun exposure
- Rain and temperature swings
- Routine washing
- Daily use on work trucks and hunting rigs
The vinyl still needs a good surface and a proper install. Good material can't save a dirty panel or a rushed application in bad conditions.
A simple way to choose size
Use the common 6-inch DU style as your baseline. That size usually works well for:
- Rear window corners
- Toolbox lids
- Coolers
- Laptop lids
- Smaller side glass
If you want a center-rear-window statement piece, many people prefer stepping up from that standard look. If you're using a side window or a narrow panel, six inches often lands in the sweet spot where it's visible without looking oversized.
The cleanest installs happen when the size fits the negative space around it. If the decal fills every inch of available room, it starts looking crowded.
Strategic Sizing and Placement for Your Gear
Placement is what separates a decal that looks factory-clean from one that looks like an impulse buy. Size matters, but position matters more.
A lot of duck unlimited stickers end up on truck rear windows because that's the easiest flat, visible surface. That's smart, but only if you respect the panel shape, sight lines, and edges. The same decal can look perfectly balanced in one corner and awkward six inches away.
Best surfaces for a clean bond
Product descriptions for DU decals commonly describe them as high-quality vinyl meant for smooth, flat surfaces and note that users should apply them to non-porous materials like glass or painted metal while avoiding textured plastics and fresh paint, as outlined in this DU decal retailer listing.
That lines up with what works in the shop every day. Smooth glass is easy. Painted metal is usually solid. Textured cooler lids, rough plastic, and low-energy surfaces are where people get surprised.
If you want a hunting-themed graphic for side glass, tailgate glass, or gear cases, bird dog and duck hunting vinyl decal stickers show the kind of clean-cut design style that tends to install better on the right surfaces than thick novelty stickers with heavy borders.
Placement by item
Try this approach before you peel anything:
- Rear truck window corner: Leave breathing room from the outer edges. Too tight to the trim looks cramped.
- Rear truck window center: Works best with one larger focal decal, not several competing graphics.
- Toolbox or gun safe: Center it from hard reference lines, not by eye.
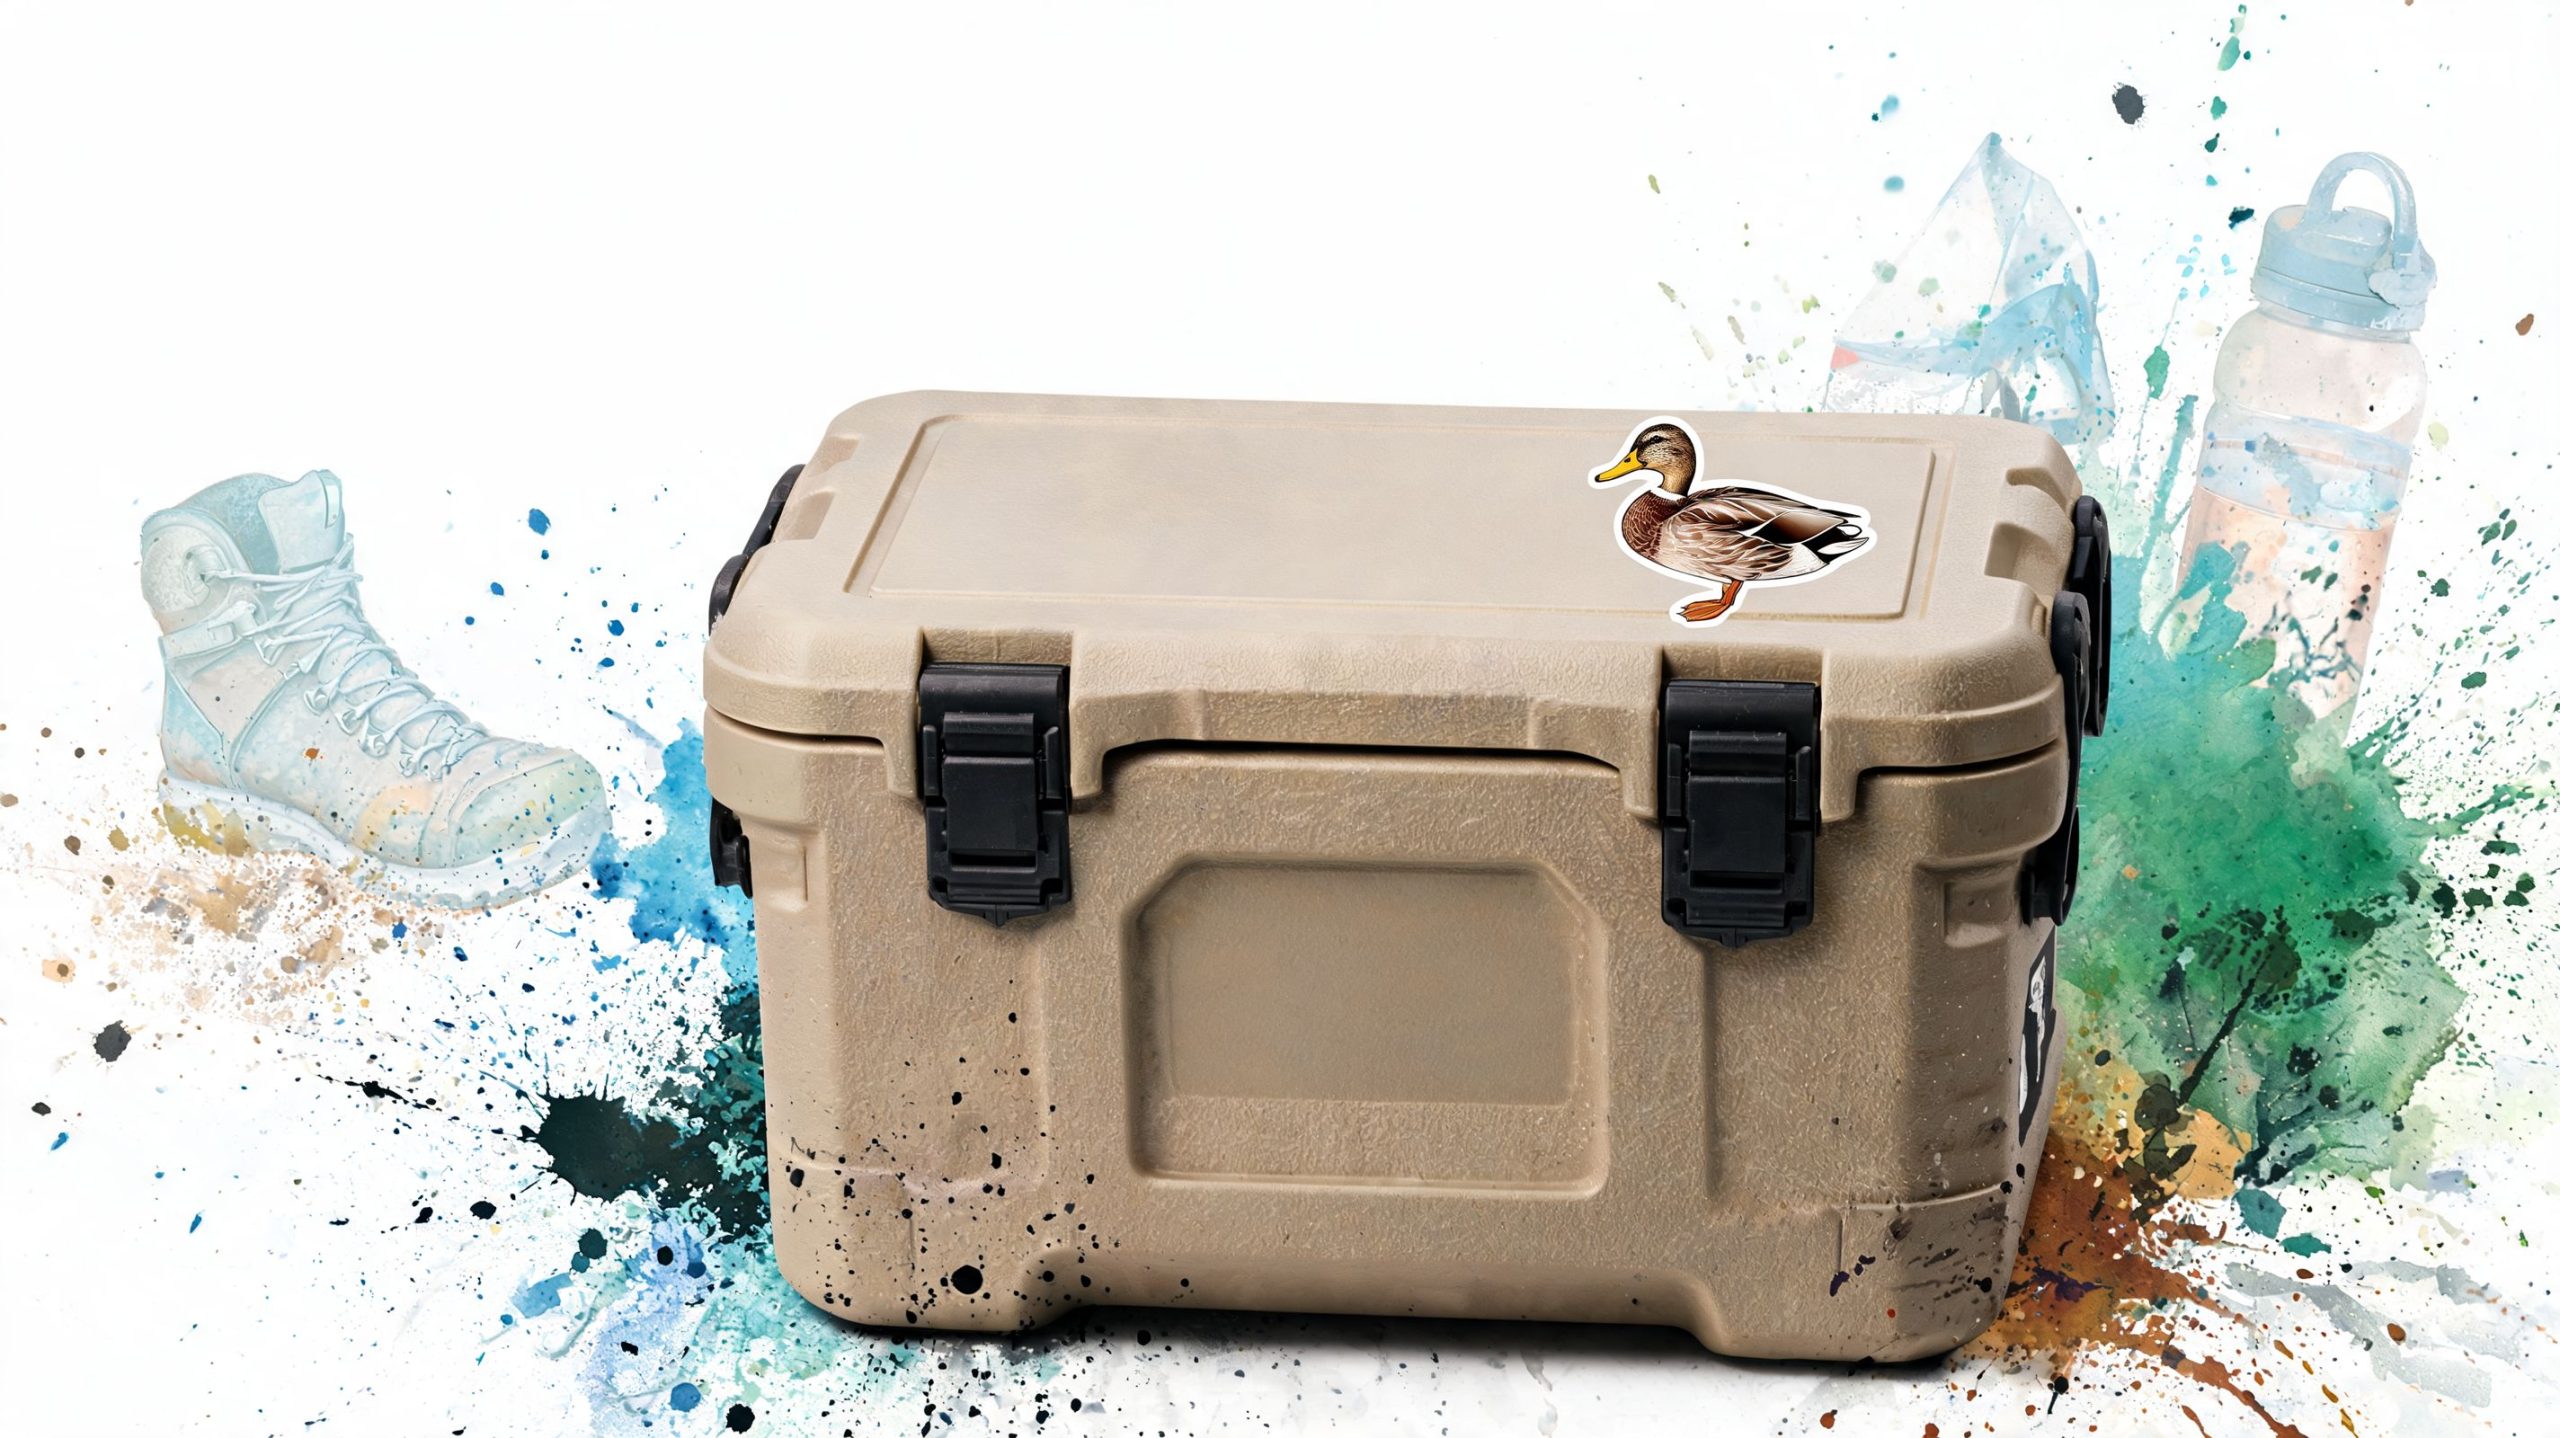
- Cooler: Pick the flattest panel you have. Hinges, molded texture, and sharp curves shorten your margin for error.
- Boat panel: Watch the curve. What looks straight on land can look tilted once it's on the hull.
Use tape before commitment
Painter's tape saves a lot of regret. Hold the decal in place with small tape tabs, step back, and view it from different angles.
Measure from something fixed:
- The bottom edge of the glass
- The side trim
- A body line
- The lid seam on a cooler or toolbox
If you can't measure two points and get the same distance, it isn't straight. Your eye will notice that later, even if it doesn't right now.
A final caution. Keep decals off windshields and any area that can interfere with visibility or local equipment rules. While many drivers already know this, it's worth saying because a good-looking install still has to be a practical one.
Achieving a Bubble-Free Installation
Most vinyl installs go wrong in one of three places. The panel wasn't cleaned enough, the decal was rushed into place, or the transfer tape was peeled too aggressively.
The good news is that duck unlimited stickers are usually straightforward to install when the design is simple and the surface is right. If you've got a die-cut decal, some painter's tape, a squeegee, and a little patience, you can get a professional-looking result at home.
Prep the panel first
Wash the area if it's dirty. Then wipe it down with rubbing alcohol on a lint-free cloth. Don't skip the edges of the install zone. That's where wax, silicone, fingerprints, and road film like to hang around.
Let the panel dry completely before you start. If the surface feels slick from dressing or detail spray, clean it again.
Gather these tools first:
- Painter's tape for alignment
- Plastic squeegee or a credit card wrapped in microfiber
- Rubbing alcohol
- Lint-free cloth
- Pin or fine needle for tiny trapped bubbles
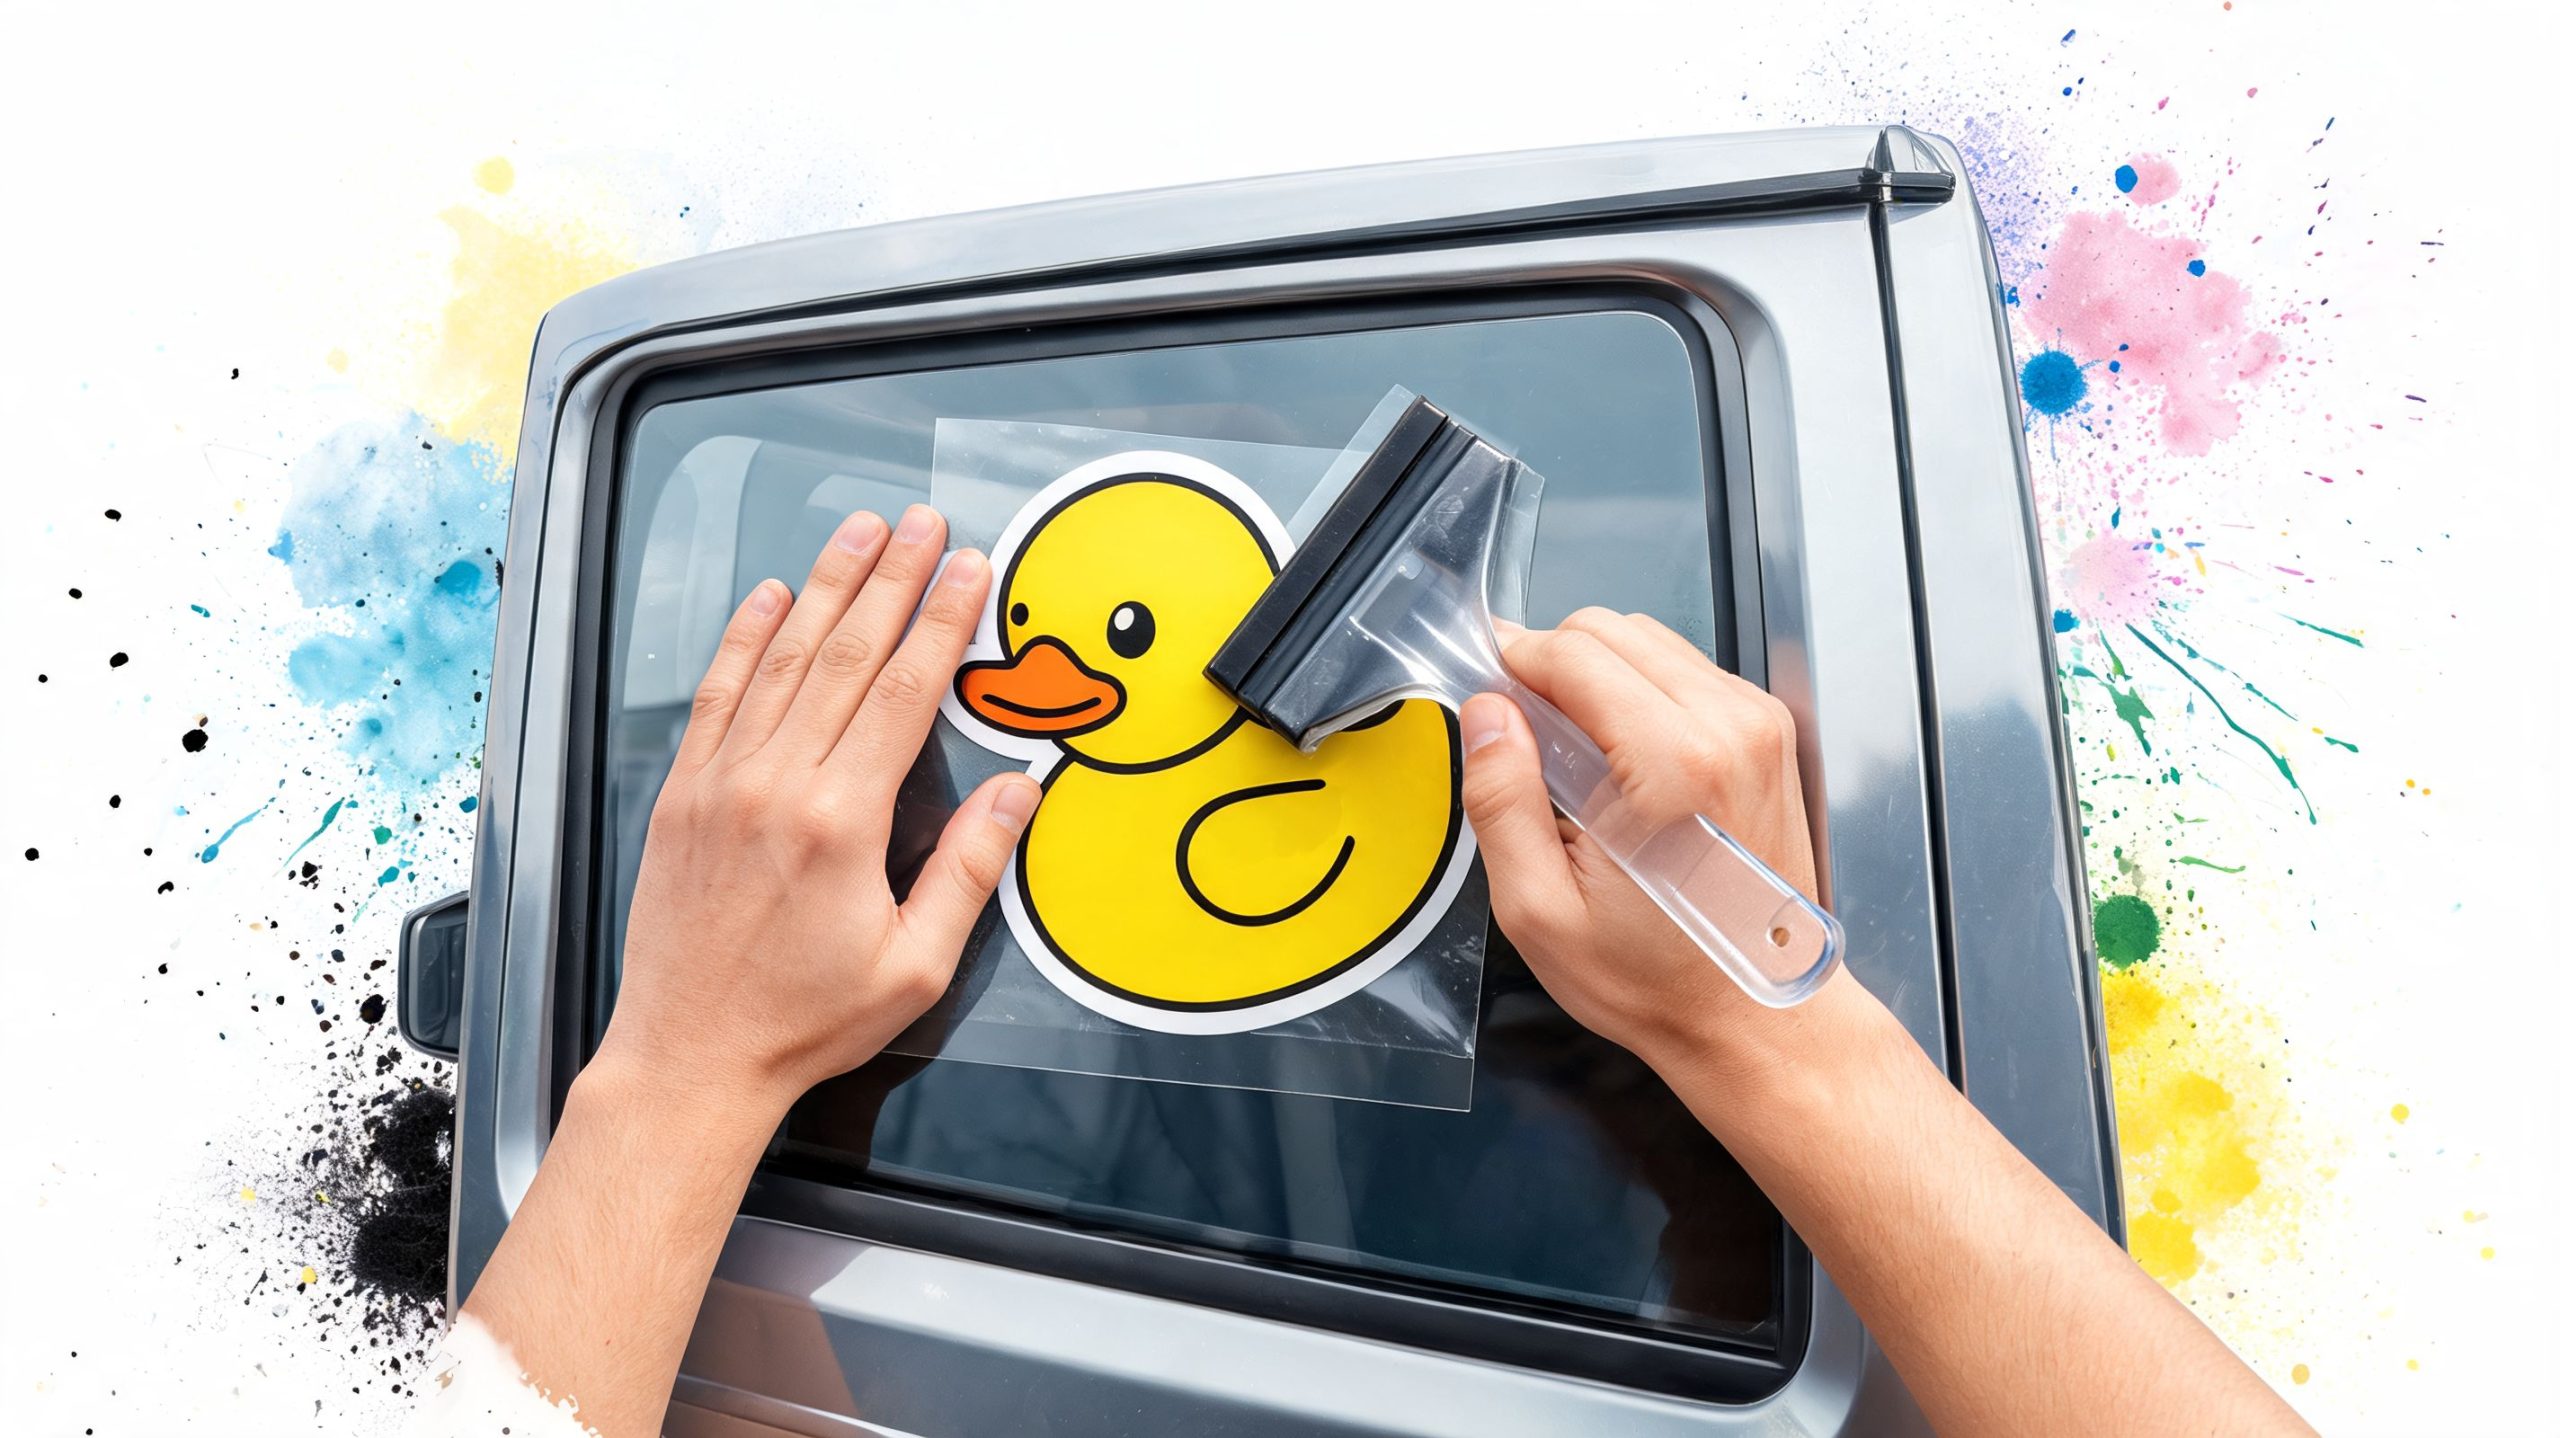
Use the hinge method
This is still the easiest way to install a small or medium decal straight.
- Hold the decal where you want it.
- Put a strip of painter's tape across the center or top edge to create a hinge.
- Flip the decal away from the surface.
- Peel the backing paper off.
- Lower the decal back down slowly.
Now squeegee from the center outward with firm, overlapping strokes. Think controlled pressure, not brute force.
Warm, calm conditions make vinyl easier to handle. Cold panels and windy driveways create most beginner problems.
Slow peel beats fast peel
Once you've burnished the decal through the transfer tape, start peeling the tape back at a sharp angle. Pull it low and slow, almost folding it back over itself.
If the vinyl lifts with the tape, stop. Put the tape back down and burnish again with more pressure.
A lot of people think the decal failed at that point. Usually it just needs more pressure on the face side before the transfer tape releases cleanly.
A quick video helps
If you want to see the pace and hand motion that makes vinyl installs easier, this walkthrough is a useful visual reference:
Fixing the common problems
Here's what to do when things aren't perfect:
- Tiny air bubble: Use a fine pin, prick the edge of the bubble, and press the air out with your thumb or squeegee.
- Decal won't release from backing paper: Flip it over and burnish the back side before trying again.
- Transfer tape keeps lifting the decal: Slow down your peel angle and press the vinyl down more firmly first.
- Slightly crooked placement: If you catch it early, lift carefully and reset. Once the adhesive fully grabs, forcing it usually stretches the vinyl.
- Wrinkle forming during laydown: Stop immediately and lift back only to the problem area. Don't keep pushing forward and hope it disappears.
What pre-spaced and transfer-taped really mean
When a decal is pre-spaced, the letters or design elements are already set in the right position for you. When it's transfer-taped, the face tape keeps everything aligned while you install it.
That matters because it removes the fiddly part. You're installing one assembled graphic, not trying to line up loose pieces by hand. For clean DU-style silhouettes and hunting graphics, that makes a noticeable difference.
Long-Term Care and Clean Removal
Once the decal is on, the job isn't finished. The way you wash around it and the way you remove it later determine whether it keeps its clean edge or turns into a hassle.
A good vinyl decal doesn't need special treatment every week, but it does reward common sense. The biggest enemies are aggressive pressure at the edge, harsh scraping, and neglect during removal.
Making it last
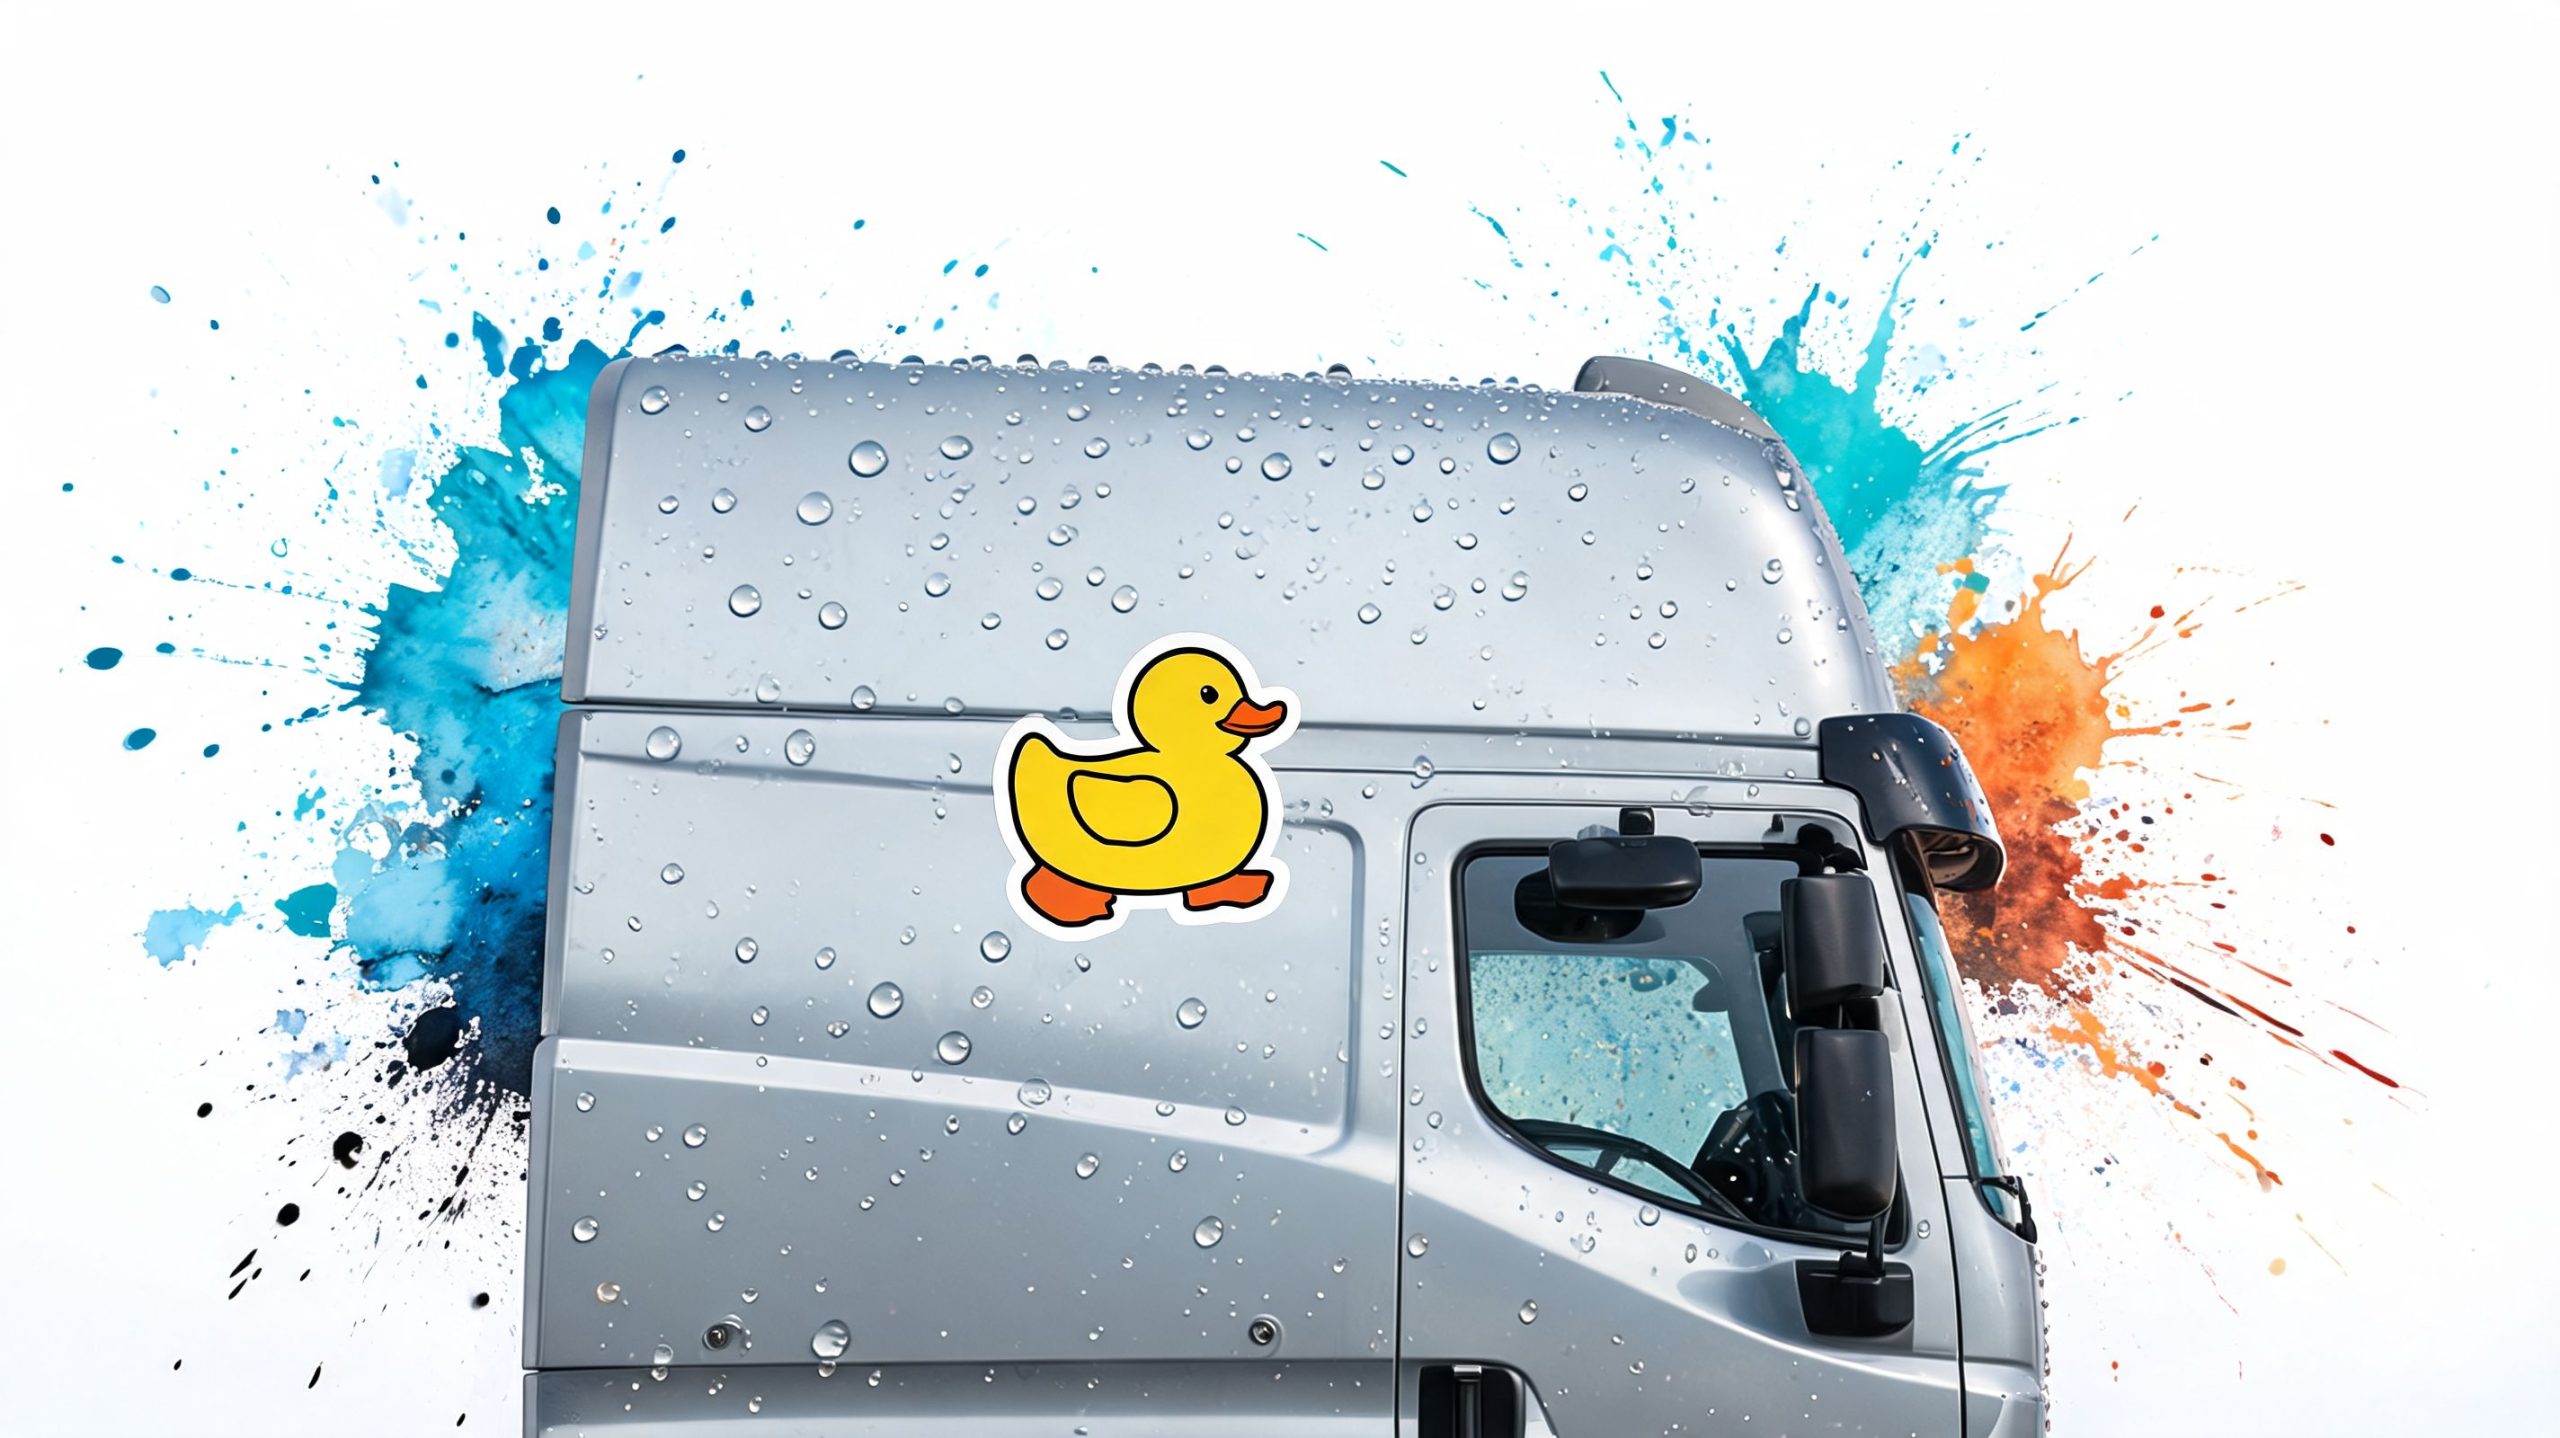
If your decal is made from outdoor-rated vinyl, your job is simple. Keep the surface clean and don't attack the edges.
For regular care:
- Hand wash is safest: A soft wash mitt won't catch edges the way rough brushes sometimes can.
- If using a pressure washer: Keep the nozzle at least a foot away from the decal edges and avoid blasting directly into the edge line.
- Dry with a clean towel: Dirt dragged across the face can dull the finish over time.
- Leave new paint alone until fully cured: Vinyl over fresh paint is always a gamble.
Clean decals last longer when the edges stay sealed. Most early failures start with edge abuse, not with the middle of the graphic.
Starting fresh
Removal is where impatience does damage. Don't dig at vinyl with a metal blade. Don't yank it cold if it's been on there a long time.
Use this method instead:
- Warm the decal with a hairdryer or a heat gun on a cautious setting.
- Lift one edge with a plastic razor blade or your fingernail.
- Peel slowly while continuing to apply gentle heat.
- Remove leftover adhesive with adhesive remover or rubbing alcohol.
- Wipe the panel clean and dry.
Glass is usually forgiving. Painted metal needs more care. If the vinyl tears into small pieces, add a little more heat and slow the peel angle down.
A patient removal leaves the surface ready for the next decal instead of leaving you with adhesive smears and avoidable scratches.
Ordering Decals and Other Common Questions
A few questions come up every week from people buying duck unlimited stickers or similar hunting decals. The answers are practical.
How long does it take to get one?
Some DU donation-based offers list 4 to 6 weeks for delivery, with a $4 minimum donation to receive decals and a featured $10 offer to get all four decals, plus one set per donation unless a new transaction is made, according to the DU donation offer details. If you're ordering from a dedicated decal shop instead of waiting on a promotional fulfillment window, it's common to see faster order-to-door timing, and shops like ours typically land in 5 to 8 days with a Buy 2 Get 1 Free option for bundling.
What does pre-spaced mean?
It means the design is already aligned before it gets to you. If the decal has separate letters or multiple cut elements, they arrive positioned correctly under transfer tape so you install the full graphic in one shot.
Can I apply a decal in cold weather?
You can, but it's not ideal. Cold vinyl gets stiffer, adhesive grabs differently, and release paper can become more stubborn. If you have the option, install indoors or wait for a milder day.
Will a decal stick to a textured cooler?
Sometimes, but that's not the surface I'd choose first. Vinyl likes smooth, non-porous panels. Texture creates tiny gaps that reduce contact, especially around small cut details.
Can I bundle different graphics in one order?
Usually yes, and that's where mixed orders make sense. A lot of truck owners pair a DU-style rear window graphic with a windshield text decal or a second hunting graphic for a toolbox. If you also want lettering, a custom text windshield banner decal sticker is a clean way to build a matching look without turning the whole vehicle into a cluttered collage.
If you want a clean, long-lasting hunting decal made from American-made Oracal vinyl and cut for real outdoor use, take a look at Custom Sticker Shop. Their decals are pre-spaced, transfer-taped, built for easy installation, and typically arrive in 5 to 8 days, which makes the whole process a lot easier when you want something that looks right the first time.