
You’re probably looking at your vehicle right now and thinking it needs one clean detail to pull everything together. Not a full wrap. Not a pile of chrome trim. Just one graphic that gives the hood, glass, or bedside some personality without making the whole build feel busy.
That’s where star decals for cars work so well. A star can read military, vintage, tuner, patriotic, understated, or bold depending on the size, finish, and where you place it. The difference between a decal that looks factory-clean and one that looks like it came out of a bargain bin usually comes down to three things: the vinyl, the layout, and the install.
Why Star Decals Are More Than Just Stickers
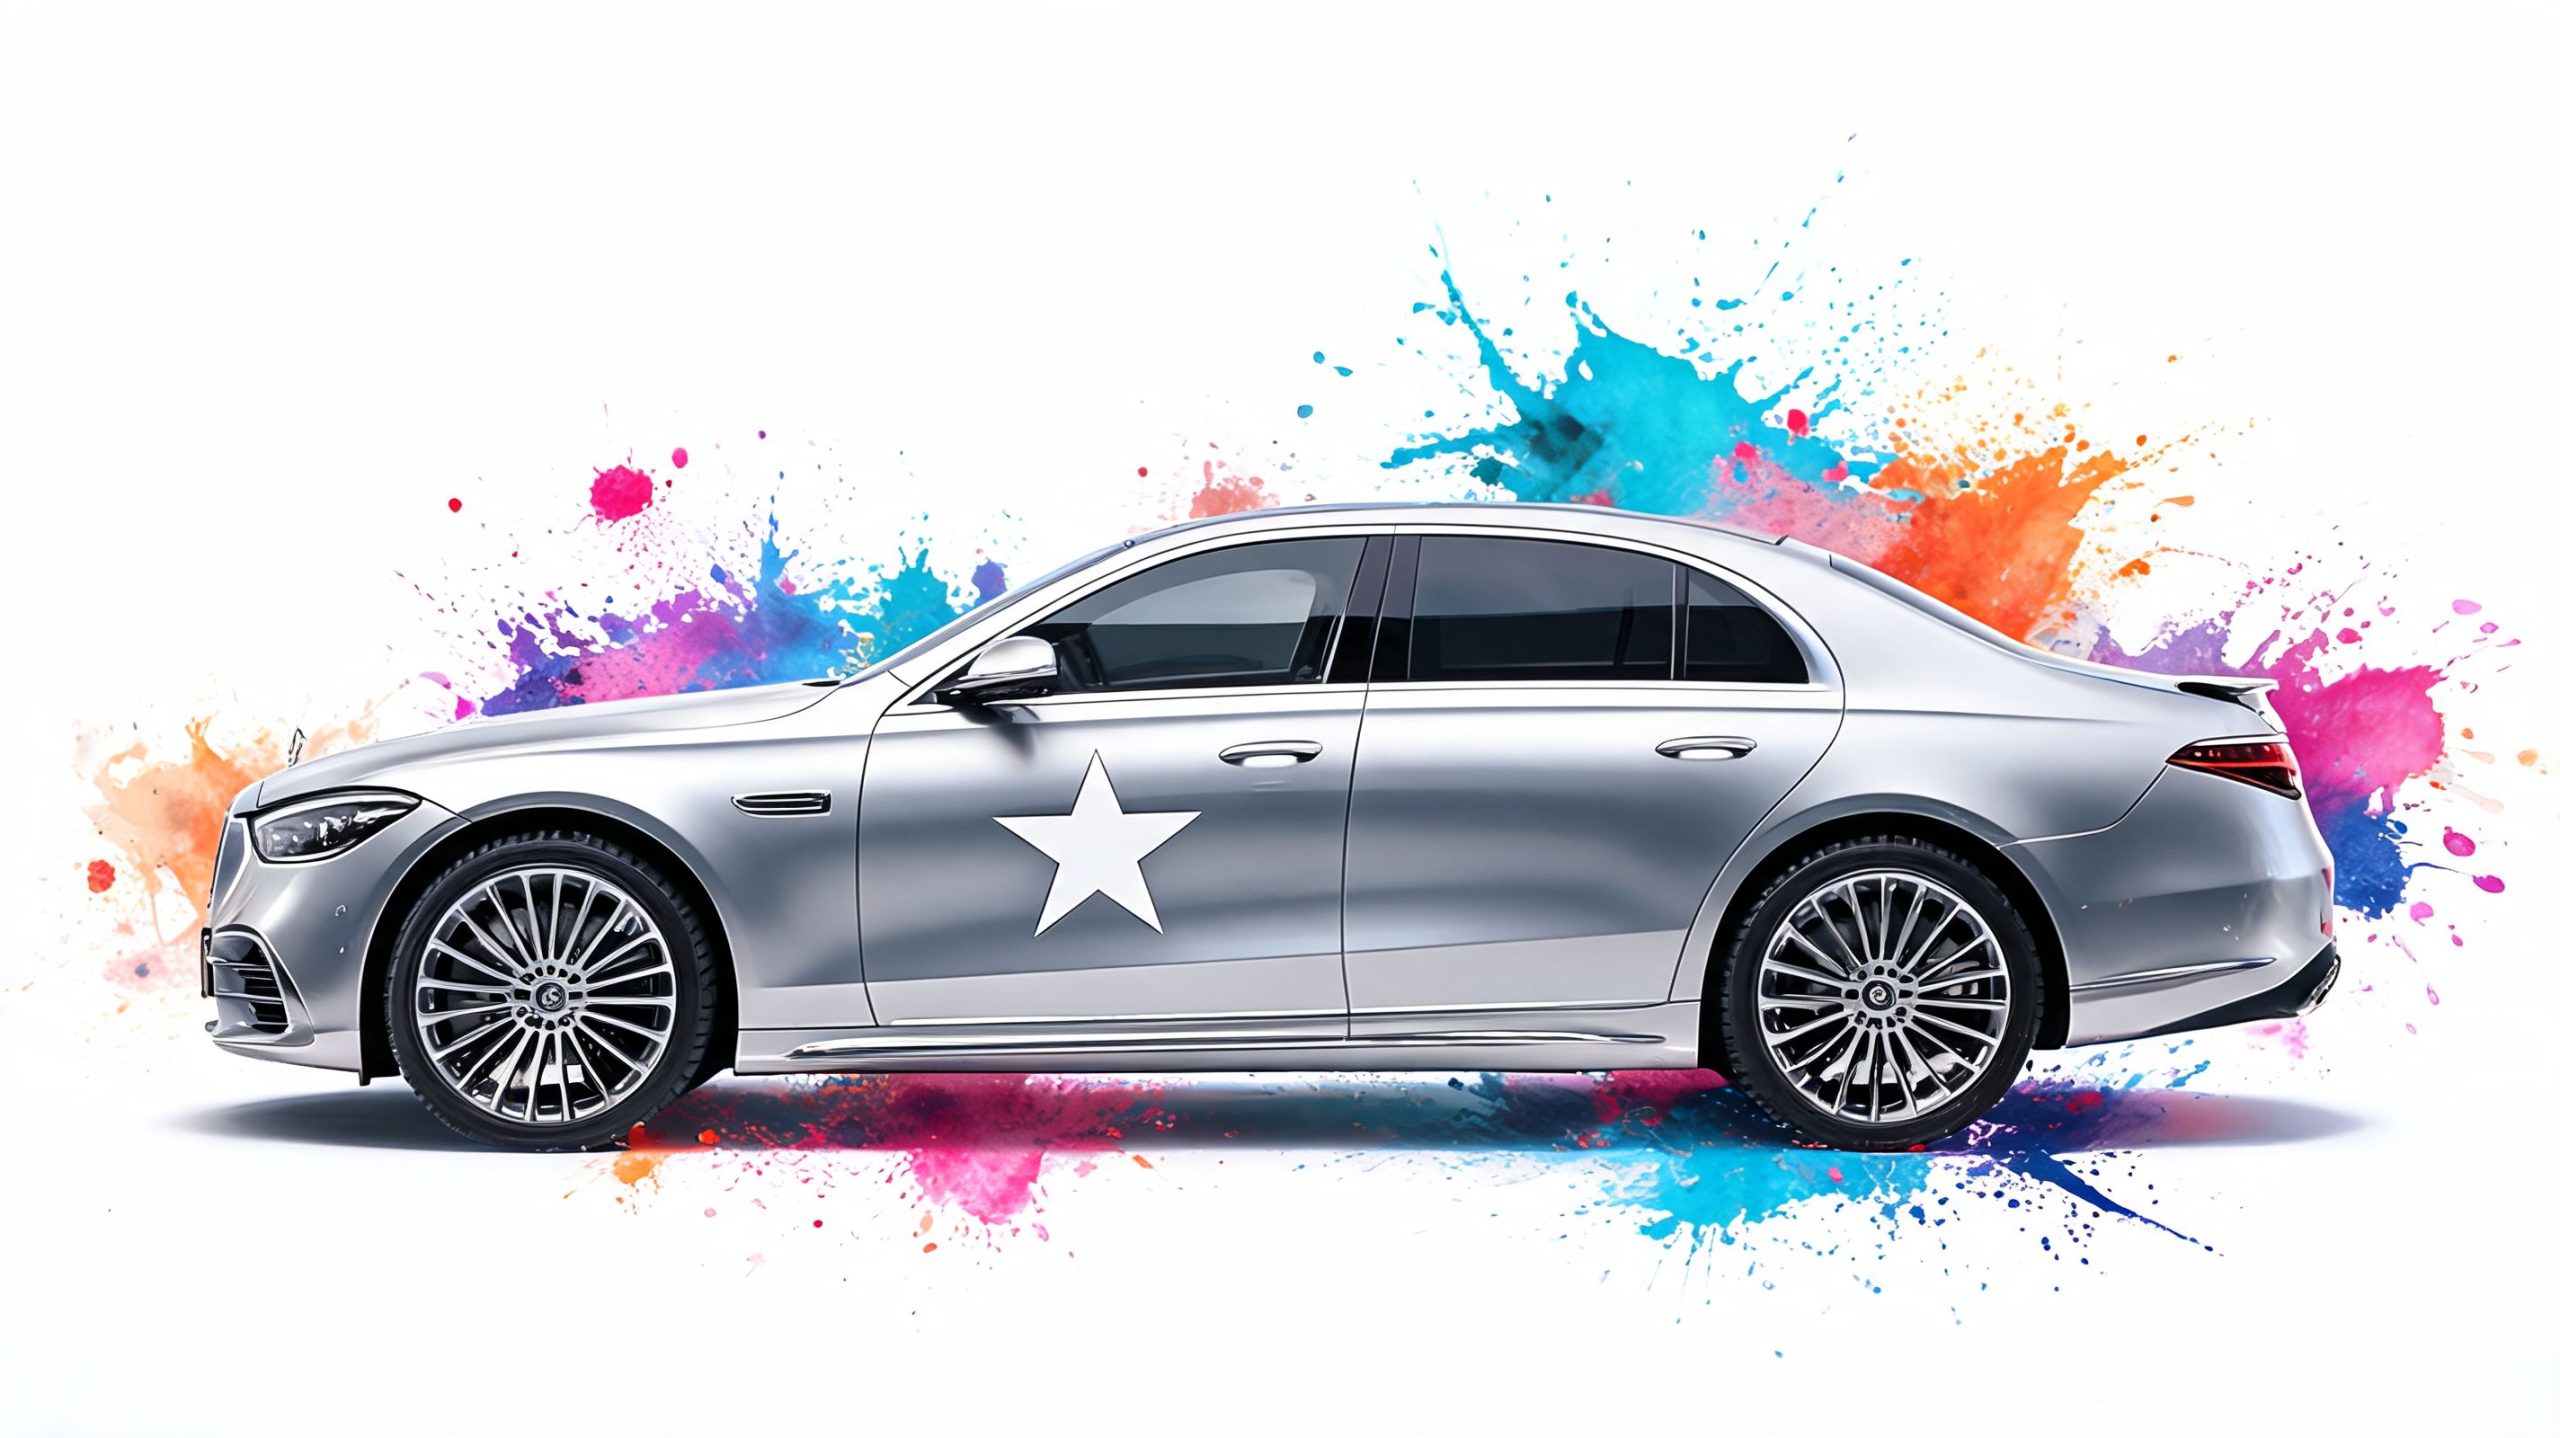
A star decal does a job few graphics can do. It’s simple enough to look right on almost any vehicle, but it still carries meaning. On one truck, it looks like a military tribute. On a black coupe, it can feel sharp and modern. On a Jeep, it often taps straight into heritage.
The symbol has real history
The best-known automotive star decal isn’t random styling. The Jeep star decal originated during World War II as a critical military identification symbol, adopted by Jeep vehicles to distinguish American exports from enemy ones before and during the war. This marking was mandated for over 350,000 Willys MB and Ford GPW Jeeps produced between 1941 and 1945, as documented in this history of star markings on Jeep vehicles.
That history still shapes what customers ask for now. Some want the classic hood star because they’re restoring a military look. Others want a cleaner version with no circle, no distressing, and no extra text. Same symbol, different intent.
One shape, different personalities
A star decal can lean in several directions:
- Military tribute: Best on Jeep hoods, doors, and flat tailgates.
- JDM accent: Smaller stars near quarter glass, side stripes, or lower rocker areas.
- Daily driver detail: A subtle gloss-black star on a tinted rear window or fuel door.
- Truck graphic: Larger stars on doors, bedsides, or back glass where the panel can carry the shape.
A good decal doesn’t fight the vehicle’s lines. It should look like it belongs there.
That’s why placement matters as much as design. A star that’s too large for the panel can look heavy. One that’s too small gets lost and reads like an afterthought.
Why people keep coming back to them
Star decals are affordable, easy to personalize, and easy to understand from ten feet away. You don’t need a complicated graphic package to make a vehicle feel like your own. One well-cut star, installed straight and sized correctly, can change the whole look.
That’s also why they’re popular across very different groups. Jeep owners, veterans, truck drivers, tuner fans, and families all use the same basic symbol in completely different ways. The shape is universal. The execution is what makes it personal.
How to Select the Right Star Decal for Your Vehicle
A customer usually notices the design first. I look at the vinyl first, because that is what decides whether the decal still looks right after a summer of sun, road grime, and car washes.
Start with material that belongs on a vehicle
For painted panels and glass, cast or calendared sign vinyl from a known brand is the safe place to start. Oracal 651 stays popular for automotive decals because it is rated by the manufacturer for outdoor use and built for clean cutting, stable color, and dependable adhesion, as shown on the Orafol Oracal 651 product page.
This holds true for practical use. A star decal sits out in UV, heat, rain, wash soap, and winter temperature swings. Low-grade vinyl often fails at the points first. You will see edge lift, shrinkage, or color fade long before the design should be wearing out.
Ask better questions before you buy
A reliable seller should be able to tell you what vinyl line they use, whether the decal is suitable for outdoor exposure, and if transfer tape is included for installation. If those answers are vague, the product usually is too.
I also tell customers to ask one more question. Is the decal cut for flat panels only, or will it handle light curves? A hood star on a flat Jeep panel has different demands than a door graphic crossing a slight contour.
Buy the decal for the panel it is going on, not just for the picture on the listing.
Pick a finish that matches the vehicle
Finish changes the look more than many buyers expect.
| Finish | Best use | What it looks like |
|---|---|---|
| Matte | Military-style hoods, off-road rigs, satin wraps | Low glare, subdued, period-correct |
| Gloss | Daily drivers, glass installs, modern paint | Crisp edges, stronger contrast, cleaner pop |
| Laminated finish | High-sun exposure, frequent washing | Added surface protection and easier cleaning |
Matte works well when the goal is an older military feel or a more understated build. Gloss reads sharper on newer paint and rear glass. Laminated decals cost more, but they make sense on vehicles that live outside or go through frequent wash cycles.
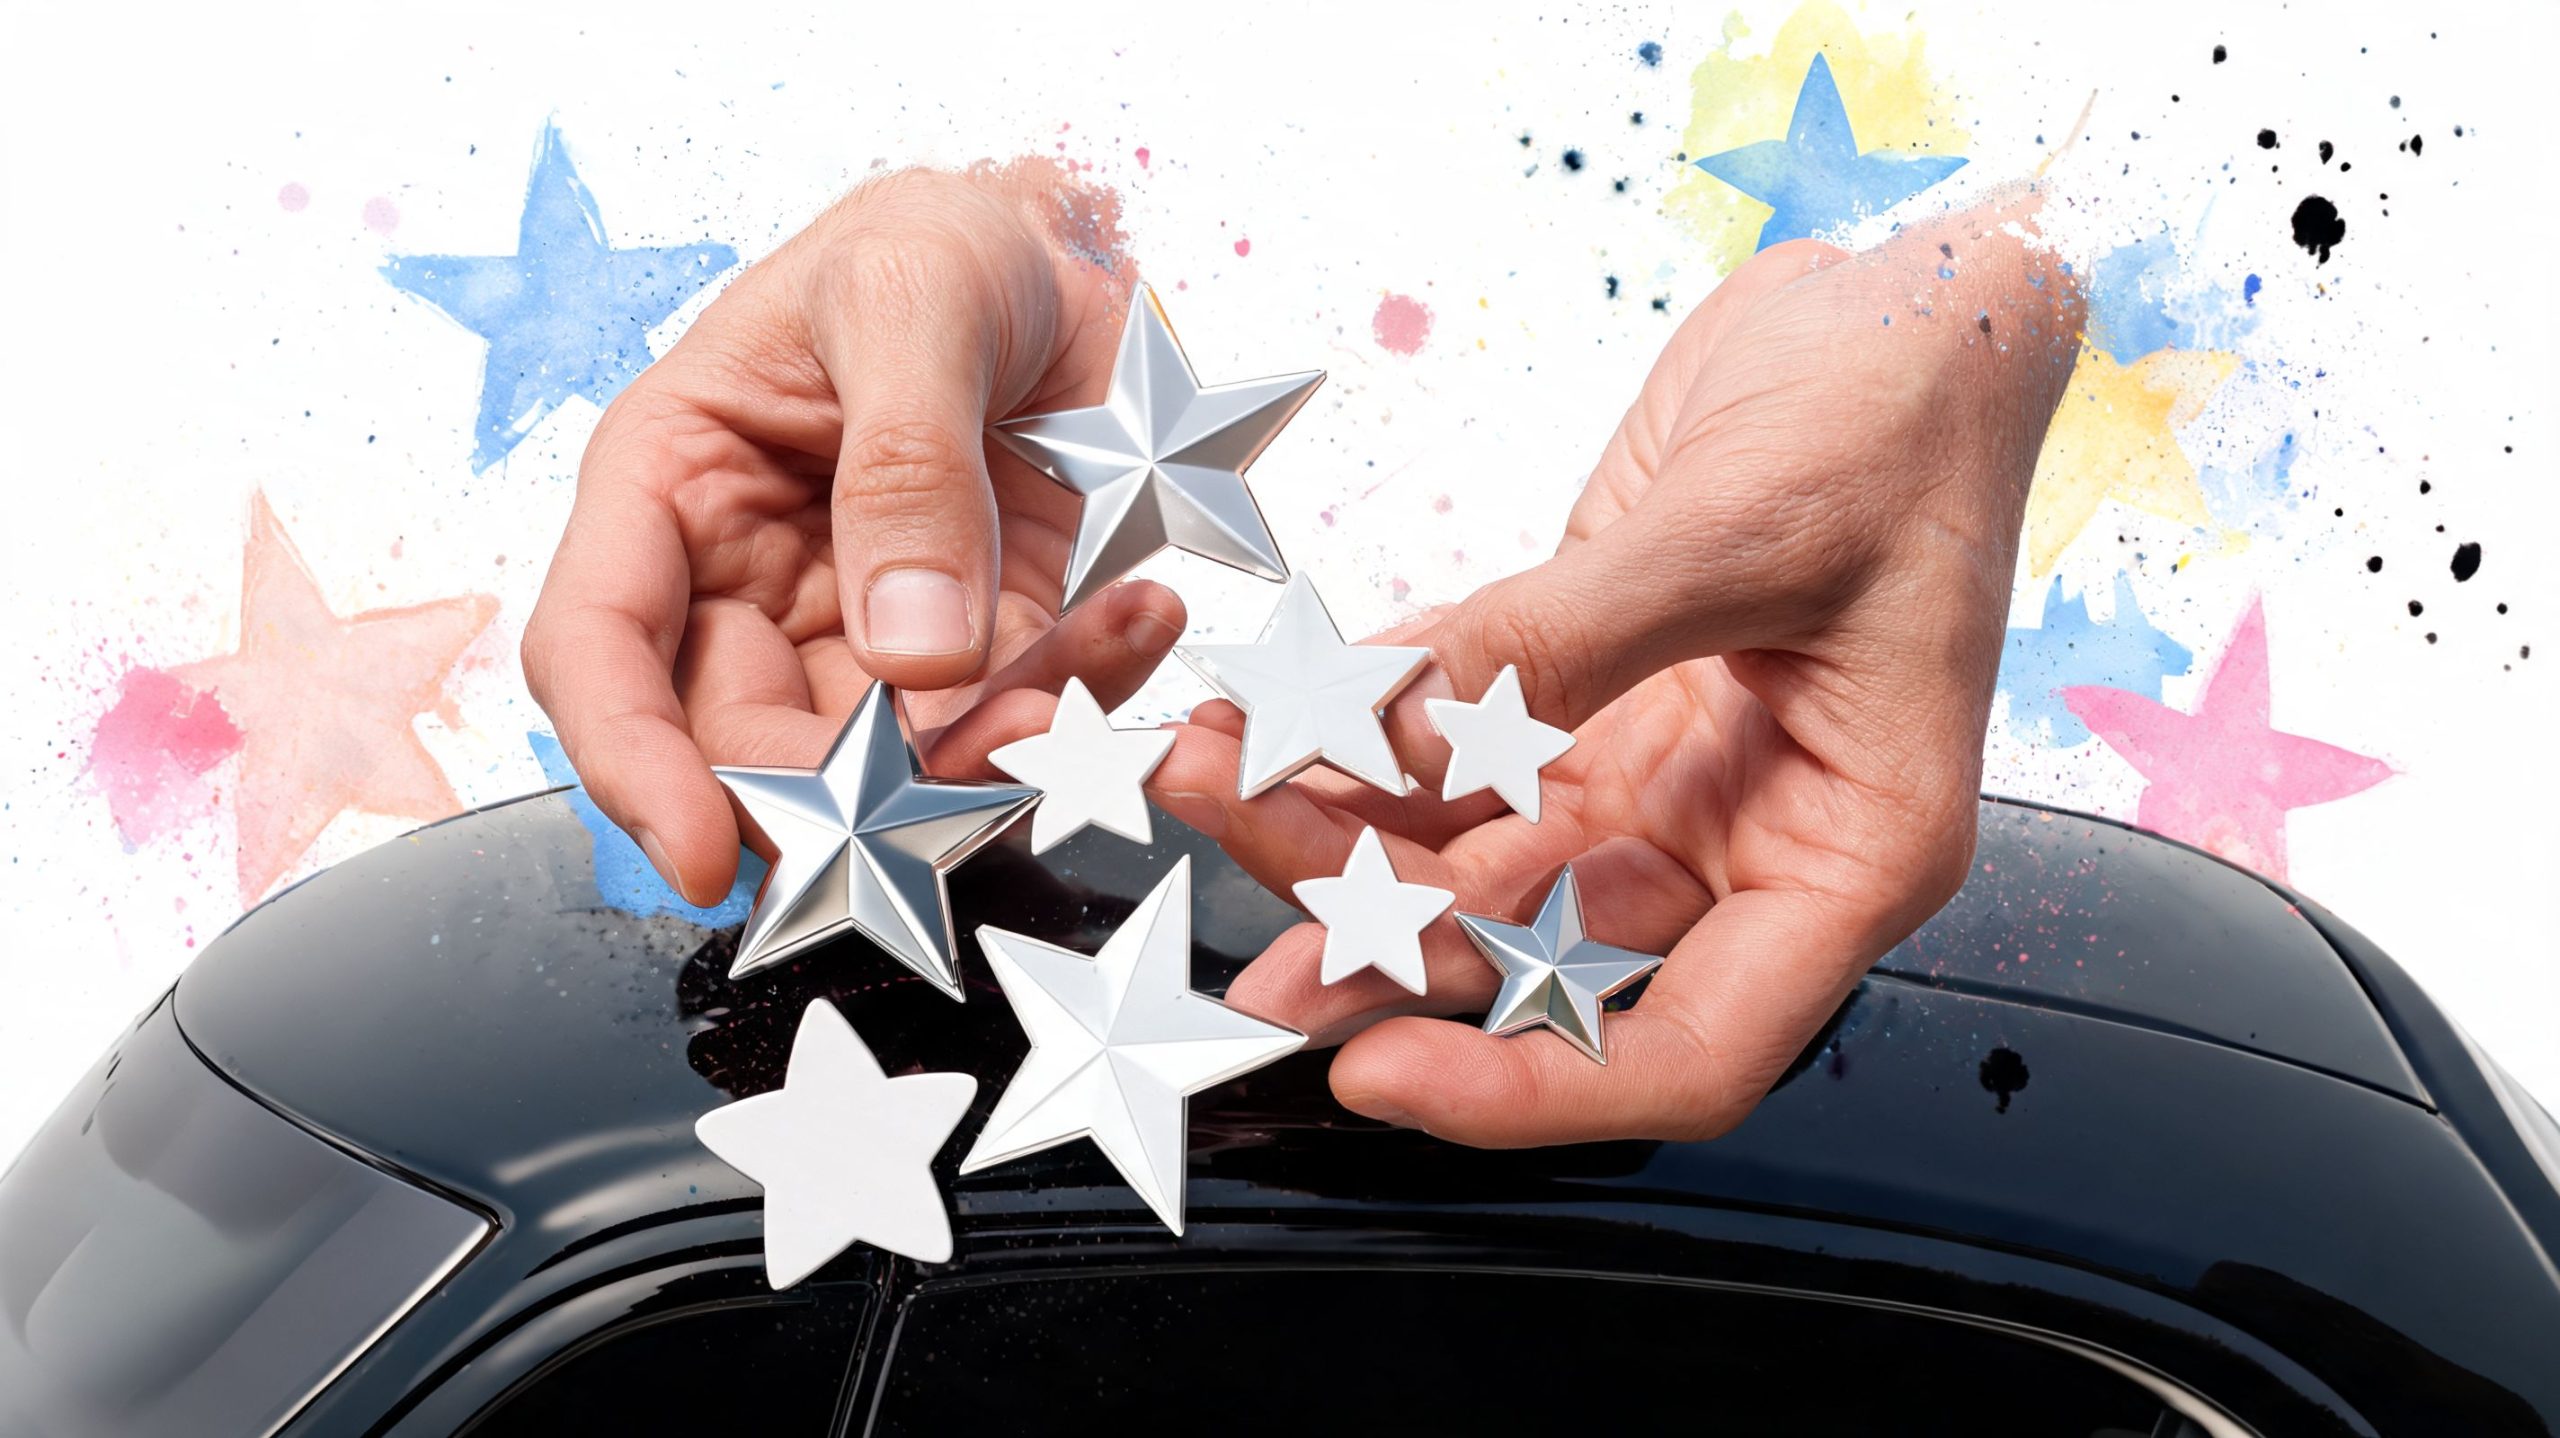
Size the star to the panel, not the product photo
A star can be perfectly cut and still look wrong if the scale is off. Measure the usable panel space after you account for hinges, badges, vents, washer nozzles, trim, and body lines.
A few rules help:
- Small stars fit quarter windows, windshield corners, fuel doors, and subtle side accents.
- Medium stars work on doors, rear glass corners, and flatter sections of a hood.
- Large stars need broad, open space such as truck doors, tailgates, and full hood panels.
If the star’s points crowd edges or trim, go down a size. A little open space around the graphic almost always looks more intentional.
Choose custom only when it solves a problem
Custom is worth paying for when you need a specific color match, a distressed pattern that suits a restoration, or lettering sized to your exact panel. If an off-the-shelf star is close but not quite right, a make your own custom car decal option lets you build around the vehicle instead of forcing the vehicle to fit a generic listing.
The best results are usually simple. Good vinyl, the right finish, honest sizing, and a decal cut in the USA by a shop that will tell you what material they use. That combination lasts a lot longer than a flashy design made from bargain film.
Measure Twice Apply Once Planning Your Layout
Most bad installs don’t fail because the squeegee slipped. They fail earlier, when the decal gets placed too high, too close to an edge, or off-center relative to the panel. Layout is where a clean result starts.
Use temporary marks before the real install
Painter’s tape is your best planning tool. Hold the decal in place with small tape tabs, then step back and look at it from different distances. Check it straight on, then from each front corner and rear corner of the vehicle. What looks centered up close can look wrong from standing height.
A simple way to map the shape is to outline the decal’s overall footprint with painter’s tape. This helps you judge scale before any backing paper comes off. It’s especially useful with stars because the points can extend farther than you expect and start crowding trim lines.
If the star sits near a body crease, judge the placement by the vehicle’s visual lines, not just by a tape measure.
Match the layout to the vehicle type
Different vehicles want different placements.
For a Jeep, the hood is still the most iconic location for a military-style star. Flat hood space gives the decal room to read clearly, and the star feels intentional there. Door placement also works well when the build leans more historic or tribute-focused.
For a car or tuner build, smaller placements usually look cleaner. Rear quarter glass, lower doors, or a subtle windshield corner can give you the detail without making the car look over-decaled. A single star on glass often beats a large one on a curved painted panel.
For a truck, broad surfaces open up more options. Bed sides, rear windows, and tailgates can carry a larger star without looking crowded. The key is making sure it doesn’t get chopped visually by handles, panel breaks, or trim pieces.
A quick layout checklist
Before you install, answer these:
- Is the panel flat enough? Deep curves and textured surfaces make stars harder to keep clean at the points.
- Does the decal clear hardware? Check hinges, handles, emblems, and washer nozzles.
- Will it still look centered when the vehicle is moving? True visual center often isn’t exact tape-measure center.
- Are you pairing it with anything else? Leave room if stripes, text, or numbers may come later.
Common placement mistakes
Some problems show up again and again:
- Too close to panel edges: The star looks squeezed and the tips become vulnerable.
- Ignoring body contours: A straight decal across a compound curve can look warped.
- Sizing by guesswork: The decal arrives and either dominates the panel or disappears on it.
- Centering to the wrong reference: Measure from the visible panel area, not from trim or uneven body breaks.
A planned layout gives you confidence during install. More important, it prevents the one mistake you can’t fix with better technique later, putting a perfect decal in the wrong spot.
Your Step-by-Step Guide to a Flawless Decal Application
A clean install is mostly routine. The trick is doing the simple parts carefully and in the right order. On automotive paint, application success rates for star decals hinge on substrate prep and environmental factors, with expert benchmarks from Oracal guidelines reporting 92-98% adhesion success on automotive paint when following a validated wet/dry method, according to these vehicle star decal application benchmarks.
Here’s the visual workflow first.
Preparation comes first
Don’t apply over dust, wax, or road film. Wash the area if needed, then do a final wipe with isopropyl alcohol. Let it flash off fully before the decal touches the surface.
If you’re installing on glass, it helps to start with a really clean surface. If the vehicle’s windows have film, residue, or hard-water spotting, these vehicle window cleaning services give a useful look at what proper glass prep should accomplish before any decal goes on.
Set your alignment before peeling anything
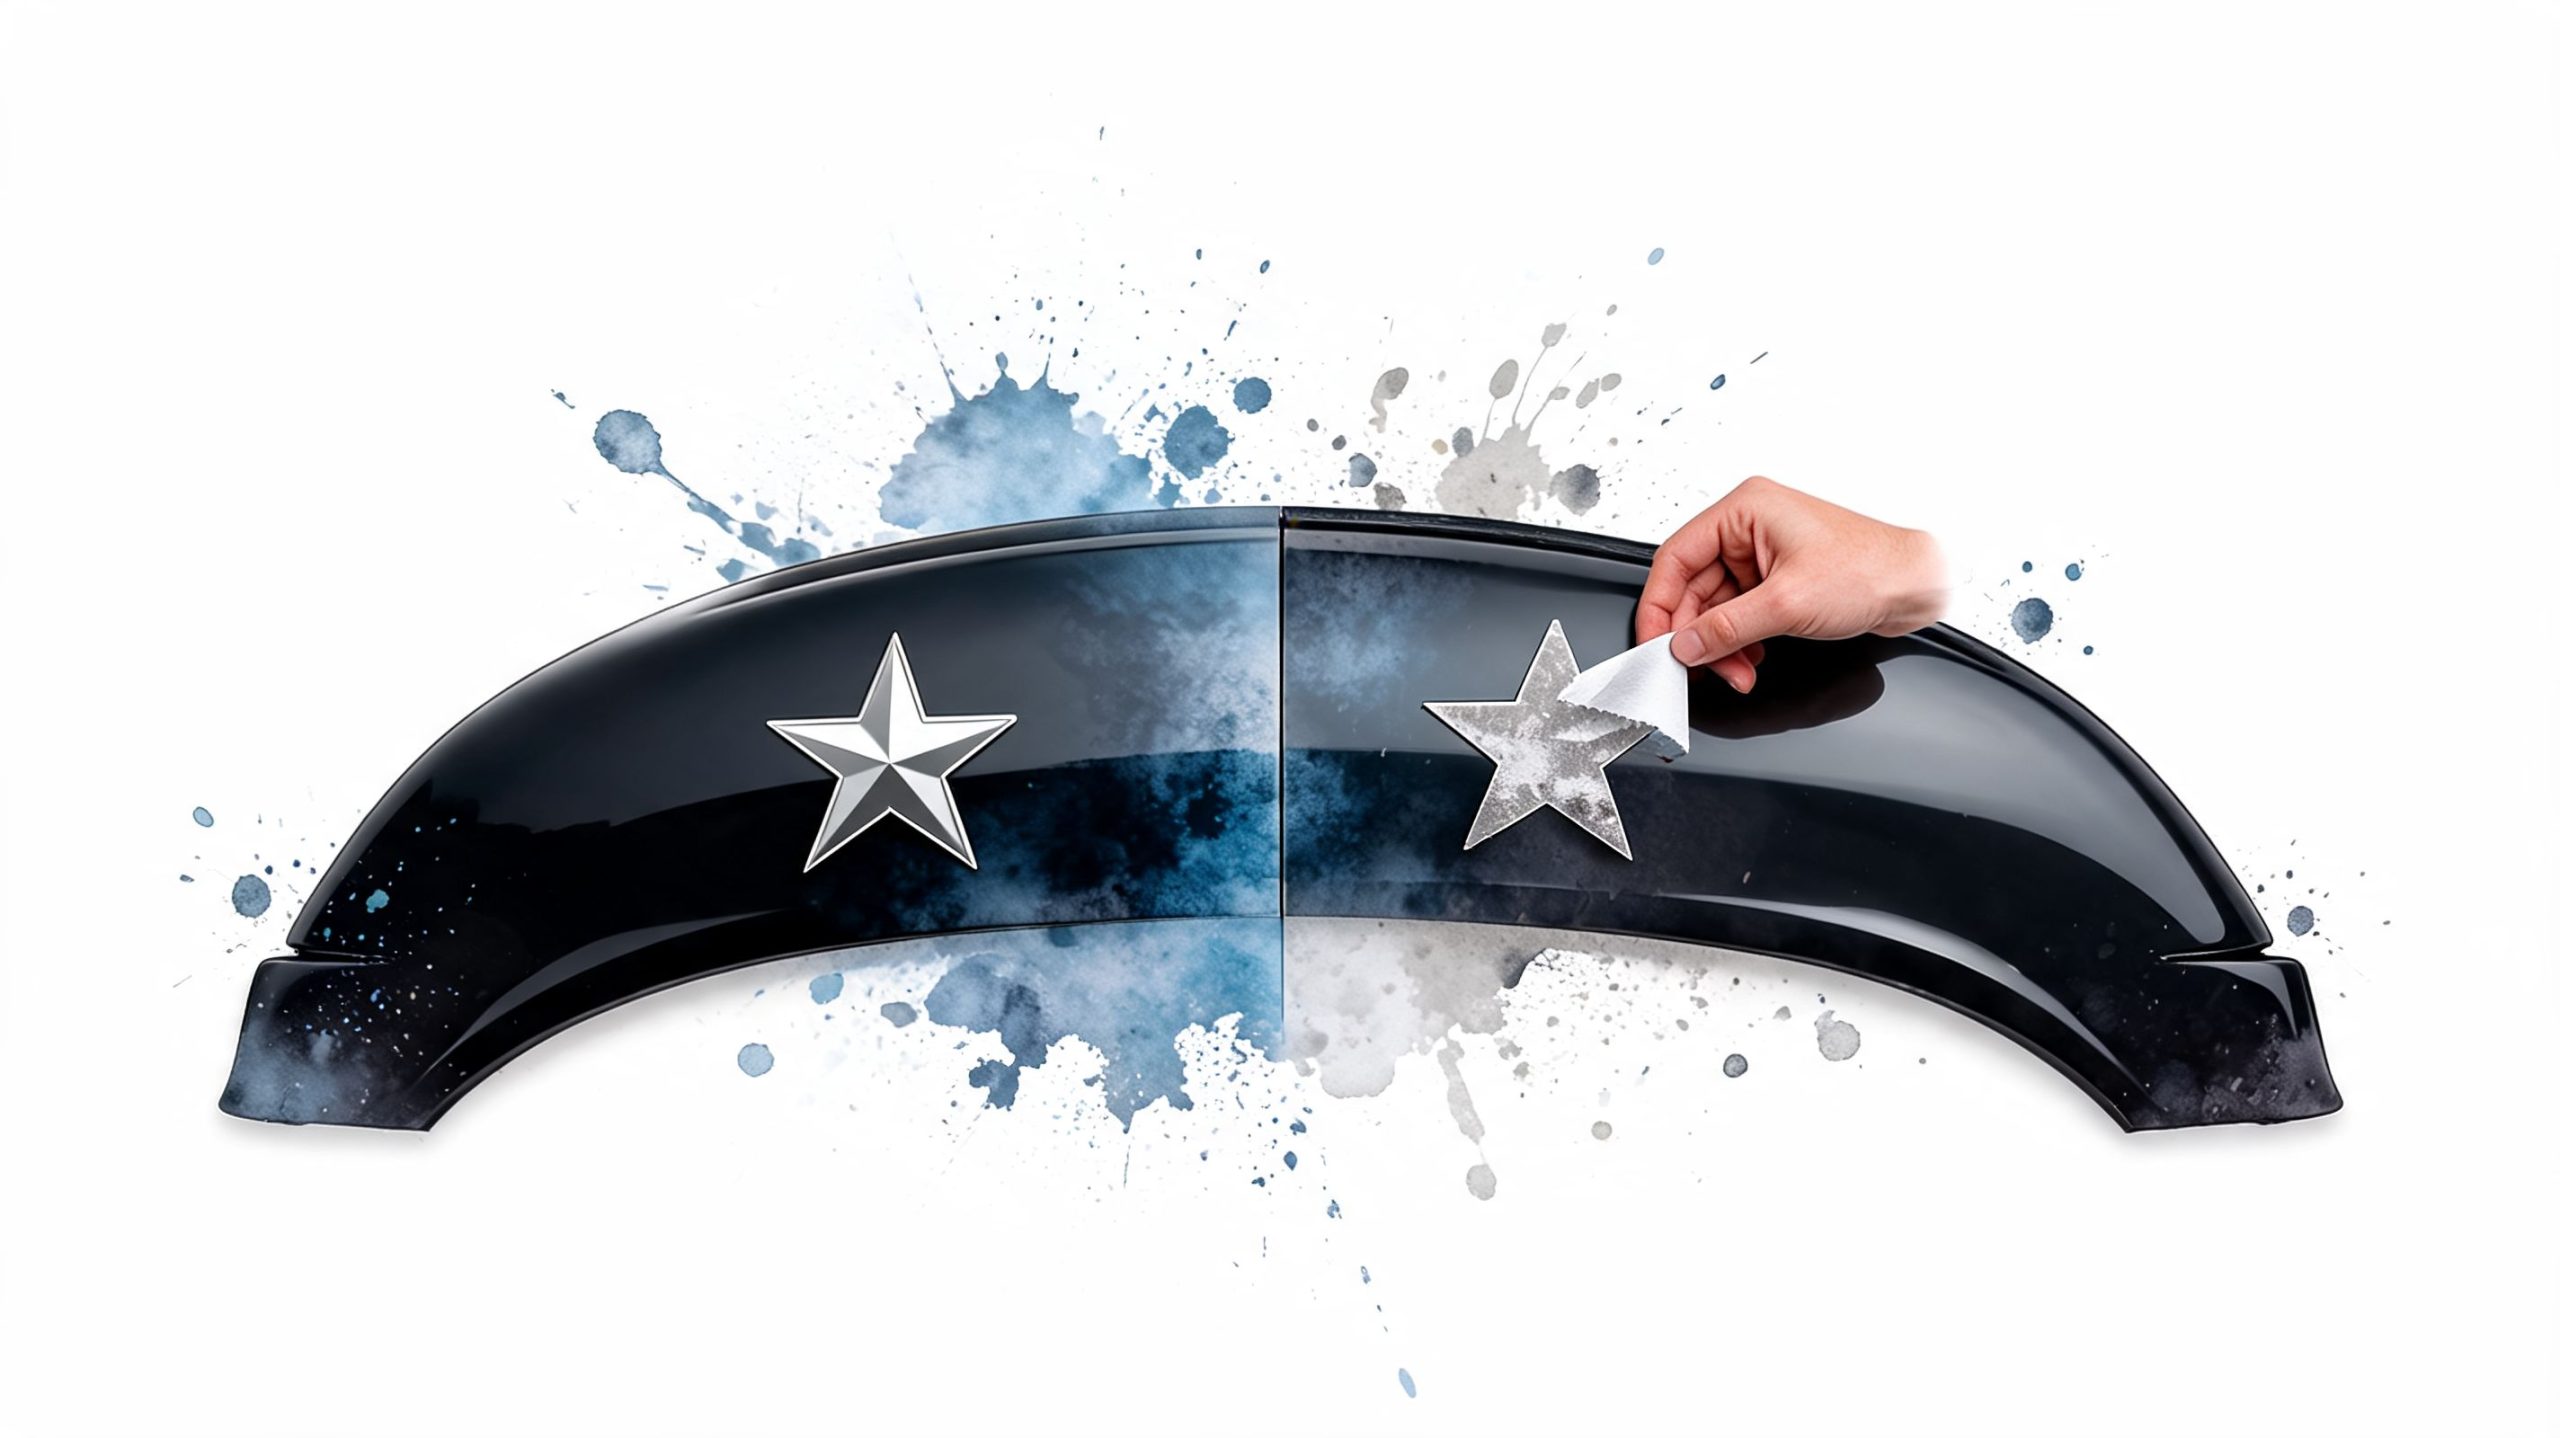
The hinge method proves its worth. Hold the decal in place with painter’s tape. Measure from stable reference points, then run a strip of tape across the top or down one side to act as a hinge.
That hinge lets you flip the decal away from the panel, remove the backing paper, and bring it back down without losing position. It keeps the install calm, especially on larger stars or hood graphics.
Dry method for paint, wet method only when it makes sense
For most painted panels, the dry method is cleaner and more predictable. Once the backing is removed, keep tension on the decal and start your squeegee passes from the center outward. Work slowly and overlap each pass.
A wet method can help on some glass installs when you need slight repositioning, but it also adds drying time and can trap moisture if rushed. For most first-time installs on paint, dry is the safer path.
The actual application
Use a felt-edge or clean plastic squeegee if you have one. The goal is even pressure, not brute force.
Follow this sequence:
- Tack the center first: This anchors the decal so it can’t drift.
- Work toward each point: Stars have narrow tips, so push air toward those ends deliberately.
- Keep the angle low: A flatter squeegee angle helps avoid creases.
- Watch the transfer tape: If the vinyl starts lifting with the tape later, burnish that spot again before continuing.
After the decal is fully down, peel the transfer tape back at a low angle. Don’t yank it upward. Slow and low gives the adhesive time to stay with the paint instead of the tape.
A motion example helps here, and this install video shows the pace and control that lead to cleaner results.
Finishing the install
Once the tape is off, inspect the edges and all star points. Press down any area that looks silvered or slightly raised. On a curved panel, gentle heat can help the vinyl settle, but keep it controlled. You want the material warm and workable, not overstretched.
If the decal sits on a Jeep hood, truck bedside, or another area that sees heat and weather, let it rest before washing or stressing it.
Small bubbles are usually fixable. Large wrinkles usually mean the vinyl was laid too fast or without enough tension control.
Troubleshooting what can go wrong
Tiny air bubbles
Leave very small bubbles alone at first. Many settle as the adhesive cures. If one remains, you can work it toward the nearest edge with a squeegee or carefully vent it with a fine pin.
Vinyl lifting with transfer tape
Stop. Lay the transfer tape back down, burnish the vinyl more firmly, then peel again at a lower angle.
Wrinkles near the star points
This usually happens when the decal gets dropped all at once instead of laid progressively. On a mild wrinkle, lift and re-lay only if the vinyl allows it without stretching. If it has already distorted, replacement often looks better than trying to hide it.
Crooked placement
If you catch it early enough, some installs can be repositioned. If the decal has fully grabbed, forcing it off and back on usually leaves stretch or contamination. That’s why the layout stage matters so much.
A careful install doesn’t need fancy equipment. It needs a clean panel, a straight hinge, steady pressure, and the patience to let the decal go down in sequence instead of all at once.
Maintaining and Removing Your Star Decals Safely
A week after install is when owners usually find out whether a decal job was done right. The star still looks crisp, or the points start collecting dirt because an edge was left exposed. Good vinyl holds up well, but long life comes from material quality, panel prep, and how the decal is treated after it goes on.
At our shop, we tell customers to treat a star decal like painted trim. It can handle real road use, sun, rain, and normal washing, but it lasts longer when you stay ahead of contamination and avoid abuse at the edges.
How to keep a decal looking sharp
Most failures start at the edge. The center of the graphic usually stays put. The points, corners, and leading edges take the punishment.
A few habits make a clear difference:
- Wash by hand when you can: A mitt and normal car soap are easier on decal edges than repeated pressure washing.
- Keep the spray angle low and indirect: If you use a pressure washer, do not drive water straight into the tip of a star or under a corner.
- Remove bug remains and sap early: The longer residue bakes on, the more scrubbing it takes later.
- Give the whole vehicle regular care: This guide on why regular car care matters lines up with what we see in the shop. Clean, maintained vehicles usually keep their decals looking better for longer.
The same maintenance habits help on other exterior graphics too, including a peeking monster bumper decal or smaller accent vinyl on tailgates and side glass.
Clean edges last longer. Dirt, wax buildup, and hard spray pressure are what usually start the lifting.
Skip abrasive polishes on top of the vinyl unless the product is clearly safe for decals. If you wax the vehicle, keep heavy wax residue off the decal edges. White buildup around a black or olive-drab star is a common avoidable problem.
Safe removal without hurting the paint
Removal is simple if you stay patient. The goal is to soften adhesive, not cook the panel.
What to use
A household hair dryer is enough for many removals. A heat gun works faster, but it also raises the risk of overheating the vinyl or the paint if you hold it in one spot too long.
Use plastic tools only. Fingernails, a plastic razor blade, or a plastic trim tool are all safer than anything metal.
The removal process
Warm one section until the vinyl feels pliable. Lift a corner and peel it back slowly at a low angle. If the star starts tearing into small pieces, stop and add more heat before you continue.
Older decals often come off in stages, especially on vehicles that sit outside year-round. That is normal. Slow, controlled peeling protects the finish better than trying to rip the whole graphic off in one pull.
After the vinyl is gone, adhesive residue may still be on the panel. Isopropyl alcohol or a paint-safe adhesive remover usually handles the leftover glue. Wipe gently with a clean microfiber, then wash and dry the area.
When removal gets tricky
Sun-baked decals can turn brittle. Fresh repaint work can be more delicate than factory paint. On either one, aggressive scraping creates significant damage.
If the vehicle has questionable paint, test a small edge first. In the shop, that quick check tells you whether the decal will release cleanly or whether the panel needs extra care and slower heat cycles. That is one of those trade-offs customers appreciate knowing up front. Fast removal is possible, but safe removal is what keeps the panel looking right afterward.
Your Source for American-Made Star Decals
If you want star decals for cars that look right and hold up, the formula is straightforward. Start with real outdoor-rated vinyl, size the decal for the panel, plan the layout carefully, and install it on a properly cleaned surface. That combination gives you the kind of result that still looks good months and years later.
That’s also why the shop behind the decal matters. A family-run, veteran-friendly operation that has been doing this work since 2001 tends to understand details that get skipped elsewhere. Material choice, transfer-taping, clean die-cutting, and responsive help after the sale aren’t extras. They’re part of the product.
What sets a serious decal shop apart
Some strengths are easy to spot:
- American-made materials: Professional-grade Oracal vinyl rated for long outdoor use.
- Broad selection: Military tributes, Jeep graphics, family decals, custom text, and truck graphics in one place.
- Ready-to-install prep: Pre-spaced, transfer-taped decals save time and reduce install mistakes.
- Real customer value: Free shipping thresholds and multi-buy offers make it easier to outfit more than one panel or vehicle.
Why this matters for buyers
When a shop serves Jeep owners, truck owners, veteran families, and people who care about clean installs, you usually see the difference in the catalog itself. A design range that includes military hood stars, custom work, and patriotic graphics tells you they know how these decals get used practically.
If a military-style star is what you’re after, this USA American flag military door or hood star vinyl decal sticker is a good example of the kind of graphic buyers look for when they want something with sharp cut lines and the right visual balance.
The short version is simple. A decal should look good in the package, go on without a fight, and stay put through weather, washing, and daily use. That standard isn’t hard to understand. It’s just hard to meet when the materials or prep fall short.
If you want a star decal that’s made to last, take a look at Custom Sticker Shop. They’re a family-run, veteran-friendly business in Topeka, Kansas, producing American-made vinyl decals since 2001 with strong value, fast shipping, and a deep catalog for Jeeps, trucks, military tributes, and custom vehicle graphics.