
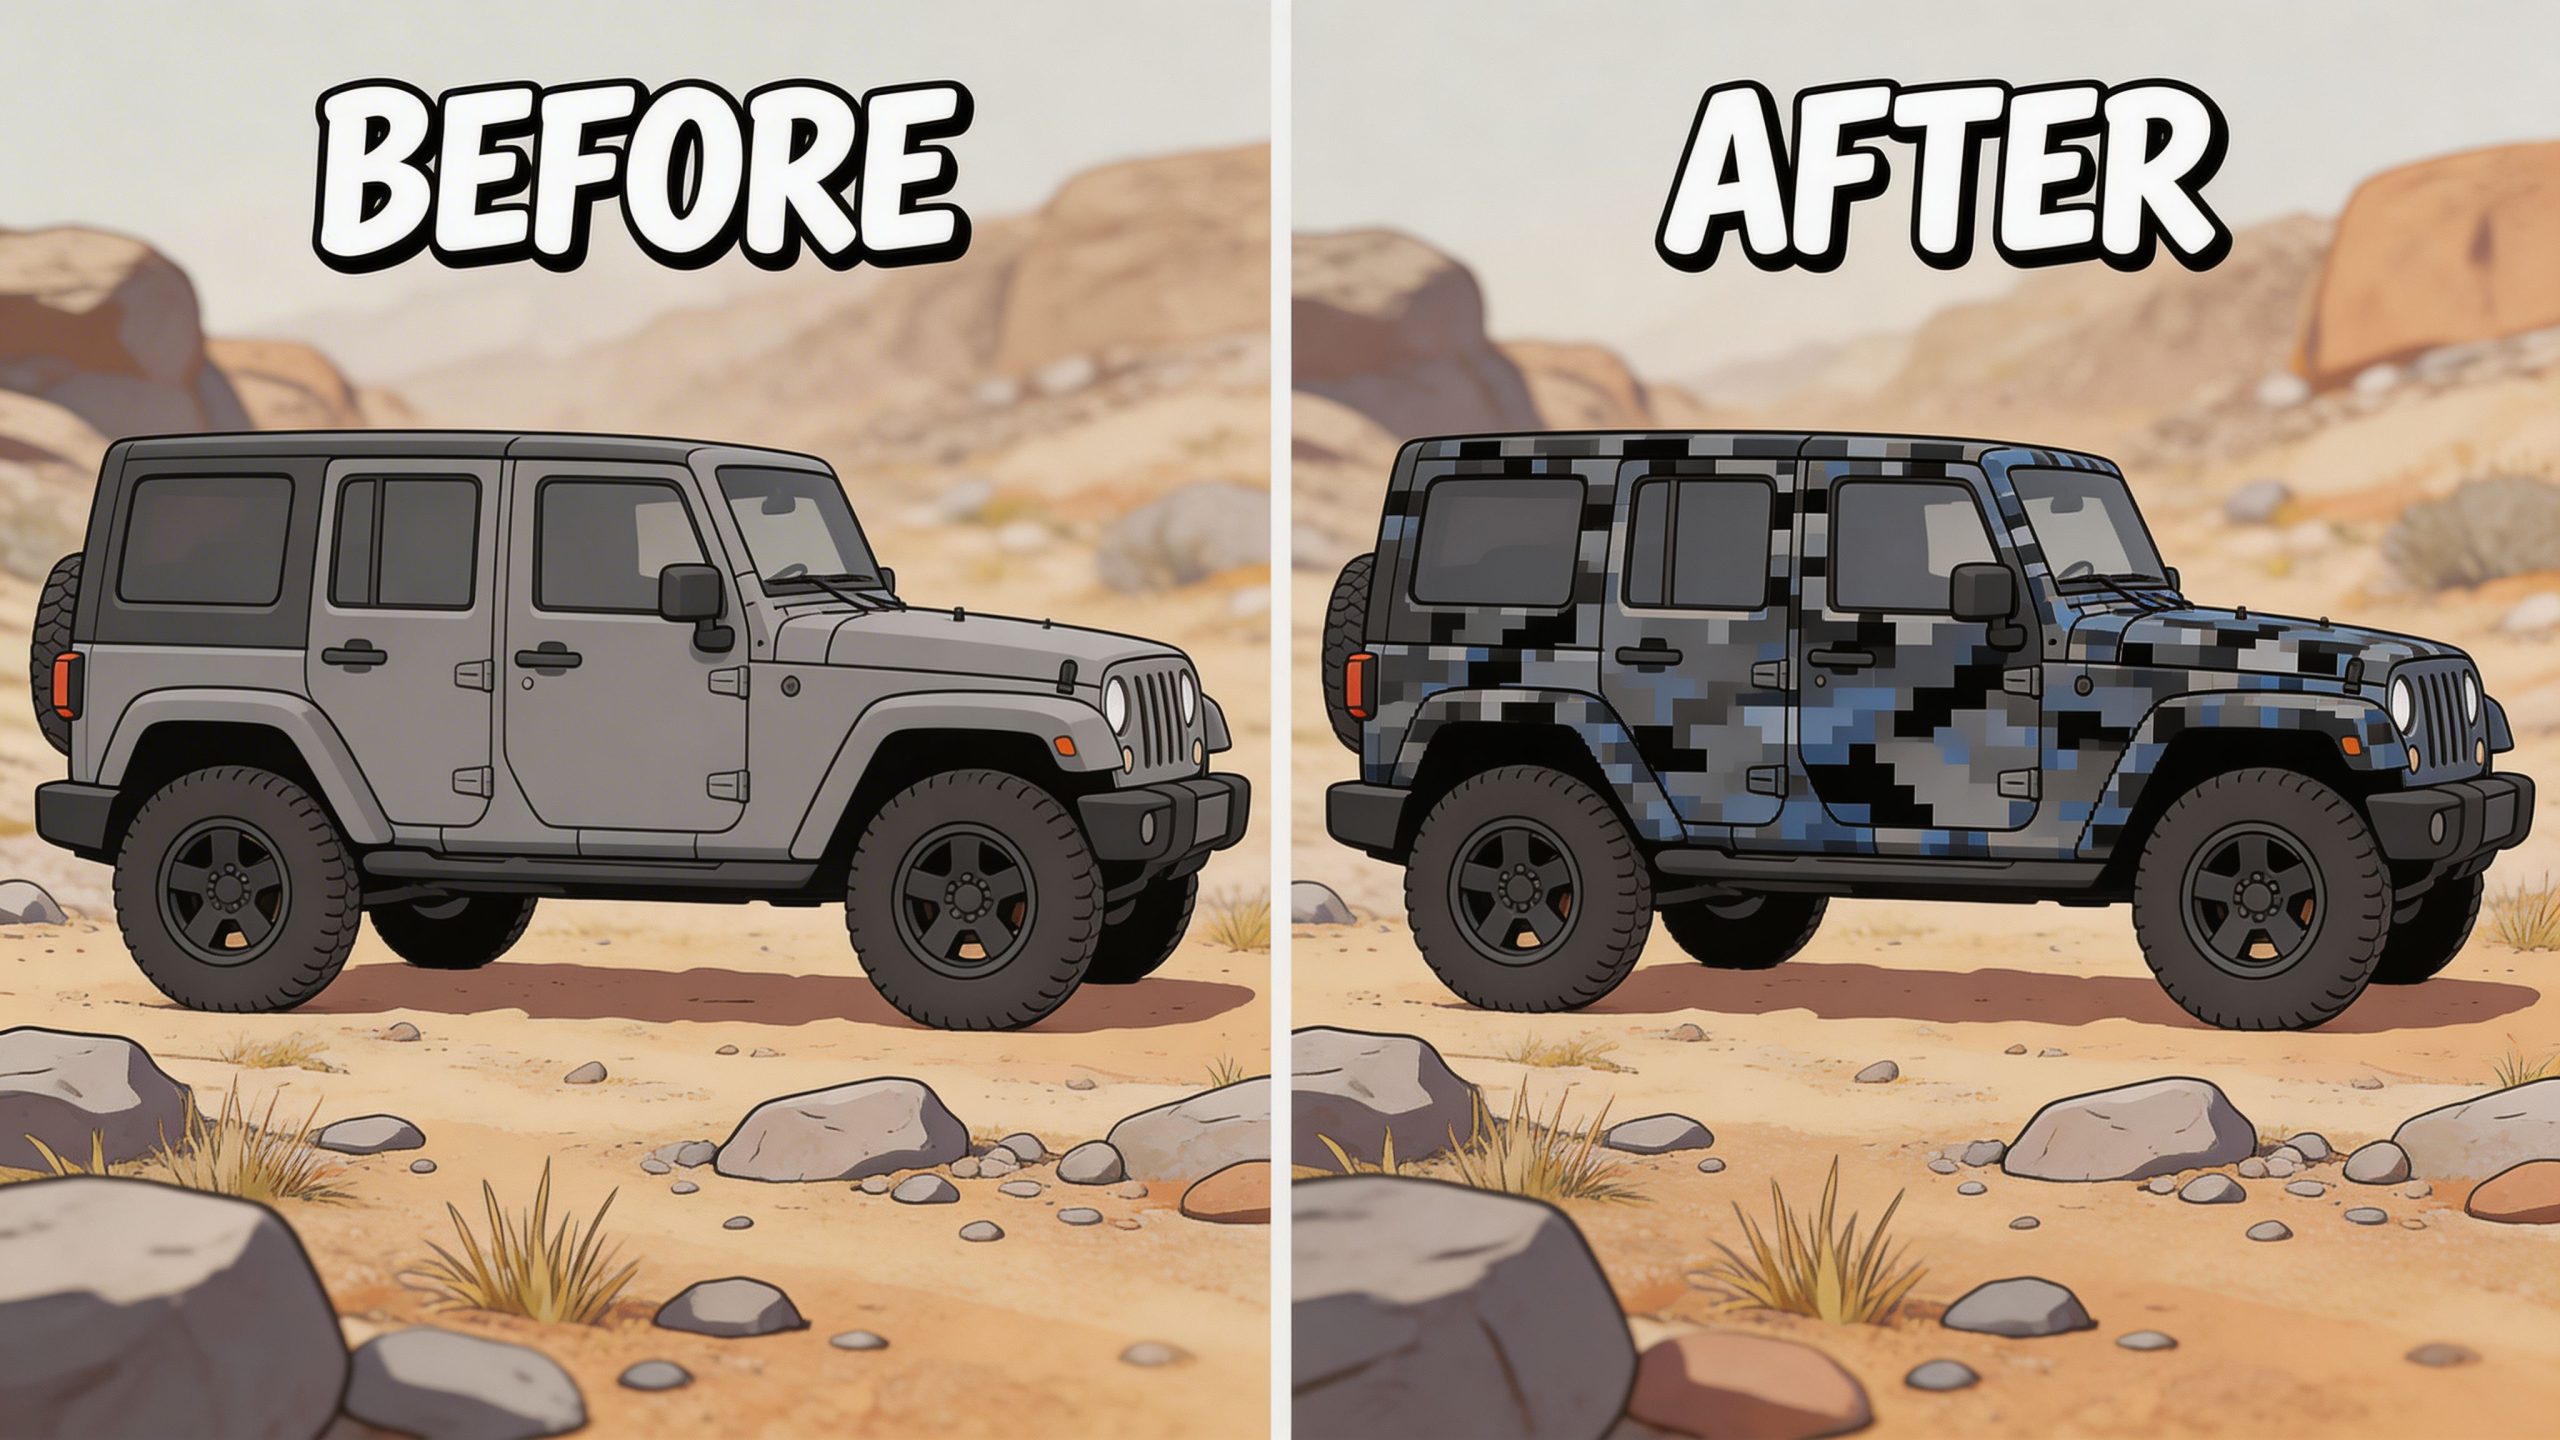
Your Jeep is clean, lifted, and built the way you want it. Your truck has the right stance, the right tires, and the right accessories. But it still looks unfinished.
That usually happens right before someone starts comparing paint, wraps, and decals, then gets buried in generic advice that treats all three like the same thing. They are not the same thing. Digital camouflage decals give you a sharper path if you want tactical styling, military tribute graphics, or a personalized look without turning the whole vehicle into a full wrap project.
We’ve seen the common mistakes up close. People choose a pattern that fights the body lines. They order too large and overwhelm the hood. They install on a panel that still has wax on it. Or they buy a design they like online, then realize it has no personal meaning once it’s on the glass. The difference between a decal that looks dialed-in and one that looks slapped on usually comes down to pattern choice, placement, prep, and patience.
Beyond a Paint Job Why Digital Camo Decals Define Your Ride
A lot of owners start in the same place. They want a tougher look, but they do not want to commit to repainting a hood or paying for a full wrap. They want something that feels intentional, not like a random accessory added at the end.
That is where digital camouflage decals stand out. The look is rooted in real camouflage history, not just “camo-inspired” styling. The world’s first issued digital camouflage, CADPAT, was developed in 1997, and its computer-generated pixels concealed wearers 25 to 50 percent better than traditional patterns according to the background summarized at Multi-scale camouflage. That same pixel logic is what gives a decal its unmistakable military edge on a windshield banner, hood panel, bedside accent, or rear glass graphic.
Why decals beat a full camouflage wrap for most owners
A full wrap can look excellent. It can also be too much for a daily driver.
Digital camo decals let you control the visual weight. You can keep the factory paint visible and place the pattern where it matters most.
- Hood accents: Good for trucks and Jeeps that need one strong focal point.
- Rear window graphics: Strong visibility, lower commitment, easier install.
- Body-side kits: Better if you want the tactical look without covering everything.
- Small tribute decals: Best when meaning matters more than surface coverage.
A lot of buyers find that a smaller, well-placed design says more than a full-body treatment. That is especially true when the decal connects to service, family, hunting, or off-road identity. Even a themed graphic like this camo wearin country girl window decal works because it uses the camo language as part of the message instead of trying to transform the whole vehicle.
The best digital camo setup looks integrated with the vehicle. It should follow the body, not fight it.
What gives digital camo its staying power
Traditional camouflage can look dated on some builds. Digital camo usually does not. The square geometry reads clean on modern sheet metal, tinted glass, flat hood sections, and angular fenders.
It also scales well. A small digital pattern can work on a quarter window. A larger pattern can carry a hood or side panel. That flexibility is one reason so many owners use decals instead of wraps when they want a military tribute or tactical accent that still feels practical.
Selecting the Right Digital Camo Decal for Your Vehicle
Pattern choice is where good projects start or fail. The wrong pattern can make a clean vehicle look busy. The right one makes the whole build feel thought through.
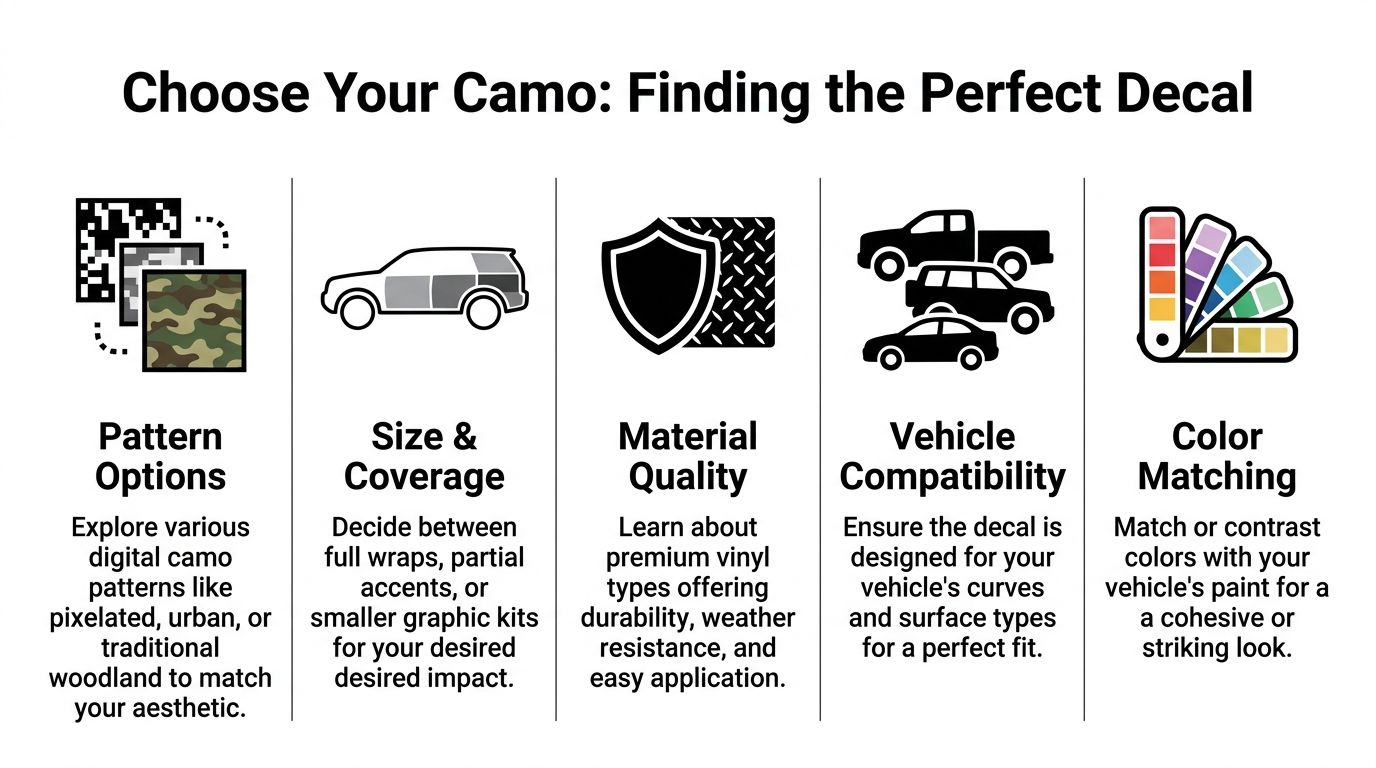
Match the pattern to the personality of the vehicle
Between 2000 and 2009, the U.S. military developed over eight distinct digital camouflage patterns in what the defense community has described as a camouflage arms race, including MARPAT and UCP, according to the historical summary in the DTIC camouflage review. For decal buyers, that means you are not limited to one generic pixel print. You have a real library of authentic visual references.
Here is the simplest way we frame it:
| Pattern feel | Best fit | Watch for |
|---|---|---|
| MARPAT-style | Military tribute builds, serious off-road rigs, veteran-owned trucks | Looks strongest when colors stay close to earth tones |
| CADPAT-style | Forest builds, hunting themes, outdoors-focused vehicles | Can disappear visually on some dark green paint if contrast is too low |
| UCP-style | Urban or gray-toned builds, understated tactical accents | Can look flat if installed on silver or light gray paint without border contrast |
| Custom digital blends | Personalized graphics, JDM or mixed-style builds | Easy to overdesign if too many colors get involved |
Size matters more than many might expect
The most common ordering mistake is choosing dimensions from a screen without mocking them up on the vehicle. A decal that looks aggressive on a product page can look oversized once it hits a curved hood or narrow rear side glass.
Use painter’s tape first. Mark the width and height on the exact panel.
Then stand back from three distances:
- Next to the vehicle.
- Across the driveway.
- Across the street.
If the taped area dominates the panel, size down. If it disappears into the body lines, size up or move the placement.
A decal should look planned from a distance and detailed up close. If it only works from one viewing angle, it is usually the wrong size.
Think in panels, not in products
A hood needs a different approach than a rear window. Glass can support intricate pre-spaced text and detailed silhouettes. Painted metal needs stronger shape discipline because reflections and body contours compete with the design.
Good pairings usually look like this:
- Windshield banner: Better for simpler digital camo fills and bold text.
- Rear glass: Great for military branch tributes, call signs, and memorial layouts.
- Hood center: Best for broad, balanced patterns with strong symmetry.
- Bedside or lower door: Better for long horizontal accents than dense center-loaded graphics.
If you want a good example of how a shape can complement a vehicle instead of swallowing it, a kit like this Jeep Wrangler mountain accent decal set shows the value of matching artwork to body lines first, then letting the pattern do the styling work.
Color pairing is where builds become polished
Digital camouflage decals work best when one of two things is true. Either the pattern complements the paint, or it clearly contrasts it. The awkward middle ground is when the decal almost matches but not quite.
A few practical rules help:
- Black vehicles: Can handle bolder pixel edges and lighter secondary tones.
- White vehicles: Benefit from darker camo elements so the shape stays visible.
- Tan, OD green, and desert colors: Usually work best with restrained military-inspired palettes.
- Bright JDM colors: Often look better with selective digital camo accents than full coverage.
When in doubt, choose fewer colors and better contrast. Busy does not read as tactical. It reads as cluttered.
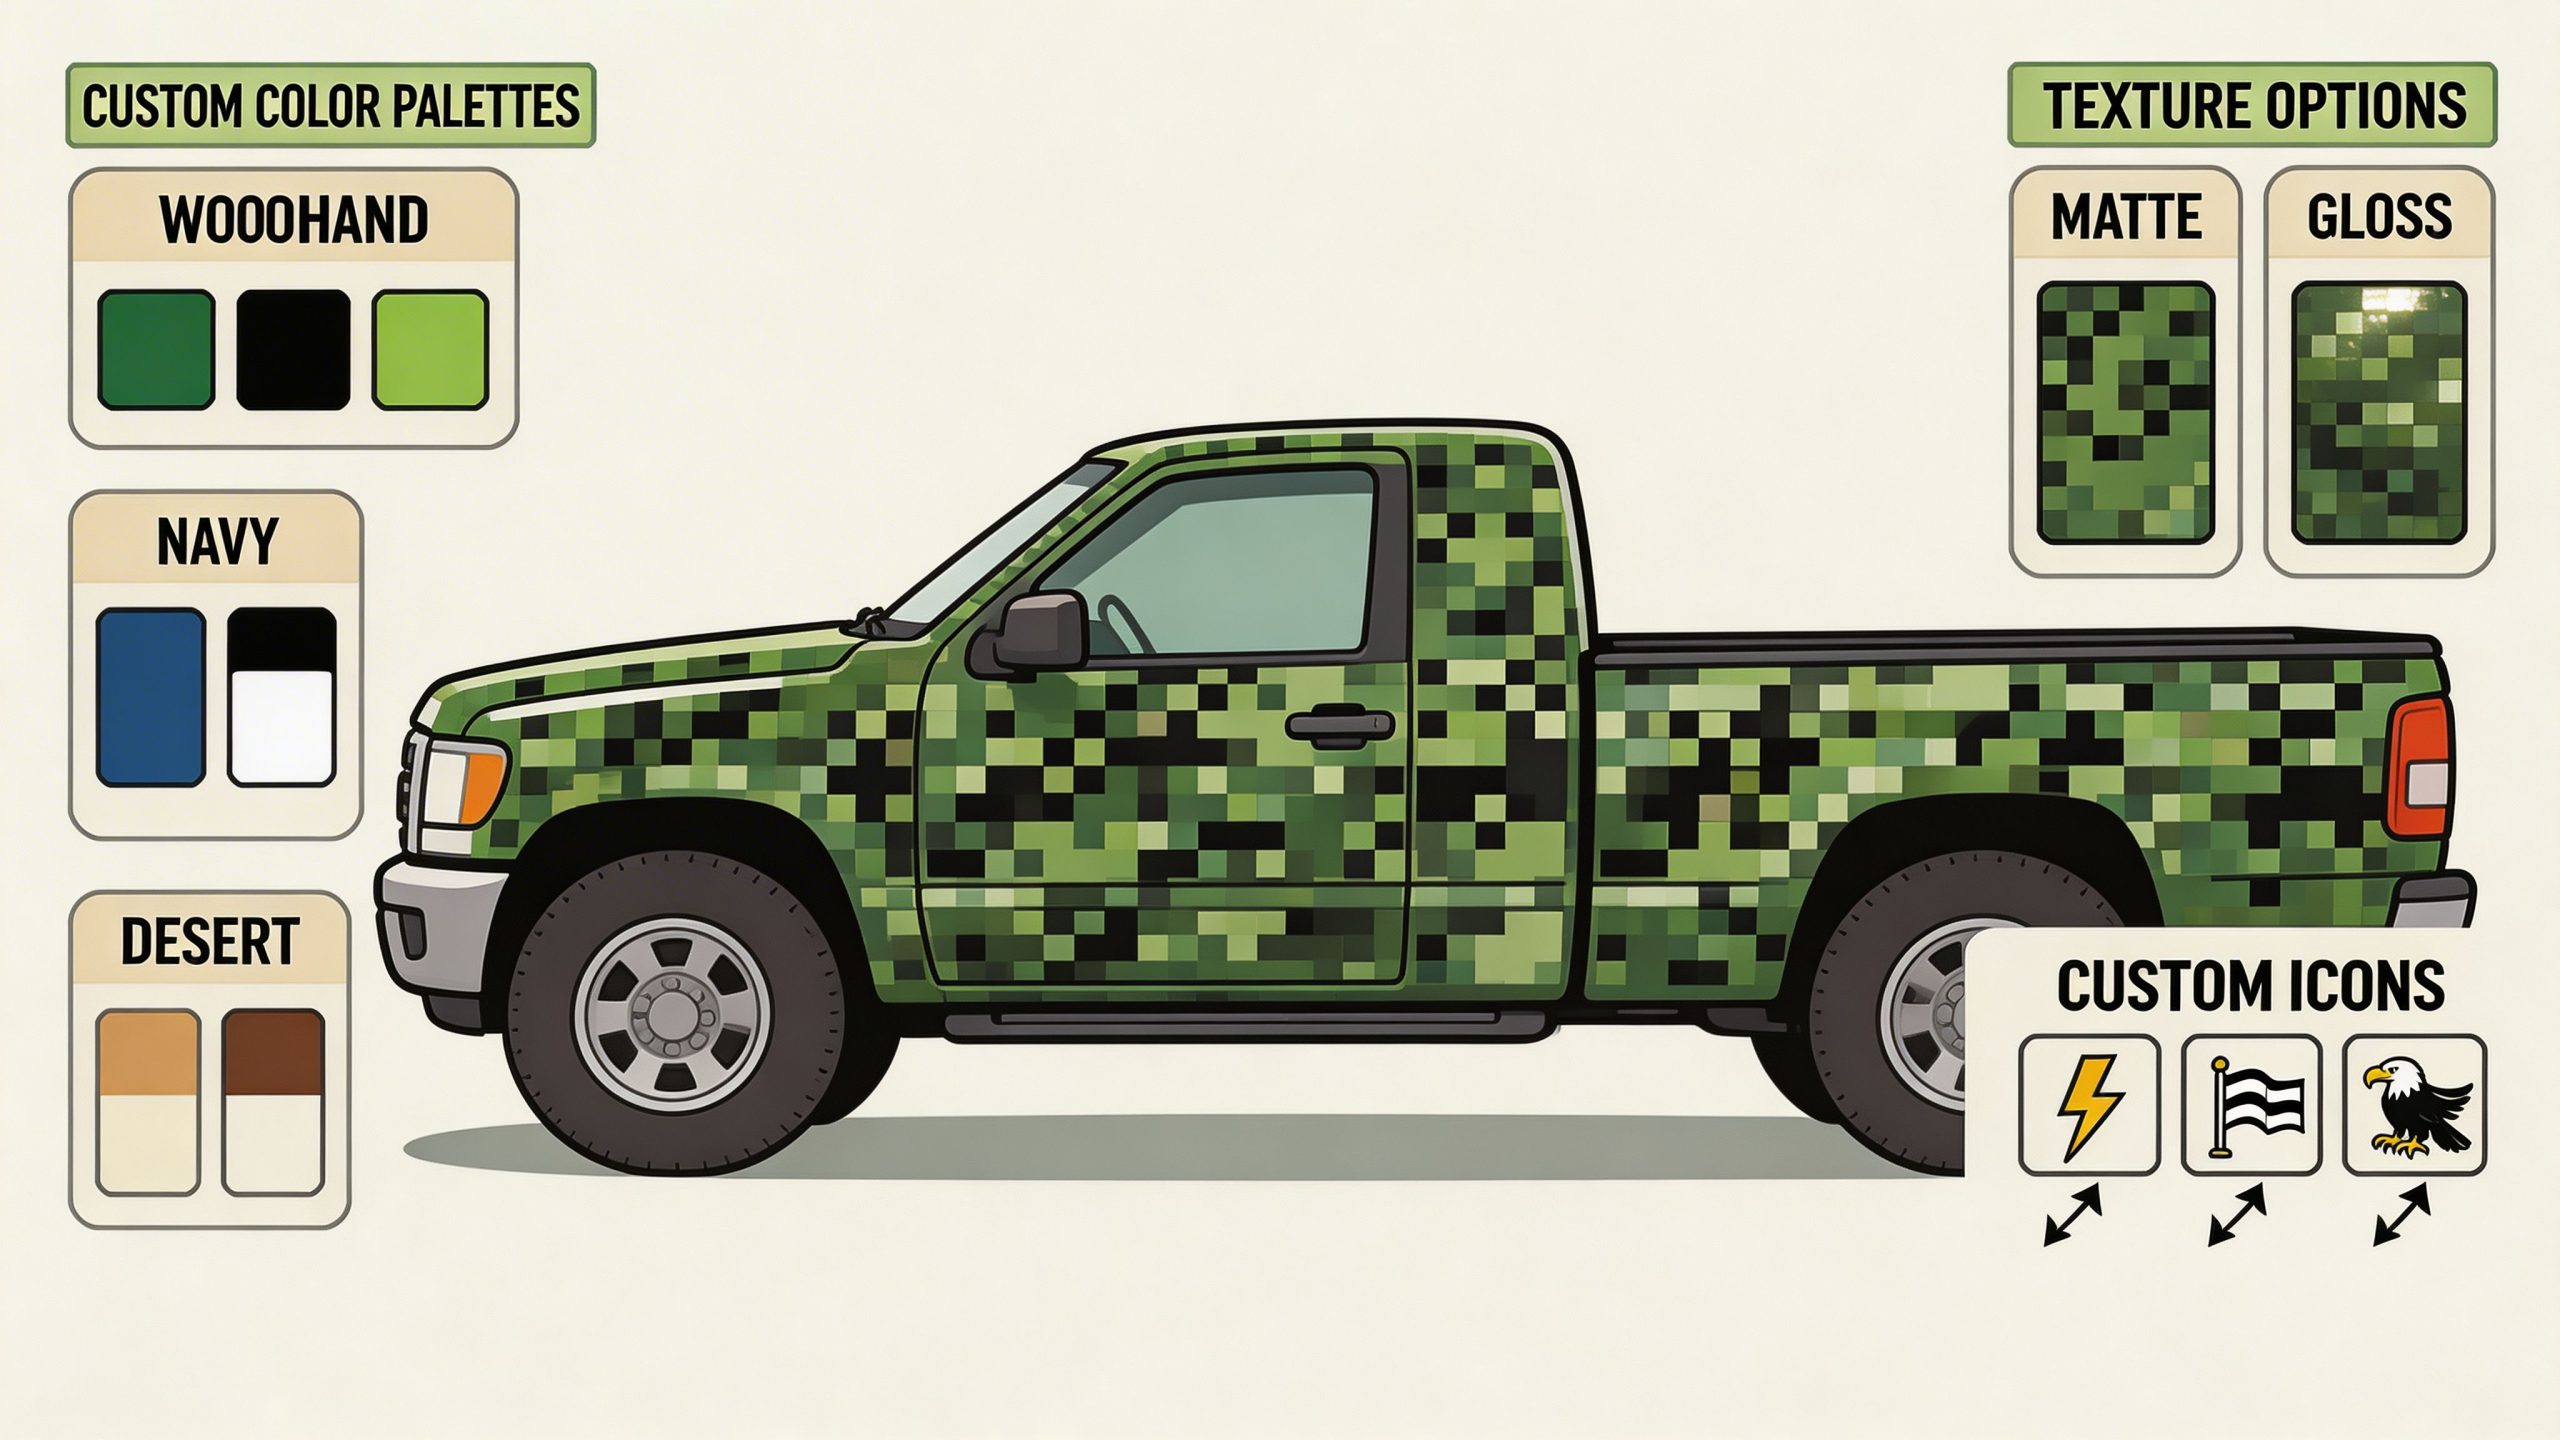
Personalizing Your Camo Decal Beyond the Pattern
A digital camo pattern by itself can look good. A personalized one means something.
That matters more than many might expect. A vehicle graphic gets seen every day. If it represents your branch, your unit, a deployment, a memorial, or a family connection to service, it stops being decoration and becomes part of the vehicle’s identity.
The market has been slow to address that kind of customization well. The demand for personalized digital camouflage decals, especially for Jeep and JDM owners, is described as underserved, and the same summary notes a 22 percent surge in demand tied to recent DoD pattern updates at Getty Images digital camo vector. The key point for buyers is simple. Generic camo is easy to find. Meaningful camo takes design discipline.
What personalization looks good
The strongest custom work usually uses one personal element, not five.
Good additions include:
- Unit designations
- Call signs
- Rank or branch references
- Memorial dates
- Simple service mottos
- Clean military symbols
What does not work is piling all of those into one decal. Digital camouflage already has texture. If you add too much text, too many icons, or too many fonts, the eye has nowhere to settle.
How to layer custom text without fighting the pixels
Digital printing gives you more freedom than older one-color cut vinyl approaches. You can overlay text onto the pattern instead of forcing it into a separate block.
That only works if the text remains readable. We tell customers to decide which part is primary. The pattern or the message.
If the tribute matters most, keep the pixel field quieter behind the lettering. If the camo itself is the point, use smaller supporting text in a clean area or along the edge of the design. A made-to-order layout through a custom sticker builder is usually the safest route when you want both personality and legibility.
Personalization works best when the viewer understands it in one glance. If they have to decode it, the design is doing too much.
Borrow from gear, not just vehicle trends
Some of the best decal concepts come from field gear, patches, and sporting equipment rather than from automotive styling alone. Looking at patterns used on hunting or tactical gear can help you choose the right tone and contrast balance. For example, Predator Camo is a useful reference point if you want to compare how camouflage behaves when the goal is concealment-inspired styling rather than flat decoration.
That kind of reference is especially helpful for customers blending military tribute with hunting or off-road themes. The goal is not to copy every texture. The goal is to understand how a pattern carries across real surfaces and still reads clearly.
Keep the tribute respectful
A service-themed decal should feel deliberate. Branch names, memorial wording, and unit references deserve clean spacing and accurate spelling. We always recommend confirming dates, abbreviations, and insignia before anything gets cut or printed.
That extra pass matters. People notice when a tribute was assembled carefully, and they notice when it was not.
Surface Prep The Secret to Bubble-Free Decal Installation
Most install problems start before the backing paper ever comes off. The surface looked clean, but it was not. It had wax residue, road film, silicone from a detail spray, or old contamination along the panel edge.
That is why prep is not the boring part. It is the part that decides whether the decal bonds properly.
According to the production guidance summarized at IMI Europe’s inkjet camouflage article, poor pretreatment can raise peel rates from under 2 percent to over 15 percent, while digital printing on professional vinyl like Oracal can achieve over 95 percent first-pass color accuracy when the surface is prepared correctly. For the installer, the lesson is obvious. Great vinyl cannot overcome bad prep.
The prep routine we trust
Use a repeatable process. Do not improvise with whatever cleaner is in the garage.
- Wash first: Remove loose dirt and road grime with a normal wash.
- Dry completely: Water trapped around trim or badge edges will ruin placement.
- Degrease the target area: Use isopropyl alcohol on a clean lint-free towel.
- Wipe twice: One wet pass to lift residue, one dry pass to remove it.
- Check with your fingertips: If the panel feels slick from wax, it is not ready.
Surfaces that cause the most trouble
Not every panel is equally cooperative.
- Freshly waxed hoods: Often the biggest adhesion problem.
- Textured plastic trim: Can work for some decals, but many designs adhere better on smooth paint or glass.
- Old paint with oxidation: Needs extra attention because contamination sits in the surface.
- Curved areas near seams: Fine for smaller decals, risky for large flat graphics.
Control the environment before you install
A perfect decal can still fail in the wrong conditions. Avoid direct sun if the panel is getting hot. Avoid windy conditions that let transfer tape flap and collect debris. Avoid damp air if you already know the surface is borderline.
If a panel is cool, clean, and dry, your install gets simpler fast. If you rush prep, every later step gets harder.
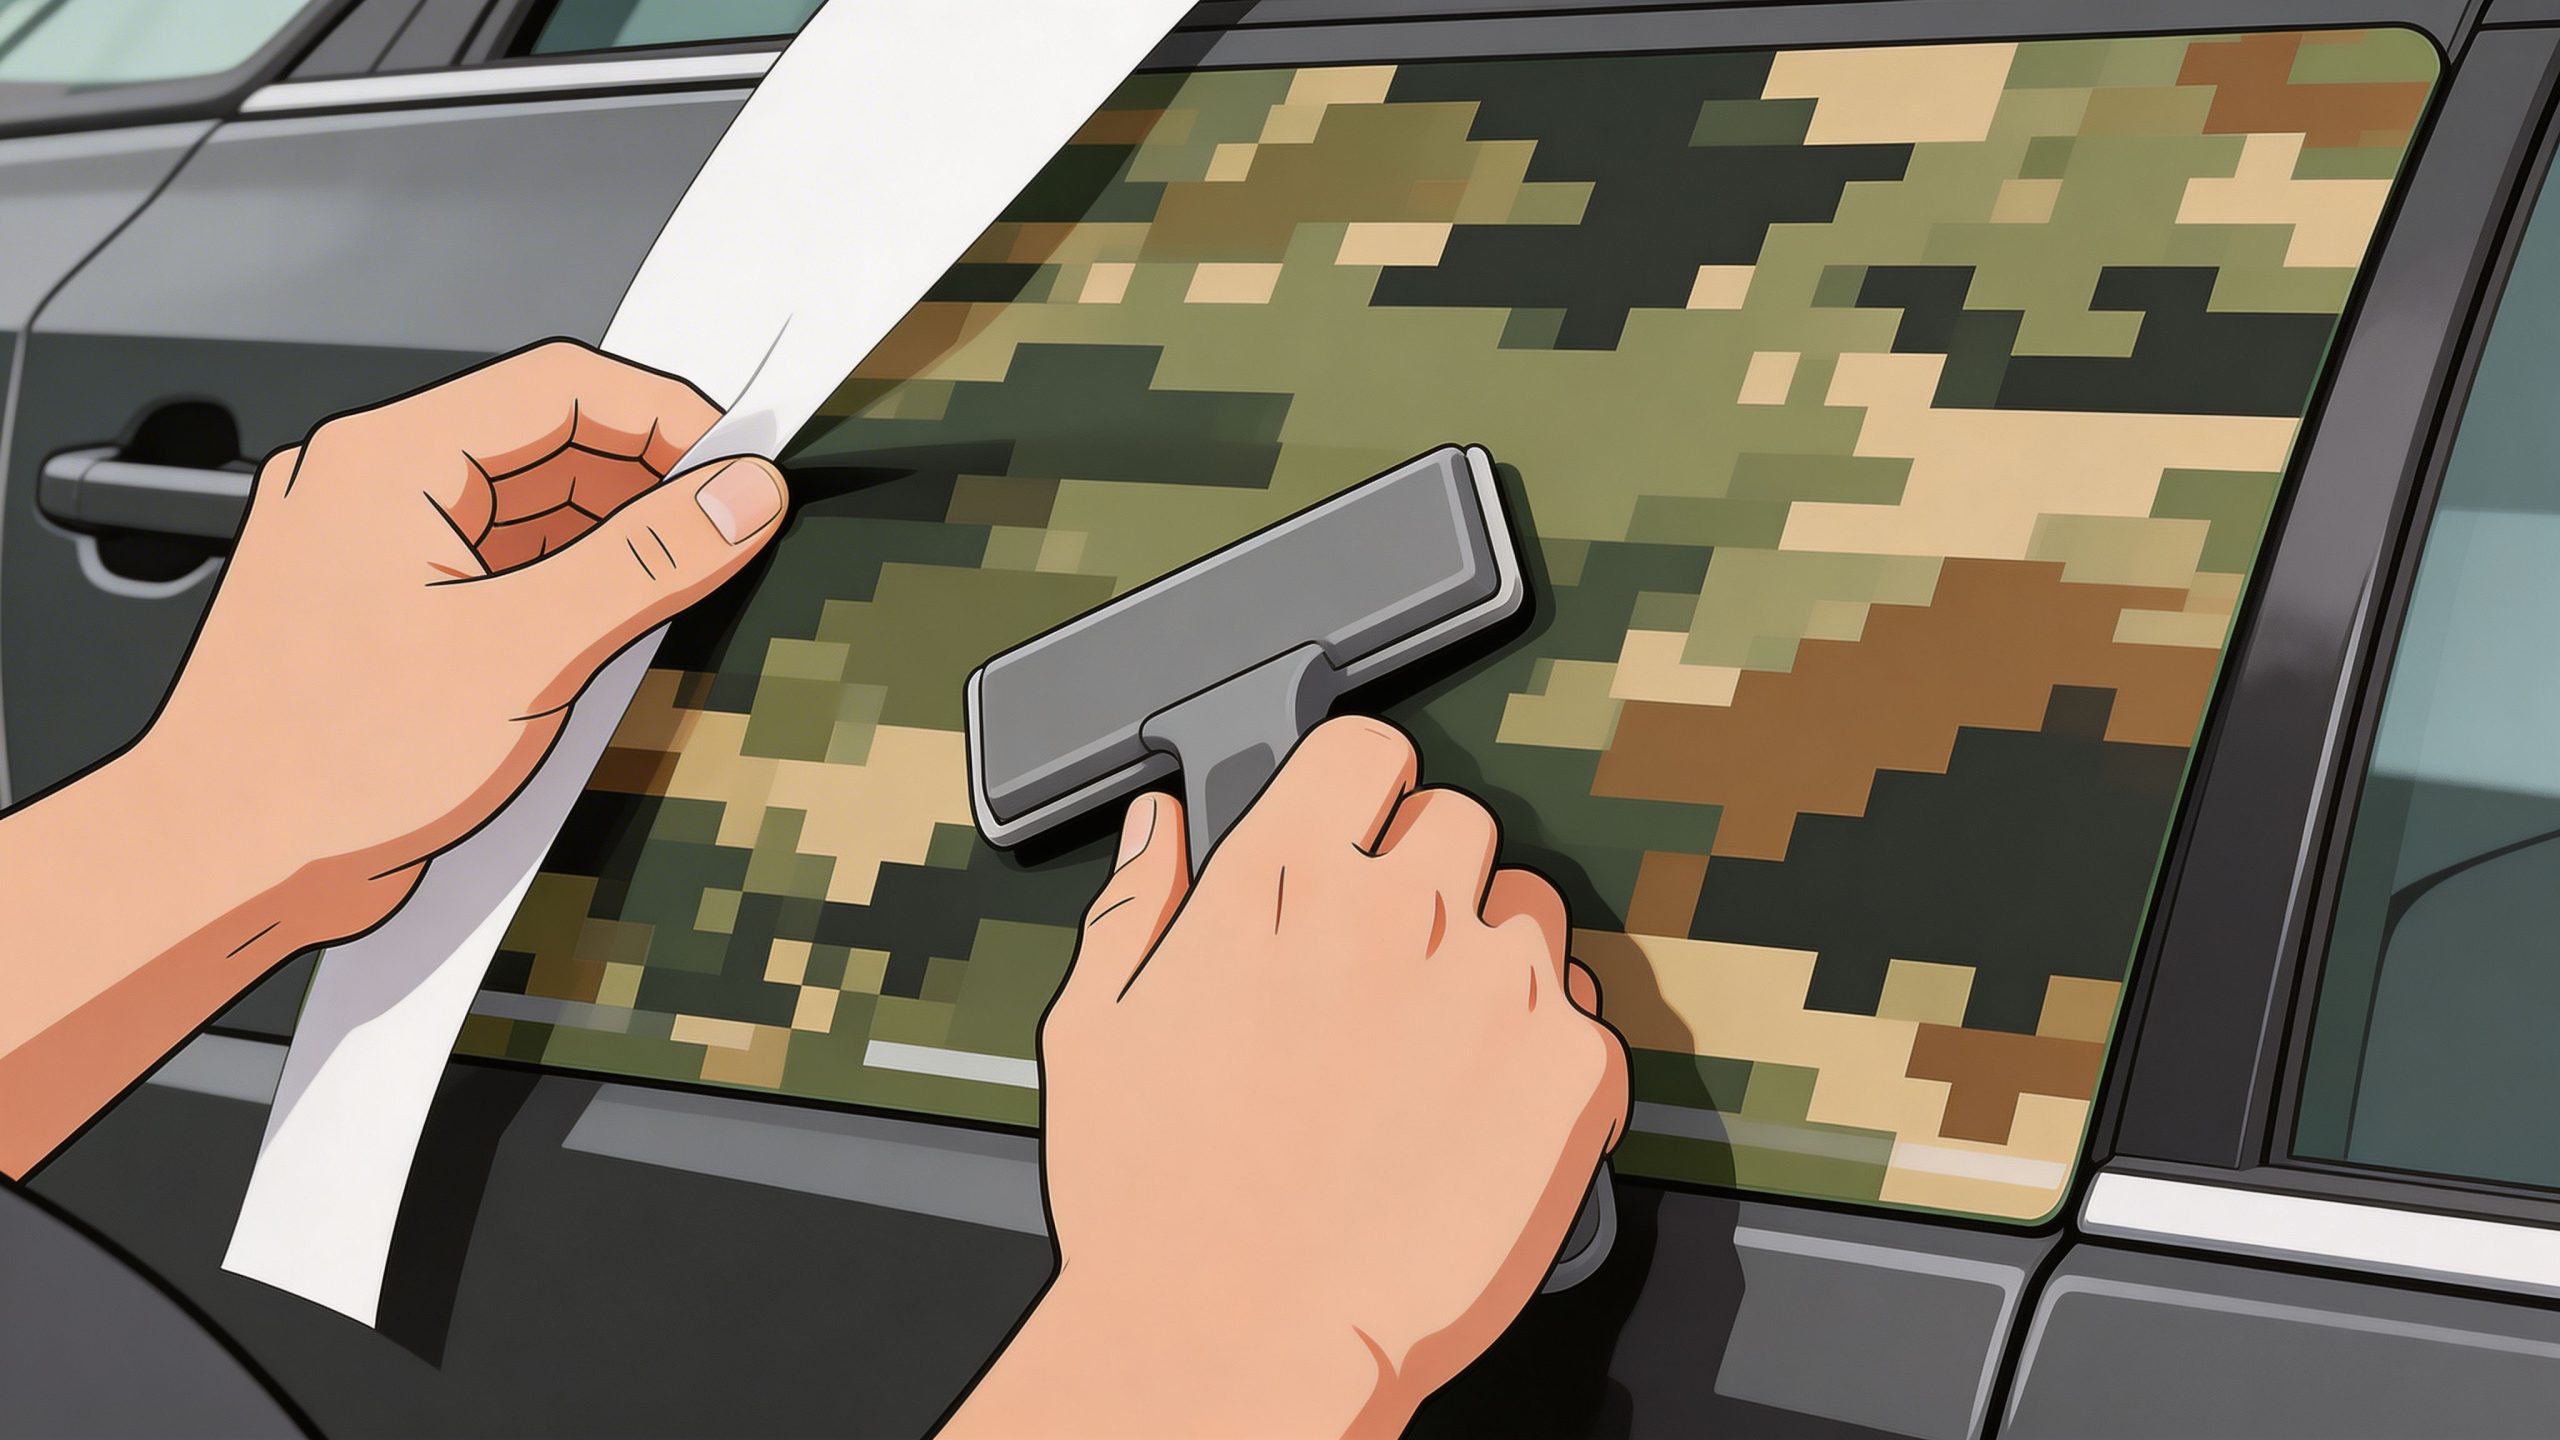
Installing Your Digital Camouflage Decal Like a Pro
The cleanest installs come from a boring process done carefully. Alignment first. Hinge second. Squeegee pressure third. Patience all the way through.
The application method adapted from masking and model-finishing work shows that a hinge technique with low-tack vinyl masks can produce a 92 percent success rate on the first try for sharp pixel edges, while humidity over 60 percent can push failure from tape lift-off to 12 percent, based on the demonstration notes summarized from this application video reference. Those numbers line up with what installers experience. Alignment is manageable. Moisture and unstable tape are what create headaches.
Start with a dry fit
Hold the decal in place with small strips of painter’s tape. Step back and look at it from both sides of the vehicle if possible.
On hoods, check centerline alignment against the grille and washer nozzles, not just the hood edges. On rear windows, check from behind and from the driver-side rear quarter. Glass can make a design look level when it is drifting.
Use the hinge method for control
The hinge method is simple because it limits movement.
- Tape the decal in final position.
- Run a strip of tape across the center or top edge to create a hinge.
- Lift one side.
- Peel the backing paper away from that side.
- Cut or fold the released backing out of the way.
- Lay the decal down gradually with a squeegee.
- Repeat for the other side.
For large digital camouflage decals, this method gives you the best shot at straight placement without trapping air.
Push the squeegee from the center outward in overlapping passes. Fast, short strokes usually leave bubbles behind.
Dry method versus wet method
For most pre-spaced automotive decals, we prefer the dry method on properly prepped paint or glass. It gives stronger early tack and less waiting.
A wet method can help nervous first-timers on some solid-piece decals, but it can also slow bonding and complicate transfer tape removal. If the decal is detailed, layered, or text-heavy, too much fluid creates its own set of problems.
A simple rule helps:
- Choose dry for most cut vinyl and pre-spaced graphics.
- Consider wet only when the decal style and adhesive allow it, and only if repositioning is more important than immediate tack.
Removing the transfer tape without lifting the decal
This part trips up a lot of people. They do the hard work, then rush the finish.
Peel the transfer tape back on itself at a low angle. Do not yank it upward. If a letter or pixel corner starts to lift, stop, press it back down with the squeegee, and wait a bit longer before trying again.
Here is a useful visual reference for handling automotive decal placement and finishing pressure:
Trouble spots and how to handle them
Some problems are normal. The key is knowing which ones can be fixed on the spot.
- Small air bubble: Give it time first. Minor bubbles sometimes settle. If needed, work them gently toward the edge.
- Silvering under clear transfer areas: Usually pressure-related. Re-squeegee with firmer overlapping passes.
- Edge not bonding: Recleaning is often the proper fix, not pressing harder.
- Crooked placement: Do not pretend it will look straight later. Reset it if the adhesive and decal type still allow that.
The best install is not the fastest one. It is the one you do once.
Long-Term Care for Your Digital Camo Decal
Once the decal is on, maintenance is simple. The goal is to protect the edges, keep the surface clean, and avoid the kind of abuse that shortens vinyl life for no reason.
Premium Oracal vinyl is rated for 7 years outdoors, and the durability summary at Camo Wraps notes over 90 percent color retention after 2,000 hours of UV exposure in accelerated weathering, with better outdoor durability than hydrographic films. That matters for trucks, Jeeps, and off-road rigs that spend real time in sun, dust, and weather.
Washing without damaging the edges
Hand washing is the safest routine. Use a soft mitt or microfiber towel and rinse grit away before touching the decal.
A few habits make a big difference:
- Avoid aggressive edge blasting: High-pressure water aimed directly at an edge can start lift.
- Use non-abrasive tools: Stiff brushes can scuff the film.
- Dry the edges: Especially after rain, snow, or a full wash.
- Clear mud promptly: Dried mud along an edge creates unnecessary stress during cleanup.
What off-road owners should watch
Off-road use is harder on decals than highway driving. Mud packs into seams. Dust works into edges. Branch contact can nick corners.
That does not mean digital camouflage decals are fragile. It means inspection matters. Check exposed leading edges, lower panels, and hood corners after trail runs. If you catch a lifting edge early, you have a much better chance of keeping the rest of the graphic intact.
Vinyl lasts longest when owners treat edge damage early. A tiny lift is a maintenance job. A neglected lift becomes a replacement job.
Sun, storage, and realistic expectations
Outdoor-rated vinyl is built for exposure, but storage still matters. Covered parking helps. So does regular washing that removes contaminants before they bake onto the film.
Most failures we see are not because the vinyl “just wore out.” They come from impact damage, neglected lifting corners, harsh cleaning, or poor installation at the start.
Common Questions About Digital Camo Decals
Can I use an automatic car wash
Touchless is safer than a brush-style wash. Brushes can catch edges and grind debris across the vinyl. If you do use an automatic wash, avoid any option that feels aggressive on trim or emblems. Hand washing is still the safer choice.
How do I remove an old decal without hurting the paint
Warm the decal first, then peel it back slowly at a low angle. Do not rip upward. If adhesive remains, use a paint-safe remover and a soft towel. Work slowly around old edges and sun-baked corners.
Why is my decal not sticking after I cleaned the panel
The panel may still have wax, silicone, or residue even if it looks clean. Rewash the area, wipe with isopropyl alcohol, and make sure the surface is fully dry before trying again. Trouble also shows up on textured trim and in poor weather conditions.
Are digital camouflage decals only for military-style builds
No. They work well on hunting rigs, overland builds, tuner projects, and simple accent layouts. The difference is in the pattern, color choice, and placement. A tribute build and a style build can both work if the design fits the vehicle.
Custom work looks best when it starts with the right material, the right layout, and a realistic install plan. If you want American-made digital camouflage decals built from professional-grade Oracal vinyl, with military tributes, Jeep graphics, custom text, and fast pre-spaced application in mind, take a look at Custom Sticker Shop.