
Your van is a blank canvas. It’s a rolling expression of who you are, what you do, and what you love. The fastest and most effective way to start painting that picture is with high-quality van decals. These simple graphics can turn your van into a mobile billboard for your business, a chronicle of your family's adventures, or a showcase for your personal style.
Your Van Is a Canvas Decals Are the Paint
A vehicle is so much more than just a way to get from point A to point B. It's a workhorse for your business, a chariot for family road trips, and a customized ride that reflects your passion. Decals are the key to unlocking its full potential.
This isn't just a niche hobby; it's a massive trend. The global car decal market was valued at $2,589.4 million in 2021 and is expected to hit $5,581.9 million by 2033. That huge jump shows a major shift toward custom vehicle graphics, and you can dig into the numbers yourself in Cognitive Market Research's detailed report.
Turning a Vision into Reality
Deciding to add graphics to your van is the easy part. The next step is figuring out how to do it right. A well-chosen decal does more than just decorate—it communicates.
- For Businesses: It builds trust and brand recognition. A van with professional lettering and a logo looks more legitimate and is far more memorable to potential customers in your area.
- For Families: It celebrates your identity. Whether it's the classic stick-figure family or custom graphics with your name, it makes the van uniquely yours.
- For Enthusiasts: It showcases what you're passionate about. From off-road themes to JDM slogans, decals are a way to connect with a larger community of like-minded people.
In a competitive world, first impressions count—and for many businesses, your van is the very first thing a potential customer will see. Professional graphics aren't just an expense; they're a powerful marketing tool.
This guide is here to walk you through the entire process. We’ll cover everything you need to know to confidently pick the right materials, create a standout design, and apply it perfectly. Let's demystify the options and turn your vehicle into a true extension of yourself.
Choosing the Right Vinyl for Your Van Decal
When you're putting a decal on your van, the material you choose is everything. Not all vinyl is created equal, and picking the wrong kind is like using interior paint on the outside of your house—it just won't hold up. The material is the single most important decision for making sure your decal looks great and lasts for years on the road.
It's no surprise that people want to personalize their rides. The demand is so huge that the global label market is expected to jump from $47.01 billion in 2025 to a massive $64.26 billion by 2031. That growth is pushing vinyl technology forward, but it also means there are a lot of options out there. Let's cut through the noise and figure out what actually works for a van.
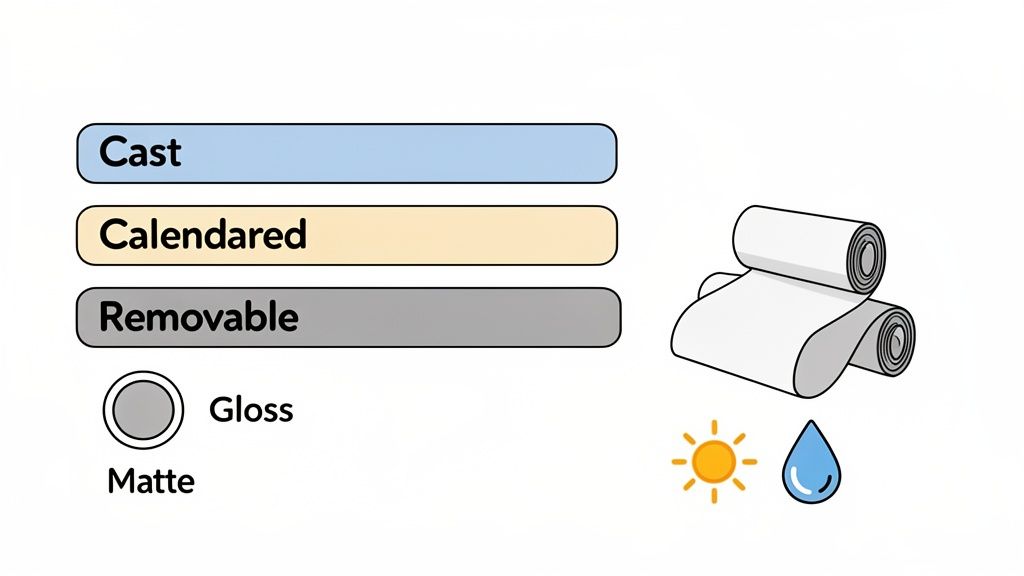
Cast vs. Calendared Vinyl: The Showdown
In the world of vehicle graphics, you’ll hear two terms thrown around a lot: cast vinyl and calendared vinyl. Knowing the difference is the key to not wasting your money on a decal that peels off after a few months.
Cast Vinyl (The Pro-Grade Choice): This is the gold standard, period. It's made by pouring a liquid vinyl formula onto a casting sheet and baking it. This process creates an incredibly thin, flexible film that stretches and conforms perfectly to your van’s curves, rivets, and bumps without shrinking back. It’s like a second skin for your vehicle.
Calendared Vinyl (The Budget Option): This stuff is made by squeezing and rolling a chunk of vinyl through heated rollers, stretching it into a sheet. The problem is, that stretched vinyl has "memory." Over time, it tries to shrink back to its original shape. That’s what causes cracking, peeling, and pulling away at the edges. It’s fine for a flat, temporary sign, but it’s a terrible choice for a van that lives outdoors.
For any graphic you want to last, professional-grade cast vinyl is the only way to go. We learned this lesson a long time ago, which is why we only use premium Oracal 7-year outdoor vinyl. It’s built to handle sun, rain, and whatever else the road throws at it without fading or failing.
Finish and Adhesion: Permanent vs. Removable
Beyond the type of vinyl, you’ve got to think about the finish and the glue holding it on. A custom vinyl windshield banner, for example, needs a completely different setup than a temporary decal for an event.
Your decal's finish gives it a specific look, while the adhesive decides how long it's staying put. Getting this combination right means your van will look exactly how you envisioned it, for as long as you want it to.
To help you decide, here’s a quick breakdown of the main material types you'll encounter.
Vinyl Decal Material Comparison
| Feature | Cast Vinyl (Premium) | Calendared Vinyl (Intermediate) | Removable Vinyl |
|---|---|---|---|
| Durability | 7+ years outdoors; the best option for longevity. | 3-5 years; prone to shrinking and cracking over time. | 1-3 years; designed for temporary use. |
| Conformability | Excellent; easily conforms to complex curves, rivets, and textured surfaces. | Poor; best for flat surfaces only. Does not handle curves well. | Good; flexible enough for simple curves but not complex shapes. |
| Shrinkage | Virtually no shrinkage. Stays put. | High shrinkage; will pull back from edges over time. | Low shrinkage, but the adhesive is the main limiting factor. |
| Best For | Full vehicle wraps, long-term van graphics, window decals, and any curved surface. | Short-term flat signage, temporary indoor graphics. Not for vehicles. | Event graphics, promotional decals, wall art, temporary vehicle branding. |
| Cost | Higher initial cost, but best long-term value. | Lower cost, but requires frequent replacement for outdoor use. | Mid-range cost; priced for its specific temporary and clean-removal purpose. |
As you can see, for a van that you depend on, cast vinyl is almost always the right call. The only time you'd really consider removable vinyl is if you're branding a van for a specific event or promotion and need to take it off cleanly afterward.
For the final look, you have two main options:
- Glossy Finish: This gives you a vibrant, shiny look that makes colors pop and grabs attention. It looks like a fresh coat of high-end paint.
- Matte Finish: This offers a modern, non-reflective appearance that looks sleek and subtle. It’s great for reducing glare and achieving a more understated, custom look.
When it comes to putting it all together, a permanent graphic needs a strong adhesive designed for years of outdoor exposure. If you know you'll want to swap out the design in a year or two, a removable vinyl with a weaker adhesive is the smarter choice. It will peel off cleanly without leaving a mess or damaging your van's paint.
Designing a Decal That Tells Your Story
Your decal’s design is where your van starts talking. It’s what turns a simple vehicle into a rolling statement about who you are, what you do, or what you love. Whether you’re outfitting a work van or personalizing your adventure rig, a good design is what makes people look twice.
The idea is to take that concept in your head and turn it into a graphic that communicates instantly. Think about it: a clean, well-designed work van looks more professional and trustworthy, giving you an edge over the competition. This is your chance to tell your story, one decal at a time.
Core Design Principles for Your Van
You don’t need a degree in graphic design to come up with something effective. A few basic rules of thumb will ensure your decal is clear, easy to read, and looks right on your van. It really all boils down to visibility.
A decal no one can read is a wasted opportunity. Your design has to be understood from a distance, whether your van is parked on a job site or cruising down the highway.
The best decals are designed with contrast in mind. A dark decal on a dark van is a ghost. But a bright color on a contrasting background? That’s what grabs attention and gets your message across.
Keep these key elements at the front of your mind:
- Color Contrast: Pick colors that pop against your van’s paint job. A white, silver, or bright yellow decal is a classic choice for a black or dark blue van. On the flip side, black, navy, or deep red decals look sharp on a white or light-colored vehicle.
- Font Clarity: If you’re using text, it needs to be legible from at least 50 feet away. Stay away from fancy script or overly complicated fonts. Bold, clean sans-serif fonts are almost always the right call for phone numbers, websites, and business names.
- Simplicity: More often than not, less is more. A cluttered design with too many things going on just creates confusion. Focus on a single strong image or idea to make a memorable impact.
Design Ideas for Every Van Owner
Every van has a job to do, and your decal should match its mission. For anyone ready to jump in, you can make your own custom car sticker and create a look that's all you. To get the ideas flowing, here are a few concepts tailored to specific communities.
- For the Military Family: Display your service pride with unit insignias, flags, or memorial graphics. These decals are a powerful way to honor a commitment and connect with fellow vets on the road.
- For the Off-Road Adventurer: Topographical maps, mountain silhouettes, and rugged, distressed textures tell a story of where you've been and where you're going. These designs signal that your van is built for more than just pavement.
- For the JDM/Tuner Fan: Iconic brand logos, clean racing stripes, and Japanese slogans capture the spirit of tuner culture. It’s all about creating a look that’s aggressive, authentic, and respected.
- For the Family on the Go: A custom family name decal or a lineup of fun stick-figure characters adds a personal, heartwarming touch. It’s a simple way to make the family hauler feel uniquely yours.
Strategic Sizing and Placement for Maximum Impact
A killer design can fall completely flat if it’s the wrong size or stuck in the wrong spot. Where you place your decals is every bit as important as the design itself. Getting the placement right is what makes your van look professionally modified, not just like you threw a sticker on it.
Think of it like a photographer framing a shot. You want to create balance and pull the eye to what matters. A decal crammed into a tight corner or slapped dead in the middle of a huge panel just looks awkward. The trick is to use your van's natural body lines and panels to frame your graphics for a clean, integrated look.
Measure Twice, Apply Once
Before you even think about hitting that "order" button, grab a tape measure. This is the single most critical step to getting the size right. Don't just eyeball it—get precise height and width dimensions for the area you plan to use.
Always give your design some breathing room. A good rule of thumb is to leave at least 1-2 inches of empty space around the edges of your decal. This "negative space" is what prevents a cluttered look and really makes your graphic pop off the panel.
A well-placed decal doesn’t just fill space; it enhances the vehicle’s existing lines. By working with your van’s natural contours, you create a custom look that feels intentional and high-end, not like an afterthought.
Some of the most popular spots for van decals include:
- Side Body Panels: These are your biggest canvases. They're perfect for large-scale branding, logos, or sprawling graphics that need maximum visibility to pedestrians and other drivers.
- Rear Windows/Doors: This is prime real estate. Anyone driving behind you is a captive audience, making it the ideal spot for your contact info, social handles, or a call to action.
- Windshield Banners: A classic choice for adding some personality, whether it's a club name, a brand you support, or a simple slogan. Just make sure you know your local laws on height restrictions.
Staying Street Legal and Visible
Placement isn't just about what looks good; it's also about safety and staying on the right side of the law. Every state and city has rules about what you can and can't put on vehicle windows. Obstructing the driver's line of sight is a serious safety hazard that can get you a ticket.
As a general rule, nothing is allowed on the front windshield below the AS-1 line, which is usually marked right on the glass. The regulations for rear and side windows can vary, so a quick search for your local vehicle code is always a smart move before you start applying vinyl. For commercial vans, you also need to be aware of other regulations, like specific DOT sticker requirements.
Ultimately, smart placement is a blend of art and science. It’s about measuring carefully, respecting the van’s design, and following the rules. Taking a few extra minutes to plan the perfect spot will pay off big time, ensuring your decal has the visual punch you're looking for.
Your Step-by-Step Guide to a Flawless Application
Applying a big decal to your van can feel like a high-stakes job, but it doesn't have to be. With a bit of patience and the right moves, you can get a smooth, bubble-free finish that looks like a pro did it. This guide will walk you through the whole process, turning what seems like a tough task into a rewarding one.
The real secret to success is all in the prep work. Before you even think about peeling off a backing, you have to get that surface spotless. Any spec of dirt, wax, or grime will stop the adhesive from getting a good grip, leading to bubbles or peeling later on. Just grab a clean microfiber cloth and some rubbing alcohol, wipe down the entire area, and let it dry completely.
The Dry vs. Wet Application Methods
You've got two main ways to get your decals for van transformation done: the dry method and the wet method. Which one you choose really depends on the size of the decal and how confident you're feeling. For a truly professional look, getting the application just right is everything. Learning how to apply vinyl wrap for a flawless DIY finish can make a huge difference, whether you're working on a van or anything else.
Dry Method: This is your go-to for smaller decals, anything under 12 inches or so. It's quicker, but there’s less room for error. You'll typically use masking tape to create a "hinge," then carefully squeegee the decal down as you pull the backing paper away.
Wet Method: We strongly recommend this for any of the bigger graphics. It involves spraying the van's surface and the sticky side of the decal with an application fluid (or just water with a tiny drop of dish soap). This genius trick lets you slide the decal around to get the positioning absolutely perfect before you squeegee all the water out from underneath.
This simple process is the core of getting it right every time.
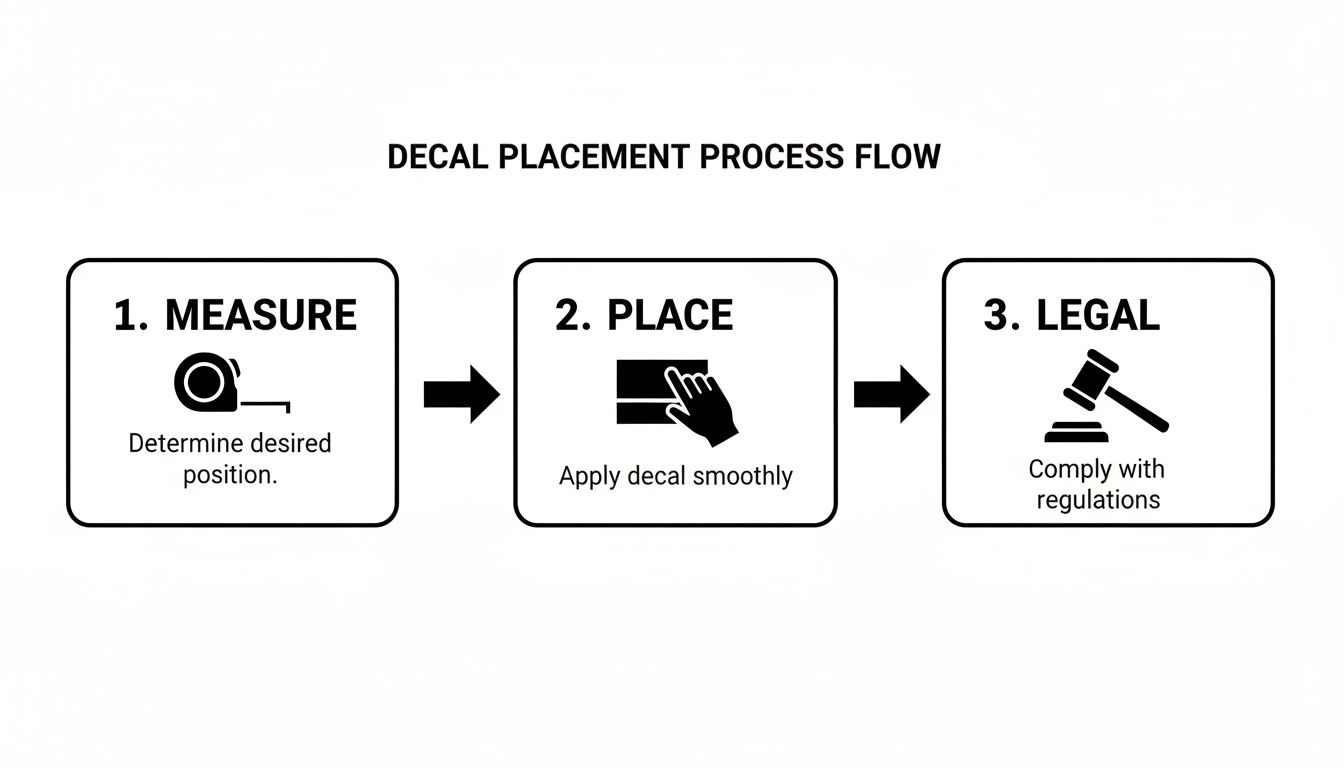
As you can see, success is about more than just slapping some vinyl on your van. It’s a process of careful measurement, precise placement, and being mindful of any local rules.
Mastering the Squeegee and Transfer Tape
Most quality decals, like the ones used for a custom text windshield banner decal, will arrive with transfer tape already on them. This stuff is a game-changer. It's a clear, slightly sticky layer that holds all the separate letters and parts of your design in perfect alignment. Think of it as a temporary carrier that makes sure your design moves from the backing paper to your van exactly as intended.
Once your decal is positioned (either wet or dry), your squeegee becomes your most important tool.
Start from the center and work your way out. Use firm, overlapping strokes to push every bit of air or water out from under the vinyl. This one technique is the single most critical step to preventing bubbles.
After you've squeegeed the entire decal, just let it sit for a bit. If you did a dry install, give it 10-15 minutes. For a wet install, you’ll want to wait at least an hour, maybe longer if it’s cool or humid.
Then, slowly peel the transfer tape back on itself at a sharp, 180-degree angle. If you see any part of the decal trying to lift up, just lay the tape back down and give that spot another firm pass with the squeegee. Don't worry if you find a tiny bubble later—you can usually just prick it with a fine pin and smooth it right out with your finger.
How to Care for Your Van Decals
You’ve got your van looking just right with the perfect decals for van life. Now, the goal is to keep them looking sharp for the long haul. With just a little bit of care, your professional-grade vinyl can easily hit its full 7+ year lifespan, surviving everything from cross-country road trips to daily job sites.
Proper care is pretty straightforward, but it’s the difference between a decal that lasts and one that fails early. It all starts with how you wash it.
Washing Your Decals the Right Way
First things first: after your decal is applied, give it a week to fully set. That waiting period lets the adhesive cure and form a rock-solid bond with your van’s paint. Don’t rush it.
When it’s time for a wash, nothing beats doing it by hand. Grab a soft microfiber cloth or a sponge, use a mild, non-abrasive car soap, and gently clean the area. The key is to avoid any aggressive scrubbing that could catch an edge and cause it to lift.
A word of caution on pressure washers: never aim that high-pressure stream directly at the edges of your decals. Water can get forced underneath the vinyl, causing it to peel and drastically shortening its life. If you have to use a pressure washer, keep the nozzle at least two feet away and spray at a wide, safe angle.
Simple Dos and Don'ts for Decal Longevity
Protecting your decals from the daily grind is easy once you know what to watch out for. Mother Nature can be tough on vinyl, but a little preventative care goes a long, long way.
Do This:
- Park in the Shade: The sun is the number one enemy of vinyl. Whenever you can, park in a garage or a shady spot. This simple habit dramatically slows down UV fading and keeps your colors vibrant.
- Clean Off Contaminants—Fast: Bird droppings, bug guts, and tree sap are acidic. If you let them bake onto your decal, they can permanently etch or stain the vinyl. Wipe them off as soon as you spot them.
- Consider a Ceramic Coating: For the ultimate line of defense, think about applying a vinyl-safe ceramic coating. It creates a sacrificial barrier that repels water, blocks UV rays, and makes cleaning a breeze.
Don't Do This:
- Use Abrasive Polishes or Waxes: Steer clear of any cleaning products with grit in them. Abrasives will scratch the surface of your decal, leaving it with a dull, hazy finish.
- Scrape Ice Off Your Decal: In the winter, never take an ice scraper to your graphics. That hard plastic edge can easily tear, gouge, or rip the vinyl right off.
- Ignore Lifting Edges: If you see a corner starting to peel up, don't wait. Once dirt and moisture get underneath, the problem will only get worse, leading to a complete failure of the decal.
Frequently Asked Questions About Van Decals
Alright, we've covered a lot of ground. But you probably still have a few questions rattling around. Let's tackle the most common ones we hear from van owners every day, clearing up any final details.
How Long Will a High-Quality Van Decal Last?
You can expect a solid 7+ years of outdoor life from a professionally made decal. We use premium Oracal cast vinyl for this very reason—it’s built to withstand the elements without fading or peeling.
Of course, its lifespan comes down to two things: the quality of the vinyl and how well you install it. A clean surface and proper care are what get you to that 7-year mark and beyond. This means avoiding aiming a pressure washer directly at the edges, which is the fastest way to cause peeling.
Will a Vinyl Decal Damage My Van's Paint?
Nope. A quality vinyl decal is completely safe for your van’s factory paint. The adhesive is designed to stick to the clear coat, not bond with it permanently or pull it up. When you're ready for a change, it comes off clean.
The secret to safe removal is a little bit of heat. Gently warming the decal with a hairdryer or a heat gun on its lowest setting softens the adhesive. This allows you to peel it away cleanly, leaving your paint exactly as it was.
Can I Put a Van Decal Through a Car Wash?
Yes, but give it a little time first. We recommend waiting at least one week after installation. This gives the adhesive time to fully cure and form a rock-solid bond with the surface.
Once it's cured, you’re good to go. Our advice? Stick to touchless car washes if you can. You'll want to avoid the ones with aggressive, spinning brushes and definitely steer clear of high-pressure jets aimed right at the decal's edges. That’s the best way to keep it looking sharp for years.
Ready to transform your van? Custom Sticker Shop has been making American-made, professional-grade decals since 2001. Find the perfect design for your ride and get started today at https://customstickershop.us.