
A Harley Davidson window decal is way more than just a sticker. It's a badge of honor, a nod to anyone who gets it, connecting you to a legacy of freedom, rebellion, and the wide-open road. It’s a simple but powerful way to fly your colors.
More Than a Sticker It's a Statement
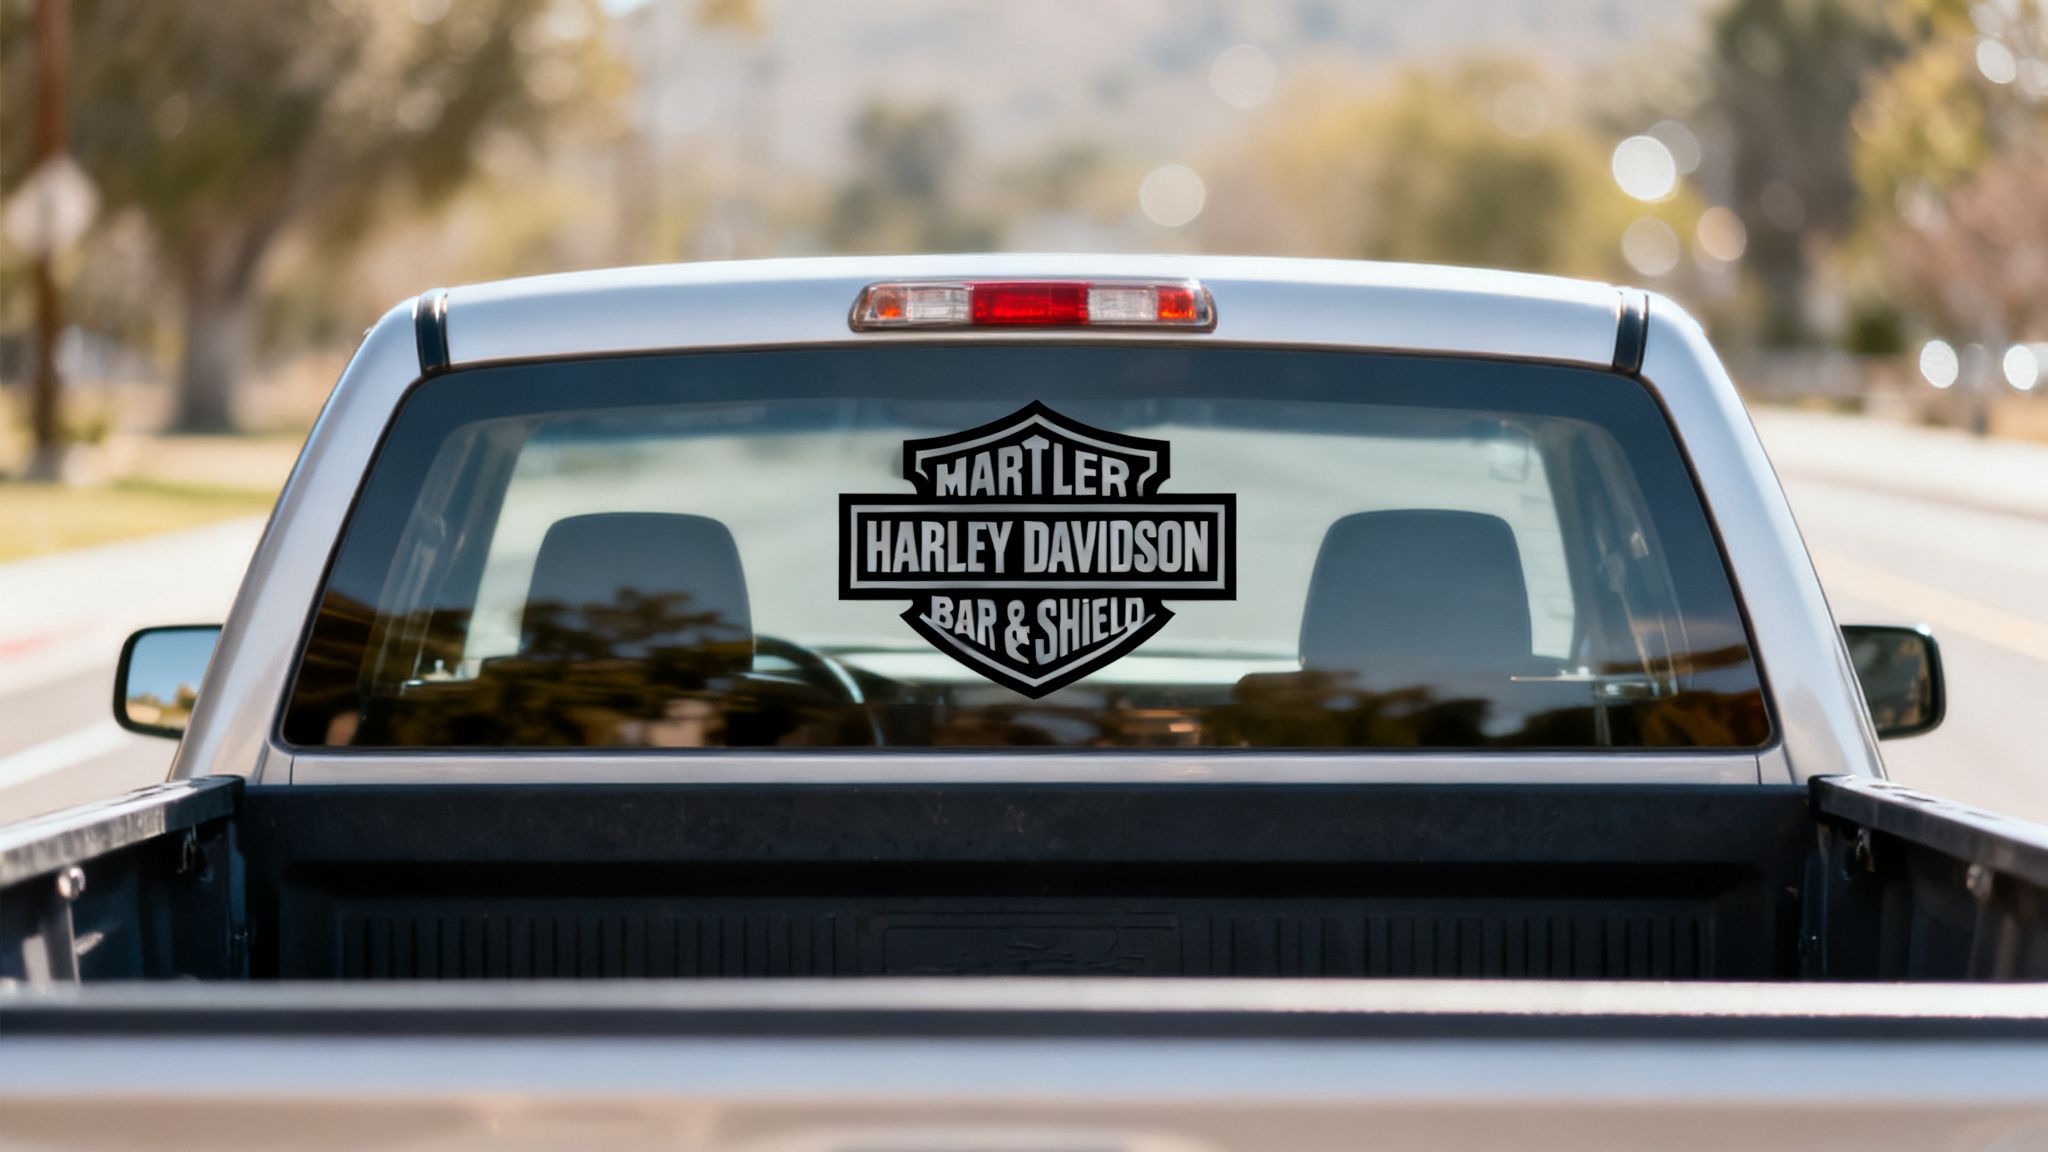
That iconic Bar & Shield logo isn't just a brand mark; it's a cultural symbol recognized all over the world. When you put that on your truck or car, you're not just customizing a vehicle—you're joining a conversation without saying a word.
A well-chosen decal turns your truck, car, or even your workshop window into a testament to your passion for two wheels. Whether you go for a subtle nod with a classic logo or a bold, full-window graphic, the right choice speaks volumes. It says you value craftsmanship, independence, and the spirit of the ride.
Your Roadmap to the Perfect Decal
Think of this guide as your roadmap to choosing, applying, and maintaining the perfect Harley Davidson window decal. We're going to cover everything you need to know to find a graphic that not only looks sharp but lasts for years.
Our goal is to give you the insider knowledge to:
- Pick durable, high-quality materials built to take a beating from the elements.
- Nail a flawless, bubble-free application for that clean, professional look.
- Take care of your decal so it stays vibrant and intact for the long haul.
Getting ideas from other types of window graphics, like festive Christmas window stickers, can even spark some creativity for different styles. The core principles of quality and good placement are universal, after all.
A great decal is an extension of your personality. It should reflect your style while being tough enough to handle whatever the road throws at it.
For riders who want something that just screams Harley spirit, check out options like the classic "Save a Horse Ride a Harley" sticker to see what's out there: https://customstickershop.us/shop/truck-decals-save-a-horse-ride-a-harley-sticker/
From understanding different types of vinyl to mastering placement, we’ll make sure your Harley pride is displayed perfectly, wherever you go.
Choosing the Right Decal Material and Style
Picking a decal material is a lot like choosing motorcycle gear. Some stuff is just for show and won't last a season, while other gear is built to take a beating from sun, rain, and highway speeds for years. Not all vinyl is created equal, and making the right choice from the start makes all the difference.
For a true Harley Davidson window decal that’s built to last, premium cast vinyl is the only way to go. This stuff starts as a liquid poured into a sheet, which creates a super stable and durable film. It won’t shrink or crack, and it conforms perfectly to curves—exactly what you need for a vehicle.
The Power of Professional Grade Vinyl
You’ve probably seen cheap decals that start peeling and fading after a few months. That’s usually calendared vinyl, which is made by rolling and stretching the material. That process creates tension, making it prone to shrinking and cracking when the weather changes.
The real mark of a quality decal is its ability to look just as good a few years down the road as it did on day one. Investing in premium material from the start saves you the headache of peeling, cracking, and fading later on.
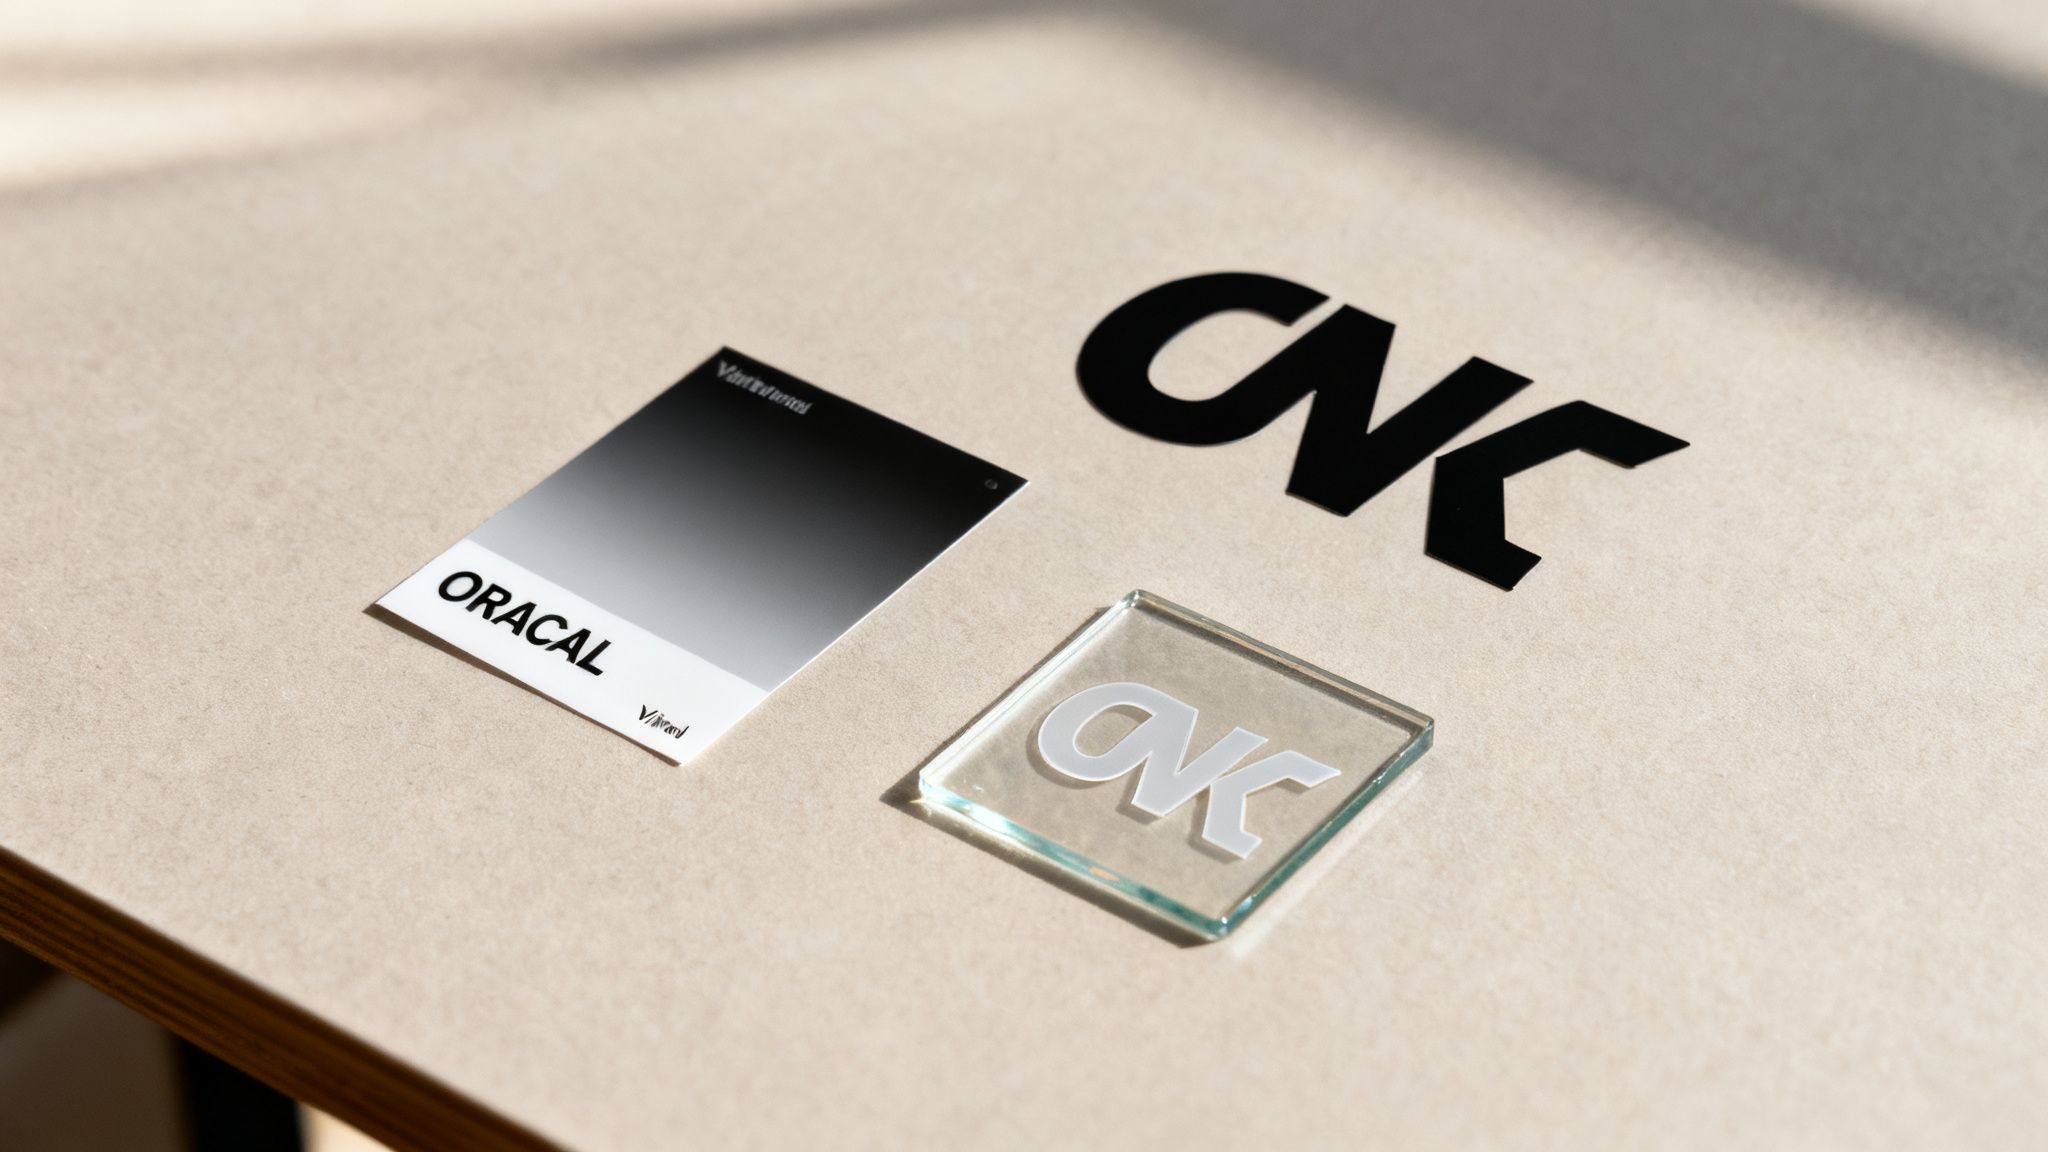
At Custom Sticker Shop, we only use Oracal 651 & 751 vinyl. This is professional-grade cast material with an outdoor durability rating of up to 7 years. It's the same tough stuff used for commercial vehicle graphics, so you know it can handle whatever the road throws at it without losing its sharp look.
Decoding Decal Styles
Beyond the material, the style of the decal determines its look. Each type has a unique visual impact, and the right one depends on your personal taste and the design itself.
Here’s a quick rundown of the most popular options:
- Die-Cut Decals: These are your classic, clean-looking decals. We cut them from a solid sheet of colored vinyl, leaving no background at all. The design looks like it was painted right onto the surface. This is the perfect style for a Bar & Shield logo.
- Printed Full-Color Graphics: If your design has a lot of detail, gradients, or multiple colors, this is the best choice. We print the graphic onto a white or clear vinyl base and then laminate it for extra protection against scratches and UV rays.
- Transparent Background Stickers: These are similar to printed graphics but use a clear vinyl backing. This lets you apply complex, multi-color designs without a clunky white border, allowing your vehicle's paint or window to show through.
It’s no secret that Harley’s branding is a powerhouse. Vinyl decals are a huge part of that, popular on everything from truck windows to trailers and toolboxes because they’re made to last. The best ones use strong adhesives and durable materials that easily outlast the cheap knock-offs.
For those wanting the absolute best in durability and vibrant color, you can also look into advanced options like durable UV DTF transfers. These are known for bonding incredibly well to any hard surface, making them a fantastic choice for a long-lasting Harley Davidson window decal.
Harley Decal Material Comparison
To help you visualize the differences, here's a breakdown of the common materials you'll encounter. This table should make it easy to see why we stand by professional-grade vinyl for any decal that's going on your ride.
| Material Type | Best For | Outdoor Lifespan | Typical Cost | Appearance |
|---|---|---|---|---|
| Cast Vinyl (Oracal 651/751) | Vehicle graphics, window decals, curved surfaces | 5-7+ years | $$ | Paint-like, thin, conforms to curves |
| Calendared Vinyl | Short-term signs, indoor use, flat surfaces | 1-3 years | $ | Thicker, prone to shrinking/cracking outdoors |
| Printed/Laminated Vinyl | Full-color photos, complex logos, gradients | 3-5 years | $$$ | Vibrant, glossy, slight edge from the base layer |
| UV DTF Transfers | Complex designs on hard goods (helmets, mugs) | 5+ years | $$$ | Raised, textured, extremely durable prints |
Ultimately, choosing the right material is about matching your style with the durability you demand for the road ahead. For a decal that represents the Harley-Davidson name, you can't afford to settle for less than the best.
Mastering Decal Placement and Sizing
Figuring out where to put your Harley Davidson window decal is just as important as the design itself. Your vehicle is a canvas, and the right placement can turn a simple graphic into a head-turning statement. Get it wrong, and it just looks awkward—or worse, gets you a ticket.
The idea is to find a spot that gets you maximum impact without compromising safety. Before you even think about peeling that backing paper, take a minute. Step back and look at the big picture. Where will the decal flow with your vehicle's lines? Where is it going to get noticed the most?
Finding the Sweet Spot for Your Decal
The rear windshield is hands-down the most popular choice for a Harley Davidson window decal, and for good reason. It’s a big, flat surface that gives you a perfect backdrop for anything from a classic Bar & Shield logo to a more detailed custom piece.
But don't box yourself in. There are plenty of other great spots to consider:
- Rear Side Windows: These are perfect for smaller or medium-sized decals. This spot adds a bit of personality without being too loud, and it’s a great way to balance a larger graphic on the back.
- Truck Tailgates: A tailgate gives you a solid, paint-matched canvas to make a bold statement. Just make sure you’re applying it to a smooth, flat section so it sticks right.
- Trailer Ramps or Doors: If you haul your bike, that trailer is an extension of your passion. A big decal here is a killer way to show your pride, even when the bike is loaded up.
- Workshop Cabinets or Garage Windows: Why not bring the Harley spirit into your personal space? A decal on your toolbox or garage window makes it crystal clear where the real work gets done.
The old rule of thumb for this stuff is simple: measure twice, apply once. A few extra minutes of planning now will save you from the regret of a crooked or poorly placed decal later. Use a little masking tape to temporarily stick your decal in place, then step back and look at it from a few different angles before you commit.
Sizing and The Law
Picking the right size is a mix of aesthetics and common sense. A decal that’s too big for a curved window is going to buckle and peel. One that’s too small will get completely lost on a big truck. Do yourself a favor and always measure your target area with a tape measure first.
Most importantly, you need to know your local laws. Many states have specific rules about what you can and can’t put on your windshields. As a general rule, never place a decal where it could block the driver's direct line of sight. For larger graphics, you can learn more about custom text windshield banner decal stickers to see how those top-strip banners are designed to be placed legally. When in doubt, sticking to the rear and side windows is almost always your safest bet.
Your Step-By-Step Flawless Application Guide
Getting a professional, bubble-free finish on your Harley Davidson window decal isn't about luck—it's about method. Follow a few simple, proven steps, and you can get a flawless look that seems like it came straight from a custom shop.
The secret to a decal that lasts for years is starting with a perfectly clean surface. Any trace of dust, oil, or wax will keep the adhesive from getting a solid grip on the glass. Honestly, this is the single most important part of the whole process.
Prepare Your Surface for a Perfect Stick
Before you even think about peeling off the backing, get your tools ready. You'll need two clean, lint-free microfiber cloths, a bottle of isopropyl (rubbing) alcohol, a squeegee (or just a credit card), and some masking tape.
Clean with Soap and Water: First, give the glass a good wash with mild soap and water to get rid of any heavy dirt or road grime. Rinse it off completely and let it air dry.
Final Prep with Alcohol: Next, dampen one of your cloths with rubbing alcohol and wipe down the entire area where the decal will go. The alcohol cuts through any leftover oils or residue that soap might have missed.
Dry the Surface: Immediately use your second, dry cloth to wipe the surface completely dry. Don't let the alcohol just evaporate, as it can sometimes leave a faint film behind. Now your surface is prepped and ready.
This simple infographic breaks down the process of measuring, aligning, and styling your decal for a perfect fit.
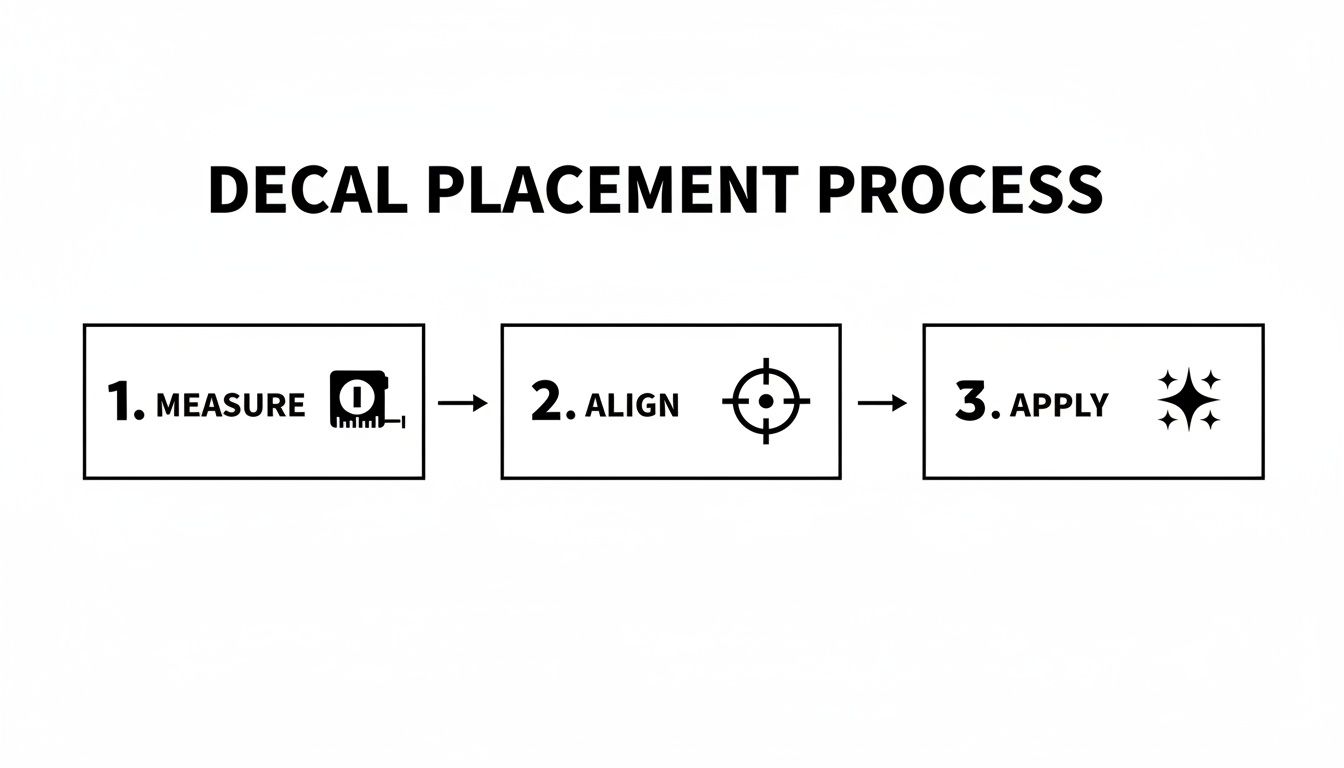
Following this workflow helps you sidestep common mistakes like crooked placement or picking a size that just doesn't look right on the bike.
Apply Your Decal Using the Hinge Method
The "hinge method" is a game-changer, especially for larger decals. It’s the trick installers use to get perfect alignment every time, preventing the decal from sticking to itself or going on crooked.
Start by setting your decal on the window exactly where you want it. Once you’re happy with the placement, run a strip of masking tape horizontally across the middle. This tape acts as a hinge, holding it securely in place while you work.
Pro Tip: For bigger graphics or if you're working in the hot sun, think about doing a "wet application." Just lightly mist the window with a solution of water and a single, tiny drop of baby shampoo. This lets you slide the decal into the perfect position before squeegeeing the water out from underneath.
Now, lift one half of the decal—top or bottom, your choice—and peel the paper backing away until you hit the tape hinge. Carefully cut off that loose piece of backing paper.
Holding the decal tight, use your squeegee to apply it to the glass. Start from the center hinge and work your way out with firm, overlapping strokes. This pushes out any air bubbles as you go.
Once the first half is down, you can remove the masking tape hinge. Lift the other half of the decal and peel away the rest of the backing paper.
Repeat the process, squeegeeing from the center outward until the entire Harley Davidson window decal is smoothly applied. The last step is to slowly peel the clear transfer tape off at a sharp angle. Pull it back on itself, revealing your perfectly installed graphic.
Keeping Your Harley Decal Looking Brand New
Your Harley Davidson window decal is more than just a sticker; it’s a statement. To keep that statement looking sharp for years, a little common-sense care goes a long way.
Think of your decal’s edges as its weak point. Even the toughest modern vinyl can’t stand up to a direct blast from a high-pressure washer. That focused stream can get under the edge and start the peeling process. When you're washing your ride, just keep the nozzle at least a foot away and angle the spray so it glances off the decal, not hitting the edges head-on. That one simple habit is the secret to a long-lasting decal.
Of course, a gentle hand wash is always the best bet. Use a soft microfiber cloth and the same automotive soap you use on your paint to avoid scratches and keep the surface looking pristine.
Protecting Your Decal from Chemicals and Weather
What you wash with is just as important as how you wash. Harsh solvents, abrasive polishes, and aggressive wax removers can eat away at the vinyl's finish or even break down the adhesive over time. Just stick with a good, pH-neutral car soap for regular cleaning.
Treat your decal like you treat your paint. Steer clear of harsh chemicals and abrasive tools, and it'll reward you with years of vibrant, peel-free pride. A little effort goes a long way in keeping that iconic Harley look crisp.
Winter brings its own set of challenges. When you're scraping ice off the windows, never run the scraper blade over the decal itself. The hard plastic edge can easily snag a corner and cause it to peel or tear. Always take a moment to work carefully around the graphic.
Safely Removing an Old Decal
Sooner or later, you might want to change up your style. Getting an old decal off without wrecking your window or paint is simple if you’ve got a little heat and patience. All you’ll need is a hairdryer and a plastic razor blade or an old credit card.
- Warm It Up: Gently heat the decal with a hairdryer on its low setting. Keep it moving to spread the heat evenly, which softens up the adhesive underneath.
- Lift the Edge: Once the decal feels warm, use your plastic blade or credit card to carefully get under one of the corners.
- Peel Slowly: Pull the decal back on itself at a sharp, low angle. Don't just yank it off—a slow, steady pull is what you're after.
- Clean the Residue: If there's any sticky stuff left behind, a little rubbing alcohol or a citrus-based cleaner on a soft cloth will take it right off.
It’s that passion for the brand that makes these decals so popular. Back in the '90s, Harley-Davidson had a stunning 48.2% market share, and the demand was so intense that waiting lists for a new bike could stretch on for years. That incredible brand loyalty created a huge market for accessories like the Harley Davidson window decal, as owners proudly slapped the bar-and-shield on their trucks and trailers. To get a better sense of that era, you can explore the history of Harley-Davidson's market growth. Protecting your decal is just a small part of honoring that powerful legacy.
Show Your Pride With American Made Graphics
When you slap a Harley Davidson window decal on your ride, you’re not just adding a sticker. You’re making a statement about quality, heritage, and the same American-made standards you expect from your bike. It’s a reflection of the brand’s legacy, right there on your glass.
Choosing American-made graphics means you’re investing in something built to last, something that honors the name. This is where real craftsmanship meets genuine pride. We use premium Oracal vinyl for a reason—it won’t fade, crack, or start peeling away after one season in the sun. It's a conscious choice to buy a product that’s as tough as the machine it represents.
Quality That Speaks for Itself
There's no substitute for superior materials and domestic craftsmanship. A well-made graphic is an investment in your truck or car's appearance, guaranteeing the iconic Bar & Shield logo looks sharp for years to come.
It's no secret that when Harley-Davidson does well, the demand for quality decals skyrockets. A huge sales jump fuels an aftermarket frenzy, with fans everywhere wanting to show their pride. Back in Q1 2012, for example, a massive 25.5% jump in U.S. retail sales sparked a boom in window decals for trucks, Jeeps, and family haulers alike. Shops like ours delivered over one million decals globally that year, proving that brand momentum turns everyday vehicles into icons of the open road. You can dig into the numbers and their market impact in this article on Harley's sales figures.
By choosing a high-quality, American-made decal, you're not just customizing your vehicle—you're upholding a standard of excellence that defines the Harley-Davidson community.
Bottom line: your decal should be as tough and reliable as the motorcycle it celebrates. Investing in premium materials ensures your pride is displayed with the quality it truly deserves. And for riders looking to pair that iconic logo with another powerful symbol of freedom, our American Flag and Bald Eagle decals are a perfect match.
Got Questions About Harley Decals? We've Got Answers.
When you’re thinking about putting a Harley Davidson window decal on your ride, a few questions always come up. It's smart to have the right answers before you start, so you can pick the perfect decal, apply it correctly, and stay on the right side of the law.
The big one we always hear is about legality. Are window decals even legal? For the most part, yes. The key is making sure it doesn’t block your critical field of vision while you're driving.
Most states have specific rules against putting decals on certain parts of your front windshield, especially right in your direct line of sight. But when it comes to rear and side windows? That’s almost always fair game. It never hurts to give your local vehicle codes a quick look, but that decal on your truck's back glass is almost certainly good to go.
Application, Removal, and Everything in Between
"Can I put a decal on my tinted windows?" That's another common question, and the answer is simple: absolutely. Our high-quality vinyl decals are made for exterior application—they stick to the outside of the glass.
Since your window tint is on the inside of the glass, the two will never even touch. It’s a perfect way to add some custom style without messing with your tint at all.
"The best part of owning a decal is peace of mind. Knowing it's legal, won't mess up your vehicle, and can be removed cleanly makes the whole thing a lot more enjoyable."
What about when it’s time for a change? Taking an old decal off is a straightforward process that won't harm your glass one bit.
- Warm It Up: Grab a hairdryer and gently heat the decal on a low setting. This softens up the adhesive underneath.
- Get an Edge: Use something plastic, like a plastic razor blade or an old credit card, to carefully lift up one of the corners.
- Peel It Back: Once you have a good grip, pull the decal back on itself at a sharp angle. Go slow and steady.
- Clean Up: If there’s any sticky stuff left behind, a little rubbing alcohol or a citrus-based cleaner will take it right off.
That's all it takes. This simple method leaves your window looking flawless, ready for whatever custom graphic you have planned next.
For American-made decals crafted from premium Oracal vinyl that are built to last, you can trust Custom Sticker Shop. Check out our full collection and find the perfect graphic for your ride at https://customstickershop.us.