
Giving your ride a personal touch with vinyl decals for cars is one of the best ways to make it your own. It’s more than just a sticker; it’s a way to broadcast who you are. Whether you're repping JDM culture, honoring military service, or just want a laugh with a character like the Snoopy waving decal, a decal makes your vehicle stand out.
From Functional to Fantastic: The Rise of Car Decals

Let's be honest, the idea of applying a decal yourself can feel a little intimidating. This guide is here to change that. We're drawing on years of real-world experience to walk you through the process, turning a daunting task into a genuinely satisfying project.
The vibrant, tough graphics we use today actually started with a lab accident. The whole story of vinyl decals began in 1926 when a chemist named Waldo Semon was trying to create a new adhesive and accidentally invented flexible polyvinyl chloride (PVC). Its durability and weather resistance completely changed the game, offering a massive upgrade from old-school, hand-painted graphics.
Why Vinyl Beats Paint for Customization
Today, most car enthusiasts choose high-quality vinyl like Oracal over a new paint job, and for good reason. It’s not just about aesthetics; it comes down to some serious practical advantages.
- Affordability: A custom decal costs a tiny fraction of what you'd spend on a professional paint job.
- Reversibility: Change your mind? No problem. You can peel the decal off without a trace, leaving your factory finish untouched.
- Protection: Think of vinyl as a shield. It protects your car's original paint from minor scratches, rock chips, and UV rays that cause fading.
This guide is your complete roadmap. We'll cover everything from choosing the perfect design—whether it’s for a military tribute or a sleek JDM look—to standing back and admiring your own bubble-free, pro-level work.
Key Takeaway: You don't need to be a professional installer to get great results with vinyl decals. Success comes from understanding a few key concepts and having the confidence to apply them—which is exactly what this guide will give you.
Getting Started With the Basics
Before you even think about peeling off the backing, it helps to know a couple of terms. Understanding the difference between a die-cut decal and a printed one, or what transfer tape is for, makes the whole process less mysterious.
A die-cut decal is the most common type you'll see for car windows. It has no background—it's just the design itself, which gives it a super clean, almost painted-on look. Getting these fundamentals down will set you up for a flawless application, making your vehicle a true reflection of you.
Choosing a Decal That Complements Your Ride
Finding the right decal is about more than just picking a cool graphic. It's about finding a piece that feels like it was made for your vehicle, a natural extension of its personality—and yours.
Think of this as your personal consultation. We're going to walk through the critical choices—material, size, and finish—to make sure the decal you pick not only looks incredible on day one but stays that way for years.
Material Durability Matters Most
Your first and most important decision is the vinyl itself. This choice directly determines how long your decal will survive the sun, rain, and car washes without peeling or fading. In the world of vinyl, you'll run into two main types.
- Calendared Vinyl: This is the budget-friendly stuff. It’s thicker and works okay for flat surfaces or short-term applications. The problem is, it tends to shrink over time and has a much shorter outdoor life. You'll see it start to crack and peel, especially in harsh climates.
- Cast Vinyl: This is the professional standard, period. It's a thinner, more premium material that is designed to conform perfectly to curves and complex body lines. It’s incredibly stable, resisting shrinkage and fading far better than any calendared film.
For serious, long-term durability, we exclusively use professional-grade Oracal vinyl, which carries a 7-year outdoor rating. This cast film is engineered to handle everything from blazing sun to freezing snow, ensuring your investment stays vibrant. It’s the only choice for enthusiasts who demand longevity.
Matching Size and Placement to Your Goal
The size and placement of vinyl decals for cars completely dictate their visual impact. A small accent on a quarter window tells a much different story than a massive hood graphic. A sleek windshield banner, for instance, adds a sporty, aggressive feel, while a small, clever decal tucked away on the bumper is more of a subtle nod.
Always consider the scale of your vehicle. A huge graphic that looks awesome on a full-size truck will likely overwhelm a compact car. Before you peel any backing, grab some masking tape and outline the decal’s dimensions on your car. This gives you a real-world preview of how it will fit the space.
Pro Tip: Look at the body lines of your vehicle. A decal that flows with the natural curves of a fender or door panel will always look more integrated and custom. Try to avoid placing graphics awkwardly across panel gaps unless the decal was specifically designed for that.
Finish and Texture: The Final Touch
The finish of your decal is the final piece of the puzzle, and it dramatically changes how the graphic interacts with your car’s paint and the light around it. Each finish has its own personality.
A matte black decal on a glossy black car, for example, creates a subtle yet striking "ghosted" effect. On the flip side, a gloss white decal on a matte-wrapped vehicle will pop with intense contrast. The finish is your chance to add that extra layer of custom style.
Common Vinyl Finishes
| Finish | Best For | Visual Effect |
|---|---|---|
| Gloss | Matching OEM paint | Delivers a bright, "wet" look that blends perfectly with a factory clear coat. |
| Matte | Creating contrast | Offers a flat, non-reflective surface that stands out against glossy paint. |
| Specialty | Making a statement | Includes unique textures like carbon fiber, brushed metal, or chrome for a truly custom feel. |
Whether you’re looking for one of our 240+ Jeep-specific graphics for your trail rig or one of the 165+ family designs, the key is matching the decal to your ride and your lifestyle. If you have a specific vision, you can even explore how to make your own custom sticker to get a design that is truly one-of-a-kind.
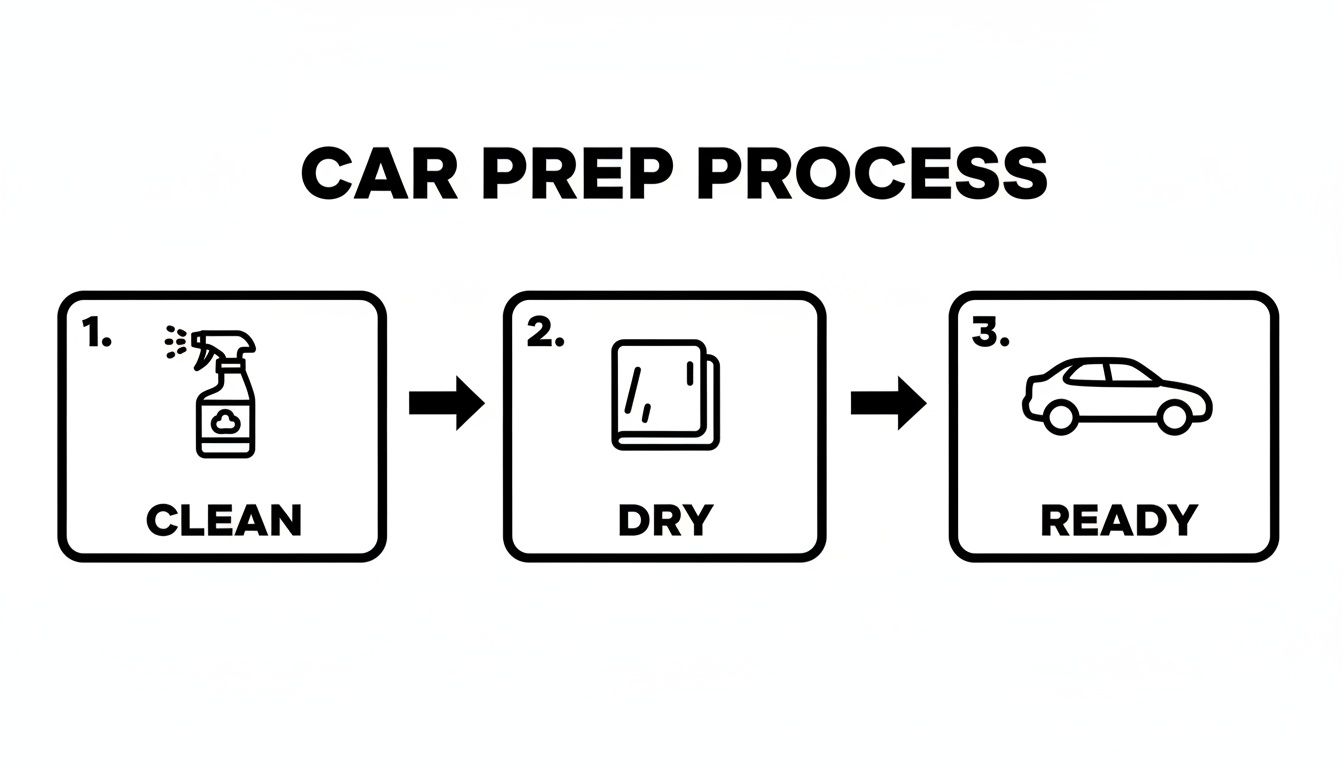
Prepping Your Car for a Perfect Application
Ask any professional installer—or anyone who's applied a few decals in their time—and they'll tell you the same thing: a flawless, lasting decal is 90% preparation. It's the step everyone wants to rush, but skipping it is the number one reason for bubbles, peeling edges, and a decal that just won't stick.
Think of this stage as your insurance policy for a professional-looking result. The good news is you don’t need a professional garage, just a simple toolkit you can put together easily. Most of what you need is probably already in your house.
- Isopropyl Alcohol (70% or higher): This is your most important weapon for creating a truly clean, residue-free surface.
- Microfiber Towels: You'll need at least two clean, lint-free towels—one for cleaning and one for drying.
- Masking Tape: Absolutely essential for positioning your decal perfectly before you commit to the application.
- Squeegee: A firm but flexible squeegee is non-negotiable for applying even pressure and pushing out air bubbles.
The Deep Clean That Guarantees Adhesion
The real enemy of a good decal bond isn't the dirt you can see; it's the invisible stuff. We're talking about wax, oils from your hands, and especially ceramic coatings. These products are designed to make surfaces slick and repel things—which is the exact opposite of what you want when applying a decal.
A simple car wash isn't enough to get the job done.
First, wash and dry the application area thoroughly. Then, grab your isopropyl alcohol and a clean microfiber towel. Moisten the towel and wipe down the entire area where the decal will go. The alcohol will strip away any lingering waxes or oils, creating a perfectly prepped surface for the vinyl adhesive to grip onto.
This single step can be the difference between a decal that lasts for years and one that starts peeling in a few weeks.
To make sure your vehicle is ready for its new decal, just run through this quick checklist. Following these steps ensures you've eliminated all the common culprits that lead to application failure.
Essential Surface Preparation Checklist
| Step | Action Required | Why It's Important |
|---|---|---|
| Wash | Wash the application area with car soap and water. | Removes surface-level dirt, dust, and grime. |
| Dry | Dry the area completely with a clean microfiber towel. | Prevents water from getting trapped under the decal. |
| Degrease | Wipe the entire area with 70% isopropyl alcohol. | Strips away invisible waxes, oils, and sealants that prevent adhesion. |
| Final Dry | Use a second, dry microfiber towel to wipe away any alcohol residue. | Ensures the surface is 100% dry and ready for the decal. |
| Test | Flick a few drops of water onto the surface. | If it "sheets" (spreads out), you're ready. If it beads, clean again. |
Once the water sheets instead of beading, you know you've created the ideal surface for a strong, permanent bond.
The Water Bead Test: How do you know if the surface is truly ready? After cleaning with alcohol, flick a few drops of water onto the area. If the water beads up, there’s still some form of wax or sealant present. If it "sheets" or spreads out flat, your surface is ready for application.
Setting the Scene for Success
Your environment plays a surprisingly large role in how well your application goes. Trying to put on a decal in direct, hot sunlight is a classic recipe for disaster. The heat makes the vinyl overly stretchy and causes the adhesive to get grabby, making it nearly impossible to position correctly without wrinkles.
On the other hand, working in the cold is just as bad. If the surface temperature is too low (below 50°F or 10°C), the adhesive won't activate properly. This leads to a weak bond that's almost guaranteed to fail sooner rather than later.
The sweet spot is a shaded, low-wind area with a surface temperature between 60°F and 80°F (15°C to 27°C). This "Goldilocks" temperature range gives you enough time to work without rushing, while ensuring the adhesive can form a strong, permanent bond once you squeegee it down.
Installing Your Vinyl Decal Like a Pro
With the surface perfectly clean, you're at the most critical step: the install. This is where patience pays off. A rushed job leads to bubbles and crooked graphics, but taking your time using professional techniques guarantees a decal that looks like it was painted on.
The secret to a stress-free, perfect placement is the hinge method. We use this in the shop for everything from small logos to massive graphics. It uses a simple piece of masking tape to create a temporary "hinge," locking in the decal's position before you ever expose the adhesive. This one trick removes all the guesswork and anxiety of trying to eyeball the alignment.
Mastering the Hinge Method for Perfect Placement
First, hold your decal against the car. Step back. Look at it from a few different angles. Is it level? Is it centered exactly where you want it? Don't rush this part.
Once you’ve nailed the position, run a strip of masking tape along the top edge, securing it to the vehicle. This tape is your hinge. It lets you flip the decal up and down without losing that perfect alignment you just found.
Now, flip the entire decal up along the tape hinge so its paper backing is facing you. Carefully start peeling the backing paper off, pulling it down and away from the top hinge. The vinyl graphic will stay put on the semi-sticky transfer tape.
With the backing completely gone, slowly pivot the decal back down onto the vehicle. Your hinge keeps it straight, so all you need to focus on is a smooth, controlled application.
Squeegee Techniques for a Bubble-Free Finish
Grab your squeegee. Starting from the center of the decal, push outwards towards the edges. Use firm, overlapping strokes held at a 45-degree angle. This motion is designed to systematically force air out from under the vinyl, which is the key to preventing bubbles. Never start from the edges and work your way in—that’s a guaranteed way to trap air.
Professional Insight: Think of it like spreading butter on toast. You want smooth, consistent pressure from the middle to the edges to cover the entire area without leaving any gaps or clumps. A weak, hesitant pass is what creates problems.
After you've squeegeed the entire graphic, give the adhesive a few minutes to set up. Then, start peeling the clear transfer tape off. The trick here is to pull it back slowly at a sharp, 180-degree angle, folding it back over itself. If any part of the vinyl tries to lift up with the tape, just lay that section back down, give it another firm press with your squeegee, and try peeling again.
When to Use the Wet Application Method
For bigger and more complex graphics, like a full windshield banner for your Ford, the "wet method" can be a lifesaver. This is also our go-to technique when installing in hot weather.
The process involves misting the surface and the adhesive side of the decal with a simple solution—just water with a single, tiny drop of baby shampoo. This solution temporarily deactivates the adhesive, giving you a window to slide and reposition the decal perfectly. Once it's in place, you use your squeegee to push all the water out from underneath. As the water is forced out, the adhesive makes contact and begins to bond. This method requires more patience, as you have to wait for it to dry completely before removing the transfer tape.
Thankfully, modern vinyl has made DIY installations far more forgiving. The industry’s move from paint to vinyl decals, which started back in the 1950s, cut graphic production costs by 50-60% and reduced application times from days to hours. By the 1980s, brilliant innovations like air-channel technology from giants like 3M and Oracal made 98% bubble-free installs the new standard, making a pro-level finish achievable for everyone.
Caring for Your Decal: Long-Term Maintenance and Safe Removal
You’ve installed your new decal, and it looks sharp. Now, how do you make sure it stays that way? With just a little bit of know-how, you can protect your investment from peeling, fading, and damage, keeping it vibrant for years.
The biggest threat to a decal’s lifespan is the car wash. Those automatic car washes with spinning brushes are notorious for catching and lifting the edges of vinyl. Even the "touchless" ones can cause problems, as high-pressure water jets aimed at the decal's edge can force water underneath and weaken the adhesive.
Without a doubt, hand washing is the best way to go. Just grab a soft microfiber mitt and some mild car soap. When you wash over the decal, wipe with the edges, not against them, to avoid any chance of lifting. A gentle rinse is all you need—never blast the edges of your decal with a pressure washer.
Built to Last: Protecting Your Decal from the Elements
Modern vinyl decals are incredibly tough. Their durability was proven by the military as far back as the 1950s. U.S. Air Force planes using vinyl markings logged over 2 million flight hours with 95% of the graphics remaining fully intact. You can read more about how vinyl performance evolved over the years at Tier One Graphics.
Today, the professional-grade films we use at Custom Sticker Shop, like Oracal vinyl, come with 7-year outdoor lifespans. They block 99% of UV degradation and even shield your paint from about 70% of minor road rash.
Key Insight: Quality vinyl is designed to withstand the elements, but a little care goes a long way. Parking in the shade and quickly cleaning off contaminants like bird droppings or tree sap will ensure your decal looks brand new for its entire service life.
Clean Slate: How to Safely Remove Your Decal
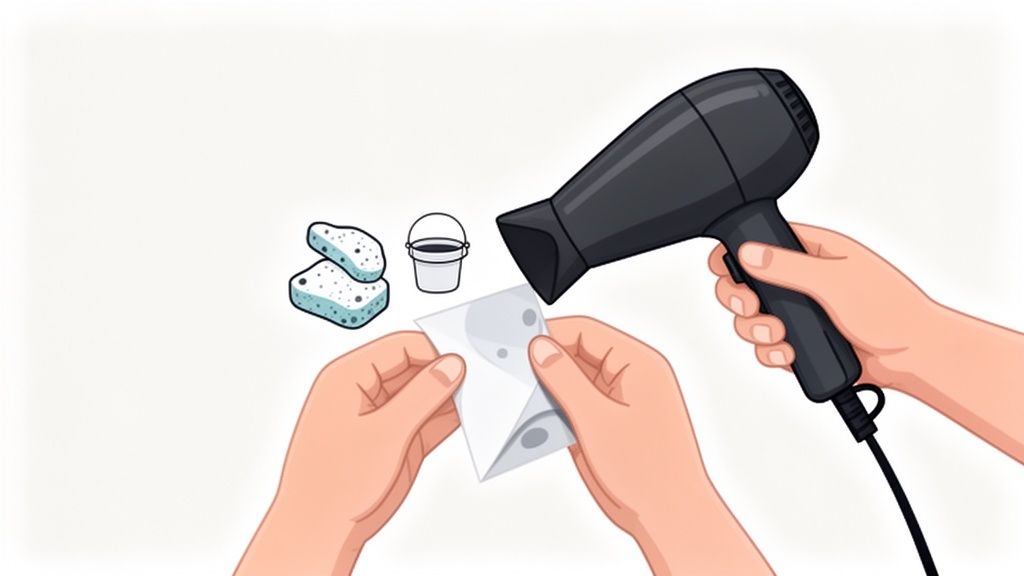
Ready for a new design? Removing your old decal is straightforward and, when done right, won’t leave a mark on your car’s paint. The secret ingredient is heat.
Your best friend for this job is a standard hairdryer.
Start by gently warming up one corner of the decal on a low or medium setting. Keep the hairdryer a few inches away, moving it back and forth to evenly soften the adhesive. You’ll see the vinyl start to become more pliable.
Once it's warm to the touch, use your fingernail or a plastic razor blade (never metal!) to carefully lift that corner. Here's the most important part: pull the decal back on itself at a sharp, 180-degree angle. Don't pull it straight up and away from the car, as that puts unnecessary stress on the paint. Slow, steady, and low is the way to go.
After the vinyl is off, you might have some sticky residue left over. Forget harsh solvents or scrapers. A citrus-based adhesive remover or a little isopropyl alcohol on a microfiber towel will dissolve any leftover glue safely. Give it a final wipe, and your surface is pristine and ready for its next custom look.
Your Questions About Car Decals Answered
Even with the best instructions, you’re bound to have a few questions. It’s smart to get all the facts before you start. We’ve been at this for over 20 years, so we've heard them all. Here are straight answers to the most common questions we get from customers just like you.
Will a Vinyl Decal Damage My Car's Paint?
No. A high-quality vinyl decal will not damage your car’s factory paint. In fact, it does the opposite.
When you use a professional-grade material like the Oracal vinyl we trust for all our decals, it acts as a protective layer. It shields the paint underneath from light scratches, road grime, and the fading effects of the sun.
When you're ready for a change, removal is a cinch. A little heat from a hairdryer softens the adhesive, letting you peel it off cleanly. Your paint will look just as good as the day you put the decal on, helping protect your car’s resale value.
Can I Apply a Decal to a Freshly Painted Car?
You’ve got to be patient with new paint. A fresh paint job needs time to “outgas,” which is the process of solvents fully evaporating as the paint cures. If you slap a decal on too early, you’re trapping those gases.
This can cause ugly bubbles to form under your decal and can even ruin the new paint and the decal's adhesive. It’s a mistake you only make once.
As a solid rule of thumb, you need to wait at least 30 to 90 days before applying a vinyl decal to a new paint job. If you’re not sure, just ask your body shop. They’ll give you a specific cure time for the paint they used.
What Is the Difference Between a Decal and a Sticker?
People use these words interchangeably all the time, but in our business, there’s a real difference that affects the final look. A sticker is usually a single piece of material—the design is printed on vinyl that has its own background. Think of a classic bumper sticker.
A decal, however, is made of individual cut-out letters or design elements. It's transferred from a paper backing onto a surface using transfer tape. This process is how you get intricate graphics and lettering without any background, giving you that clean, “painted-on” finish. Most of the pro-level vehicle graphics you see are actually decals.
How Do I Fix Bubbles After Installation?
First off, don't panic. A few small air bubbles are perfectly normal right after installation. Most tiny bubbles will work themselves out within a few weeks as the vinyl settles and breathes in the sun.
If you’re left with a larger, stubborn bubble, don’t try to force it flat. That will just create a crease. The fix is simple:
- Take a sharp pin or the very tip of a craft knife.
- Make a tiny puncture right in the middle of the bubble.
- Gently press the trapped air out with your finger.
The pinhole will be practically invisible, and your decal will lay perfectly flat.
At Custom Sticker Shop, all our decals come pre-spaced with transfer tape already applied, making your installation as straightforward as possible. Explore our huge collection of American-made vinyl decals and find the perfect look for your ride today.