
Your truck isn’t just a way to get from A to B—it's a rolling billboard for your business, a tribute to your service, or a canvas for your personal style. The right truck door stickers, made from professional-grade vinyl, are what turn a standard workhorse into a statement.
Giving Your Truck a Voice with Custom Door Stickers
Think of your truck's doors as prime real estate. They’re big, flat, and seen by hundreds of people every single day. For many owners, that space is personal—a way to honor their military branch or show off their family’s personality.
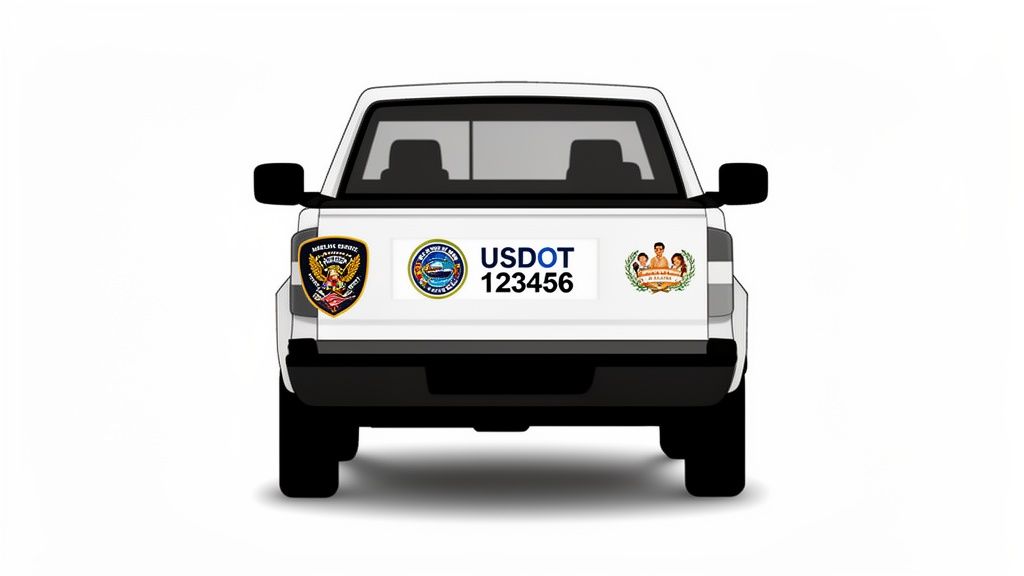
For businesses, truck door decals are non-negotiable. They instantly transform a company vehicle into a mobile marketing machine, displaying your logo and USDOT number. A clean, well-applied decal doesn't just look good; it builds trust and makes you look like a pro.
From Hand-Painted Signs to High-Performance Graphics
Vehicle graphics have come a long way. What started as simple, hand-painted lettering has evolved into a serious industry. Today's decals are a world away from the bumper stickers of the past, which actually got their start in the 1940s when Forest P. Gill combined surplus adhesive paper and fluorescent paint. That innovation was the first step toward the durable, high-quality vinyl we use today.
The right decal does more than just decorate—it communicates. It tells a story, promotes a business, or honors a legacy. It's a statement piece that endures through rain, sun, and thousands of miles on the road.
Why Quality Vinyl Is a Must
Modern truck door stickers are crafted from professional-grade vinyl for one reason: they have to survive. We're talking about vinyl that’s designed to withstand punishing sun, brutal winters, and constant road grime for years.
Forget about those old paper-based decals that would crack, fade, and peel off within a few months. Premium vinyl offers 7+ years of vibrant color and performance, ensuring your investment continues to represent you or your business the right way.
The goal is always to make an impact, whether you're using them for:
- Personal Expression: Show off your hobbies, from fishing and hunting to classic styles like the "Keep on Truckin'" guy.
- Professional Branding: Display your company name, contact info, and regulatory numbers with crisp, clean lettering that’s easy to read from a distance.
- Tributes and Memorials: Honor a loved one or show pride in your military branch with dedicated designs that last.
Ultimately, choosing the right truck door stickers is about finding a design that feels authentic to you and applying it with care. It's how you turn a standard vehicle into a ride that’s unmistakably yours.
How to Choose the Right Sticker for Your Truck
Picking the right sticker for your truck is the first step to getting a look you'll actually be happy with for years to come. The best truck door stickers nail that sweet spot between your personal style, any professional requirements you have, and a material that can take a beating.
First, what’s the goal? Are you adding a bold graphic that shows off a hobby, or do you need clean, compliant lettering for your work truck? For personal style, the sky’s the limit. You might want a design that reps your passion for JDM culture or something that adds a unique family touch. For commercial trucks, it’s all about clarity and compliance—getting your USDOT number displayed in a font that’s professional and dead simple to read.
Design and Color: Making an Impression
Think of your truck's paint color as the background and the sticker as the main event. For visibility, high contrast is your best friend. A black sticker on a white truck just pops. A silver decal on a dark blue truck, on the other hand, gives you that sleek, almost factory-installed look. It all depends on the statement you want to make.
- Bold Colors: Red, yellow, and bright blue are impossible to miss. They’re perfect for branding that needs to be seen from across a parking lot.
- Subtle Tones: Metallic silver, matte black, and gunmetal gray deliver a more refined look that feels like it came straight from the dealership.
- Custom Graphics: If you want something that truly flows with your truck's design, consider a graphic like a universal stripe kit that’s made to complement the body lines.
Here’s a pro tip: before you pull the trigger, hold a color sample or even a paper printout against your truck door. Look at it in direct sun, in the shade, and at dusk. A color you love online can look completely different out in the real world. This one simple check can save you from a lot of second-guessing later.
Material Matters: The Secret to Durability
Not all vinyl is the same. Far from it. The material you pick is the single biggest factor in how long your sticker will last and look good. Professional-grade vinyl, like the Oracal brand we use, is the industry standard for one simple reason: it’s engineered to survive the absolute worst conditions without fading, cracking, or peeling off.
Your investment deserves to last. Choosing a decal made with 7-year rated outdoor vinyl ensures your graphic looks just as sharp on day one as it does years down the road, even after countless run-ins with sun, rain, and road salt.
The difference between modern vinyl and older materials is night and day. Below is a quick comparison that shows why sticking with professional-grade vinyl is a no-brainer.
Comparing Sticker Materials for Durability
| Feature | Professional Oracal Vinyl (7-Year Rated) | Standard Paper-Based Stickers |
|---|---|---|
| Durability | Rated for 7+ years of outdoor exposure | Typically lasts only a few months outdoors |
| Weather Resistance | Withstands sun, rain, snow, and extreme temps | Cracks, peels, and fades quickly in the elements |
| Color Retention | UV inhibitors prevent fading; colors stay vibrant | Colors wash out and yellow from sun exposure |
| Adhesion | Strong, yet removable adhesive that won't lift | Weak adhesive that often peels at the edges |
| Appearance | Thin profile that looks painted on | Thick, bulky appearance that screams "sticker" |
The evolution of these materials shows just how far vehicle graphics have come. We've moved on from the flimsy paper bumper stickers of the 1940s and 50s, which were never meant to last, to the incredibly tough vinyl we have today. This is what gives you the confidence that your truck will look great for the long haul.
When you’re ready to order, always ask what kind of vinyl is being used. Cheaper, unrated materials might save you a few bucks upfront, but they’ll cost you more in time and frustration when they fall apart in a year. A quality decal is an investment in your truck’s appearance, so make it a good one.
Measuring and Sizing Your Decals Like a Pro
Getting the size of your truck door stickers right is what separates a clean, professional look from something that just feels… off. A decal that’s too big will look clumsy and oversized, but one that’s too small gets lost on a big door panel. The goal is to find that sweet spot, and it all starts with a tape measure and a good eye.
First things first, find the best spot on the door. You’re looking for a flat, smooth area away from any trouble. Run your hand over the panel and feel for any subtle body lines, curves, or ridges that could wreck the application. Make sure to stay a safe distance from door handles, locks, mirrors, and any factory emblems you want to keep.
Finding the Right Fit for Your Truck
Once you’ve picked out that prime real estate, grab your tape measure to get the maximum height and width you have to work with. A great rule of thumb we’ve used for years is to leave at least 1-2 inches of blank space on all sides. This “negative space” frames the decal perfectly, stops it from looking crowded, and guarantees the vinyl has a completely flat surface to stick to.
Every truck is a little different, but here are some common sizes we see that work well for popular models:
- Ford F-150 / Chevy Silverado / Ram 1500: For a main business logo or branding, most decals land in the 18 to 24-inch wide by 12 to 18-inch tall range. If you just need a simple USDOT number, a smaller 22-inch wide by 2-inch tall decal is usually all you need.
- Heavy-Duty Trucks (F-250, Ram 2500): These bigger doors can easily handle graphics up to 28 inches wide. That gives you plenty of room to add a logo, phone number, and other key business info.
- Commercial Box Trucks: With those massive, flat panels, you’ve got a huge canvas to work with. Decals can easily be 36 inches wide or even larger, giving your brand maximum visibility on the road.
Visualize Before You Finalize
Here’s a simple trick we tell every customer to make sure they’ll love the final result: mock it up with painter’s tape. After you get your measurements, use blue painter’s tape to outline a box on your truck door that matches the dimensions of the decal you’re planning to order.
This simple visualization trick is the single best way to avoid sizing mistakes. It lets you step back and see exactly how the decal will look from different angles and distances, so you can be 100% sure the proportions are perfect before you commit.
This technique is a lifesaver, especially if you're ordering something like a custom text window decal. Seeing the taped-off space first helps you confirm it will be easy to read and properly scaled for the window.
Finally, don’t forget that USDOT numbers have their own rules. Federal regulations require the lettering to be clearly legible from a distance of 50 feet in daylight. In practice, this means your letters need to be at least 2 inches tall. Always take a moment to double-check the current regulations to keep your business compliant and professional on the road.
Your Guide to a Bubble-Free Decal Installation
Getting your new truck door stickers on the truck is the final, and most important, step. A clean, bubble-free application is what turns a simple decal into a professional graphic that looks painted on. Don’t worry—with the right technique and a bit of patience, you can get a perfect finish on your first try.
Let's talk about timing and conditions first. Vinyl is picky about temperature. Trying to apply a sticker in the blistering sun or a freezing garage is a recipe for failure. You're looking for a sweet spot between 50°F and 90°F (10°C and 32°C). And whatever you do, avoid windy days. A sudden gust can fold your sticker onto itself or trap a piece of grit underneath, and that’s game over.
Prepare the Surface for a Pro-Level Bond
A clean surface isn't just a suggestion; it's everything. A single speck of dust, wax, or oil can create an ugly bubble or, worse, cause the whole sticker to peel off later. Start by giving the area a good wash with soap and water, then rinse and dry it completely.
Now for the most important part: the final wipe-down. Grab some isopropyl (rubbing) alcohol and a clean, lint-free microfiber cloth. Give the entire application area a thorough wipe. The alcohol flashes off quickly, taking any lingering grease or residue with it and leaving a perfectly prepped surface.
Honestly, this is the one step you can't skip. In my experience, forgetting the alcohol wipe is the number one reason stickers fail. It guarantees the vinyl adhesive gets a clean bite for a bond that will last for years.
Before diving into the application, let's gather the right tools. Having everything you need within arm's reach makes the entire process smoother and eliminates last-minute scrambling.
Installation Quick-Check Guide
This table summarizes the essential tools and conditions for a successful sticker application.
| Item/Condition | Purpose | Pro Tip |
|---|---|---|
| Squeegee | Applies even pressure to push out air bubbles. | A felt-tipped squeegee is best to avoid scratching the vinyl. |
| Isopropyl Alcohol | Final surface cleaning to remove oils and residue. | Use a 70% solution; anything higher evaporates too quickly. |
| Microfiber Cloth | Applies alcohol without leaving behind lint or fibers. | Have two on hand—one for cleaning and one for drying. |
| Painter's Tape | Used to create a "hinge" for perfect alignment. | Low-tack tape won't damage your paint or leave residue. |
| Measuring Tape | Ensures your decal is centered and level. | Measure twice, apply once. It’s an old but true saying. |
| Good Lighting | Helps you spot dust, bubbles, and alignment issues. | An overcast day or a well-lit garage is ideal. Avoid direct sun. |
With your tools ready and your surface prepped, you're set for a professional installation.
Mastering the Hinge Method for Perfect Placement
For pre-spaced decals that arrive on transfer tape (like every decal from Custom Sticker Shop), the hinge method is your best friend. It’s a simple, reliable technique that guarantees perfect alignment and a bubble-free finish.
Here’s the process:
- Position the Decal: Place the entire sticker assembly—vinyl, transfer tape, and backing paper—onto your truck door. If you created a mock-up with tape earlier, use it as your guide.
- Create the Hinge: Once you’re happy with the spot, run a strip of painter's tape horizontally across the middle of the decal. This tape is your hinge, locking the graphic in place.
- Apply the First Half: Lift one side of the decal (top or bottom) and peel the waxy backing paper away until you get to your tape hinge. Grab some scissors and snip that loose backing paper off.
- Squeegee It Down: Now, holding the decal away from the surface, use your squeegee to lay down the exposed vinyl. Start from the center hinge and work your way outwards with firm, overlapping strokes.
The prep work you do before you ever peel the backing is what makes or breaks the final look. This quick visual guide breaks down the essential pre-installation steps.
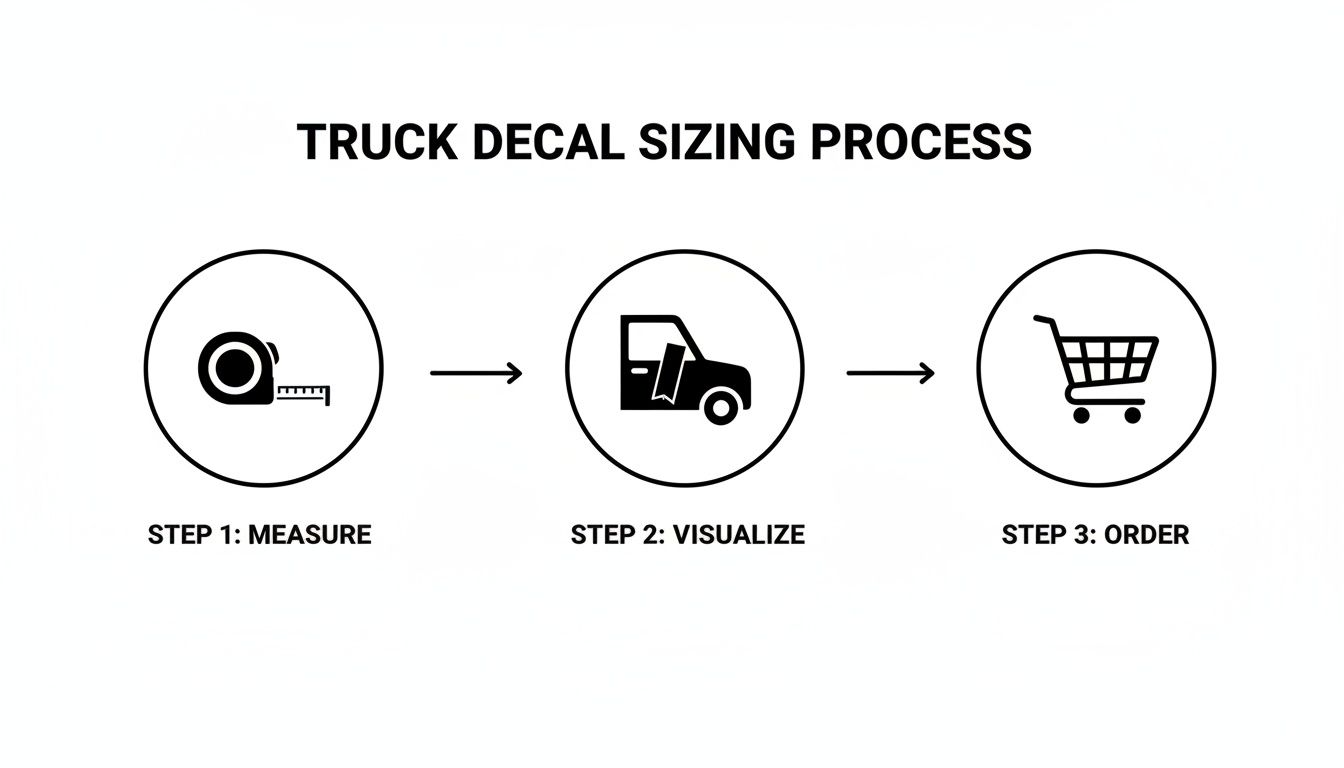
Following these three actions—measuring your real estate, taping out a visual guide, and then ordering—removes all the guesswork and ensures a perfect fit.
Finishing Up and The Big Reveal
With the first half applied, you can now carefully remove the painter's tape hinge. Lift the other half of the decal and peel away the remaining backing paper.
Just like before, squeegee from the center outwards, methodically pushing any trapped air toward the edges. Once the whole decal is down, go over it one last time with firm pressure to make sure the vinyl has made a solid bond with the paint.
Finally, the moment of truth: removing the transfer tape. Patience is key here. Start at a corner and slowly peel the transfer tape back on itself at a sharp 180-degree angle. If you see any part of your vinyl design lifting up with the tape, just lay it back down, press on that spot firmly with your finger, and try peeling again. The vinyl’s adhesive is much stronger than the tape's, but going slow and steady is the trick.
Properly installed truck door stickers are more than just decoration—they're mobile billboards. For commercial fleets, they’re a mark of professionalism and a critical part of compliance. The effectiveness of modern vehicle graphics is staggering, with a single truck potentially being seen by 30,000 to 70,000 people every day. With millions of drivers out there, your custom graphics and essential USDOT truck door signs get incredible exposure. You can learn more about how truck decals can benefit local businesses to see just how powerful they can be.
Keeping Your Graphics Sharp and Removing Them Safely
Once your new truck door stickers are installed, a little routine care will go a long way in making them last. Our professional-grade vinyl is incredibly tough, but it’s not indestructible. The number one enemy of any decal is a high-pressure washer aimed directly at its edges.
If you can, always hand-wash your truck. If a car wash is your only option, stick to touchless systems and make sure to keep the spray wand a good distance away from your graphics. That intense, focused jet of water is perfect for lifting the edges of the vinyl, which lets water and grime get underneath and eventually causes peeling.
Smart Sticker Care and Longevity Tips
Keeping your graphics vibrant is pretty simple with the right approach. A few small habits can make a huge difference in protecting your investment.
To get the most out of your decals:
- Avoid Abrasive Cleaners: Never use harsh chemicals, gritty polishes, or abrasive sponges on your stickers. Just stick to mild soap and water.
- Wax with Caution: You can absolutely wax over your vinyl graphics, but do it gently. Avoid aggressive buffing on the edges, as the friction and heat can cause them to lift over time.
- Park Smart: Whenever possible, park in a garage or a shaded spot. While our Oracal vinyl is rated for 7+ years of outdoor sun, minimizing direct UV exposure will only extend its life and keep the colors from fading.
The best way to think about it is to treat your decal like you treat your paint. Gentle cleaning and avoiding direct, high-pressure force on the sticker’s edges are the two most important things you can do to make your graphics last.
How to Safely Remove Old Truck Door Stickers
Whether you’re updating your branding, selling your truck, or just replacing a worn-out graphic, there will come a time to take the old ones off. The good news is that high-quality vinyl comes off cleanly without damaging your truck’s paint, as long as you use the right technique.
Just trying to pull a cold decal off is a recipe for frustration. You'll likely end up with torn vinyl pieces and a stubborn, sticky mess.
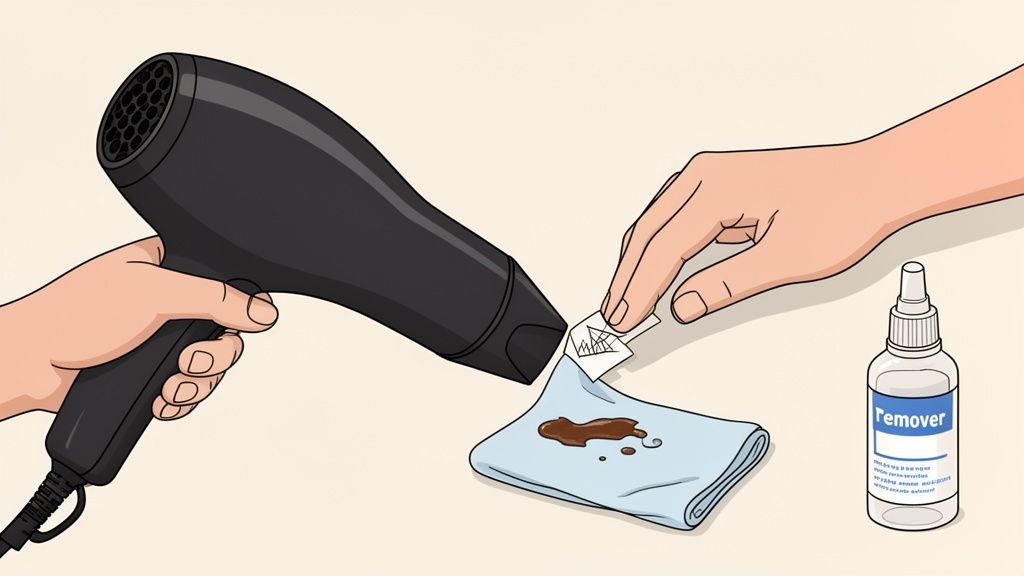
The secret is simple: heat. Gently warming the vinyl softens the adhesive, allowing it to release cleanly from the surface.
First, apply some gentle heat. A standard hairdryer on a medium setting or a heat gun on its lowest setting works perfectly. Hold it about 6-8 inches from the sticker, moving it back and forth to warm the entire surface evenly. You don't want to overheat any single spot, as too much heat could damage the paint.
Once the vinyl feels warm to the touch, you can start peeling. Use your fingernail or a plastic razor blade (never metal!) to carefully lift one of the corners.
With a corner lifted, grab it and start peeling the sticker back on itself at a sharp, 180-degree angle. Avoid pulling straight up, as that tends to leave more adhesive behind. Pulling flat against the door panel encourages the adhesive to come off with the vinyl. For best results, keep applying a little heat just ahead of the area you’re peeling.
If you’re left with any stubborn residue, an adhesive remover like Goo Gone or even a little WD-40 on a soft cloth will take care of the sticky stuff. Knowing how to properly remove old graphics is a valuable skill, and similar principles apply to other vehicle modifications. For more detailed guidance, you can find great info in articles about safe auto window film removal techniques.
Frequently Asked Questions About Truck Stickers
Even after you’ve got a plan, a few questions always seem to surface. We get it. We’ve gathered some of the most common questions we hear about truck door stickers and answered them based on years of experience outfitting work trucks and personal rigs.
From durability in the car wash to legal fine print, here’s the straightforward advice you need.
What Makes a Sticker Car Wash Safe?
A sticker that can handle the car wash comes down to two things: top-tier material and a solid installation. We use premium Oracal vinyl for a reason—it’s designed with a powerful adhesive that bonds tight to your truck's paint. When you apply it to a clean, smooth surface, the edges stay locked down.
The real enemy at the car wash is a high-pressure spray wand aimed directly at a sticker's edge. To keep your graphics looking sharp:
- Avoid direct blasts. Keep the spray nozzle a good distance away from the decal's edges.
- Go touchless. Touchless car washes are much gentler on vinyl graphics than old-school brush systems.
- Hand-wash when you can. Nothing beats a careful hand wash for keeping your graphics (and your paint) in prime condition.
Can Stickers Damage My Truck's Paint?
No, a high-quality vinyl sticker will not damage your truck’s factory paint. The adhesive is engineered to hang on for years but is also designed to be removed without taking the clear coat with it. In fact, the vinyl acts as a shield, protecting the paint underneath from UV rays and light scratches.
When it’s time for a change, the trick is to use gentle heat from a hairdryer. This softens the adhesive, letting the decal peel away cleanly and leaving the paint underneath looking just as good as the day you applied it.
You might hear about "ghosting"—where the paint around the sticker fades over time, leaving a darker, crisper outline when the decal is removed. This isn't damage from the sticker. It's actually proof that the vinyl did its job protecting your paint from the sun's natural fading.
Are There Legal Requirements for Truck Door Stickers?
For a personal truck, it's your canvas—decorate it however you want. But for commercial vehicles, the answer is a definite yes. The U.S. Department of Transportation (DOT) has specific rules you need to follow.
If your truck is used for business, you will almost certainly need to display:
- USDOT Number: This is the most common and critical requirement.
- Company Name: Your official, registered business name must be on the vehicle.
- City and State: The home base of your business operations.
Federal regulations state that this lettering must be easy to read from 50 feet away in daylight. In practical terms, that means using letters that are at least 2 inches tall. Always check the latest FMCSA regulations to ensure you’re fully compliant, as rules can and do get updated.
Ready to give your truck a custom look that’s built to last? At Custom Sticker Shop, we use only the best American-made materials to create decals that can handle the road ahead. Browse our collection and create your perfect truck door stickers today!