
A lot of people land on the same question at the same point. The vehicle is finally where they want it mechanically, the wheels are right, the stance is right, the paint is clean, and now it still feels a little too anonymous. That's where a skull car decal starts making sense. It's small compared with a lift kit or a new exhaust, but it changes the personality of the whole vehicle.
A skull graphic can read tough, funny, patriotic, artistic, old-school, or stripped-down and modern. The trick is choosing one that fits the vehicle and the owner, then installing it in a way that looks intentional instead of slapped on in a hurry. Good vinyl matters. Placement matters. Care matters even more than most buyers expect.
The difference between a decal you enjoy for years and one you peel off in frustration usually comes down to decisions made before the backing paper ever comes off.
Your Vehicle is More Than Just a Ride
A decal works when it feels like it belongs on the vehicle. A lifted Jeep wearing mud half the year can carry a more aggressive skull without looking forced. A clean JDM coupe usually looks better with something tighter and more restrained. A work truck can go either direction, depending on whether you want outlaw style, military pride, or a tongue-in-cheek graphic on the back glass.
That's why I never treat a skull car decal like a generic accessory. It's part of the visual language of the vehicle. On some builds, it becomes the focal point. On others, it's a small signature detail that only people paying attention will notice.
The smart way to choose one is to think through the full lifespan before you buy.
- Design first: Pick a style that matches the personality of the vehicle, not just the first skull you think looks cool.
- Material next: Cheap vinyl can ruin a good design fast.
- Placement matters: Hood, quarter window, rear glass, tailgate, and body side all behave differently.
- Install decides the look: A clean graphic with straight alignment always reads more premium.
- Care keeps it sharp: Sun, wash habits, road grime, and winter chemicals all change how long a decal stays crisp.
Practical rule: If you wouldn't put the same skull on every vehicle you own, you're thinking about it the right way.
Some people want one bold statement piece. Others want a coordinated theme across windows, tailgate, toolbox, or hardtop. Either approach can work. What doesn't work is picking in a rush, ignoring vinyl quality, and expecting the decal to survive bad prep and harsh weather on luck alone.
Finding the Skull Design That Tells Your Story
A skull design says something before anyone reads a badge, a windshield banner, or a custom plate frame. That's why style matters more than people think. Two owners can both want a skull car decal and end up needing completely different artwork.
The classic rebel look
The simplest skull designs are often the strongest. Clean eye sockets, hard jaw line, minimal extra detail. This style fits trucks, older muscle, blacked-out SUVs, and plenty of Jeeps because it doesn't fight with the body lines. It reads fast from a distance.
If you like a no-nonsense look, stick with bold silhouettes and solid fills instead of overworked detail. Matte black usually gives this style the most natural finish on glass and painted panels.
Modern, tuner, and JDM inspired themes
JDM owners usually do better with restraint. A giant busy skull on a compact coupe can feel heavy. A smaller quarter-window graphic, a subtle rear glass placement, or a stylized skull integrated with cleaner linework tends to match the car better.
Geometric skulls, angular line art, and skulls paired with racing or import cues fit this crowd well. The vibe isn't “monster truck tough.” It's sharper and more intentional.
If you like carrying the same visual attitude into the rest of your gear, you can even add rebellious style to your golf balls with a matching skull stamp. That works well for owners who want a consistent theme without overdoing the vehicle itself.
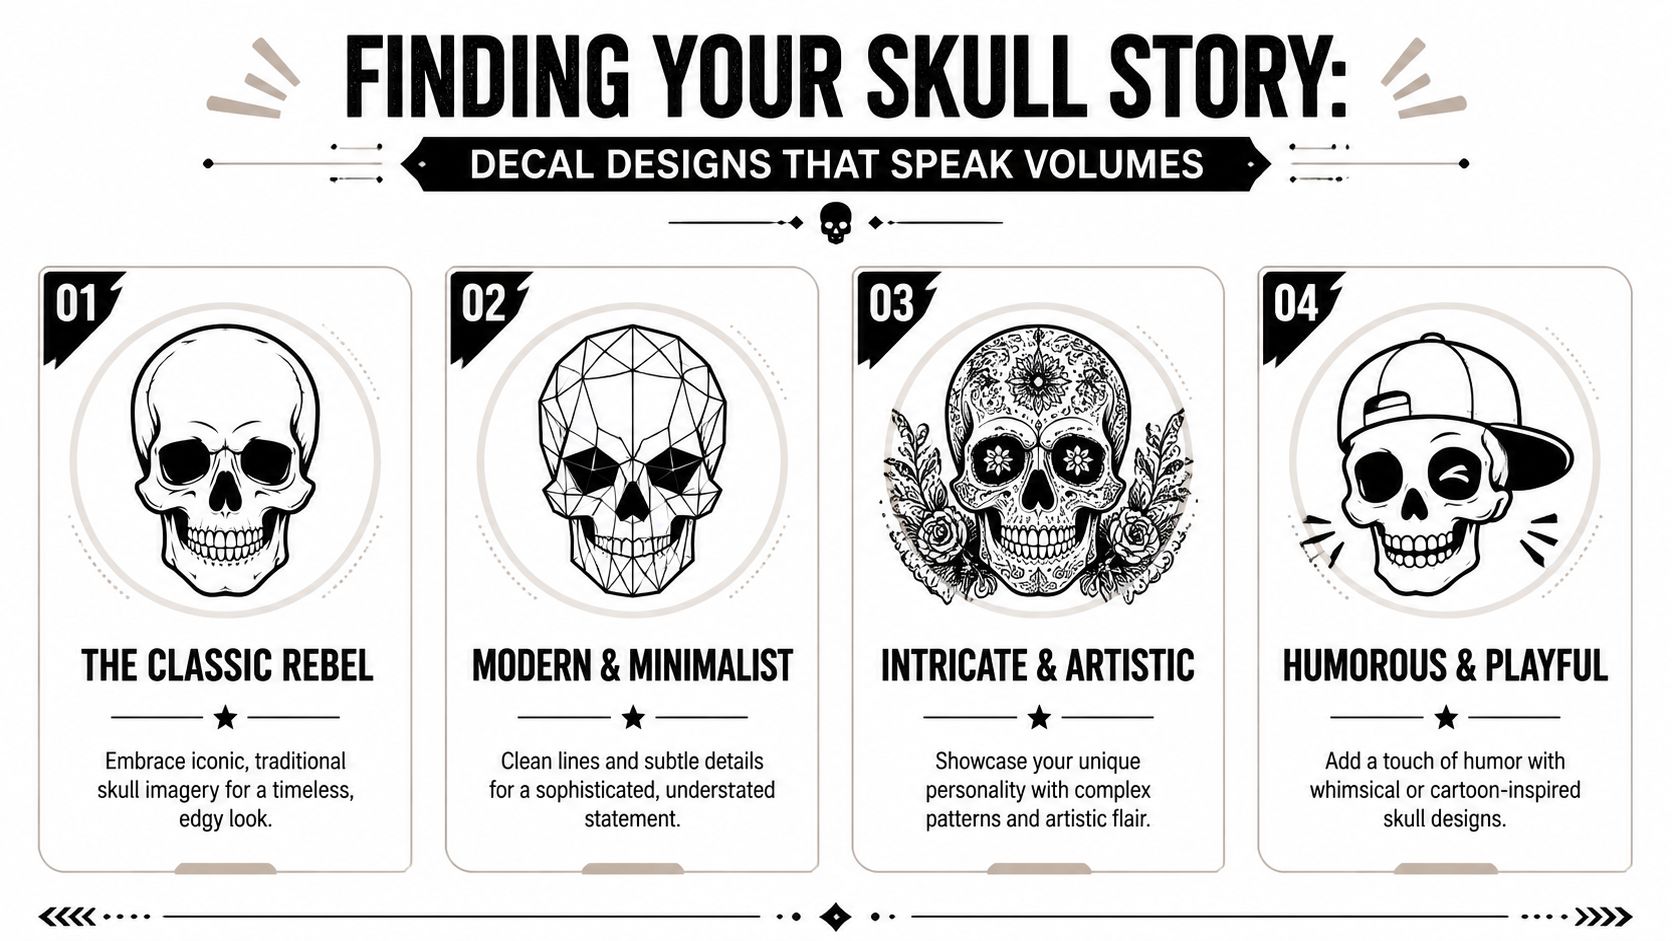
Military, memorial, and patriotic variations
In these situations, skull graphics stop being just decorative. A skull paired with service-related elements can carry real meaning. It can represent branch pride, a memorial tribute, a deployment era, or a unit identity. In that case, the artwork needs discipline. Too many add-ons can make the decal feel cluttered and take the weight out of the message.
A good military-themed skull often uses fewer elements than people expect:
- Service text: Name, rank, unit nickname, or simple service years
- Patriotic framing: Flag lines or a clean border treatment
- Hard-edged iconography: Dog tags, crossed tools, or restrained tactical motifs
The cleaner the composition, the more readable it stays from outside the vehicle.
Some of the strongest memorial decals are the quiet ones. A clean skull, a name, and a date line can carry more presence than a graphic overloaded with symbols.
Artistic and family-friendly skull ideas
Not every skull needs to look menacing. Sugar-skull-inspired artwork, floral linework, cartoon skulls, and playful family graphics all have a place. For families, a skull theme can even be used humorously with stick-figure-style characters or pet tributes that don't take themselves too seriously.
Here's a quick way to narrow the field:
| Vehicle or theme | Skull style that usually fits | What to avoid |
|---|---|---|
| Jeep and off-road | Bold die-cut skulls, military skulls, rugged matte styles | Tiny intricate detail that gets lost under dirt and texture |
| JDM and tuner | Minimal skulls, geometric line art, compact side glass graphics | Oversized busy graphics that overpower the car |
| Truck and 4×4 | Tailgate skulls, toolbox decals, larger hood or rear glass graphics | Artwork too delicate for the truck's visual scale |
| Family or fun builds | Cartoon skulls, pet skull themes, custom names | Designs that clash with the rest of the vehicle's tone |
The right design doesn't just look good in isolation. It looks right on your specific ride.
Choosing Material and Size for Maximum Impact
A skull decal can look perfect on the screen and still disappoint on the vehicle. The usual failure points are simple. The film is too cheap for the surface, the size fights the panel, or the finish clashes with the rest of the build.
Material decides how the decal behaves from day one through removal years later. Good vinyl stays stable in heat, lays down cleanly, and resists the edge curl that shows up first on hoods, rear glass corners, and truck tailgates. Cheap film often installs with more drag, stretches too easily, and shrinks back after a few hot days. That is when you start seeing silvering, lifted corners, and dirt collecting at the edges.
Choose film based on where the decal will live
For flat or lightly curved panels, a quality outdoor calendered vinyl is usually the right call. It costs less than cast film and holds up well on rear glass, tailgates, hardtops, and smooth bedside panels. For tighter curves, deep recesses, or textured areas, standard decal film is the wrong tool. On those surfaces, even a strong adhesive can lose the fight over time.
That trade-off matters by vehicle type.
- Jeep: Hood edges, hardtop glass, and cowl areas work well with standard outdoor vinyl. Fender texture and heavily pebbled plastic trim do not.
- JDM coupe or hatch: Quarter glass and rear glass are the safe placements. Small, clean graphics suit the tighter proportions and are easier to install straight.
- Truck: Tailgates, rear windows, toolbox faces, and smooth bed sides give the graphic enough visual weight and enough flat area to hold well.
- Family vehicle or daily driver: Rear glass and side glass usually age better than front-facing painted panels because they take less road abuse.
Size the decal to the panel, not just the artwork
Customers often pick size by what looks bold in a product photo. On the vehicle, panel shape matters more. A decal needs margin around it or it starts to look accidental, especially on smaller cars.
A good working rule is to leave enough empty space around the graphic so the body line or window edge still frames it. On a Jeep or truck, you can go larger because the panels are taller and more upright. On a JDM build, a slightly smaller decal usually looks sharper because it supports the car instead of taking over.
Here's how that plays out in real placements:
- Jeep: Medium to large skulls work on rear side windows, hood corners, and hardtop glass. Broad, simple shapes read well through dust and trail grime.
- JDM: Small to medium decals fit quarter windows, lower rear glass corners, or a subtle windshield banner accent. Fine detail gets lost fast if the graphic is too small.
- Truck: Medium to large graphics belong on the tailgate, rear glass, or toolbox. Tiny decals tend to disappear against the truck's scale.
- Military or memorial theme: Keep the layout compact and readable. A skull with one supporting element usually carries more presence than a wide graphic stretched across a panel.
- Family or playful theme: Smaller side-glass placements often work better than oversized center graphics, especially if the rest of the vehicle is clean and stock-looking.
If you want a real-world example of a size and placement that fits a full-size truck well, this 4×4 off-road skull sticker set for Chevy Z71 trucks shows the kind of scale that works without swallowing the panel.
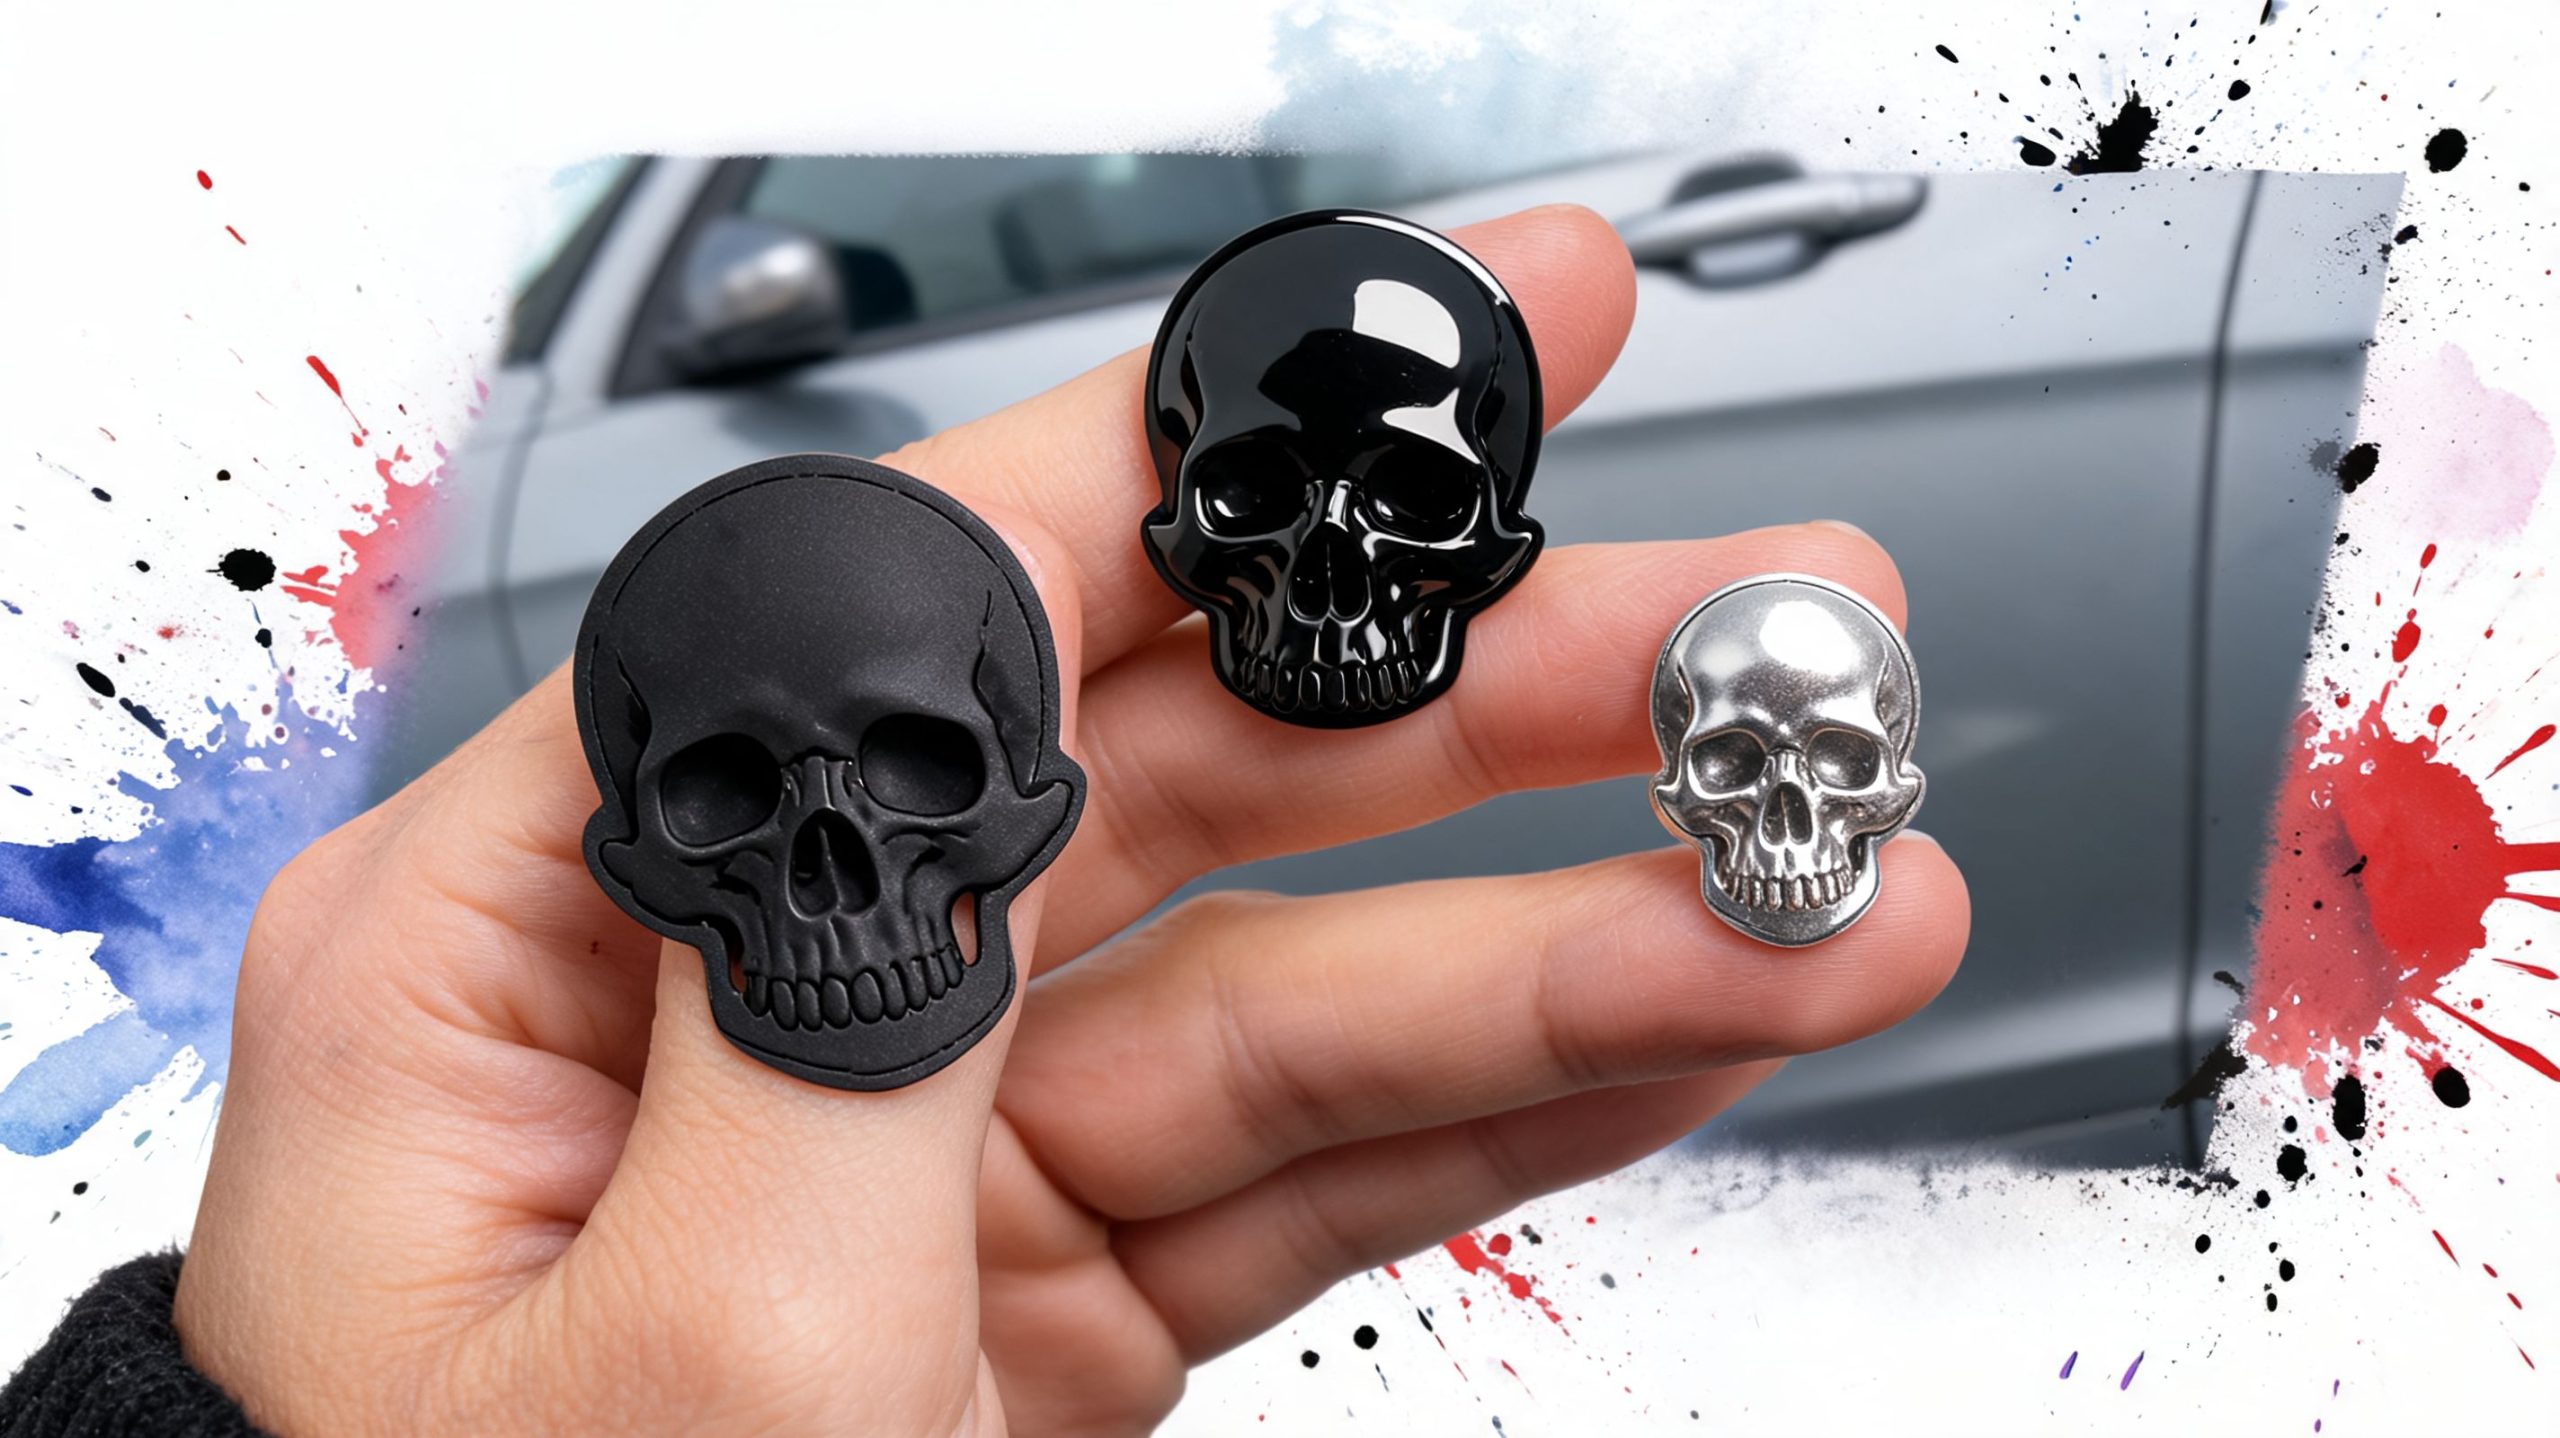
Match the finish to the build
Finish changes the whole read of the decal.
- Matte black: Best for off-road rigs, military themes, and builds with textured trim or low-gloss accessories. It hides edge contrast better and usually looks more integrated.
- Gloss black: Strong on clean paint, tinted glass, and street builds where you want the graphic to catch light.
- Metallic, white, or color vinyl: Useful for accent work, family themes, or when the skull needs to stand apart from dark paint. They draw the eye faster, so placement and size need more restraint.
I usually steer Jeep and truck owners toward matte unless the vehicle already has a high-gloss, show-focused finish. For JDM cars, gloss or a very clean satin look often fits better because the cars already rely on sharper reflections and tighter visual lines.
A decal should look intentional from ten feet away and still hold up after a summer of sun, washes, and road grit. That comes from choosing the right film, the right finish, and a size that respects the vehicle.
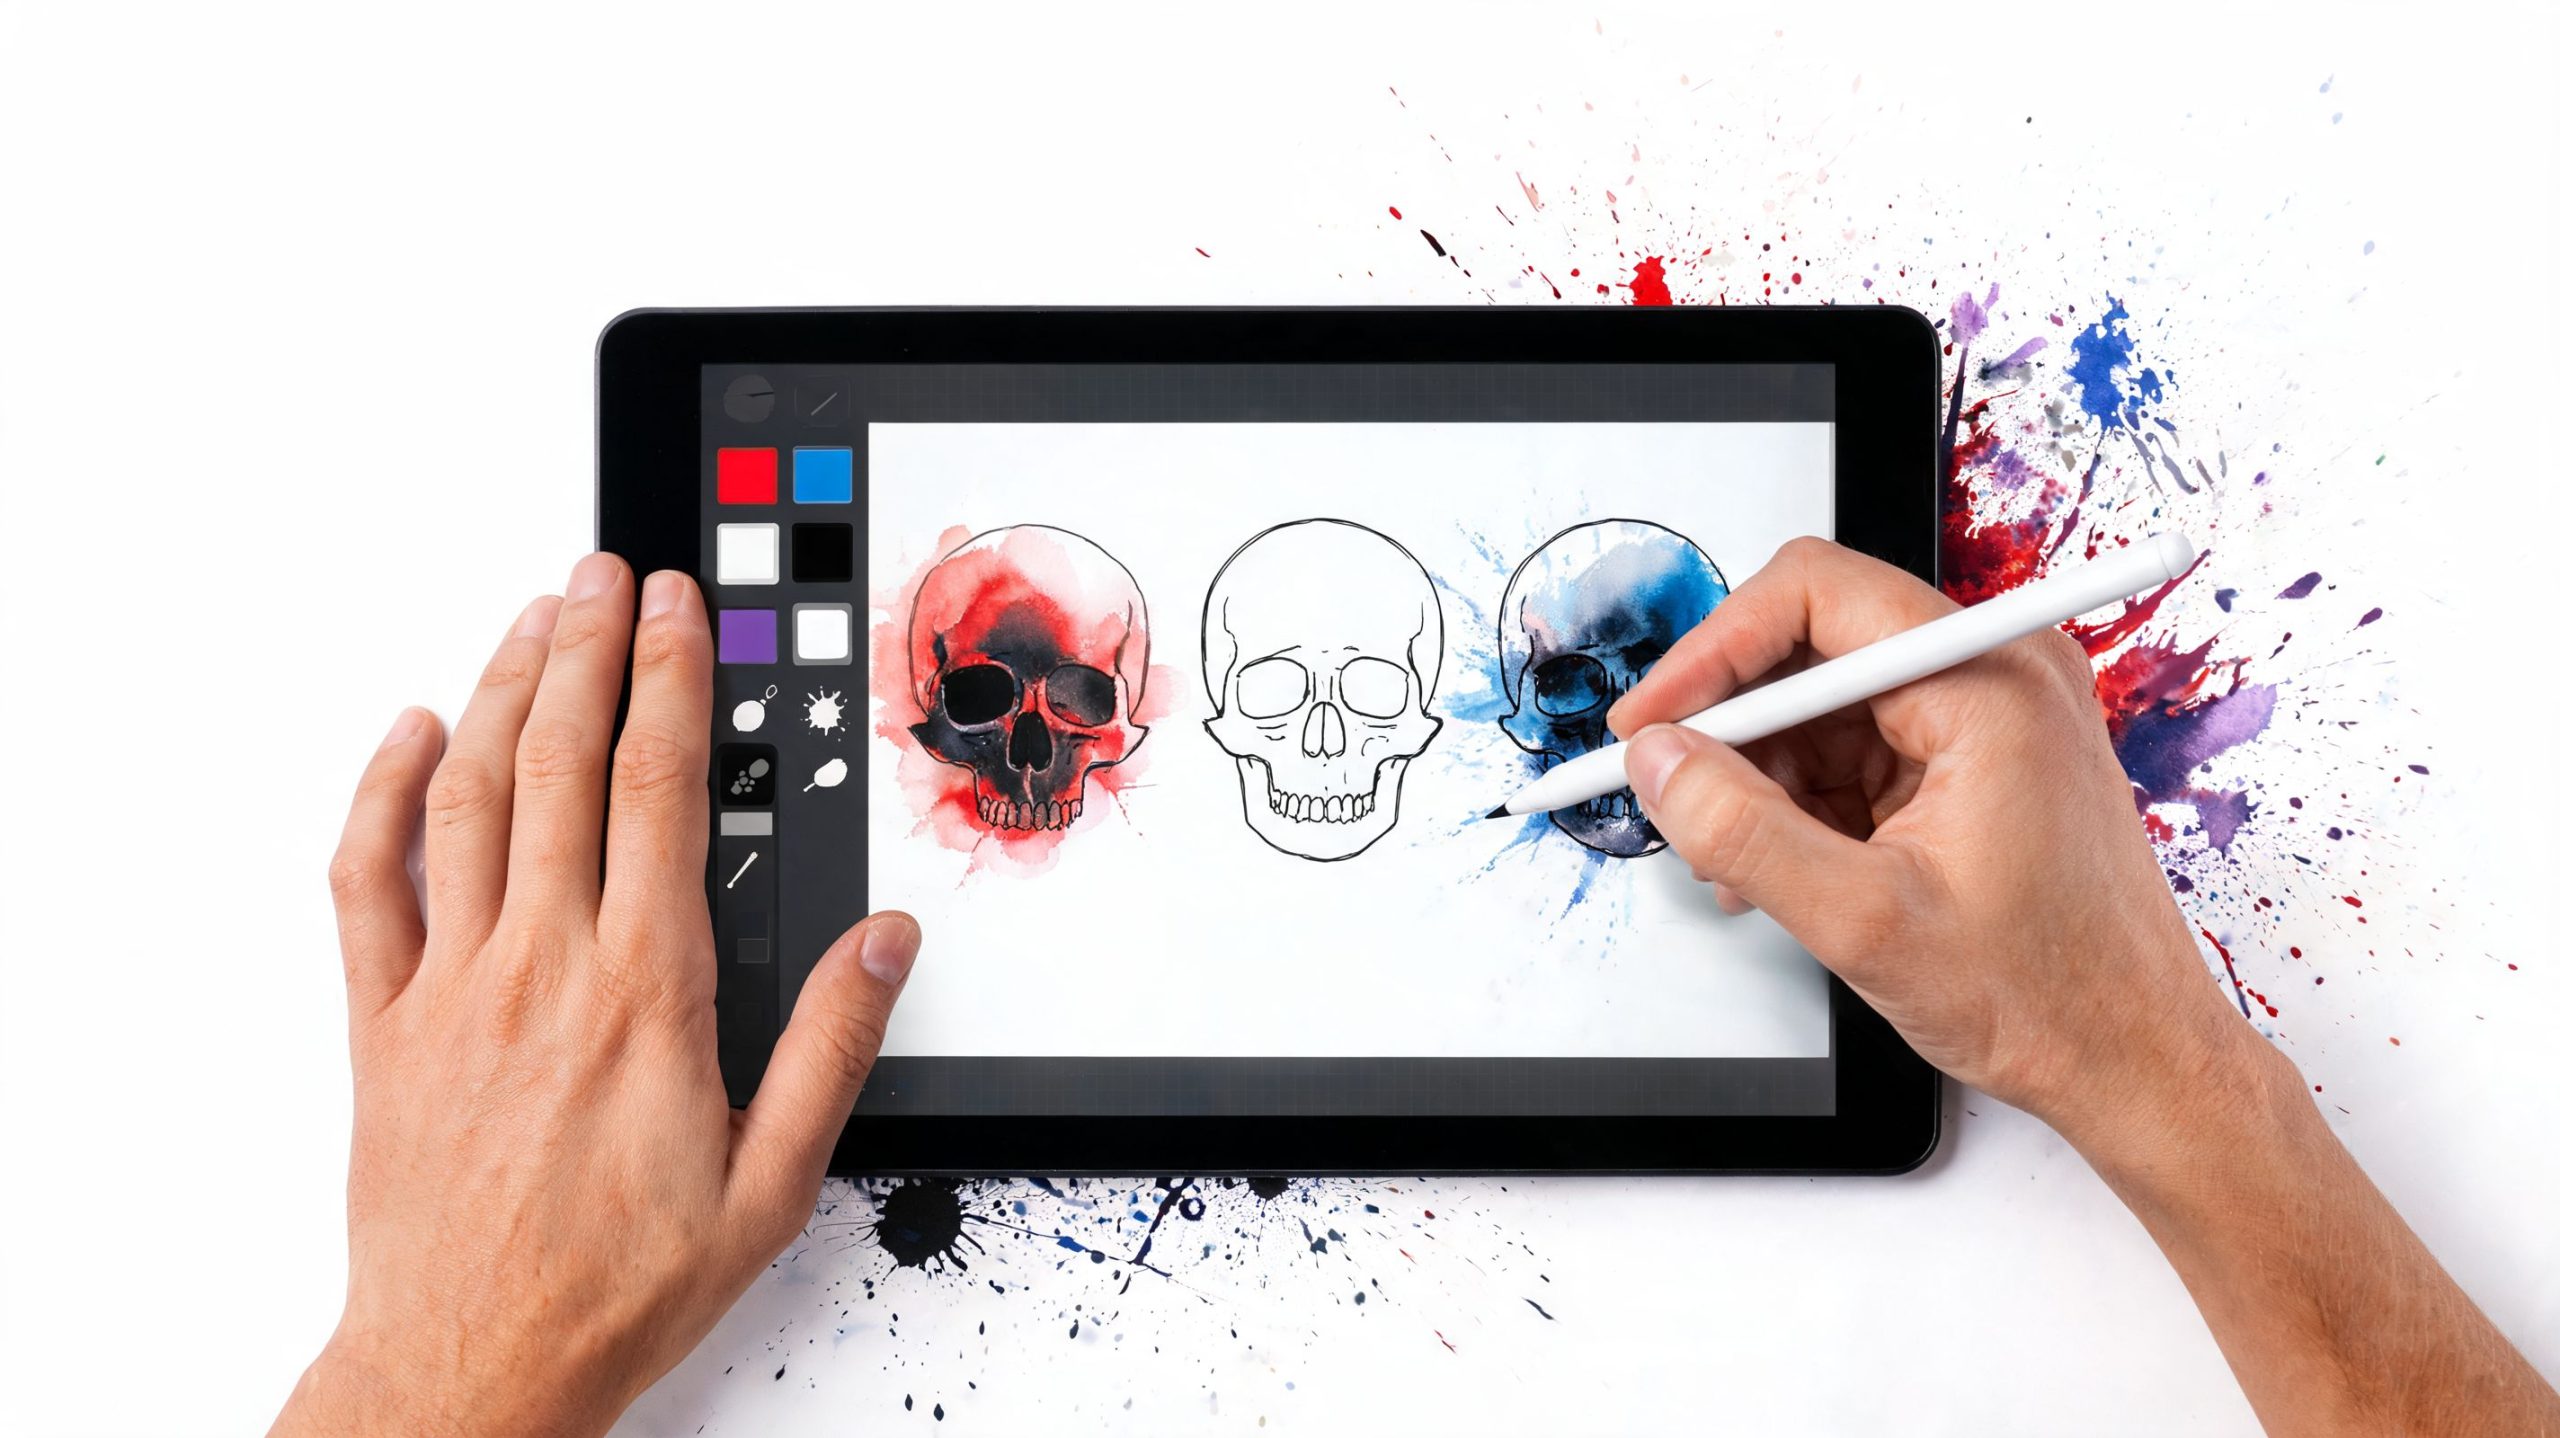
Making Your Skull Decal Uniquely Yours
The fastest way to make a decal feel personal is to stop treating the skull as the whole design. The skull is the anchor. The custom elements around it are what make it yours.
Add text that means something
Names work. Nicknames work. Unit references, call signs, memorial dates, family roles, and inside jokes can all work if the wording is short enough to read cleanly. Long phrases usually create weak layouts because the text starts doing all the work and the skull turns into background.
A stronger setup is one short line above or below the graphic. That gives the art space and keeps the message readable from a normal viewing distance.
If you want full control over layout, text, and graphic combinations, a make your own custom sticker option makes more sense than trying to force a stock design to do a custom job.
Combine themes without creating clutter
The most common mistake in custom decal planning is piling on every meaningful symbol at once. A skull, a flag, dates, branch emblem, motto, and extra border art can turn into a crowded patch very quickly.
A better approach is to choose one primary and one secondary element.
Examples that usually read well:
- Military pride: Skull plus branch-related text
- Family build: Skull plus surnames or individual character labels
- Jeep theme: Skull plus trail nickname or club name
- JDM build: Skull plus a clean script wordmark or number set
Build around placement
Customization should follow where the decal will live.
A rear glass decal can carry a little more text because people see it while stopped in traffic. A quarter-window decal needs simpler shapes. A hood decal needs stronger contrast and fewer fragile details because heat and road exposure are tougher there.
Shop-floor advice: Start with the panel size, then design backward. That keeps you from falling in love with art that won't read where you actually want to place it.
For family themes, I'd keep things light and readable. For memorial or service themes, I'd keep the design disciplined. For off-road and truck builds, I'd let the artwork get bolder because the vehicle can support it.
A Flawless Installation for a Professional Look
A skull decal can look shop-installed or slapped on in a driveway. The difference usually comes down to surface prep, panel choice, and patience during the first few minutes of application.
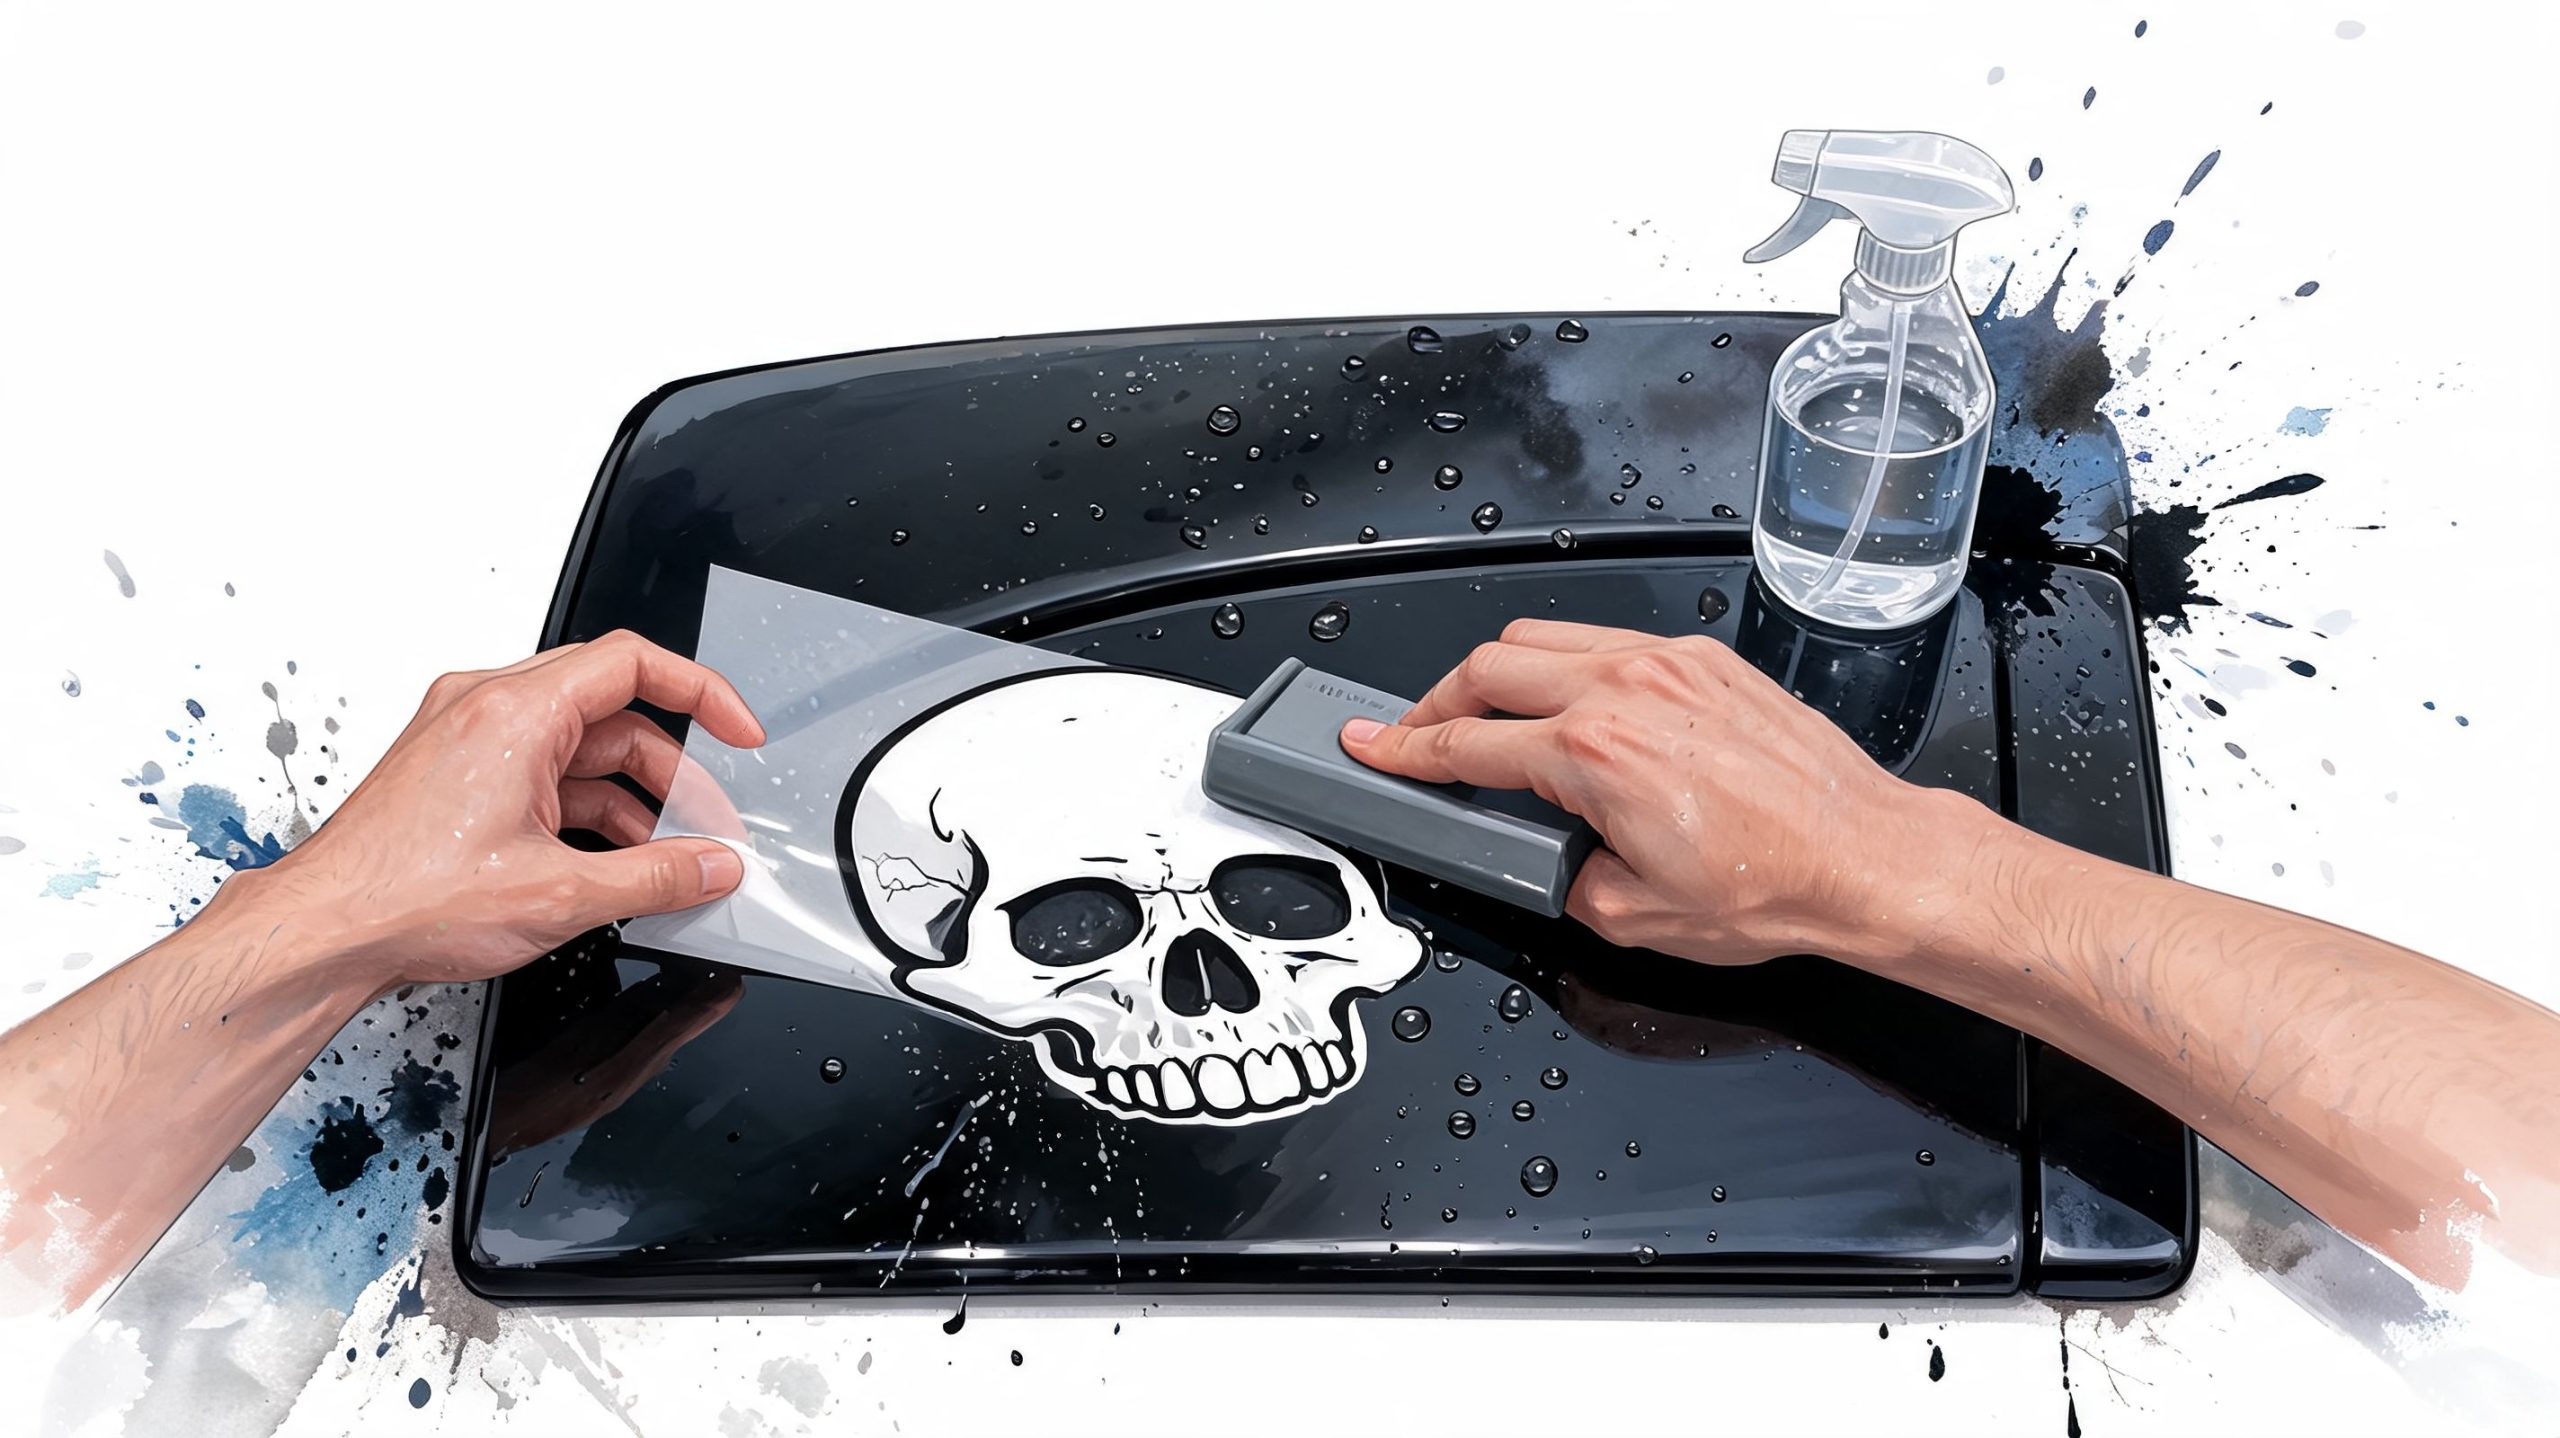
Prep is where the job is won
High-performance die-cut decals use a permanent acrylic adhesive designed to bond with the vehicle's clear coat, and one proven install method is cleaning with 90% Isopropyl Alcohol and applying with a felt squeegee at a 10 to 15 degree angle, as described in this automotive decal adhesive and install reference.
That matches what we see at the shop. Vinyl sticks to clean paint, clean glass, and smooth powder-coated surfaces. It struggles on dressing residue, chalky plastics, old wax, and panels that still feel cool and damp after washing.
Vehicle type changes the job a bit. A Jeep hardtop window usually gives you a flat, forgiving install area. A JDM quarter window is smaller, so alignment has to be right the first time or the decal looks crowded fast. Truck bedsides and tailgates offer more room, but they also take more abuse from sun, dirt, and loading gear.
A straightforward install routine
I use this order because it keeps the decal square and keeps small errors from turning into visible ones:
- Wash the panel first. Remove road film, wax residue, and dust.
- Finish with 90% IPA. This removes oils a regular wash can leave behind.
- Dry completely. Any moisture left behind can weaken the first bond.
- Test position with tape. Check it against body lines, glass edges, or trim, not just your eye from up close.
- Use the hinge method. Tape one side, peel the backing gradually, and work from the center outward.
- Squeegee with even strokes. Use firm pressure and overlap your passes.
- Peel transfer tape slowly. If a fine detail starts to lift, set the tape back down and press that area again.
For military-themed decals with text, measure twice before you commit. Crooked lettering is more obvious than a crooked standalone skull. For family-themed decals, keep the names or labels high enough on the glass that wiper sweep and defroster lines do not fight the design.
Conditions matter more than beginners think
Install temperature matters. Cold vinyl stays stiff and resists the panel. Hot vinyl gets too soft and can stretch, especially on thin points like teeth, cracks, or narrow outlines.
A garage, shaded driveway, or calm afternoon is the sweet spot. Avoid direct sun on a black hood or tailgate. The surface can feel fine to your hand and still be hot enough to make the adhesive grab too quickly before you have the graphic positioned cleanly.
If you are applying to a mild curve, most quality cast or better calendared films will settle without much drama. Deep recesses, textured flares, and heavily contoured fenders are a different story. On those areas, smaller graphics work better, and careful heat helps only in moderation.
Here's a useful demo to watch before you start:
Common install mistakes
- Skipping the final alcohol wipe: A panel can look clean and still have wax, silicone, or fingerprint oils on it.
- Choosing the wrong panel: Matte trim, textured plastic, and chipped paint are poor candidates for detailed decals.
- Rushing alignment: Body lines and window edges are more reliable than a quick visual guess.
- Pulling transfer tape too hard: Thin details lift first.
- Pressing only the center: Edge pressure is what helps the decal stay down through heat cycles and washes.
- Handling the adhesive side: Finger oils reduce bond strength.
One practical option in this category is Custom Sticker Shop, which provides pre-spaced, transfer-taped vinyl decals for simpler alignment on hard, smooth surfaces. That setup is useful for buyers who want die-cut graphics without needing special install tools.
Long-Term Care and Safe Removal
The install gets the decal on the vehicle. Maintenance is what keeps it looking intentional after real weather, washes, and seasonal abuse.
Keeping the decal looking sharp
For harsh climates, verified guidance drawn from Jeep-owner use cases notes that standard decals can experience 30 to 50% adhesion loss on high-heat surfaces, and the recommendation for 7+ year durability is premium Oracal 651 vinyl plus quarterly Isopropyl Alcohol wipes to maintain adhesive bond, especially in desert or snowy regions, according to this harsh-climate decal care reference.
That lines up with what owners see in practice. Heat attacks edges. Winter grime sits in corners. Pressure washers punish weak installs and cheap material first.
For normal care, keep it simple:
- Hand wash when possible: Gentle soap and water do the job.
- Be careful with pressure washing: Don't aim hard pressure directly at the decal edge.
- Wipe down seasonally: Especially after salt, dust, or long hot spells.
- Inspect edges early: Small lift caught early is better than waiting.
The decal doesn't need complicated maintenance. It needs consistent maintenance.
Safe removal without hurting paint
When it's time to remove the decal, patience protects the finish.
A good removal routine looks like this:
- Warm the decal gently with a hairdryer or gentle heat source.
- Lift a corner carefully with a fingernail or plastic edge.
- Peel back slowly at an angle instead of yanking upward.
- Clean residue with an adhesive-safe remover or alcohol that's appropriate for the surface.
- Wash the area after removal so the panel finishes clean and even.
If the paint is original and in good condition, quality vinyl usually removes far better than people fear. The vehicles that give trouble are often the ones with old repaint work, neglected clear coat, or decals left on far past their useful life.
Get Your Perfect Decal from a Shop That Cares
By the time you pick a design, match the size to the panel, install it correctly, and stay on top of basic care, a skull car decal stops being an impulse buy and becomes part of the vehicle's identity. That's why the shop you buy from matters. You want clear sizing, proper vinyl, clean cut lines, and a decal that arrives ready to install instead of feeling like a craft project.
If you like comparing local decal vendors and sign shops before ordering, listings such as Davis Vinyl Signs and Decals can be useful for seeing how different providers present their work and specialties.
For buyers who already know they want a skull-focused design, a direct product path like this Punisher skull decal collection makes sense because it keeps the search narrow and style-specific.
What matters most is simple. Buy artwork that matches the vehicle. Choose vinyl meant for automotive exposure. Don't rush the install. Maintain it like you care about the panel it's sitting on. That's how a decal keeps looking like part of the build instead of an afterthought.
If you're ready to order a skull car decal that fits your vehicle and your style, take a look at Custom Sticker Shop. They offer automotive vinyl decals in a wide range of themes, including skull, military, Jeep, truck, and custom text designs, with made-to-order options for owners who want something more personal.