
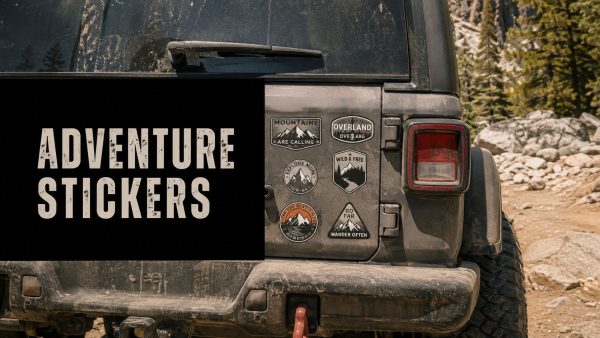
You're halfway through a trail weekend, the truck looks clean, the cooler is packed, and that one sticker on the tailgate still bothers you because the corner already started to lift. That's the whole game with outdoor adventure stickers. The design gets the first click, but the material, adhesive, and placement decide whether it looks sharp next season or turns into a curled-up reminder that you bought on style alone.
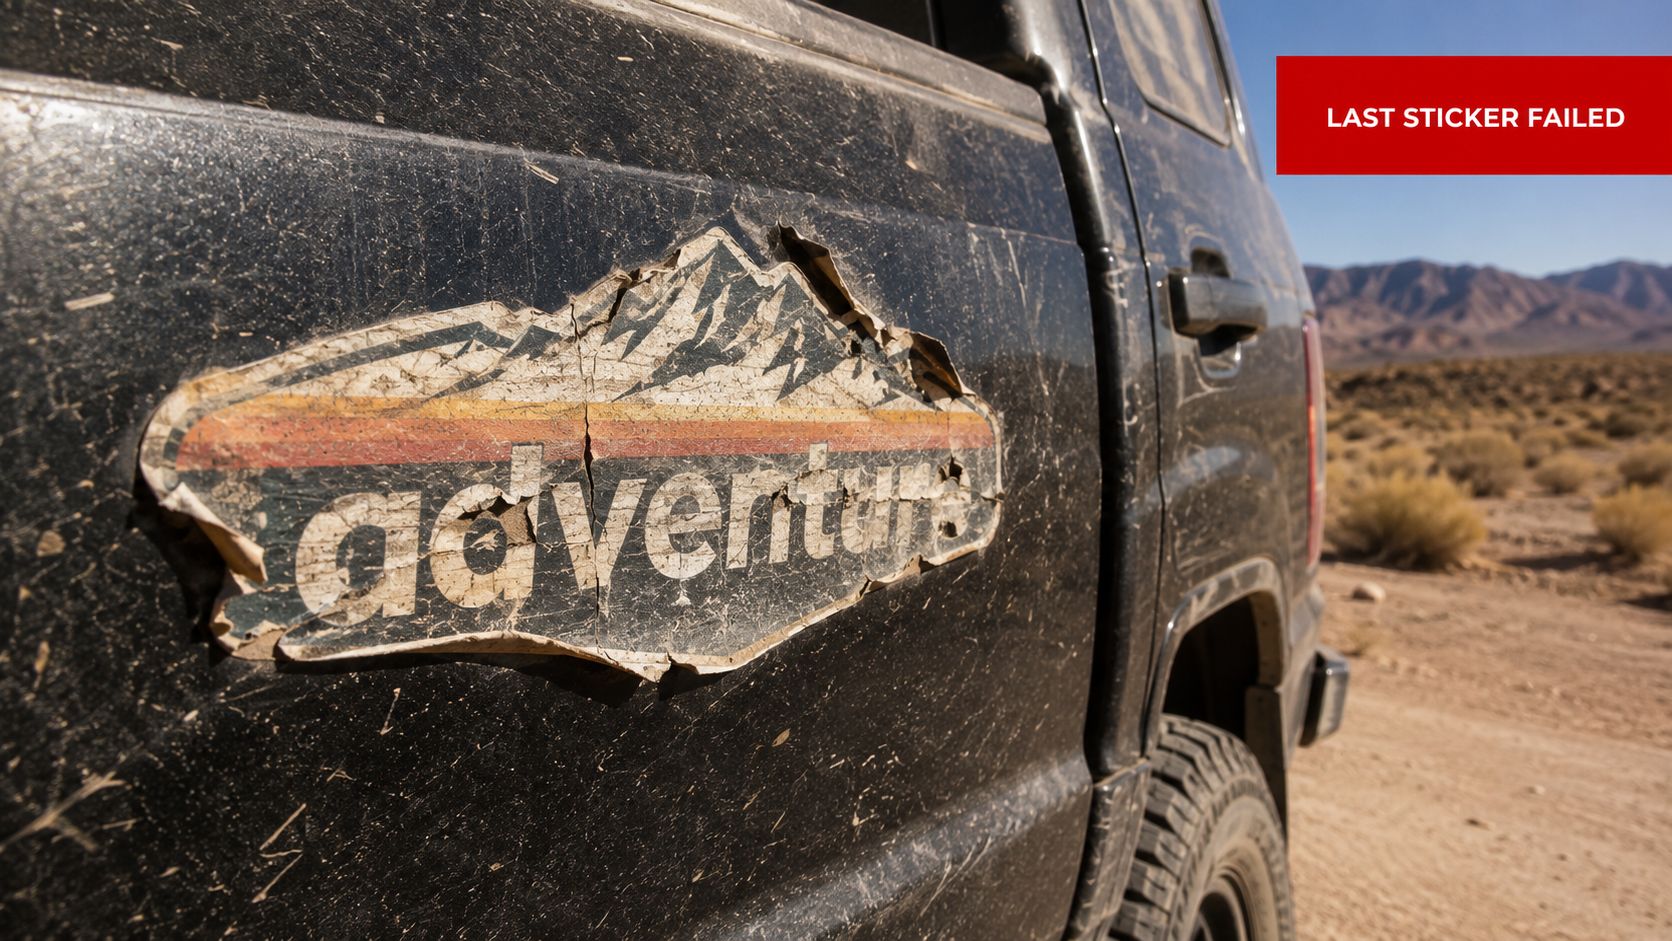
Why Your Last Sticker Peeled and How This Time Will Be Different
The bad sticker story is almost always the same. It looked great at the trailhead, survived a few washes, then the edge started to curl, the color dulled, or the whole thing left a dirty outline when you finally peeled it off. That's not a design problem. It's a construction problem, and buyers keep blaming the artwork because the material science is hidden behind lazy marketing.
The right mental shift is simple. Stop buying by theme and start buying by build. A sticker for a shaded water bottle and a decal for a sun-baked truck window are not the same job, even if they both say “waterproof” on the listing.
Practical rule: if the seller can't tell you what the base film and adhesive are, assume it's the cheapest version of “outdoor” they could print.
This article gives you the part most listings skip, a buyer's eye for material, adhesive, UV protection, and placement. That matters because outdoor graphics fail in predictable ways, especially from adhesive breakdown in heat, fading from UV, and edge lifting on rough or low-energy surfaces. The goal isn't to buy the fanciest-looking decal. It's to buy one that matches the abuse you're going to throw at it.
For a collector's angle on the fun side of sticker culture, vintage park sticker collecting tips is a useful rabbit hole, but the outdoor-use question is different. You're not framing a souvenir. You're asking what still looks decent after sun, washdowns, and gear abrasion.
Decoding Vinyl, Adhesive, and Outdoor Lifespan Claims
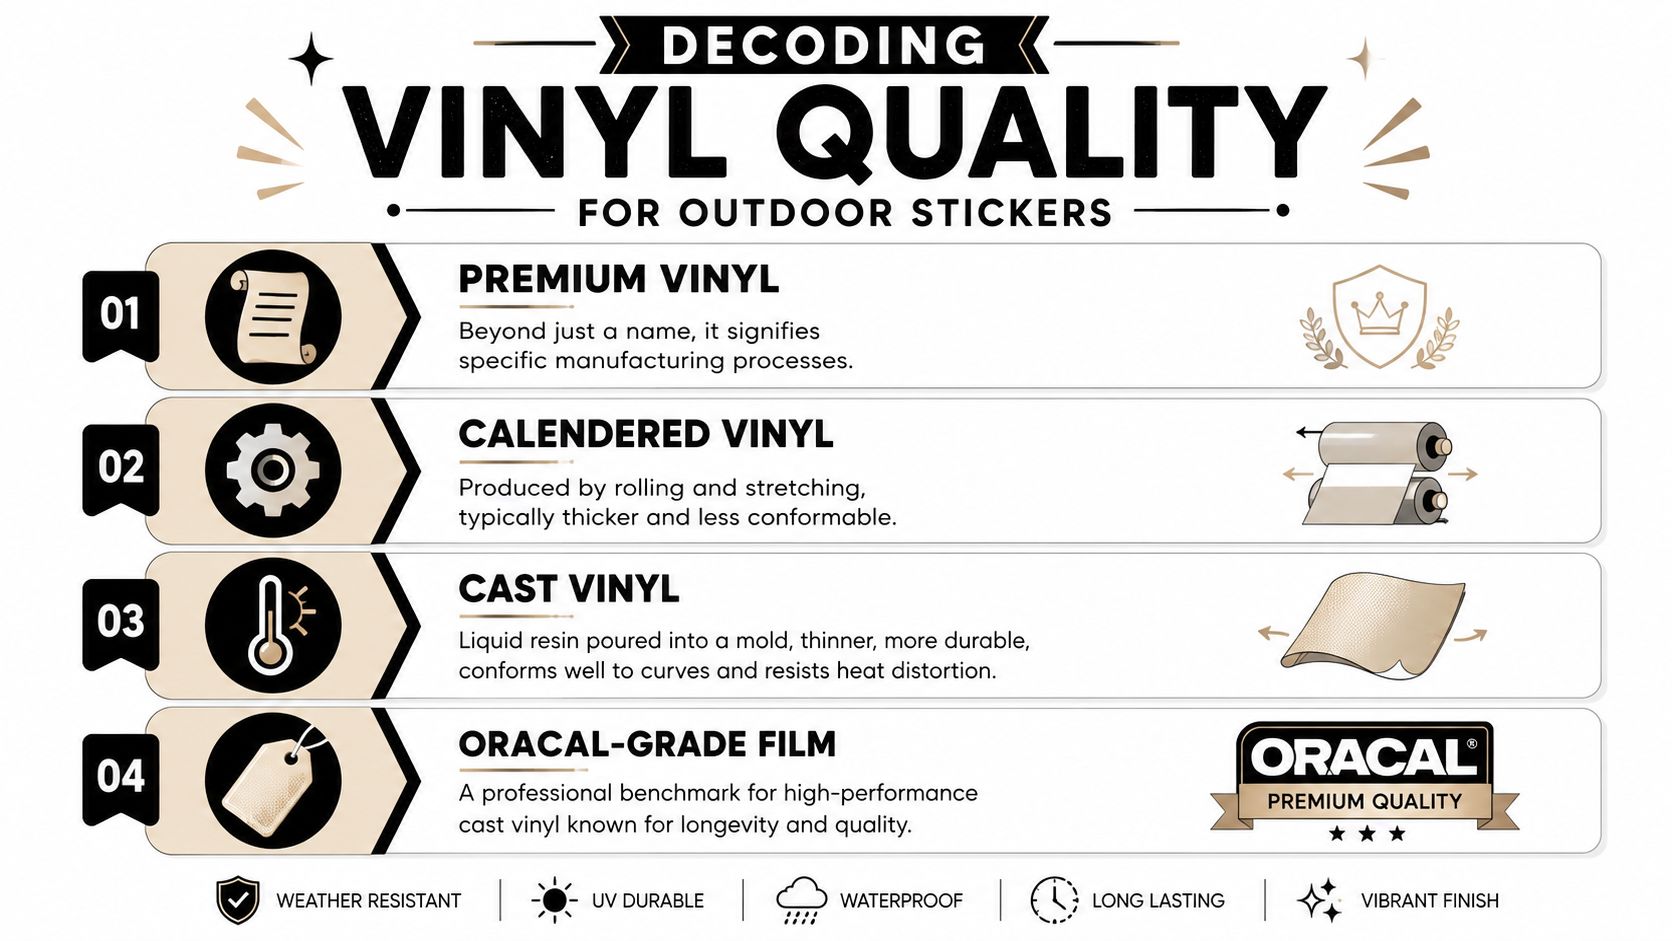
“Premium vinyl” gets thrown around like it means everything and nothing. In practical terms, the buyer should care about the base film first, then the adhesive, then the protection on top. The best practical benchmark for outdoor adventure stickers used on gear, vehicles, or bottles is premium vinyl with UV-resistant lamination and acrylic adhesive, because that combination is built to handle moisture, abrasion, and wider temperature swings better than bargain-bin alternatives. For a general screening threshold, I wouldn't touch anything that can't credibly claim at least 1–2 years of outdoor life for genuine outdoor use, and industrial or marine-adjacent builds can reach 3–5 years of durability under constant water, sun, and salt exposure when the material, adhesive, and print layers are matched correctly (waterproof outdoor sticker guidance).
What vinyl type actually tells you
Vinyl isn't magic, it's just the substrate. Cast vinyl is the nicer stuff because it's made to conform better and resist heat distortion, which matters on curves, corners, and panels that bake in the sun. Calendered vinyl is the more basic option, usually thicker and less conformable, so it's fine for simpler placements but less forgiving when the surface isn't flat.
A sticker that has to fight the surface loses faster than one that lands cleanly on a flat panel.
That's why I treat “premium” as a starting clue, not a guarantee. If the seller won't tell you whether the film is cast or calendered, you're shopping blind. A professional-grade benchmark is a known high-performance cast film, the kind people often compare to Oracal-grade material, because the name usually signals the quality level buyers seek rather than a generic craft-store label.
Adhesive chemistry is where cheap stickers fail
Acrylic adhesive is the adult choice. It holds tack longer across heat swings and outdoor exposure, which is why it belongs on vehicles, trail boxes, coolers, and gear that sees real weather. Rubber-based adhesive can grab fast at first, but it tends to degrade sooner under sunlight and heat. That's the classic trap. It feels sticky on day one, then gives up when the panel gets hot.
UV lamination matters too, because the print face is usually what fades first. Scratch resistance matters for the same reason. Stickers on helmets, bottle cages, cooler lids, and tailgates don't just sit there looking pretty. They get handled, scraped, rubbed, and washed. If the finish isn't built for that abuse, the decal starts looking tired long before the adhesive fully fails.
Run this checklist before checkout
- Base film: confirm it's vinyl, not vague “outdoor material.”
- UV protection: look for UV-resistant lamination or equivalent protection.
- Adhesive type: ask for industrial or high-tack acrylic.
- Lifespan claim: ignore anything vague, and treat weak outdoor ratings as a red flag.
- Finish: confirm it has the scratch resistance you need for the surface.
For a clean example of a full-color outdoor decal built for vehicle use, the construction matters more than the artwork, which is why this full color outdoor decal sticker is worth studying as a format, not just a design.
Sizing and Placement for Cars, Jeeps, Bottles, and Gear
A sticker that's the right size for a water bottle can look childish on a tailgate and too busy on a windshield. A decal that's too big for a curved panel will fight itself at the edges. I've seen plenty of people blame the sticker when the underlying issue was scale and surface. The trick is to match the piece to the place, not the other way around.
Put the graphic where the surface helps it
Windshield banner strips usually live in the 22–40 inch range and belong below the AS-1 line so they don't block driver vision. Rear window decals should fit the wiper sweep area if you want any chance of them staying readable after rain and road grime. Body panel accents need enough size to read from about fifteen feet away, or they just turn into visual clutter. Bumper stickers face the hardest everyday life, so choose a construction that can handle wash cycles and heat.
Jeeps add their own problems. Hood decals cook in direct sun. Tailgate graphics get slammed by weather and loading gear. Soft-top window areas build heat and flex, which is exactly where cheap vinyl starts to fail early. If the surface gets hot enough to feel soft, the adhesive has a harder job.
For smaller gear, the marketplace pattern is clear. Small-format 2–3 inch die-cut PVC or vinyl stickers are everywhere for bottles, helmets, coolers, and tool boxes, often sold in bulk packs of 100 to 200 pieces and marketed as waterproof and sunproof (marketplace example). That size makes sense because curved and textured surfaces punish larger decals. Small pieces bridge better, trap less air, and give the adhesive a cleaner shot at contact.
Shop-floor rule: flat, clean, non-porous surfaces are easiest. Textured or curved gear asks more of the adhesive and exposes every mistake in your install.
Tinted windows, leased vehicles, and flexing panels deserve extra caution. Tinted glass can make the graphics pop less than you expect, leased paint should be treated as temporary, and anything that flexes under heat is a candidate for edge lift if you push size too far.
| Surface | Recommended Size | Adhesive Priority | Watch Out For |
|---|---|---|---|
| Windshield banner | 22–40 inches wide | High-tack acrylic | Stay below the AS-1 line |
| Rear window | Sized to the wiper sweep area | UV-resistant acrylic | Tint and visible distortion |
| Body panel | Large enough to read from 15 feet | UV-protected vinyl | Panel curves and wash damage |
| Bumper | Moderate, durable, easy to clean | Scratch-resistant acrylic | Car washes and impact grime |
| Cooler or trail box | Small to medium, contour-friendly | Strong acrylic | Texture and frequent handling |
| Water bottle | 2–3 inch die-cut | Acrylic with firm initial tack | Condensation and curves |
| Helmet | Small die-cut only | High-tack acrylic | Curves, sweat, and abrasion |
| Tool box | Medium, flat-friendly | Industrial acrylic | Powder coat and corner lift |
A good example of gear-sized personalization is a custom bottle decal, and this YETI tumbler name decal shows the kind of small-format fit that works on everyday outdoor gear.
For accessory placement ideas on vehicles, this green reverse components accessory is a reminder that small graphics can still need careful positioning if you want them readable and durable.
Installing Decals Without Bubbles, Wrinkles, or Regret
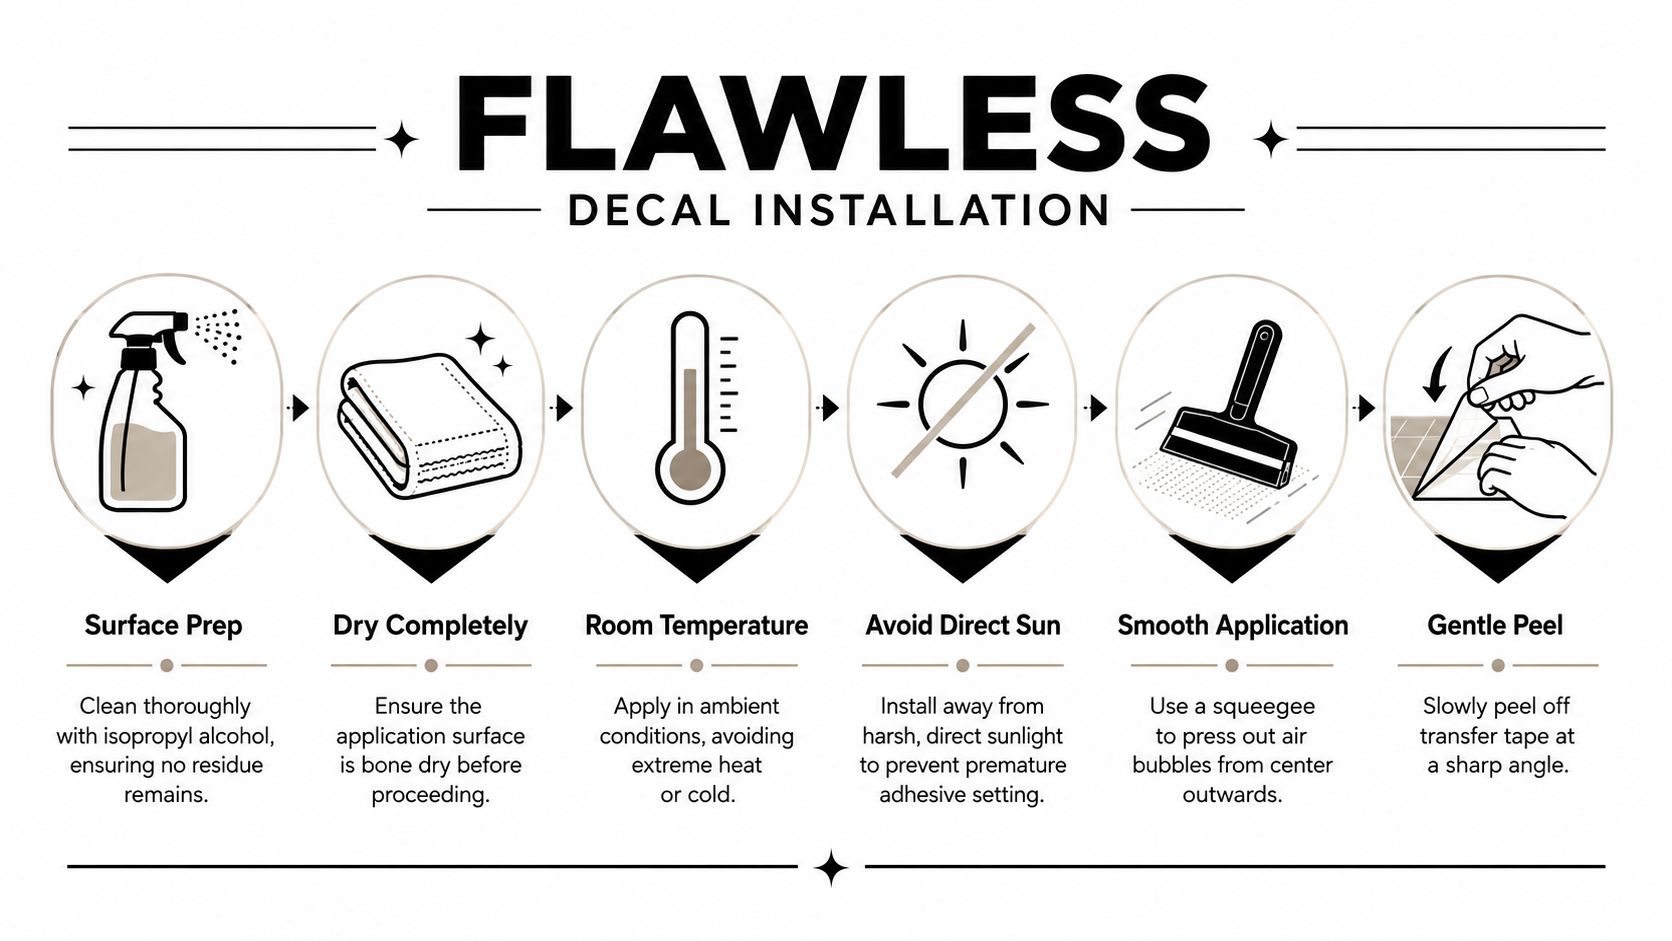
Prep first, or don't bother. Clean the surface with isopropyl alcohol, wipe away residue, and make sure it's fully dry. Put the decal on at room temperature, not on a hot panel in direct sun, because you want the adhesive to bond evenly instead of grabbing too fast in one spot and failing in another.
Alignment is where most people rush and mess it up
Dry-fit the decal before you peel anything. Use hinge tape if the graphic is large or if you're working with a two-piece or pre-spaced design, because once the adhesive touches paint, the clock starts ticking. I don't care how confident you feel, a crooked install is a bad look on a rig that otherwise says you've got your act together.
Press the air out, not the decal off
Work from the center outward with firm squeegee pressure. That pushes air to the edges instead of trapping bubbles under the film. If the transfer tape starts pulling the decal up, stop and press it back down. Don't yank and re-stick the same spot over and over, because that usually creates a mess that never lays as clean as the first pass would have.
Slow pulls beat heroic fixes.
Peel the transfer tape at a low angle, slowly, while watching the decal stay behind. If a corner lifts, re-press it before the tape keeps moving. That's the whole difference between a clean install and a wrinkled one.
Give the adhesive a real cure window
After install, leave it alone for 24 hours before heavy water or abrasion exposure, which matches the practical installation guidance for outdoor stickers and is the point where most impatient owners ruin a good decal (installation guidance). No car washes, no rain if you can help it, and no hard scrubbing on day one. A sticker can look fully attached and still need time to settle into the surface.
Caring for Decals and Knowing When to Pull Them
The best way to keep a decal alive is boring. Hand wash it, skip aggressive brush washes, and don't hit the graphic face with abrasive polish. If you must use a pressure washer, keep distance. The closer you blast the edge, the faster you make it look tired. Shade helps too, because less heat and less UV exposure always buy you more life.
The three failure modes are easy to spot if you pay attention. Fading shows up as a dulling or washed-out look, usually first on bright colors. Edge lifting starts as a little curl at a corner or along a contour, especially on rough or curved surfaces. Adhesive breakdown feels like the sticker stops behaving like one piece and starts separating from the surface in patches.
That durability gap by surface is real. Glass tends to be the friendliest long-term surface. Painted metal is usually fine if the prep was good. Powder-coated gear is the toughest of the three and asks for strong adhesive because the finish can challenge tack and edge hold. In practical terms, the harder the finish and the more it gets handled, the more you want a serious acrylic system.
Removal is straightforward if you don't rush it. Warm the decal with a heat gun or hair dryer to soften the adhesive, then pull slowly at a low angle. Residue comes off with Goo Gone or a similar remover. If the decal has been on so long that it leaves a ghost outline in the clear coat, that's not a sticker problem anymore. That's an aging paint surface that may have been exposed too long to sun and heat.
Here's the blunt rule.
Leave a decal alone if it still sits flat, reads clearly, and the edge hasn't started to curl.
Pull it when the fade, lift, or residue starts making the whole vehicle look neglected.
A good decal should age with the rig, not embarrass it. Retire it before it starts looking like neglect.
Ordering, Shipping, and Pricing Questions Worth Asking First
Before you order, ask the boring questions that save you from disappointment. How long until it ships. What carrier is used. Whether the design gets proofed before print. If the seller can't answer those cleanly, you're taking a gamble on a product that's supposed to live outdoors. For custom work, custom design options should be easy to understand, not buried under vague promises.
Shipping windows matter because sticker buyers usually want the thing for a trip, a club event, or a gift. In the publisher info for this market, orders commonly ship by USPS or UPS and arrive in 5–8 days from order to door, which is the kind of shipping expectation that feels normal for made-to-order decals. Price questions matter too. Ask whether the listed price is individual or bulk-based, whether there's a free-shipping threshold, and how multi-buy offers apply.
If you're comparing shops, a practical resource like beginners outdoor shop can help frame what a straightforward buyer experience looks like, even if you end up ordering elsewhere.
A few questions deserve a direct answer every time:
- Lead Time: When does production start, and when does it leave the shop?
- Shipping Windows: Which carrier gets used, and how long does transit usually take?
- Pricing Structure: Is the price per decal, per pack, or tied to a promo?
- Proofing Process: Will you see a proof before production?
- Warranty and Returns: What happens if the decal arrives damaged or mis-spaced?
Five checks before you buy
- Material grade: vinyl base, UV protection, acrylic adhesive.
- Size match: sized for the exact surface you're using.
- Prep readiness: clean, dry surface available before install.
- Install environment: room temperature, no direct sun, no rush.
- Upkeep plan: hand wash, gentle care, and realistic replacement timing.
If you want outdoor adventure stickers that belong on a truck, Jeep, cooler, or bottle, buy from a shop that talks plainly about vinyl, adhesive, and real-world use. Custom Sticker Shop builds decals for the kind of abuse trail gear sees, and if you're ready to pick a design that won't fall apart after the first hard season, visit Custom Sticker Shop and choose one that matches the surface you're sticking it to.