
You wash the car, step back, and everything looks right except one detail. The glass still feels anonymous. A Mercedes has presence on its own, but many owners want one clean personal touch that makes the car feel finished without turning it into a billboard.
That’s where most searches get sidetracked. People look up mercedes benz window stickers and land on factory paperwork, VIN lookups, and resale documents. Those matter in one context. But in a decal shop, we see a different need all the time. Owners want a tasteful vinyl graphic, custom text, a club mark, a military tribute, or a subtle design that fits the lines of the car and installs cleanly on the first try.
Personalizing Your Mercedes Beyond the Factory Sticker
A Mercedes-Benz window sticker can mean two very different things.
The first is the Monroney label, the official new-car sticker that became federally required in the U.S. under the Automobile Information Disclosure Act of 1958, created for price transparency and used on new vehicles ever since, as explained in this overview of the Mercedes window sticker and Monroney label history. That sticker documents the car’s original equipment and pricing.
The second is what most owners want once the car is theirs. A personal decal that reflects the driver, not the factory order sheet.
Those two things serve completely different jobs. One records history. The other shapes appearance.
Mercedes owners are usually careful about proportion. They don't want a decal that looks like it came off a gas-station rack, and they don't want something so large it fights the car’s design. The right window graphic should look intentional. On a C-Class, that often means cleaner typography and smaller placement. On a GLE or GLS, the glass area can support a wider design without looking crowded. On an older AMG or a well-kept E-Class, understated usually ages better than trendy.
What works on a luxury vehicle
A good personalization decal does three things well:
- Fits the body language of the car. Mercedes styling is usually crisp and controlled, so decals with clean edges and balanced spacing tend to look better than cluttered graphics.
- Respects the glass area. Decals should complement the window, not dominate it.
- Matches the owner’s reason for adding it. Some drivers want custom text. Others want a motorsport look, a family name, a veteran tribute, or a hobby graphic.
A Mercedes doesn’t need more noise. It needs one detail that looks like it belongs there.
If you're starting from scratch, a practical move is to browse options that let you make your own custom sticker so you can control text, size, and overall tone instead of forcing a generic design onto a premium vehicle.
Restoration and personalization aren't the same job
There’s also a gap many owners run into with older vehicles. Some are trying to replace or restore aged decals, while others want a fresh personal look. Those aren't interchangeable goals. Restoration tries to preserve a period-correct appearance. Personalization lets you add something new without pretending it came from the factory. Knowing which lane you're in keeps the final result honest and much better looking.
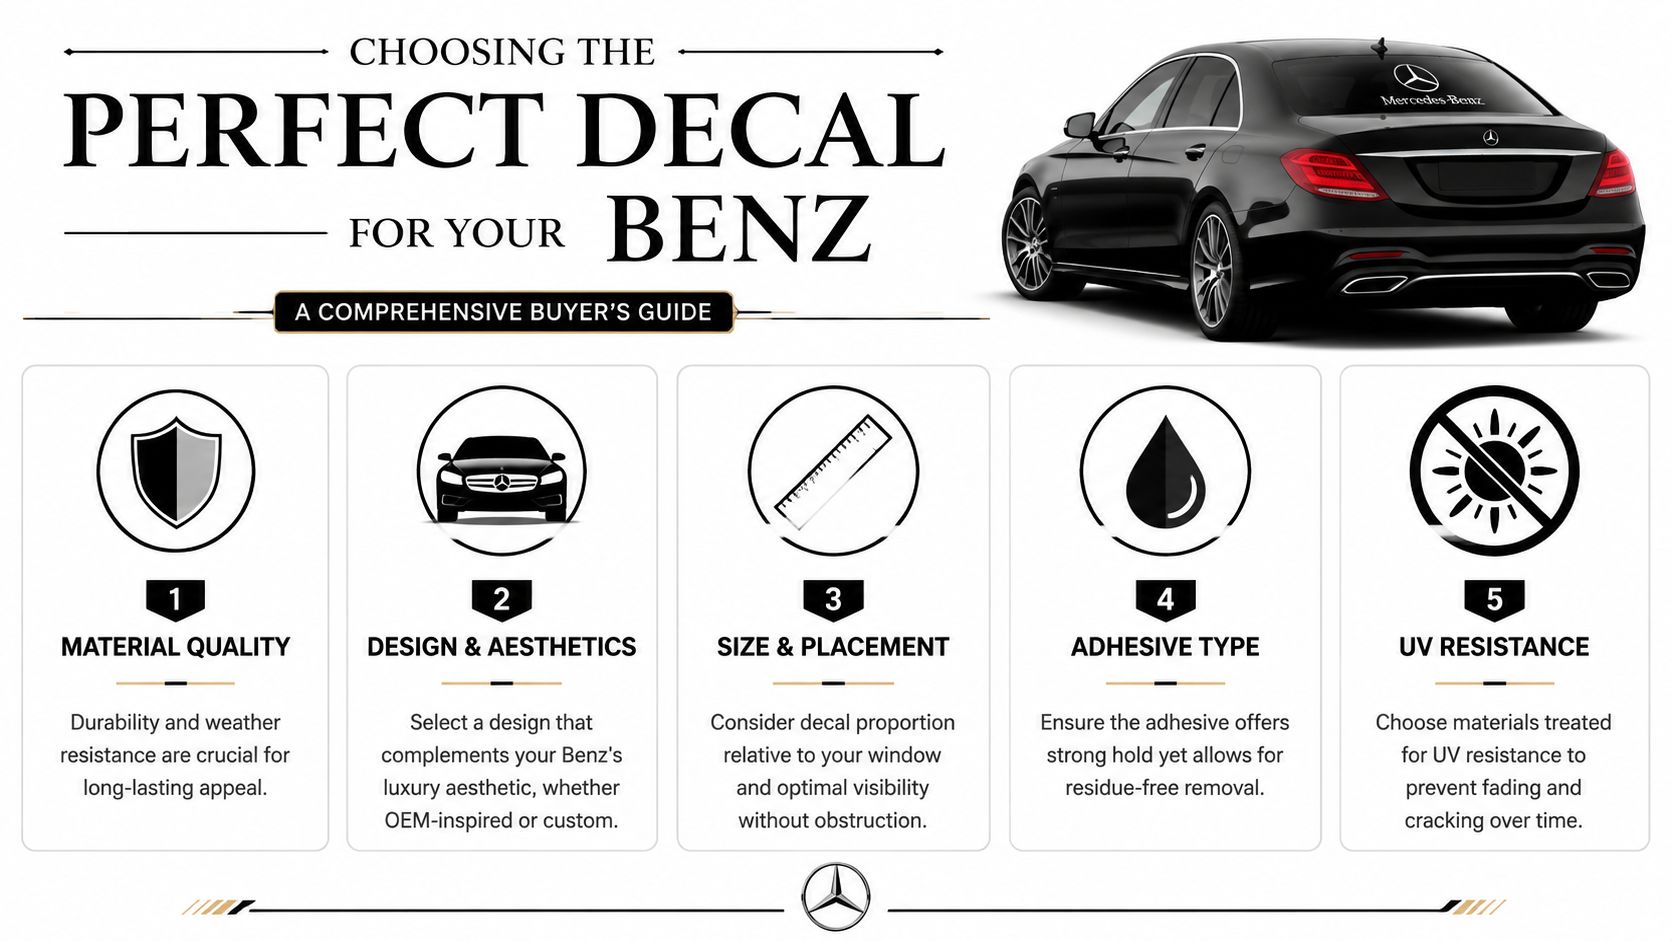
Choosing the Perfect Decal for Your Benz
The buying decision comes down to three things. Material, style, and size. If one of those is off, the decal will look cheap even if the design itself is good.
Start with material, not artwork
Most decal disappointment starts with vinyl quality. People spend all their time choosing the design, then buy whatever material is cheapest. On a luxury vehicle, that mistake shows fast. Inferior vinyl shrinks unevenly, gets brittle, or leaves you fighting lifting corners.
For automotive glass, I lean toward Oracal 7-year vinyl because it cuts clean, weeds well, and holds its shape outdoors. That's the difference between a decal that stays crisp and one that starts looking tired around the edges.
Here’s the side-by-side comparison I’d use with a customer at the counter:
| Attribute | Oracal 7-Year Vinyl (Our Choice) | Generic/Hobby Store Vinyl | Printed Bumper Stickers |
|---|---|---|---|
| Outdoor durability | Built for long-term exterior use | Often inconsistent outdoors | Better for flat sticker use than cut-glass graphics |
| Finish quality | Clean, professional look on glass | Can look thicker or less refined | Usually looks less integrated on a window |
| Cut detail | Handles fine lettering well | Small details can become frustrating | Best for printed shapes, not elegant cut text |
| Removal behavior | Typically cleaner when removed correctly | More likely to tear or leave mess | Varies widely by adhesive |
| Best use | Window names, logos, tributes, clean graphics | Temporary or casual projects | Short-term printed messages |
Match the style to the model
A decal can be expressive without looking loud. The trick is matching the design language to the vehicle.
- Minimal text decals work well on sedans and coupes, especially in the rear side glass or upper rear window.
- Performance-inspired graphics fit AMG owners better when the design is restrained. Clean typography usually beats oversized logos.
- Military and service decals look strongest when they’re properly spaced and not crowded by other badges or tint lines.
- Hobby or family graphics work best when simplified. Too many elements on one piece make the car look busy.
If you're comparing shops or design formats, it also helps to review how other printers discuss layout and production choices when people order custom stickers. Even if you're not buying there, the decision points are useful.
Practical rule: If the decal would look oversized on a laptop lid, it’s probably oversized for a Mercedes side window.
Size decides whether it looks custom or accidental
Size should be mocked up before you buy. Painter’s tape is the easiest tool in the garage for this. Lay out the width on the glass, step back, and view it from three angles. Mercedes glass often tapers more than owners expect, especially on coupes and sloped rear windows.
A few fitting habits help:
- Use painter’s tape to mark width first.
- Check visibility from outside at standing height.
- Open and close nearby doors or liftgates to make sure the placement still reads clean.
- Leave breathing room from defroster lines, trim edges, and existing badges.
For text-based designs, narrower usually looks more intentional than tall block lettering. If you want a straightforward format for names, callsigns, club text, or short phrases, a 7-inch wide custom text window decal sticker is a sensible starting point because it keeps the scale controlled.
A note on factory-style stickers
Some owners searching mercedes benz window stickers are trying to recreate original documentation or factory-style labels. VIN-based services can rebuild those using manufacturer-style data, but that’s a different category from personalization. A custom decal should look deliberate as a custom piece, not like an imitation of paperwork.
Prepping Your Vehicle for a Flawless Finish
Most bad installs are decided before the backing paper comes off. The surface wasn't clean enough, the glass was too hot, or the installer rushed the alignment. Prep is where a professional-looking decal starts.
What to have on hand
You don’t need a full wrap bay. You do need the right basic tools.
- Microfiber cloths that are clean and lint-light
- Masking or painter’s tape for test positioning
- A felt-edge or standard squeegee for pressure during application
- Isopropyl alcohol mix for final wipe-down
- A dry work area in the shade so the glass isn’t hot to the touch
Avoid ammonia-based glass cleaners right before installation. They can leave residue, and residue is what causes edges to fail first.
Clean for adhesion, not just appearance
Glass can look spotless and still be contaminated with wax, silicone, quick-detailer residue, or hard water spotting. That’s why a normal wash isn’t enough if you want the decal to stay down.
Use your standard wash first if the vehicle is dusty. Then do a focused final clean exactly where the decal will sit. If the glass has mineral marks, you’ll get a better bond after dealing with those first. For anyone sorting out that issue before install, this guide on how to choose a water spot remover gives a useful breakdown of what to look for.
Clean the installation area twice. The second pass is the one that removes what you can’t see.
Temperature and environment matter
Vinyl behaves differently depending on conditions. If the glass is baking in direct sun, the adhesive grabs too fast and you lose your margin for adjustment. If the surface is very cold, the film gets less cooperative and won’t settle as nicely.
The goal is simple. Work in a shaded area where the glass feels stable, dry, and comfortable to the hand. That gives you more control over placement and pressure. Also give yourself enough room to move around the car without leaning across dirty panels or dragging the decal against trim.
Applying Your Decal with the Hinge Method
The hinge method is the cleanest way to install most mercedes benz window stickers without turning a simple job into a wrestling match. It holds the design where you want it, lets you work in halves, and cuts down on crooked placement.
![]()
Set the position before peeling anything
Tape the decal to the outside of the glass exactly where you want it. Stand back and check spacing against the edge of the window, nearby trim, and the visual centerline of the car. Don’t trust your eye from six inches away. Step back.
Once it’s in the right spot, run a strip of painter’s tape horizontally across the center of the decal and onto the glass. That tape becomes your hinge. It keeps the graphic registered while you work one side at a time.
Work one half at a time
Lift one side of the decal away from the glass using the center tape as the pivot. Peel the backing paper away from that half, then trim or fold the loose backing so it’s out of the way. Keep the transfer tape and vinyl aligned.
Now lay the exposed half back down gently.
Use your squeegee from the center outward with firm, even strokes. A slight angle helps push air away rather than trapping it under the film. Don’t jab at bubbles with your fingertip. That usually creates wrinkles.
Then repeat on the other half.
- Keep tension light so the vinyl doesn’t stretch.
- Use overlapping squeegee passes rather than one hard swipe.
- Watch small letters closely because they need full contact before transfer tape removal.
- Slow down near the ends where lifting usually starts if pressure is uneven.
If you want to see the hand motions in action, this quick install video shows the pacing that makes transfer tape removal much easier:
Remove transfer tape the right way
Many decent installs suffer damage during this step. Don’t yank the transfer tape straight off. Peel it back slowly at a sharp angle, almost folding it over itself, while watching that each part of the decal stays attached to the glass.
If a letter or corner lifts, stop. Press it back down with the squeegee, give it a moment, and try again.
If the vinyl comes up with the tape, the answer usually isn’t more force. It’s more patience and better pressure.
Common mistakes that ruin an otherwise good decal
The biggest ones are predictable:
- Crooked first placement because the installer eyeballed it too quickly.
- Dirty glass edges where oils or old dressing were left behind.
- Overhandling the adhesive side after the backing is removed.
- Trying to install oversized text alone without enough control.
For wider name decals or banner-style text, it often helps to start with a format designed for easier spacing on larger rear windows, such as a 22-inch wide custom text window decal sticker. Longer decals can look excellent on SUVs and broader rear glass, but they punish rushed alignment.
Maintaining and Safely Removing Your Decal
Once the decal is on, ownership gets easy. The main job is protecting the edges and not treating the graphic like painted glass.
Keeping it looking sharp
Normal washing is fine after the decal has settled. Hand washing is the gentlest route, especially if you use a soft mitt or microfiber around the graphic. Automatic washes are usually workable too, but don’t aim high-pressure spray directly into the decal’s edges if you’re doing a self-serve wash.
A few habits make a difference over time:
- Wipe with the grain of the decal edge, not against it.
- Avoid scraping tools on frosty mornings where the graphic sits.
- Skip harsh solvents unless you’re intentionally removing the decal.
- Check corners occasionally so you catch lifting early.
Removing without damaging the glass
Decals don’t have to be permanent. If you want to update the look, sell the vehicle, or return a leased car closer to stock appearance, removal can be straightforward.
Warm the decal gently with a household hairdryer. You’re not trying to cook it. You just want to soften the film and adhesive enough to peel it slowly. Start at a corner, lift carefully with your fingernail or a plastic edge, and pull back at a low angle.
If adhesive remains, use a residue remover that’s safe for automotive glass and wipe with a microfiber cloth afterward. Let the cleaner do the work. Scraping aggressively is where people create unnecessary headaches.
When replacement makes more sense than saving the old decal
If the vinyl has cracked, shrunk, or faded badly, trying to preserve it usually wastes time. Old decals often come off in tiny pieces, and they rarely clean up into anything reusable. In that case, remove the old one completely, clean the glass properly, and install a fresh decal with better alignment than the first round.
Legal Guidelines and Placement Best Practices
Good placement isn’t only about looks. It also has to respect visibility and local law. That matters even more on modern Mercedes vehicles, where the windshield area may also be shared with driver-assistance hardware and camera zones.
In most U.S. states, it’s illegal to place non-transparent decals within the AS-1 line of the windshield, which is typically marked on the glass and extends down from the top. Obstructing the driver’s direct line of sight through side or rear windows is also universally prohibited, according to this state-by-state obstructed windshield reference.
Where decals usually make the most sense
For most Mercedes owners, the safest window locations are:
- Rear side glass where the design is visible but not distracting
- Lower corners of the rear window if the decal doesn’t interfere with visibility
- Small, tasteful placements away from defroster-heavy visual areas
- Body glass zones clear of sensors, cameras, and embedded hardware
The worst placement choices are usually the same ones that attract attention fastest. Large windshield decals, center rear-window blocks, and anything that interrupts your mirror view are hard no's.
Practical fit matters as much as legality
Even if a placement might technically pass, it can still be a bad idea. Mercedes cabins often have excellent outward visibility, and a poorly placed decal undercuts that. The cleaner move is to place the design where it reads well from outside but disappears from your normal driving routine.
If the car has tint, be extra thoughtful. Some decals look excellent over tint film, but removal needs a gentler hand later. If the tint is old or lifting at an edge, fix that first. Don’t sandwich a new graphics decision on top of an old film problem.
The best decal placement is the one you notice when parked, not while driving.
Quick answers to common questions
Will a decal affect my window tint
It can if the tint film is already weak, damaged, or poorly bonded. On healthy tint, a vinyl decal usually isn’t a problem during normal use. Removal is where care matters most.
Can a sticker create lease return issues
It can, especially if the adhesive is left behind or the tint gets damaged during removal. If you lease, choose a clean installation area and remove the decal carefully before turn-in.
Should I put a decal on the windshield
Usually no, unless you’ve confirmed the legal area for your state and the placement doesn’t interfere with visibility. For most owners, rear glass or rear side glass is the better call.
Do factory-style and custom decals follow the same rules
No. A federally required label on a new vehicle serves a different purpose from a personal graphic. Custom decals still need to respect visibility laws and safe placement.
If you want a clean custom look for your Mercedes, Custom Sticker Shop offers made-to-order vinyl decals for automotive glass, including custom text and vehicle-themed designs cut from Oracal vinyl for exterior use.