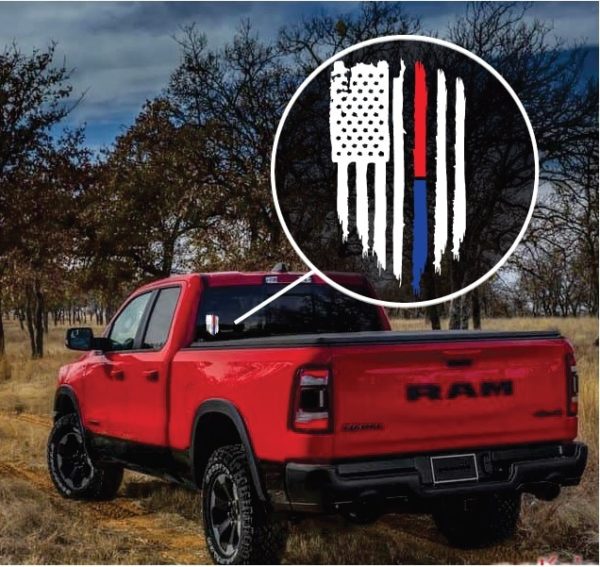
How To Apply Car Window Decals

You can use car window decals to advertise a business or product; express your support for a school, sports team or even campaign; or enhance the look and feel of your car.
To get the most out of the decal, it is important to ensure that it is properly installed. A poorly installed sticker will not only look bad, mainly as a result of poor positioning and the presence of bubbles, but is also bound to come off earlier than necessary.
Use the information below as a step by step guide on how to properly install car window decals.
Weather Conditions
The first step in applying a car window decal is to wait for the right weather conditions. Mild weather conditions are the most appropriate for proper window decal application. You should not try to install the decal(s) in extremely cold or hot conditions as it will not attach to the glass surface properly.
Car owners are also advised against applying car window decals on exterior windows such as the windscreen on windy days.
If the outdoor conditions are not in line with the above recommendations, consider making the installation in your garage. However, make sure that there is enough light for you to spot any dirt on the window surface.
Cleaning The Window Surface
Before applying decals on car windows, it is important for you to ensure that the surface is clean and free of any dirt or dust. This is because the dirt will attach to the adhesive, reducing its effectiveness. Avoid using any window cleaning products or chemicals as they leave a residue that will make it hard for the decal to adhere to the surface.
Simply clean the window surface using rubbing alcohol or soap and water. After you are done cleaning, use a lint free piece of cloth, such as a camera lens cleaner or microfiber, to dry the area.
Position The Graphic
Before you stick the decal to the car window, use masking tape to position it in place. If you want to apply the decal in the right position the first time around, use this trick to hold it in place and see how it looks. Once you are certain that it is in the right place, proceed.

Apply The Decal
Applying the decal is quite straightforward; simply peel away the backing from top to bottom. Only peel away two thirds of the backing, to begin with, as you press down the top third heading to the bottom; you can peel off the remaining portion as you get closer to it. Use a squeegee or credit card to press it down onto the window surface.
It is recommended that you use overlapping strokes, moving from the top center, outwards to the edges. For the best results, use slow, smooth strokes.
Finishing Things Off
To finalize the application process, you will need to trim off any edges or clear out any air bubbles. You can use a razor blade to trim the edges. As for the air bubbles, puncture them and then use a squeegee or credit card to push everything out.
Finally you will have an awesome looking car window decal.
For more detailed instructions on how to install all types of decals we have a comprehensive guide and video click here

