
You’re probably looking at your car, truck, or Jeep right now and thinking it needs something. Not a full repaint. Not a wild wrap. Just one clean detail that makes the body lines look sharper and the whole vehicle feel more like yours.
That’s exactly where decal pinstripes for cars shine. A good pinstripe doesn’t fight the vehicle. It follows the shape that’s already there and makes it look intentional. On a pickup, that might mean giving a long bedside crease more definition. On a Jeep, it might mean adding a little contrast to a flat panel so it doesn’t look plain. On a car, a thin stripe can make the side profile look lower, longer, and cleaner.
I’ve been around custom decals long enough to see the same thing happen over and over. Someone starts with “I just want a small accent,” and once the stripe is on correctly, the whole vehicle looks more finished. The trick is getting that clean, factory-looking result instead of the crooked, peeling version that gives DIY installs a bad name.
The Timeless Appeal of Automotive Pinstriping
Pinstriping has always done one job well. It adds personality without overwhelming the vehicle.
Early American automobiles used painted pinstripes to accent body contours, and by the 1930s and 1940s pinstriping had moved from a luxury detail into mainstream customization. Then the style changed for good in the early 1950s, when Ken Howard, better known as Von Dutch, moved beyond simple edge accents and into freehand flourishes and decorative designs that helped make pinstriping a core part of custom car culture, as noted in this history of automotive pinstriping.
That history still matters because people respond to the same visual effect now that they did then. A stripe gives the eye something to follow. It frames a fender, sharpens a hood line, or breaks up a big slab of color on a truck door.
A lot of drivers love the classic look but don’t want the cost, permanence, or scheduling hassle of hand-painted work. That’s where decals make sense. You can get a clean custom look in a weekend if you choose the right stripe and install it with some patience.
For muscle-car inspired styling, something like Camaro-style fender hash decals shows how a small stripe package can completely change the attitude of the front end without taking over the whole vehicle.
A pinstripe works best when it looks like it belonged on the vehicle all along.
That’s why the best installs don’t scream for attention. They fit the body shape, suit the paint color, and stop in the right places. When people get that part right, they usually end up with a result that looks far more expensive than it was.
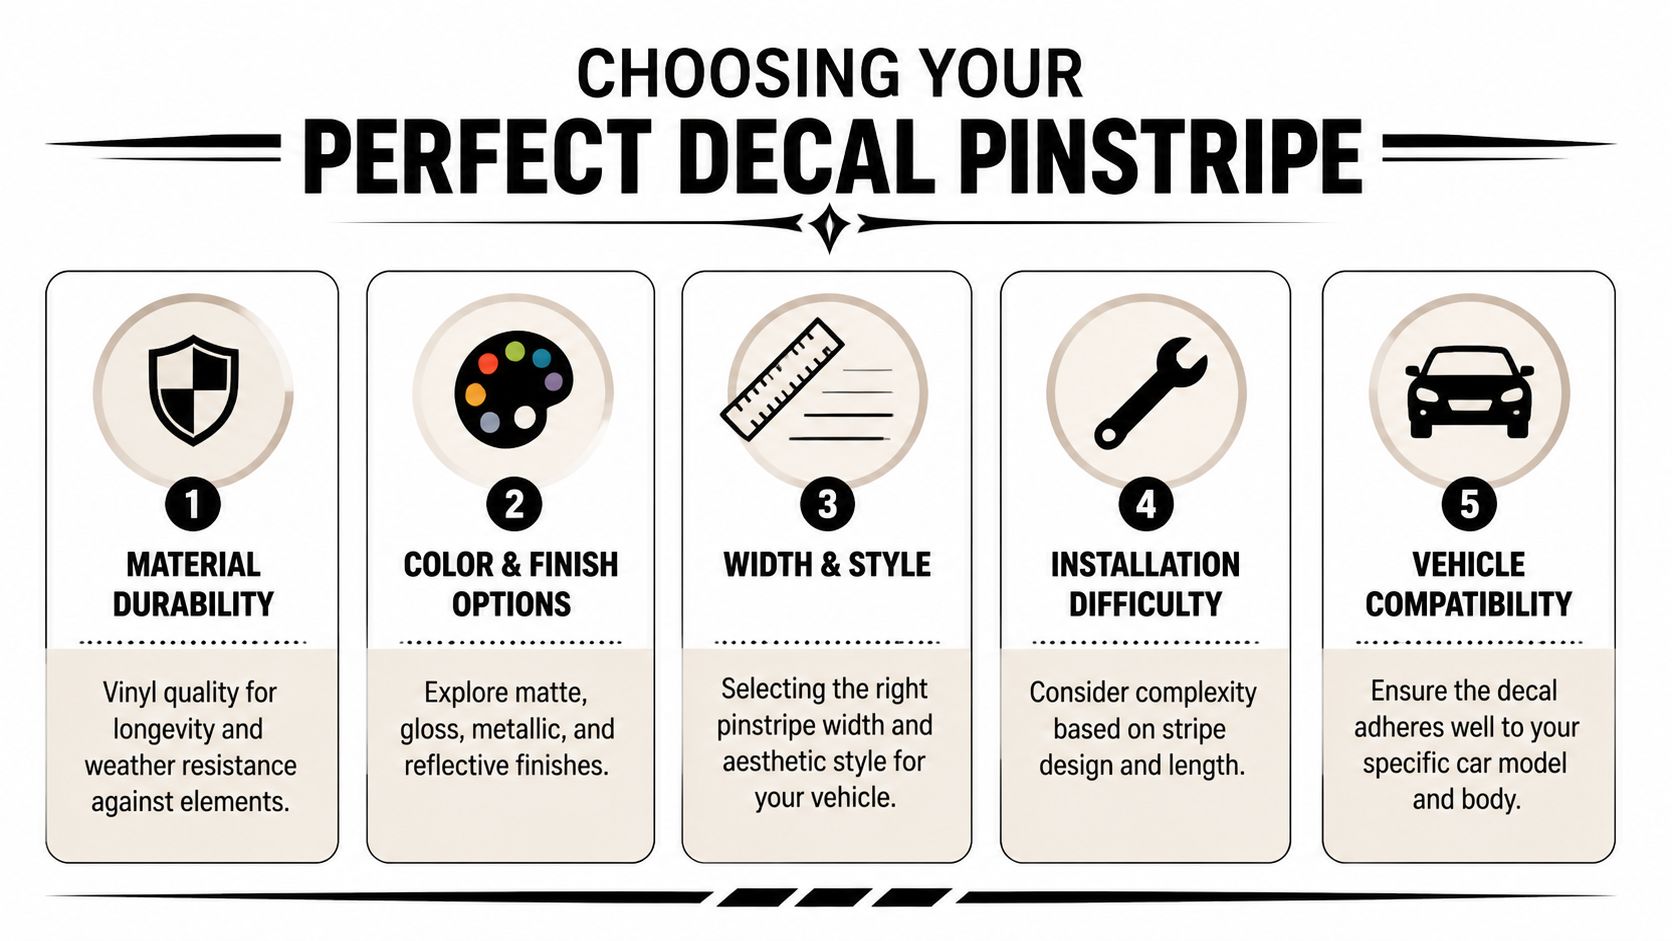
Choosing Your Perfect Decal Pinstripe
Picking the right stripe is half the job. A great install can’t save the wrong width, the wrong color, or a style that fights the shape of the vehicle.
Modern adhesive vinyl changed the whole category. Starting in the 1980s, adhesive vinyl graphics made pinstriping far more accessible to regular vehicle owners instead of limiting the look to hand-painted work, and modern professional-grade materials like Oracal vinyl offer five to seven years of durability with proper care, according to this overview of pinstriping and vehicle graphics.
Start with the style of the vehicle
A stripe that looks right on a sports car can look out of place on a work truck. You want the stripe to match the vehicle’s visual weight.
A thin line usually works well on coupes, sedans, and cleaner modern builds. It adds definition without making the car look busy. Trucks and Jeeps usually handle a bolder stripe better because they have taller sides, squarer panels, and more visual mass.
Here’s a simple style guide I use when helping people narrow it down:
| Vehicle Type | Recommended Style | Common Widths | Styling Goal |
|---|---|---|---|
| Sports car | Thin accent stripe or fender hash | Thin to medium | Sharpen lines and add motion |
| Sedan | Subtle side pinstripe | Thin | OEM+ look without clutter |
| Full-size truck | Bold side accent or bedside stripe | Medium to bold | Break up large panels |
| Jeep | Hood, cowl, or side graphic with pinstripe influence | Medium to bold | Add rugged contrast |
| Classic muscle car | Period-inspired accent stripe | Medium | Bring out heritage styling |
Then decide how loud you want it
Some pinstripes are meant to stand out. Others are there to be noticed only after someone gets close.
Use this rule of thumb:
- High contrast colors work when you want the stripe to read from a distance. Black on silver, silver on black, or red on white all make a statement.
- Close-match colors create a quieter finish. Charcoal on black, silver on gray, or tan on beige can look almost factory.
- Metallic or reflective finishes can be great in the right build, but they draw more attention to imperfections in alignment. If you’re new to installation, a standard gloss finish is usually easier to live with.
Practical rule: If the vehicle already has aggressive wheels, dark tint, off-road accessories, or other strong visual elements, keep the stripe simpler. If the body is otherwise plain, the stripe can do more of the styling work.
Width matters more than most people think
Too narrow, and the stripe disappears. Too wide, and it starts to look like trim instead of pinstriping.
On cars with tight body lines, a thin stripe often looks refined. On taller trucks, a medium or bolder stripe keeps the graphic from getting lost against a long bedside. Jeeps sit in the middle. Because of their flat panels and upright shape, they can carry more graphic weight than a sedan but still benefit from restraint.
A two-color insert style can also add depth without making the decal feel heavy. If you like that layered look, two-color Dodge pinstripe inserts are a good example of how contrast and spacing can create a more finished graphic.
Match the stripe to the panel, not just the vehicle
This is the part a lot of buyers miss. You aren’t only choosing a stripe for a car. You’re choosing it for a specific panel.
A hood stripe can handle more width than a door pinstripe. A bedside stripe can be bolder than one running across a fender lip. A cowl stripe on a Jeep can be slightly tougher-looking than a stripe running the full body side.
When in doubt, step back and ask one question. Does the stripe follow an existing line, or does it create a random one? The best decal pinstripes for cars look deliberate because they respect the sheet metal.
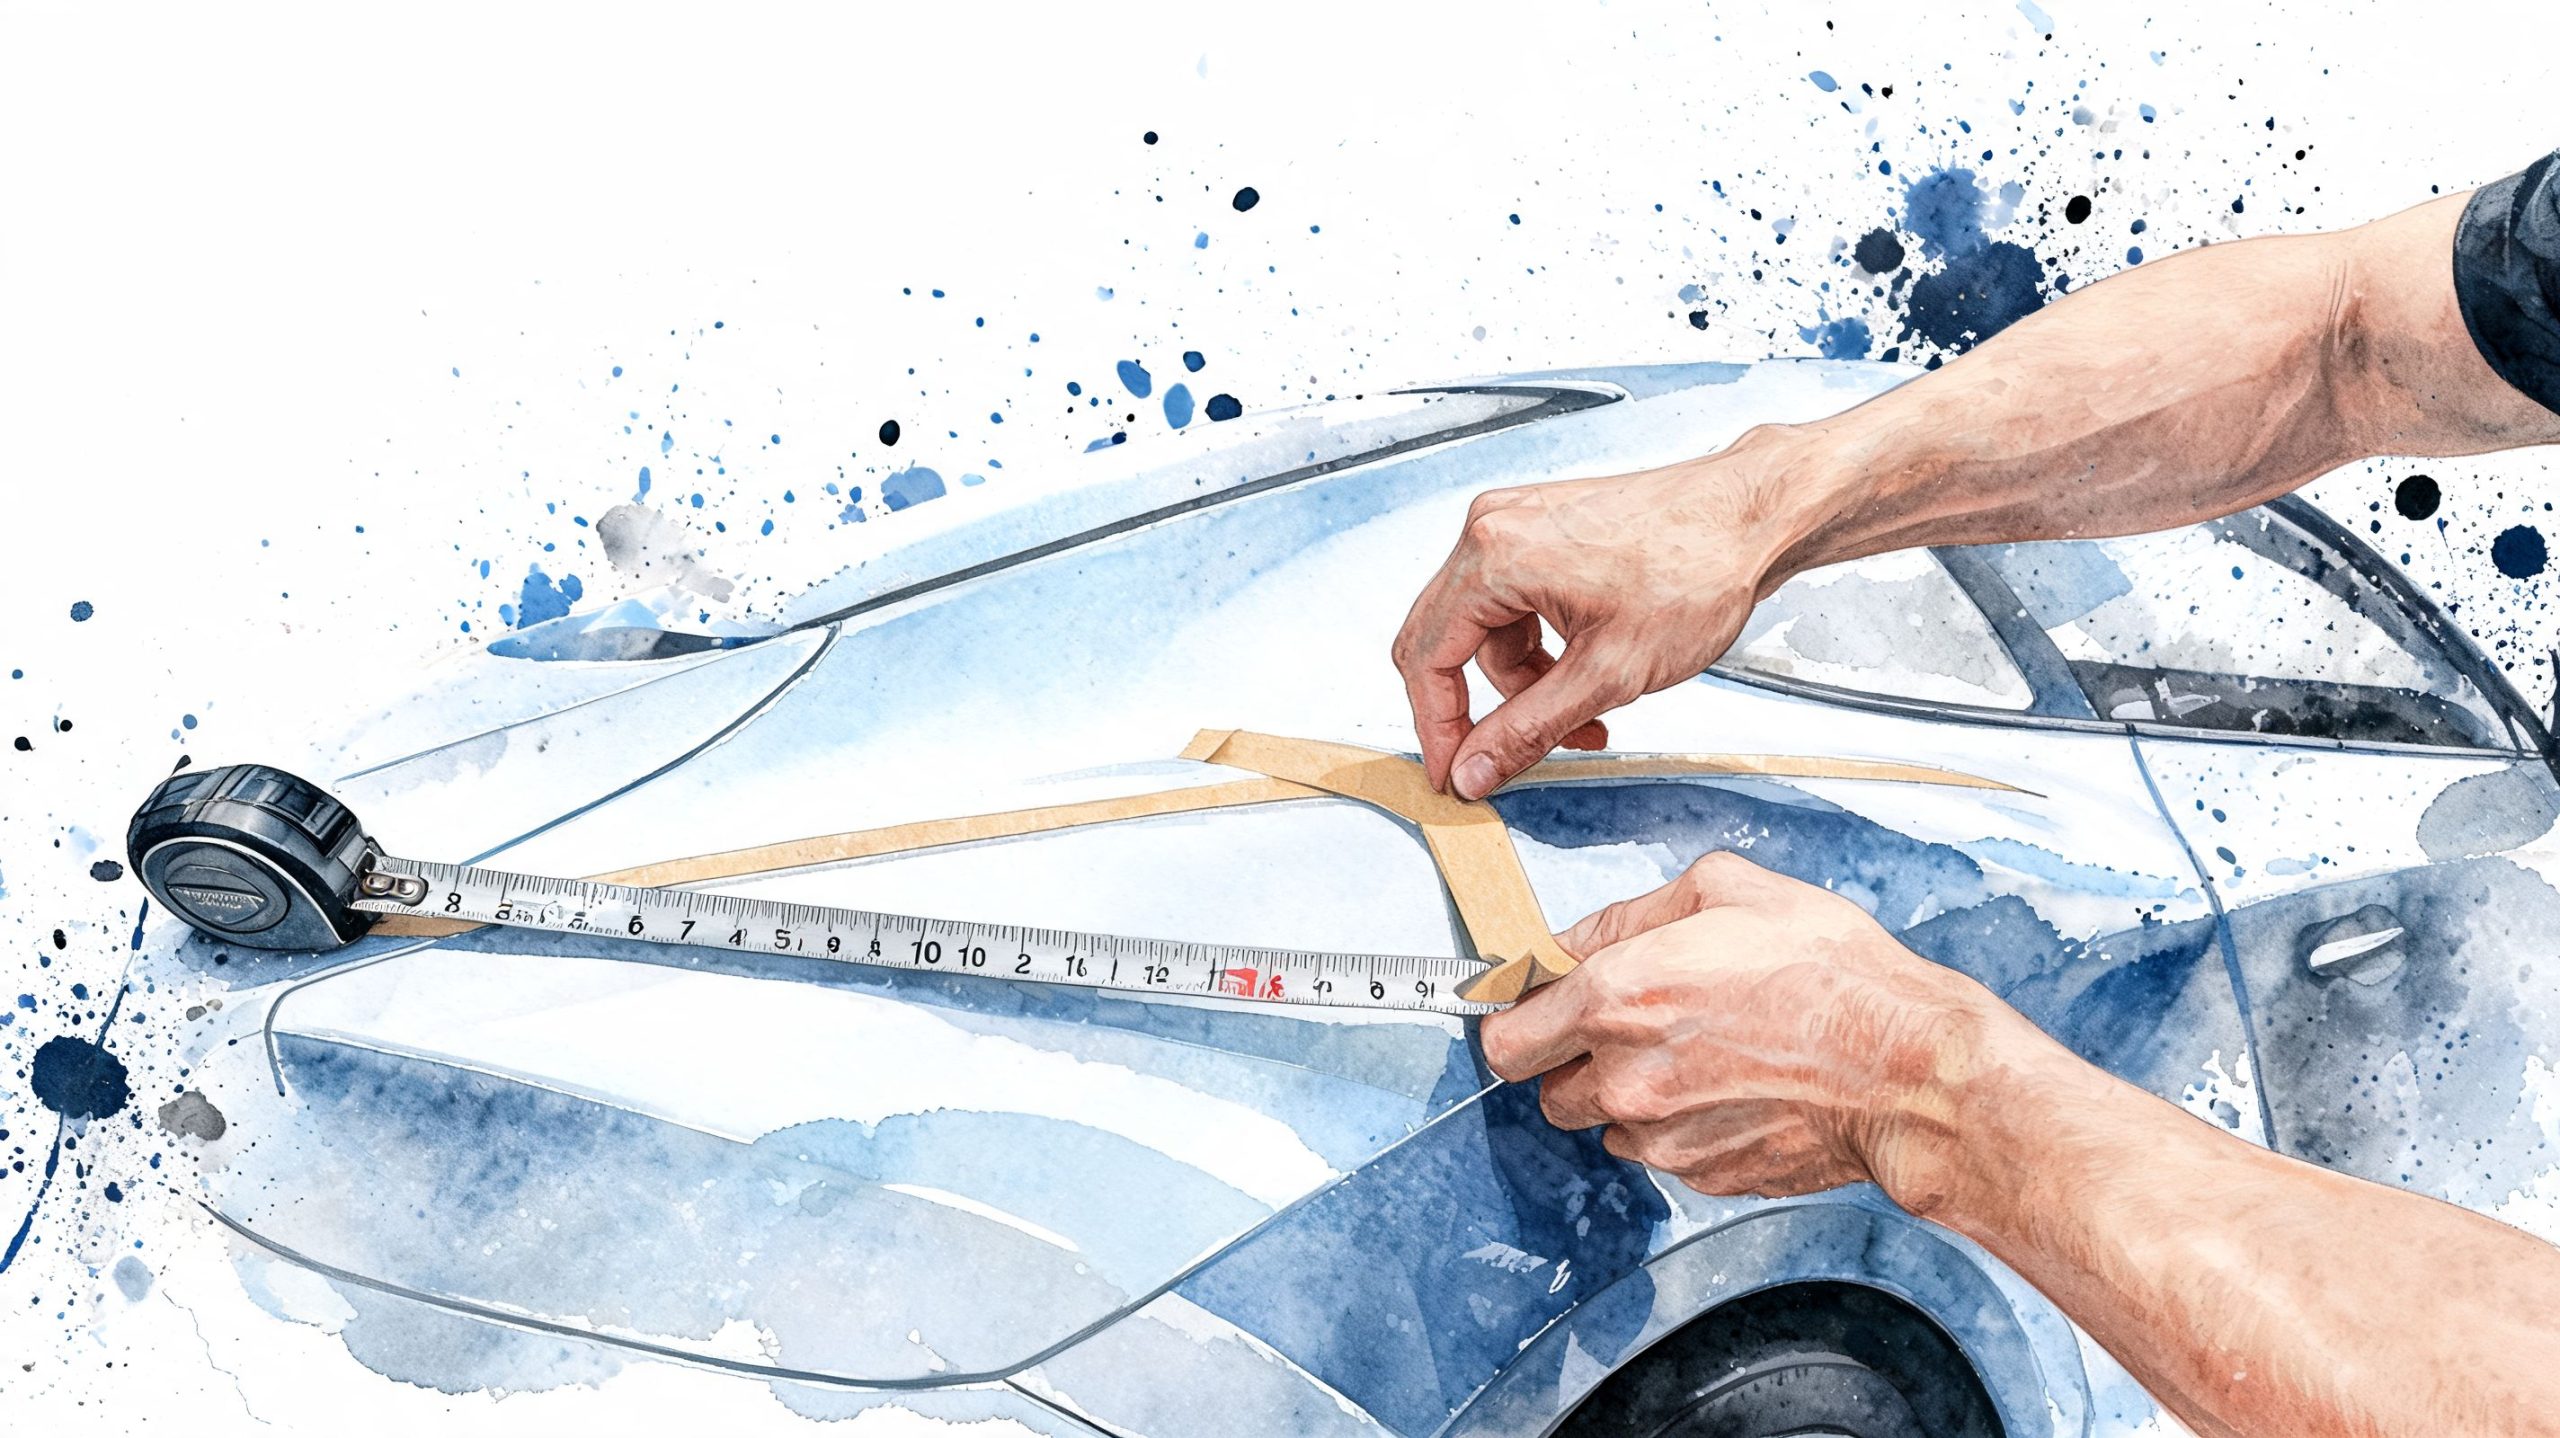
Planning and Measuring for a Flawless Layout
The difference between “custom” and “crooked” usually shows up before the backing paper ever comes off.
Most bad installs don’t fail because of the vinyl. They fail because the stripe was placed by eyeballing one side of the vehicle, ignoring the body shape, or rushing into application before checking how the line looked from a distance.
Read the vehicle before you measure
Every vehicle gives you clues. A crease in the door, the edge of a hood bulge, the top break of a fender, or the lower character line on a bedside can all serve as your guide.
On trucks, I usually tell people to look for the longest uninterrupted body line. That often gives the cleanest result. On a Jeep, the flatter panels mean you may need to create the visual line with your stripe placement instead of tracing a crease. On sports cars, look for the line that supports motion. Usually that’s the one that makes the nose look lower and the profile look longer.
If you’re installing a longer kit, a universal truck stripe set shows the kind of layout that benefits from careful dry positioning before final application.
Use masking tape to build a full-size preview
Low-tack masking tape is the simplest layout tool in the shop. It lets you test placement, angle, spacing, and stopping points without committing to the decal.
Do it this way:
- Mark the starting point near a stable reference, like a wheel opening, door edge, or panel seam.
- Run masking tape along the intended path in short manageable sections rather than trying to force one long piece.
- Step back several times and look from the front, rear, and side.
- Check both sides of the vehicle before making any final decision.
- Adjust until the tape looks natural, not just level.
That last point matters. A stripe can be perfectly level and still look wrong if it ignores the vehicle’s design.
Curves need a lighter hand
Curved sections throw people off because the eye reads them differently than straight body lines. Wheel arches, front fender sweeps, and rear quarter transitions all need a softer approach.
When you lay masking tape around a curve, don’t stretch it hard. Let it flow. If you yank the tape tight, you create a forced line that won’t match the decal’s natural path.
Stand about one car length away and look at the tape, not the panel. If your eye catches a wobble, fix it now.
Check symmetry without overcomplicating it
You don’t need a body shop laser setup to get good results at home. You do need repeatable reference points.
Use panel gaps, fuel door position, wheel openings, trim edges, and body creases. Measure from the same reference on both sides. Write the numbers down if needed. On hoods and tailgates, work from centerlines. On side stripes, work from consistent features near the front and rear of the run.
The cleanest installs usually come from people who preview more than they apply. That patience saves vinyl, saves frustration, and gives the stripe that professional “of course it belongs there” look.
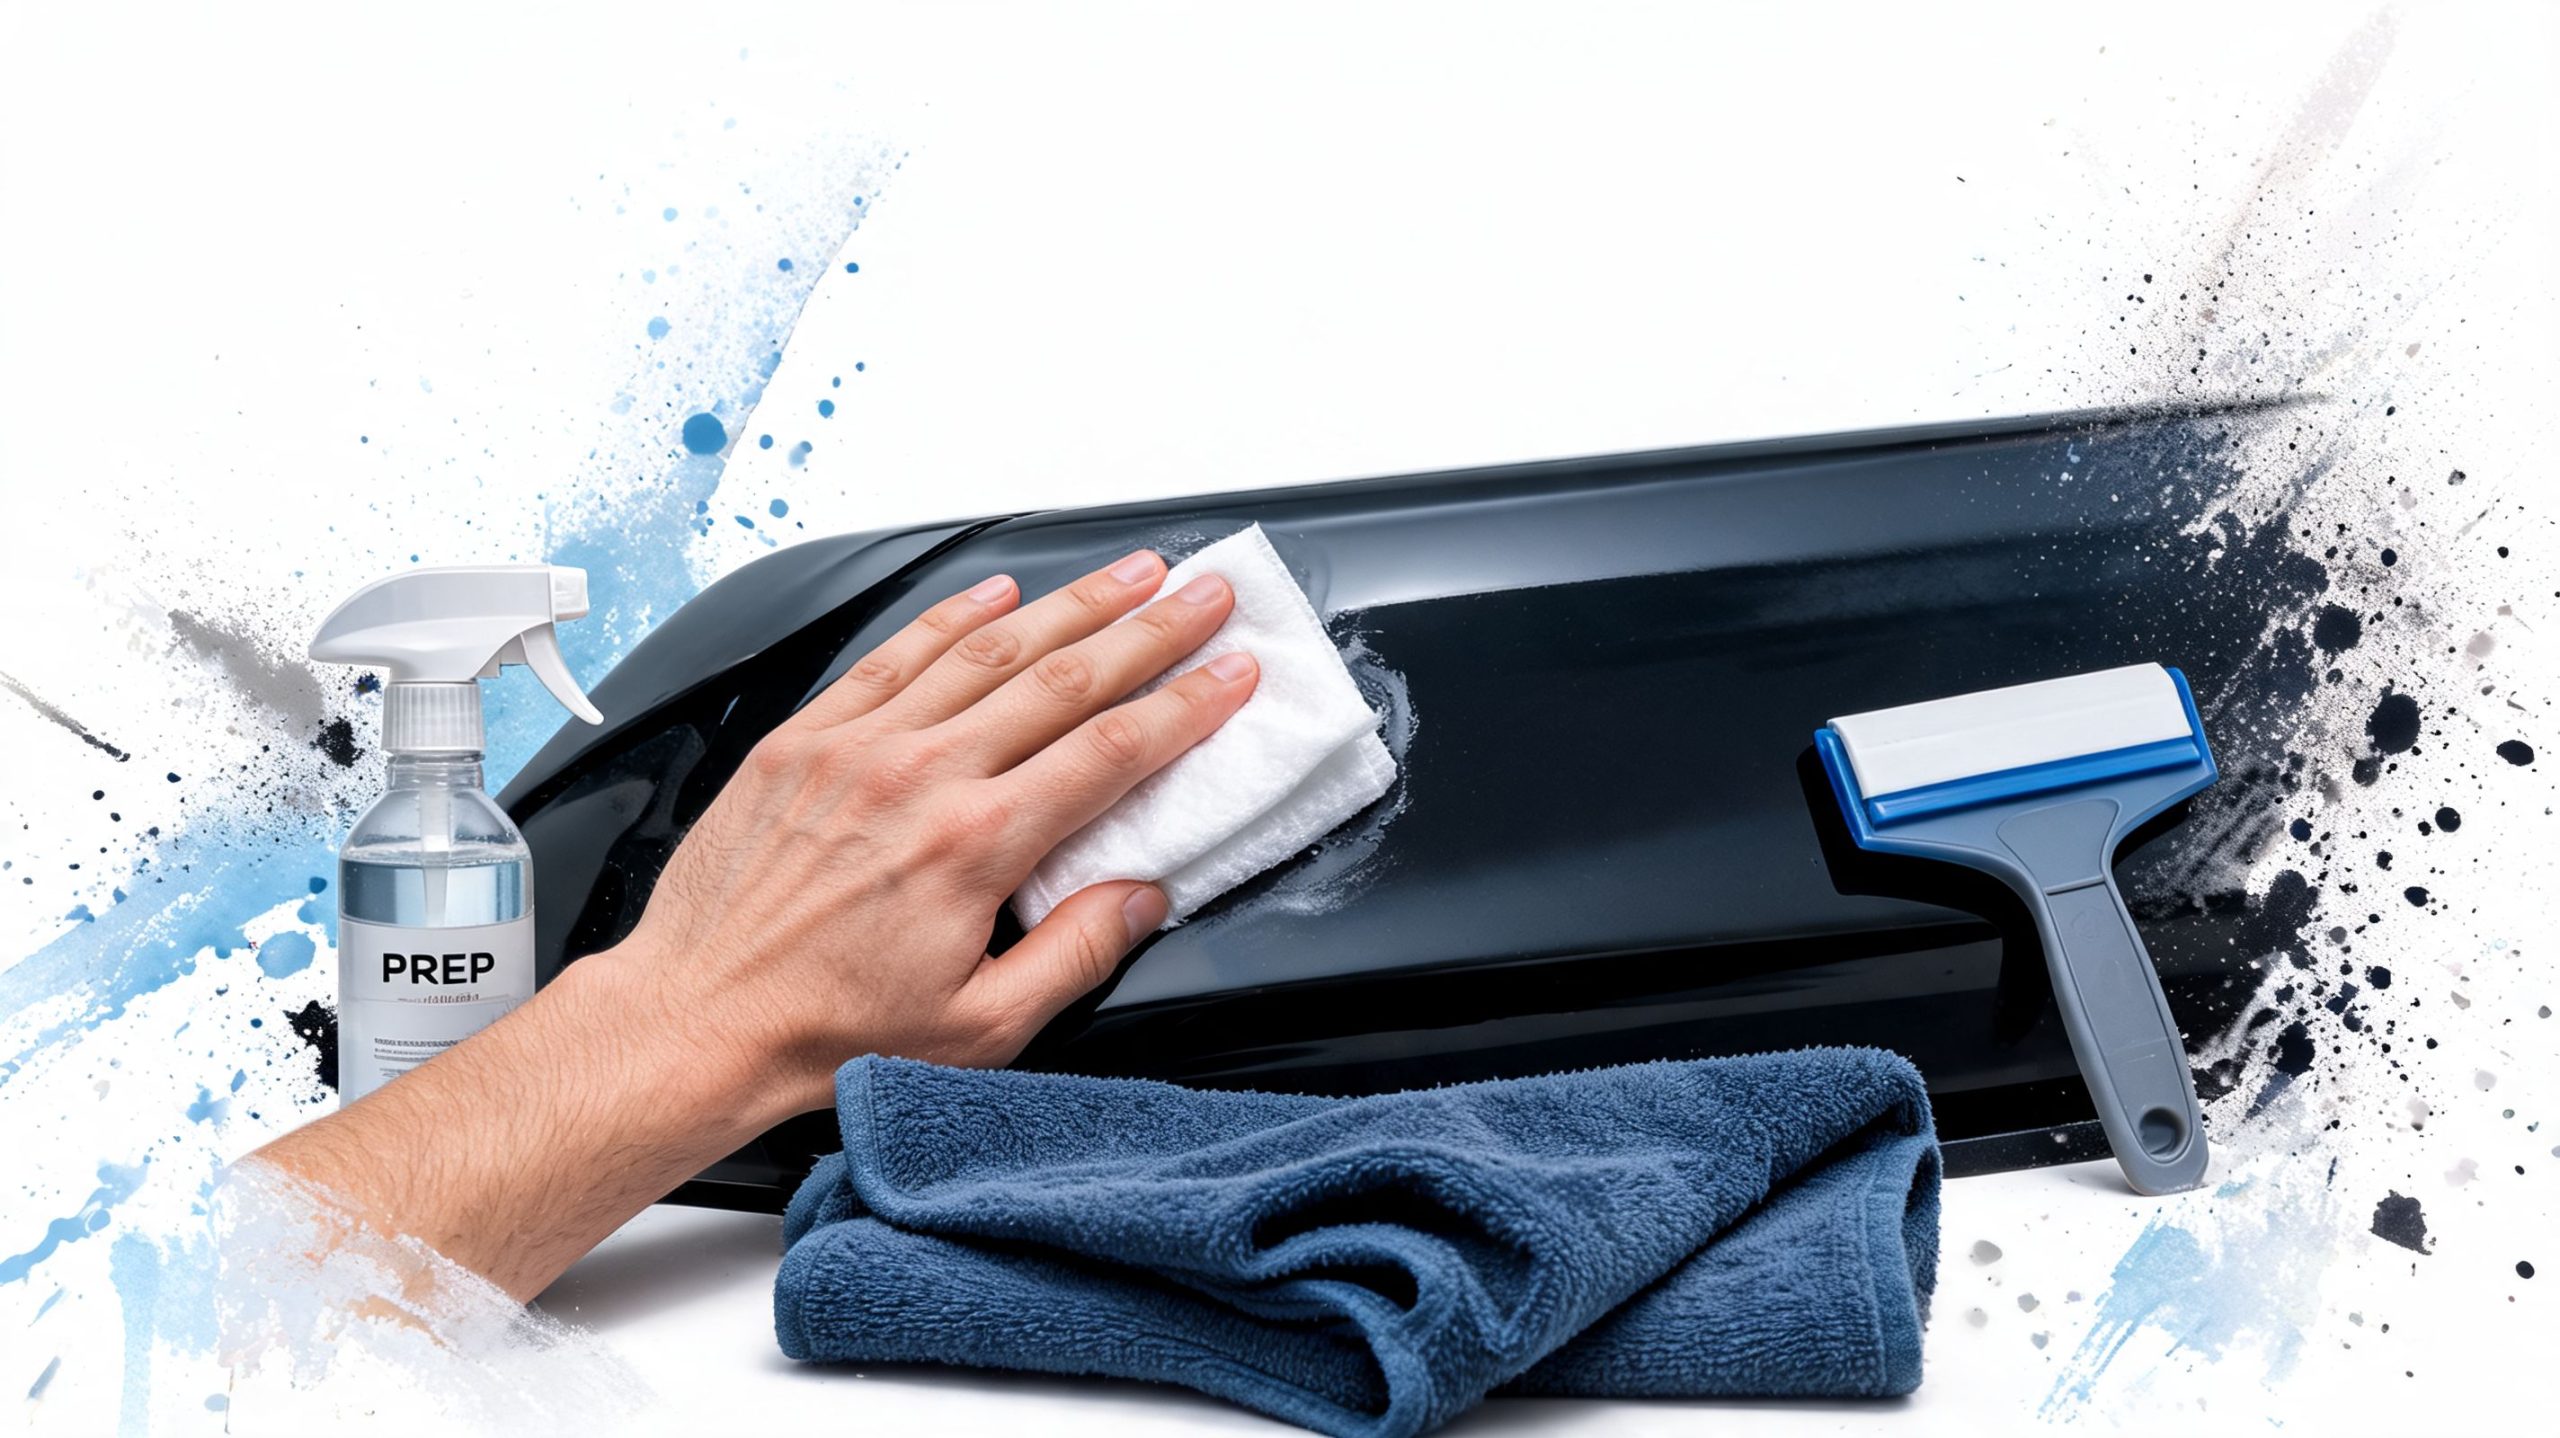
Surface Prep and Your Essential Toolkit
A pinstripe job usually succeeds or fails before the backing paper ever comes off. In our shop, early lifting, silvering, and crooked-looking runs almost always trace back to prep, panel condition, or the wrong tools for the shape of the vehicle.
Late-model clear coats can fool people. The paint looks spotless, but the surface is still carrying wax, detail spray, polishing oils, road film, or leftover soap. On trucks and Jeeps, I see this even more around bedside tops, hood edges, cowl panels, and lower doors because those areas collect grime you do not notice until the vinyl refuses to stay put.
The toolkit that matters
You do not need a crowded workbench. You need a small set of tools that keep the install controlled and repeatable.
- Low-tack masking tape for layout lines, temporary hinges, and holding a long stripe in place
- A quality squeegee with a clean, nick-free edge
- Clean microfiber towels reserved for prep, not used ones from the garage floor
- Application fluid such as Rapid Tac or a similar wet-application solution
- A tape measure for checking offset and matching the opposite side
- A grease pencil or washable marker for temporary reference marks when needed
- A small spray bottle so you can control fluid instead of flooding the panel
- A sharp hobby knife for trimming transfer tape only, not for cutting on paint
That last point saves paint. I have seen too many DIY installs where somebody drags a blade across a bedside because they were in a hurry.
Temperature control makes a real difference
Vinyl adhesive has a comfort zone. If the panel is too cold, the adhesive stays stiff and does not wet out well. If the panel is too hot, the film gets grabby and soft, which makes long stripes harder to place cleanly. 3M notes in its application guidance that both the film and the surface should be conditioned before installation, especially when temperatures swing outside normal shop conditions, as explained in 3M's graphics installation and surface preparation guidance.
For do-it-yourself work, aim for a cool, stable panel and a garage or shaded area where the temperature is not changing by the hour. Black hoods, dark Jeep hardtops, and truck bedsides in Kansas sun can get hotter than your hand realizes. If the panel feels warm, check it before you start.
Clean in stages, not with one quick wipe
A dependable prep routine has a sequence.
Start with a wash if the vehicle is dusty or carries road film. Then use a proper surface cleaner to remove wax, silicone, and polishing residue. Follow that with a final wipe using clean towels, turning the towel often so you are lifting contamination instead of spreading it around.
A few problem areas deserve extra attention:
- Along body creases and panel edges, where wax residue likes to hide
- Near wheel openings and rocker panels, where road film sticks hard
- On Jeep hoods and flat truck panels, where people set bottles, rags, and detailing products
- Around badges, trim, and fuel doors, where old residue can bleed into the stripe path
If water beads tightly after cleaning, the surface may still have protection on it. Keep cleaning until the panel feels bare and consistent.
What to skip
Most pinstripe installs on factory paint do not need sanding or gloss reduction. I would not tell a first-time installer to touch good clear coat with 800-grit paper for a standard decal stripe. That creates its own risk, and on a visible panel, the cure can be worse than the problem.
Save abrasion work for specialty situations, failed repaints, or damaged surfaces that need body-shop-level correction before any vinyl goes on. For normal factory paint in good shape, thorough cleaning and temperature control do the heavy lifting.
If the panel still feels slick from wax, dusty from sanding nearby, or warm from direct sun, wait and fix that first.
Prep mistakes that cause the trouble later
These are the ones I see over and over:
- Using household glass cleaners or all-purpose cleaners that leave residue behind
- Cleaning with dirty microfiber towels loaded with lint or grit
- Installing right after waxing or ceramic spray use
- Working outside in wind, where dust lands on the adhesive or the wet panel
- Ignoring textured plastic trim and trying to run a stripe partly onto it
- Starting on a hot hood or cold garage door-side panel without checking surface temperature
Good prep does not feel exciting, but it is what gives a stripe that clean, factory-looking finish. Get the panel clean, get the temperature under control, and have the right tools within reach before you start. That is how you avoid the small mistakes that turn into lifted ends, trapped dirt, and a stripe that never quite looks right.
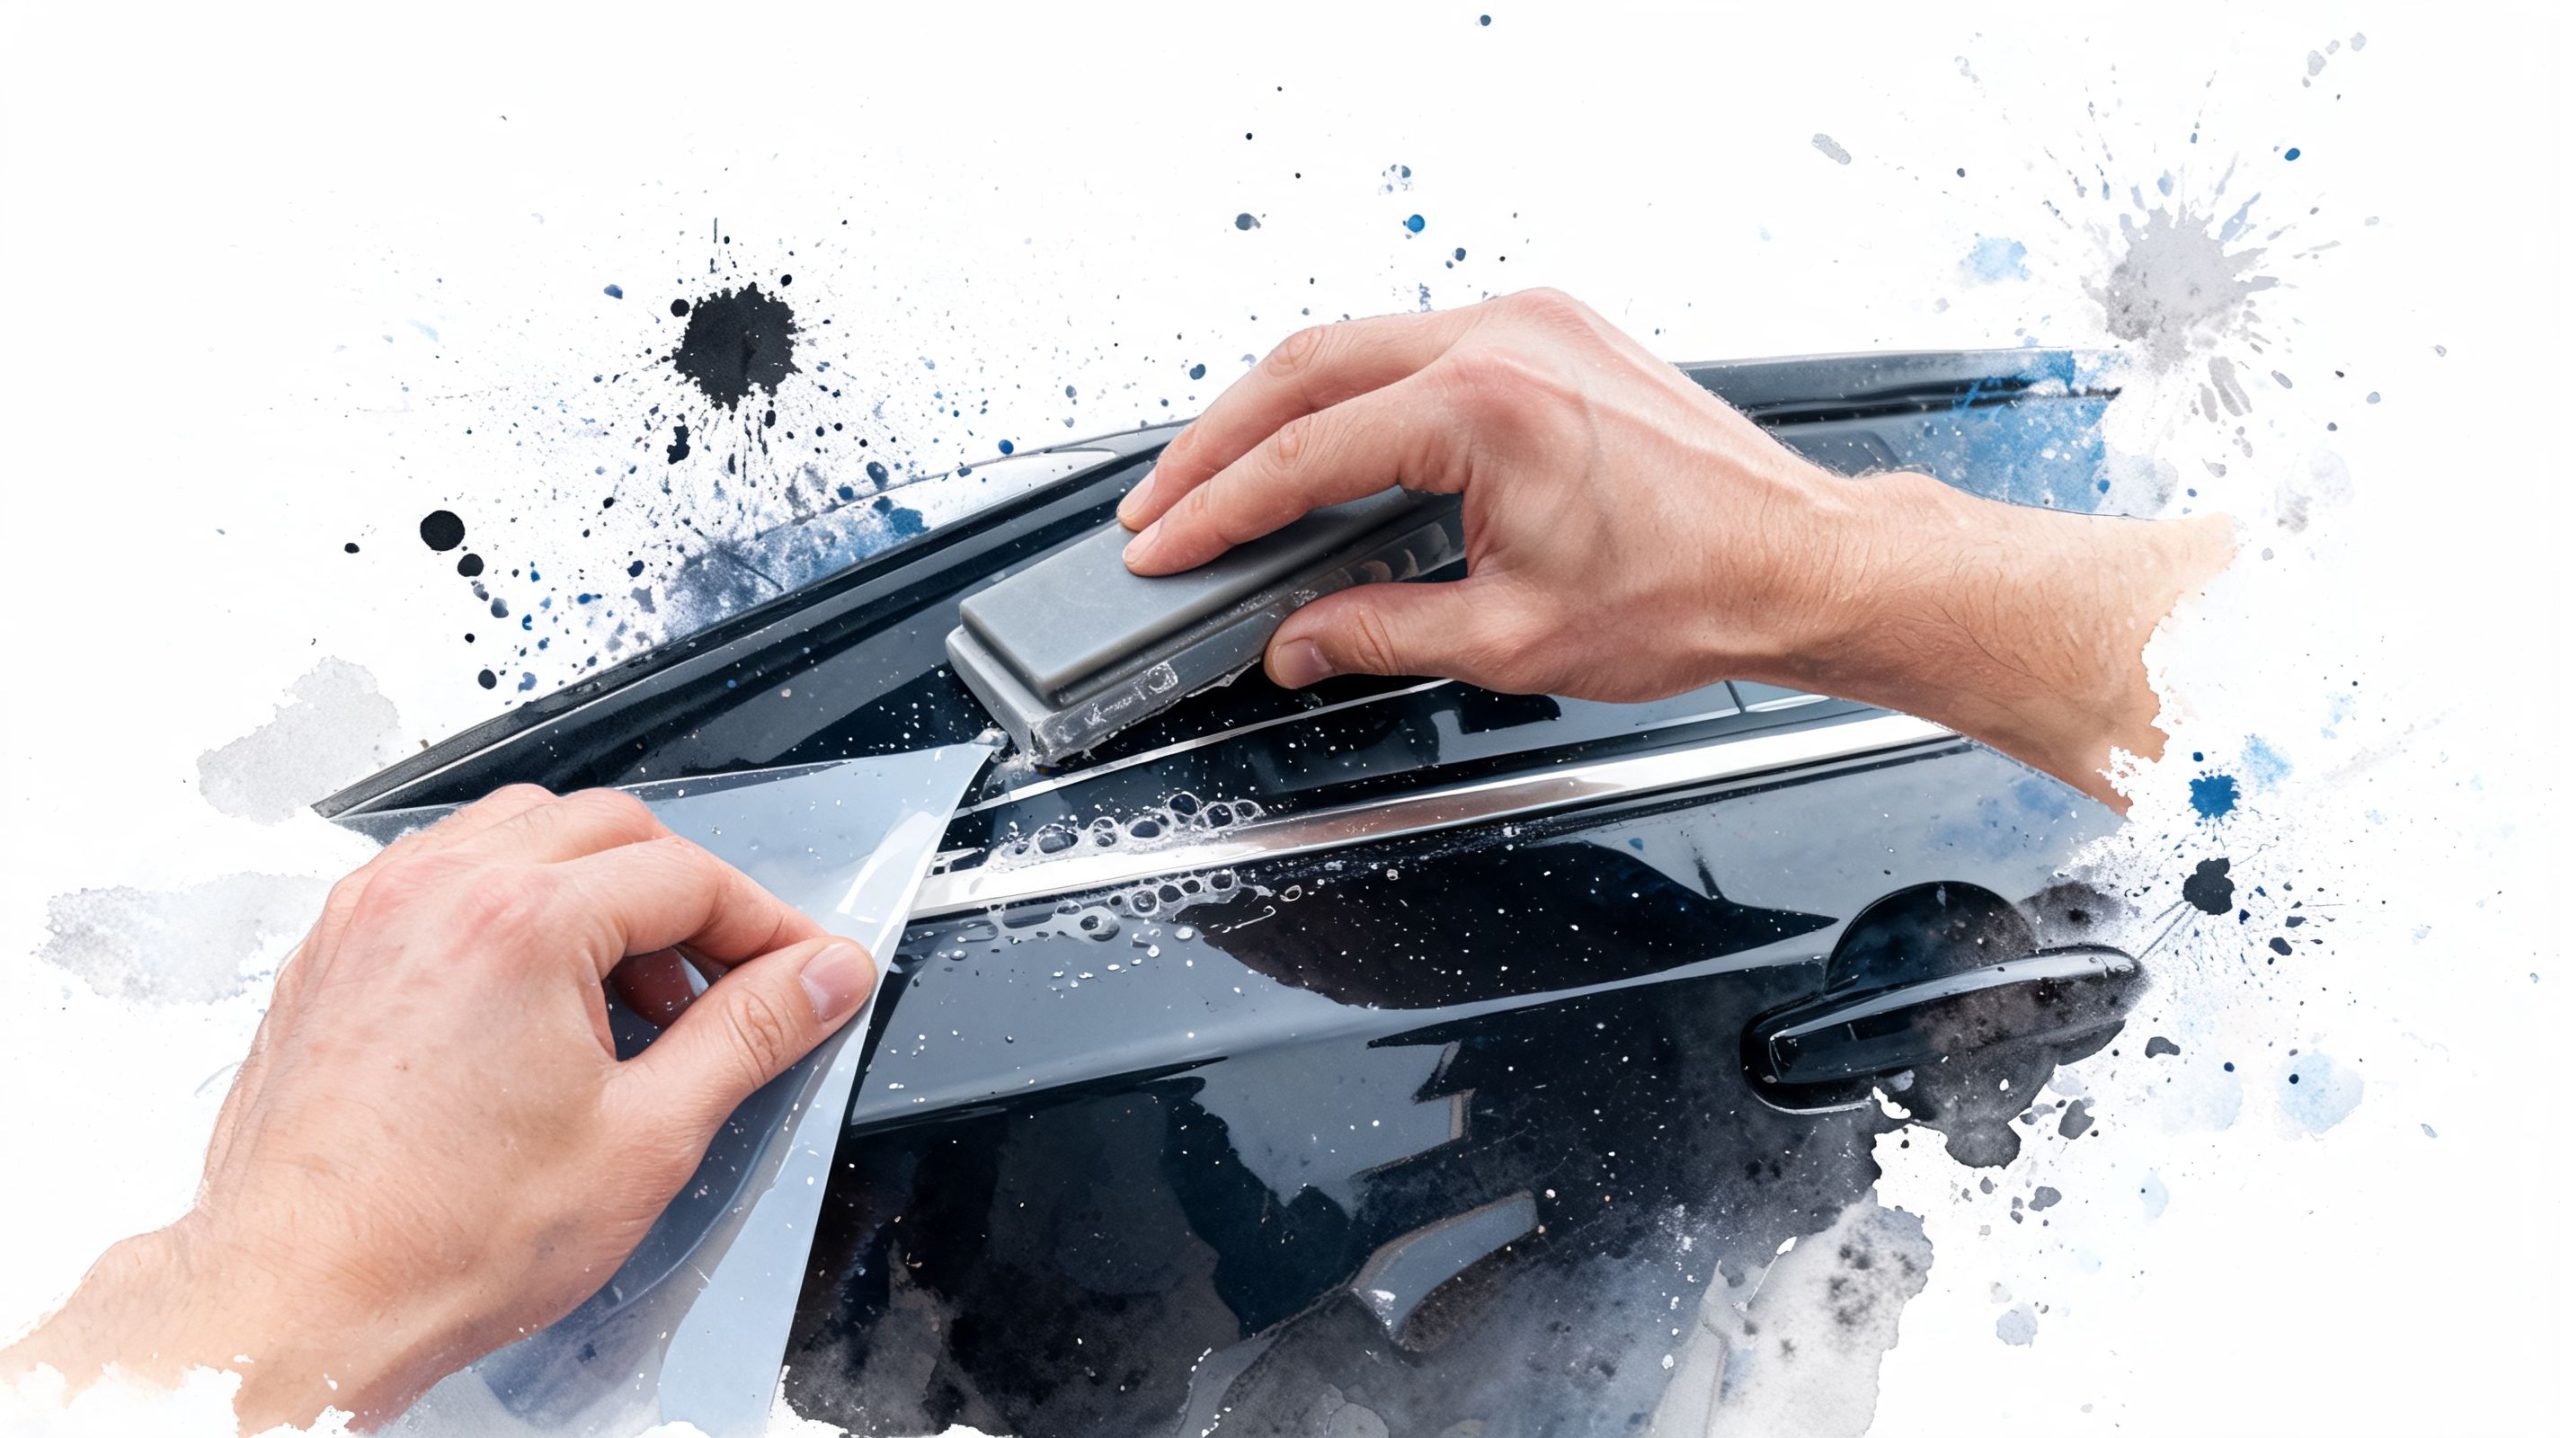
The Complete Decal Installation Technique
A pinstripe usually goes wrong in the first few inches. The stripe grabs too soon, gets tugged back into line, and that small stretch shows up later as a lifted tip, a crooked run, or a wrinkle that never fully relaxes. After installing these on everything from half-ton pickups to Wrangler hoods, I can tell you the clean jobs come from a calm sequence and controlled pressure.
For long stripes, especially on trucks and Jeeps, I like a wet install because it gives you a little working time. That matters on modern clear coat, where the vinyl can bite fast if the panel is dry and warm. On a short decal or a small accent stripe, dry application can work fine. On a long bedside stripe, wet application is usually more forgiving for a first-time installer.
Why wet application works so well
Long vinyl stripes have a habit of locking down before you are ready. Once that happens, people start pulling, and pulling creates tension. Tension is what causes many of the failures I see a few days later.
A light mist on the panel and adhesive side lets the stripe settle into place instead of sticking hard the instant it touches. You can line it up to your tape marks, square the ends, and start squeegeeing in a planned pattern instead of fighting the material.
This approach helps most on full-length side stripes, hood graphics, and stripes that cross long panels where even a slight wander becomes obvious.
The hinge method step by step
The hinge method keeps your alignment intact while you work one section at a time.
Dry-fit the stripe first
Hold the decal in place over your layout marks and check the line from several angles. Step back. A stripe that looks straight from two feet away can look off from twenty.Tape a hinge in place
Add masking tape across the stripe at the midpoint, or run a top hinge along the length if the decal is narrow and manageable. The goal is to keep the stripe registered while you peel the liner.Peel the backing paper slowly
Start on one side of the hinge and separate the liner without letting the vinyl curl back onto itself. If it starts folding, stop and reset your grip.Mist the panel and adhesive side
Spray the area that will receive the stripe and lightly wet the adhesive side. You want enough slip to position the decal, not so much fluid that it swims around for ten minutes.Lay the stripe down with no tension
Let the vinyl fall onto the surface. Line follows layout. Hands should guide it, not stretch it.Squeegee from the center out
Use overlapping strokes with firm, even pressure. Push fluid and air toward the nearest edge in an orderly pattern.Finish the second half
Remove the hinge tape once the first side is holding its position, then repeat the same process on the remaining section.
If the squeegee chatters, something is off. Check for grit under the edge, too little slip, or a pressure angle that is too steep.
How to squeegee without creating problems
Squeegee pressure makes or breaks the finish. Too light, and fluid stays trapped. Too hard, and the stripe shifts or distorts.
Keep the tool at a moderate angle and overlap each pass. On a straight stripe, I start with one firm pass down the center to anchor it, then work outward. On curved sections, I shorten the stroke length and slow down. That keeps the vinyl from bunching or thinning at the outside edge of the curve.
Trucks and Jeeps need extra attention here. Bedside panels are long enough to magnify a small drift, and Jeep hoods often have contours or washer nozzles that tempt people to force the vinyl. Work those areas in short sections and keep checking the visual line.
Transfer tape removal
This part ruins plenty of decent installs. If the transfer tape comes off too soon, it can pull the stripe right back up.
Wait until the decal has set enough to stay put. Then peel the transfer tape back low and slow, folding it over itself instead of lifting straight out from the panel. If the vinyl starts coming with it, lay the tape back down and squeegee that spot again before trying another pass.
A visual walkthrough can help if you’re more hands-on than text-driven:
Curves, body breaks, and panel changes
Curves expose rushed technique fast. The stripe has to settle around the shape in stages.
On fenders, hood bulges, and bedside transitions, use short controlled squeegee passes and keep an eye on both edges of the stripe, not just the top one. If one edge starts to narrow, you are stretching it. Stop and reset before that distortion gets locked in.
For body breaks, press the vinyl into the contour a little at a time. Do not try to bridge the shape in one long stroke. That is how you end up with silvering, trapped air, or an edge that wants to stand back up later.
Final cure and aftercare
Once the stripe is down and the transfer tape is off, leave it alone and let the adhesive build its bond. Give it about 24 hours before washing. Skip high-pressure washing for the first week, especially on the leading edges.
A few damp-looking spots can remain after installation. That is usually leftover application fluid working its way out. If the stripe is straight, the edges are seated, and nothing is lifting, patience is the right move.
A good install looks settled. The line stays true, the edges sit flat, and the vinyl follows the panel without looking stretched to get there.
Troubleshooting Common Pinstripe Problems
Even a careful install can throw you a surprise. A small bubble shows up after the tape comes off. One edge doesn’t want to sit down. A curve looks slightly tense. None of that means the whole job is ruined.
The key is knowing which problems are cosmetic, which are fixable on the spot, and which ones trace back to technique.
Small bubbles
Tiny bubbles are common, especially on a first install. If they’re mostly application fluid, leave them alone for a bit and let the decal settle.
If a small trapped air bubble remains after the stripe has set, use the pin-prick method carefully. Make the smallest opening you can at the edge of the bubble or in a discreet spot, then press the air out with a fingertip or soft squeegee pressure. Don’t jab the vinyl repeatedly. One clean release point is enough.
Wrinkles and light distortion
A minor wrinkle near an edge can sometimes be improved with gentle pressure and patience. The important thing is not to chase it aggressively and make the stripe worse.
If the wrinkle came from stretching, the vinyl often tells on itself. The line may look slightly thin, tense, or unwilling to relax on the panel. In that case, forcing it usually creates a more obvious flaw.
Edges that won’t stay down
When an edge lifts, there’s usually a reason:
- The panel wasn’t fully prepped
- The surface temperature wasn’t right
- Too much tension was introduced during installation
- Fluid remained trapped at the edge
Dry the area, apply firm pressure, and give it time if the issue is minor. If the edge keeps fighting you, look back at prep and tension before assuming the material is bad.
Curved body lines are the real test
This is one of the least explained parts of DIY pinstriping. Pinstripes are easy to buy, but there’s minimal accessible guidance on applying them over curved body lines, and using masking tape as a preliminary guide for curves is one of the most useful techniques missing from many mainstream how-to pages, as noted in this discussion of pinstripe decal installation gaps.
That missing step matters because curves fool the eye. A stripe can be technically attached and still look wrong if the path wasn’t mapped first. On trucks with wheel-arch transitions, on SUVs with rising beltlines, and on Jeeps with abrupt panel changes, the masking tape preview does more than mark location. It reveals whether the line looks natural before the decal ever touches paint.
Most “difficult decals” aren’t actually difficult. They were just applied without a visual guide on a difficult panel.
Avoid these three mistakes: applying on a curve without a tape preview, stretching the stripe to make it fit, and trying to fix poor surface prep during installation.
If you approach problems calmly, most of them stay small. The worst fixes usually happen when people panic and start pulling, rubbing, or reworking areas that only needed time and a lighter touch.
Frequently Asked Questions About Decal Pinstripes
Can I remove old decal pinstripes without hurting the paint
Usually, yes. Work slowly, use moderate heat if needed, and avoid scraping with anything hard. Older stripes that have baked on for years can leave adhesive residue or slight ghosting, especially if the surrounding paint faded differently over time.
Will decal pinstripes stick to ceramic-coated paint
That depends on the condition of the surface and whether the coating has been properly removed from the install area. In general, vinyl needs a clean surface it can bond to. If the panel is still slick with coating residue, adhesion can suffer.
Can I install a pinstripe over PPF
It’s possible in some cases, but it’s more finicky than installing on bare painted clear coat. The film surface, edge profile, and condition of the PPF all matter. If your vehicle already has protective film and you’re unsure how graphics interact with it, resources like the Galhor Inc. bumper FAQ are useful for understanding how accessory materials behave around protected vehicle surfaces.
How long do decal pinstripes for cars last
With proper care and good material, modern professional-grade vinyl such as Oracal is rated for five to seven years outdoors, as noted earlier in the article. Real-world life depends on storage, washing habits, sun exposure, and how well the stripe was installed in the first place.
When can I wash the vehicle after installation
Wait for the full cure window discussed earlier. Hand washing is the safer first wash. Be cautious around the stripe edges, and hold off on high-pressure washing until the adhesive has had time to set properly.
Are automatic car washes safe
Touchless is generally less risky than aggressive brush-style washes, but any wash that pounds the edges before the decal is fully settled can shorten its life. If you want your stripes to stay crisp, gentle washing is always the safer habit.
If you want decal pinstripes that are cut clean, made from professional-grade vinyl, and shipped ready for a smooth install, take a look at Custom Sticker Shop. They’re a family-run, veteran-friendly shop in Topeka, Kansas, making American-made decals since 2001 with a wide range of car, truck, and Jeep graphics designed to help your vehicle stand out without looking overdone.