
Car memorial decals are a way to carry the memory of a loved one, veteran, or even a cherished pet with you on every drive. These aren't just stickers; they're deeply personal tributes, often featuring names, dates, and symbols like angel wings or custom images that tell a story about a life well-lived. They turn a car into a quiet, moving monument, keeping a legacy on the road.
Turning Your Vehicle Into a Moving Tribute
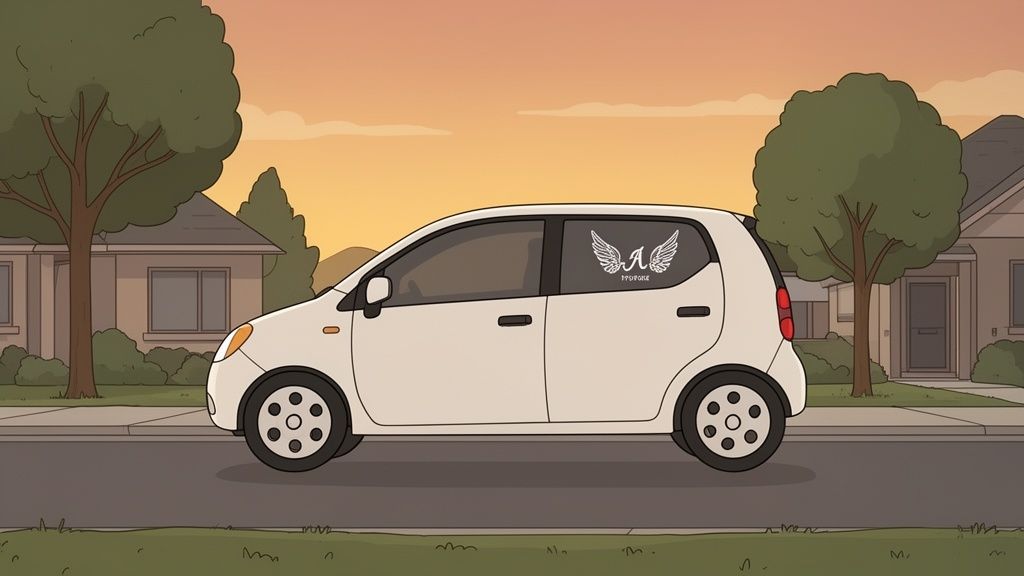
Placing a tribute on your vehicle is a powerful, personal choice. It's a way to keep a memory alive that doesn't just sit on a shelf but travels with you, turning your daily commute into a quiet moment of reflection. For so many of our customers, a car memorial decal is much more than vinyl—it's a public display of love, respect, and a connection that never fades.
This has become one of the most meaningful ways for people to honor family, friends, and fallen heroes. It's part of a much larger trend of vehicle personalization, and it's growing for a reason. The global market for vehicle decals hit USD 2.5 billion in 2024 and is expected to climb to USD 4.5 billion by 2034. You can see the full analysis on Emergen Research.
Why a Decal Becomes a Statement
When you put a memorial on your car, you create a unique and visible bond. It's a tribute that moves through the world, sharing a small piece of a cherished story with everyone who sees it. These decals serve a few important roles:
- A Public Honor: They make sure a life is seen and remembered, not forgotten.
- A Personal Anchor: For the driver, it's a constant, gentle reminder of the love you carry.
- A Shared Moment: It can create a silent nod of understanding with others who recognize the meaning behind it.
This guide is here to walk you through every step of creating a tribute that feels right. We'll get into how to choose a design that speaks to you, add the personal details that tell their story, and get it on your vehicle perfectly. It's all about making a tribute that is both beautiful and built to last.
A car memorial decal is a bridge between a cherished memory and the present moment. It allows you to carry a piece of their legacy with you on every journey, turning a simple drive into an act of honor.
Ultimately, this whole process is about finding a respectful way to express a feeling that words can't always capture. Whether it’s for a beloved grandparent, a fallen comrade-in-arms, or a four-legged friend, a well-chosen decal serves as a quiet, dignified monument on wheels. Let's get started on creating yours.
Finding a Design That Feels Right
The design is the heart of your memorial. It's what turns a piece of vinyl into a meaningful tribute that you’ll see every day. This choice is incredibly personal, so it's worth taking a moment to find an image that truly captures a piece of their spirit and brings you a sense of connection.
There are really two paths you can take here. Some people find comfort in classic, universal symbols of remembrance that everyone understands. Others prefer a design that tells a very specific story—something personal that only those who knew them would recognize. There's no wrong answer; it's about what feels right for you.
Timeless Symbols of Remembrance
Classic symbols are popular for a reason. They're elegant, powerful, and speak a universal language of love and loss. These designs offer a dignified and understated foundation for a car memorial decal.
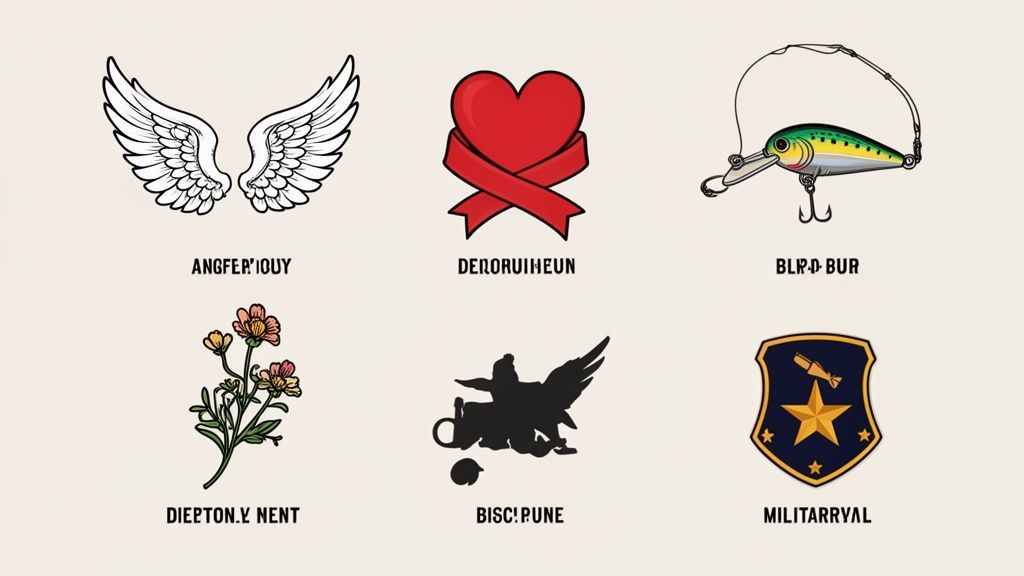
Some of the most common choices we see include:
- Angel Wings: These are by far one of the most beloved options. They represent protection and the comforting idea that your loved one is still watching over you.
- Hearts: Simple, direct, and powerful. A heart says everything it needs to about love and loss.
- Crosses and Doves: For those expressing Christian faith, these symbols of peace, hope, and eternal life add a deeply spiritual element to the tribute.
- Ribbons: A simple ribbon often signifies a courageous battle fought, whether against illness or another of life's challenges.
We often see these symbols paired with names and dates, like a name framed between a beautiful set of wings. Our popular In Memory Decal with Spreading Angel Wings is a perfect example of this classic style.
Designs for Fallen Heroes
Honoring a service member or first responder requires specific, respected imagery that speaks to their unique sacrifice. These car memorial decals serve as a public display of gratitude for a life dedicated to service. The symbols tied to these roles are steeped in meaning and tradition.
For a fallen hero, you might consider designs like:
- Military Branch Insignias: The official emblems for the Army, Navy, Air Force, Marines, or Coast Guard are a proud and direct way to honor their specific service.
- The Fallen Soldier Battle Cross: This solemn image of a rifle, helmet, and boots is one of the most revered memorial symbols in military culture.
- The Maltese Cross: Instantly recognizable as the definitive symbol for a firefighter, representing their bravery and commitment.
These designs don't just remember the individual; they honor the uniform they wore and the oath they upheld. It’s a powerful acknowledgment of their place within a larger brotherhood or sisterhood.
Creating a Truly Personal Tribute
Sometimes, the most moving memorials are the ones that capture a unique personality trait or a cherished hobby. This is where you can go beyond traditional symbols to create something that feels like an inside story between you and your loved one.
Think about what made them, them.
- For a dad who spent every weekend on the lake, a decal of a fishing lure or his boat would be perfect.
- A grandmother with a passion for gardening could be remembered with a decal of her favorite flower, like a lily or a rose.
- A friend who lived for music might be honored with a guitar, a treble clef, or even a line from a meaningful song.
If you're creating a custom decal, especially one using a photo or your own artwork, image quality is everything. The file needs to be sharp enough to look crisp when printed on vinyl. There's a great guide on understanding DPI and resolution for perfect prints that can help ensure your custom design translates perfectly.
The most powerful designs often come from the smallest, most specific details of a person's life. Don’t be afraid to choose a symbol that might not be universally understood, because its meaning to you is what matters most.
Whether you choose a classic symbol or something deeply personal, the right design will feel like an honest reflection of your memory. It's the one that brings a sense of peace and connection every time you see it.
Personalizing Your Decal to Tell Their Story
Once you have a basic idea for your decal, the next step is what makes it truly special: the personalization. This is where you move beyond a simple graphic and start telling a story—their story.
Every small choice, from the font style to a pop of color, helps paint a picture of who they were. These details aren't just for looks; they carry real emotional weight and set the tone for your tribute.
Choosing Fonts That Match Their Personality
A font does more than just spell out a name; it gives your tribute a voice. Think about the feeling you want to convey. Was your loved one graceful and gentle? A flowing script font might capture that elegance perfectly. Or were they a pillar of strength and resilience? A strong, bold block font can communicate that power.
- Script Fonts: These often feel personal and heartfelt, almost like handwriting. They’re a great choice for conveying love, grace, and a timeless connection.
- Block or Sans-Serif Fonts: Clean, modern, and easy to read from a distance, these project strength, stability, and clarity. We see them used often for honoring veterans and first responders.
- Old English or Gothic Fonts: These styles bring a sense of tradition, legacy, and reverence. They can give a memorial a formal, almost monumental feel.
Don't hesitate to mix styles. Pairing an elegant script for their name with a simple, clean font for the dates creates a nice visual contrast that’s both beautiful and easy to read. The goal is to pick a font that feels like it belongs to their memory.
Crafting the Perfect Message
The text is the heart of your memorial. It’s the most direct way to honor their life, giving a name and a timeline to the love you're expressing.
Names and Dates
The most powerful and common combination is their name along with their birth and passing dates. How you format it is a personal choice:
- Full Name: John R. Smith
- First Name or Nickname: Johnny
- Dates: 1950 – 2023 or 5/10/50 – 9/15/23
Meaningful Phrases
Beyond the basic details, a short phrase can add a profound layer of personal meaning. This is your chance to share a sentiment that truly captures your relationship.
A well-chosen phrase transforms a car memorial decal from a statement of loss into a declaration of enduring love. It's the line that speaks directly from your heart.
Many people choose classic, universal phrases like "Forever in Our Hearts," "Gone But Not Forgotten," or "Always With Us." These are beautiful and instantly understood.
But you can also get much more personal. Think about a line from a favorite song, a family motto, or an inside joke that only you two shared. A simple phrase like "Save me a dance" or "Until we fish again" can tell a story that is incredibly powerful and intimate.
If you’re looking to build a design from the ground up, learning how to make your own custom car sticker gives you total control over every element.
Adding Meaning with Color and Symbols
While most car memorial decals are white or silver for the best visibility on tinted windows, adding symbols or a touch of color can bring another layer of meaning. These choices help tell the story visually, reflecting their personality and passions in a way words alone can't.
This table shows how different elements work together to build a meaningful tribute.
Memorial Decal Customization Options and Their Impact
| Customization Element | Common Choices | What It Conveys |
|---|---|---|
| Font Style | Script, Block, Decorative | Script: Elegance, grace, a personal touch. Block: Strength, stability, clarity. Decorative: Tradition, uniqueness. |
| Personal Symbols | Wings, Crosses, Hearts, Fishing Hooks, Flags | Wings/Hearts: Love and spiritual presence. Crosses: Faith. Hobby Symbols: A passion for fishing, music, etc. Flags: Patriotism or service. |
| Color Choice | White, Silver, Blue, Red, Pink | White/Silver: Purity, peace, clarity. Blue: Calm, loyalty, heaven. Red: Love, passion, courage. Pink: Gentleness, compassion. |
Even a small pop of their favorite color—like a single blue heart in an otherwise white design—can be a subtle but incredibly powerful nod to who they were.
Ultimately, these thoughtful details are what make your car memorial decal a perfect and lasting tribute. It’s about combining these small elements to create something that feels just right.
Placing Your Decal for Visibility and Durability
Where you place your tribute is just as important as the design itself. The right spot makes sure your car memorial decal is seen clearly but is also protected from the elements, so it doesn't wear out before its time. It’s all about finding that perfect balance between visibility and longevity.
There’s no single “best” spot for every vehicle. You have to think about your specific car or truck, your daily driving conditions, and even the local weather. A decal that looks great on a sedan’s back glass might be a poor choice for a work truck with a tonneau cover that’s always getting opened and closed.
Finding the Sweet Spot on Your Vehicle
Most people automatically think of the rear window, and for good reason—it’s prime real estate. But other spots can be just as good, and sometimes, they’re even better for protecting the decal long-term.
Let's break down the most common locations and what you should know about each.
- The Rear Window: This is the go-to spot. It offers a big, flat surface that’s highly visible to other drivers. If you have tinted windows, a light-colored vinyl like white or silver really pops.
- The Side Quarter Glass: Those smaller, often triangular windows behind your rear passenger doors are a fantastic alternative. They’re less likely to get caked with road grime and are safely out of the path of a rear wiper blade.
- The Vehicle Body or Bumper: Applying a decal directly to your vehicle's paint is another great option, especially for opaque or full-color designs. It can create a seamless look, almost like it was painted on from the factory.
Think through your vehicle’s specific features before you decide. For instance, if you have a truck with a sliding rear window, you absolutely need to place the decal on one of the stationary glass panels to keep it from getting ripped or torn. Large designs, like a vinyl windshield banner, really highlight how different parts of a vehicle are suited for specific types of decals.
Critical Placement Tips to Avoid Problems
Over the years, I've seen a few simple mistakes that can ruin a perfectly good decal. Taking a few extra minutes to prep can make all the difference in how it looks and how long it lasts.
1. Avoid the Wiper Path
This is the number one rule for rear window decals. The friction from a wiper blade will absolutely shred your decal over time. Before you even peel the backing, run your wipers once to see their exact path and make sure you place your tribute safely outside of that zone.
2. Measure Twice, Apply Once
Don't just eyeball it. You’ll regret it. Grab a tape measure to find the true center of the area and use a small piece of painter's tape or a dry-erase marker to mark your spot. A level and centered decal looks professional; a crooked one just looks sloppy.
3. Consider the Surface Curve
Perfectly flat surfaces are the easiest, but let's be honest, most cars have curves. If you’re working with a curved window or body panel, a smaller design is usually much more forgiving and less likely to wrinkle or bubble during application.
Using cars to express what matters to us isn't new. Major events like the AIDS crisis and 9/11 brought memorial ribbons and flag decals to the forefront, but today's vinyl technology has made these tributes more durable and accessible than ever. The car decal market, valued at $1.3 billion in 2024, is expected to grow to $3 billion by 2034, fueled by this deep-seated desire for personalization. Thousands of these meaningful decals are shipped across the U.S., turning everyday vehicles into mobile monuments. You can explore more on these market trends at Cognitive Market Research.
Legal and Safety Considerations
Finally, and this is crucial, you have to make sure your decal placement is legal. Obstructing your line of sight isn't just dangerous—it's against the law in most places.
Key Takeaway: Safety always comes first. Never place a decal on the front windshield. On rear or side windows, make sure it doesn’t block your direct line of sight when checking mirrors or blind spots.
State laws on window obstructions can vary quite a bit. As a general rule, placing a decal in the lower or upper corners of the rear window or on the small side quarter windows is perfectly fine. A quick search for your state’s DMV rules on "vehicle window obstructions" will give you the clear guidelines you need to stay compliant and avoid any trouble.
How to Apply Your Decal for a Flawless Finish
This is the moment that counts. Applying your memorial decal correctly ensures it looks clean and professional, honoring the memory it represents. Don’t rush this part. With a bit of prep work and the right technique, you can get a bubble-free finish that lasts for years.
The single most important factor for a long-lasting decal is a perfectly clean surface. Any speck of dust, wax, or oil will keep the adhesive from bonding properly and can lead to peeling or bubbling down the road.
Preparing the Surface for Perfect Adhesion
Your first job is to create an absolutely pristine spot for the decal. This is non-negotiable for getting that professional look.
Start by washing the area with soap and water, then dry it completely with a lint-free cloth. Follow that up by wiping the entire surface with isopropyl (rubbing) alcohol on a clean cloth. The alcohol removes any invisible wax, grease, or residue that soap might miss.
Temperature is a bigger deal than most people think. For the best results, work in a garage or shaded area when the outside temperature is between 50°F and 90°F (10°C and 32°C). If it’s too hot, the vinyl can get stretchy; too cold, and it becomes brittle and won't stick well.
Let the alcohol flash off—it only takes a minute. You now have the ideal surface for your decal.
The Hinge Method: Your Secret to Perfect Alignment
For getting the placement just right, especially with designs that have dates and text, nothing beats the hinge method. It keeps the decal from sticking crookedly before you’re ready.
Here’s the process I use every time:
- Position and Measure: Leave the backing paper on and place the decal exactly where you want it. Use a tape measure to get it perfectly centered and level.
- Create the Hinge: Run a strip of painter's tape across the middle of the decal, sticking it firmly to the vehicle. This tape acts as your anchor point.
- Peel One Side: Lift one half of the decal toward the hinge and peel the backing paper off, stopping at the tape. Cut that piece of backing paper away.
- Squeegee Down: Hold the decal taught and use a squeegee (or a credit card wrapped in a soft cloth) to smooth that half down. Start from the center tape and work your way out with firm, overlapping strokes to force out any air.
By securing one half perfectly, you’ve eliminated most of the risk of messing up the alignment. These are the same skills the pros use for much larger jobs. For a deeper dive into professional application techniques, this complete guide to business window graphics has some great tips that translate well here.
Once the first side is down, remove the painter's tape. Now you can lift the other half, peel away the rest of the backing, and squeegee it down from the center outward.
Troubleshooting Common Application Hiccups
Even when you do everything right, a small issue might pop up. Don’t panic—they’re almost always an easy fix.
Small Air Bubbles: If you see a tiny bubble, resist the urge to peel the decal back up. Just take a pin or the tip of a craft knife and poke a tiny hole right in the middle of it. Use your finger to gently press the air out through the hole. It will be completely invisible.
Minor Wrinkles: For a small wrinkle that just happened, you can often gently lift that part of the vinyl and re-smooth it. If it’s already set, a little heat from a hairdryer will soften the vinyl, allowing you to work the wrinkle out with your finger.
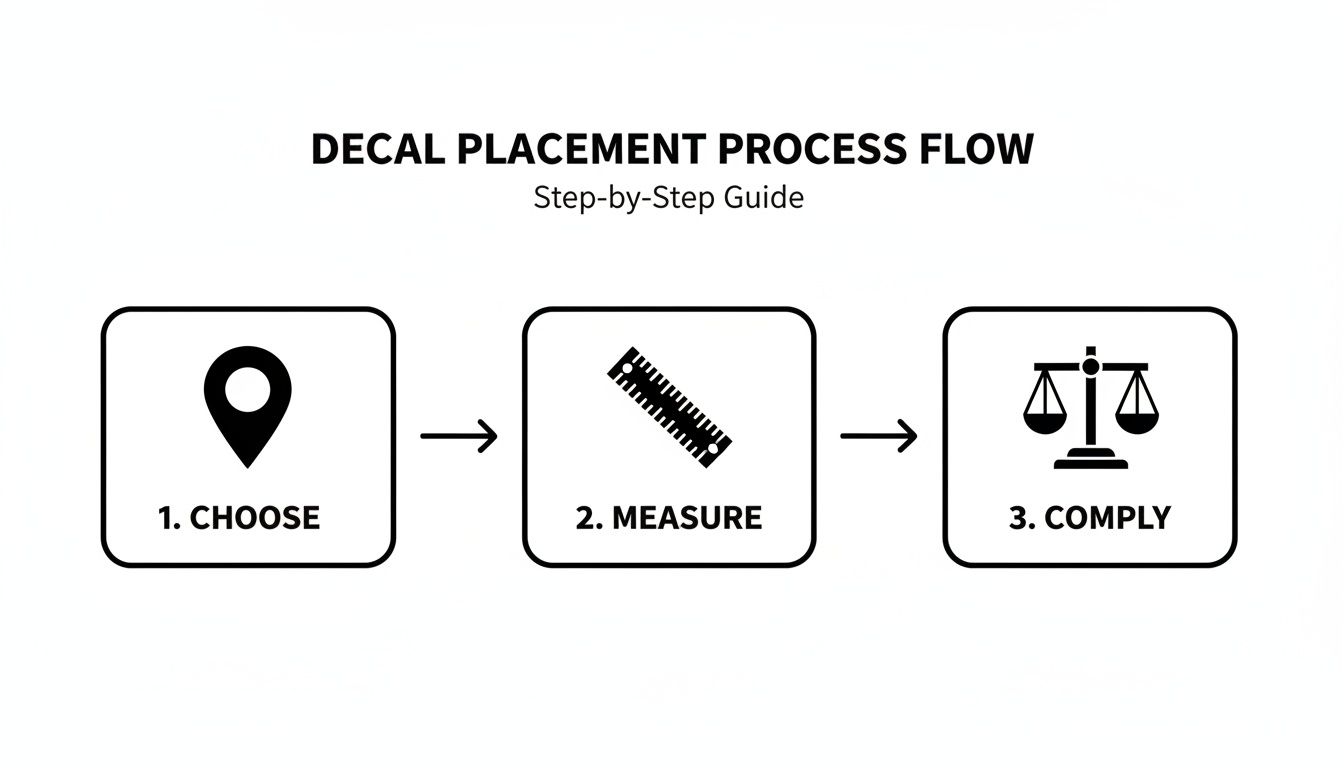
The infographic below shows the key planning steps to take before you even start applying the decal.
After you've squeegeed the entire decal flat, the final step is to slowly remove the clear transfer tape on top. Peel it back on itself at a sharp, 180-degree angle. If any part of the decal lifts, just press it back down and give the adhesive a little more time to grab.
Finally, let the decal cure. Don’t wash your vehicle for at least 48-72 hours to give the adhesive time to fully bond.
Common Questions About Car Memorial Decals
Choosing and applying a memorial decal is a personal journey, so it's only natural to have a few questions about the practical side of things. We get asked these all the time. Getting clear, straightforward answers helps you feel confident that you’re creating a lasting, respectful tribute.
Let's walk through the most common concerns we hear, from durability and car washes to legal placement and safe removal.
How Long Will My Car Memorial Decal Last?
This is usually the first question people ask. When you invest in a tribute, you want it to last. A high-quality vinyl decal, especially one made from professional-grade Oracal vinyl, is engineered specifically for the outdoors. You can absolutely expect it to last seven years or more under normal driving conditions.
Of course, a few things can affect its lifespan. Constant, intense sun like you see in Arizona or Florida can be tough on anything, and harsh winters with road salt and ice can also play a role.
To get the most life out of your decal, placement is key. I always tell folks to avoid the direct path of a windshield wiper. That constant friction will wear it down over time. A little bit of care goes a long way in keeping your tribute clear and vibrant for years.
Is It Safe to Go Through a Car Wash with a Decal?
Yes, but with a little caution, especially right after you first apply it. After you put the decal on, you need to let it "cure" for at least 48 to 72 hours. This waiting period gives the adhesive time to fully bond with the surface. Don't rush it.
Once it's fully cured, it can handle most automated car washes. However, I’d strongly advise against the "touchless" or high-pressure spray washes. Those powerful water jets can sometimes sneak under the edge of the vinyl and cause it to lift.
The safest bet for a car with a memorial decal is either a gentle, soft-cloth automated wash or, even better, a careful hand wash.
When washing by hand, just use a soft sponge and soapy water around the decal itself. You never want to scrub it directly with an abrasive brush. This small habit is the best way to keep your tribute looking pristine and ensure it stays exactly where you placed it.
Can I Remove a Memorial Decal Without Damaging My Car?
Absolutely. Removing a vinyl decal from either car paint or glass is a common and completely safe process, as long as you do it the right way. The whole key is patience and using a little bit of gentle heat to soften the adhesive so it releases cleanly.
The trick is to warm the decal with a hairdryer on a low or medium setting. Keep the hairdryer moving a few inches from the surface—you're not trying to cook it, just make it warm and pliable.
Once it's warm, you can usually lift a corner with your fingernail or a plastic scraper (never use metal on your paint!). From there, slowly peel the decal off at a sharp, low angle. Pulling it back on itself, rather than straight up, puts a lot less stress on the surface underneath.
If any sticky residue is left behind, don't scrub it. A little isopropyl alcohol or a dedicated adhesive remover like Goo Gone on a soft microfiber cloth will dissolve it easily. Just give the area a quick wash with soap and water afterward to clean off any remaining solvent.
Are There Laws About Where to Place Decals on Windows?
Yes, and these rules are really important to follow for safety. The exact regulations can vary by state, or even by city, so it’s always a smart move to check your local guidelines.
As a universal rule, you should never place any decal on the front windshield in a way that obstructs the driver's line of sight. The same goes for the front side windows. Your ability to see the road clearly has to come first.
For rear and side windows, the rules are usually more relaxed, but there can still be restrictions. Most states have specific regulations about the size and placement of stickers, often limiting them to the lower corners to make sure you have a clear view through your rearview mirror.
A quick search for your local DMV's guidelines on "vehicle window obstructions" will give you the specific information you need. Following these rules ensures your tribute is both respectful and fully compliant with the law.
Ready to create a lasting tribute? At Custom Sticker Shop, we offer over 1,200 American-made designs, including military, family, and custom text options, crafted from durable Oracal vinyl. Find the perfect design or create your own at https://customstickershop.us.