
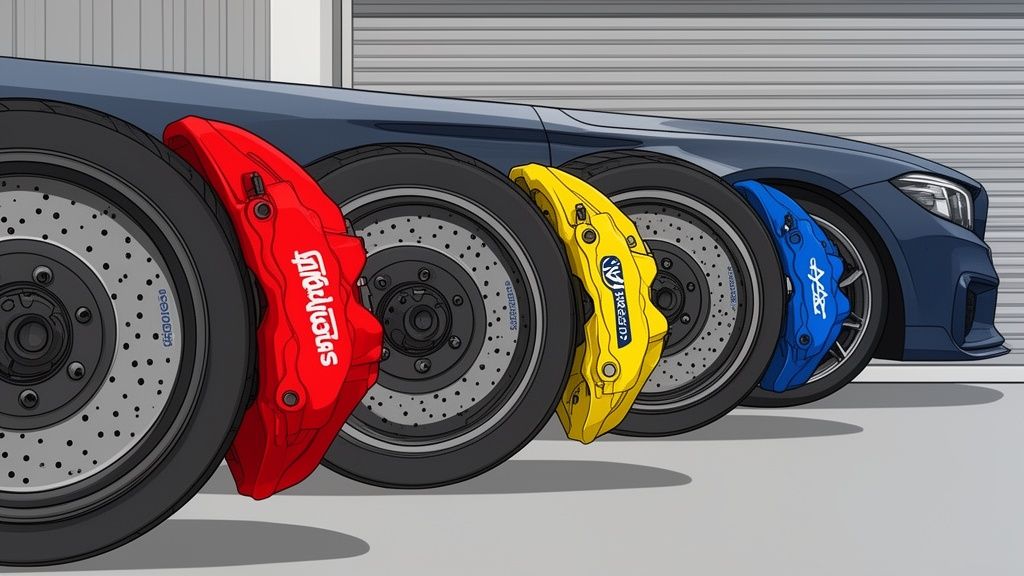
You know the look—that pop of color behind a set of custom wheels that just screams performance. Brake caliper decals are one of the best, most affordable ways to get that high-end, big-brake-kit look without shelling out thousands for the hardware. These are tough, heat-resistant vinyl graphics made to stick directly to your painted calipers, giving your ride an instant, personalized touch.
For any car enthusiast, it's a small mod that makes a huge visual impact.
More Than Just Paint: The Caliper Decal Boom
Customizing brake calipers isn't some new fad—it’s a style with deep roots in car culture. What started as a niche mod for hardcore enthusiasts has exploded into a go-to for anyone looking to add a personal signature to their vehicle. It’s a small detail that can completely change the vibe of your wheels, drawing the eye and hinting at the performance that lies within.
The real shift happened back in the early 2000s when the tuner and JDM import scene was taking over American roads. Suddenly, brake caliper decals became a must-have for anyone who wanted that pro-level look without the pro-level price tag of a full brake conversion. By 2005, forums were lighting up with DIY guides, and our early high-temp Chevrolet caliper sticker sets—made right here in the USA—were flying off the shelves. In fact, some of the pioneering sellers shipped over 50,000 units by 2010 alone. You can check out more on the history of these mods at RGDecals.com.
Why Caliper Decals Became a Go-To Mod
This trend caught fire for a few simple reasons. It was accessible, it was affordable, and the visual payoff was massive. Instead of a complex mechanical job, you could get a race-inspired look right in your own garage.
- Affordable Aesthetics: For a fraction of the cost of a Brembo or Wilwood brake kit, you could get that same colorful, branded style.
- Easy Personalization: With an endless variety of colors, logos, and custom text, drivers could perfectly match their car's theme.
- DIY-Friendly: Unlike a brake swap, applying a decal is a project most enthusiasts can nail over a weekend and get fantastic results.
The real beauty of brake caliper decals is their simplicity. They empower every car owner to add a signature detail that was once reserved for top-tier performance vehicles.
What really changed the game was the advancement in materials. The introduction of durable, high-temperature cast vinyl like the Oracal 751 and 951 series was huge. This stuff was engineered to live in the harsh environment of a wheel well—surviving intense heat, brake dust, and road grime for years without losing its color or adhesion.
As a veteran-run business that's been in the game since 2001, we’ve seen firsthand how quality, American-made materials deliver a professional finish that actually lasts.
Picking The Perfect Decals For Your Calipers
Before you jump into the application, getting the right brake caliper decals stickers is half the battle. This really comes down to three things: getting your measurements right, choosing the correct material, and landing on a design that fits your car's style. If you nail these three steps, you're setting yourself up for a professional-looking install that will actually last.
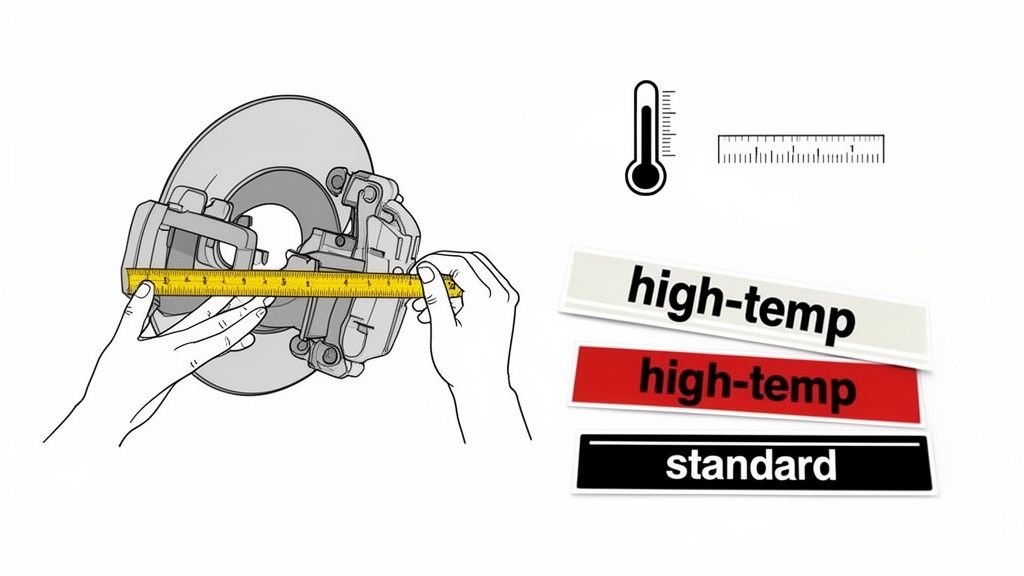
First things first, grab a tape measure or a simple ruler. You need to find the flat, smooth part of your caliper face—this is where the decal is going to live. Measure the length and height of that available space.
Here's the golden rule we tell every customer: always leave a little wiggle room. If you measure a flat area that's 4 inches long, don't order a 4-inch decal. Go for something like 3.75 inches. This ensures the entire sticker sits cleanly on the flat surface, so you don't have edges trying to peel up over curves or textured parts of the caliper.
High-Temp Vinyl Isn't A Suggestion—It's A Requirement
Let's be clear: not all vinyl is the same. When it comes to brake calipers, heat resistance is everything. Your brakes can get incredibly hot, hot enough to make standard craft vinyl shrink, bubble, or completely peel off in a matter of days. This is why you absolutely must use a high-temperature cast vinyl.
We only work with premium Oracal 751/951 series vinyl for our caliper decals. This stuff is engineered for extreme environments and has a temperature rating that can handle the heat from aggressive driving. It’s built to survive outdoors for up to 7 years, fighting off brake dust, road grime, and weekly car washes without fading or failing.
This is a world away from cheap, calendared vinyl you might find elsewhere online. That material simply isn't made for high-heat applications and will fail, guaranteed. Spending a little more on the right material upfront will save you the massive headache of having to scrape off a melted mess and do the whole job over again. If you're looking to add graphics to other parts of your car, you can explore how to make your own custom sticker for surfaces that aren't so demanding.
Finding Your Finish: Choosing The Right Vinyl Look
The vinyl finish you choose plays a huge role in the final look. A glossy decal pops differently than a matte one, and metallic finishes can either look high-end or out of place depending on your wheels and paint. Here’s a quick breakdown to help you decide.
| Vinyl Finish Comparison For Caliper Decals |
| :— | :— | :— | :— |
| Finish Type | Appearance | Best For | Pro Tip |
| Gloss | Shiny, reflective, almost "wet" look. | Making colors pop. Perfect for replicating OEM looks on performance cars. | Glossy white and black are classics. They offer high contrast and look clean on any caliper color. |
| Matte | Flat, non-reflective, modern finish. | A subtle, understated, or "stealth" look. Great for black-on-black or monochrome themes. | Matte black is extremely popular for a modern, aggressive style. It hides minor surface imperfections well. |
| Satin | A subtle sheen, between matte and gloss. | A premium, elegant appearance that isn't as loud as full gloss. | Satin silver or gray can mimic the look of etched or cast metal branding found on high-end calipers. |
| Metallic | Contains metal flakes for a sparkling effect. | Matching metallic paint jobs or adding a custom flair. | Use sparingly. A metallic logo on a solid-color caliper can look great, but avoid pairing it with metallic-painted calipers. |
Ultimately, the best finish is the one that complements your car's overall theme. For a factory performance look, gloss is usually the safe bet. For something more custom and modern, you can't go wrong with matte.
Finding Your Style: From OEM Replicas To Custom Designs
With the technical details sorted, now you get to the fun part: picking a design. This whole trend of branding calipers really took off in the 2010s, turning a purely functional part into a style statement. When performance brands like Brembo became household names, the market for replica decals exploded. For example, after Chevrolet started putting Brembo logos on Camaros and Corvettes around 2012, an estimated 250,000 aftermarket versions were sold by 2020. It just goes to show how much drivers want that high-performance look without the high-performance price tag.
When you're browsing for a design, you'll generally find these options:
- OEM-Style Logos: The most popular choice. Replicate the branding of performance brake companies like Brembo or Wilwood, or go with your car's own performance division (TRD, M-Sport, ST, etc.).
- Custom Text: A great way to make it truly your own. Add your car's model name, a build nickname, or a personal catchphrase.
- Graphic Emblems: Simple symbols or logos from our catalog that let you add a bit of personal flair beyond just text.
By taking the time to measure carefully, insisting on high-temp vinyl, and choosing a design you genuinely love, you’re on the right track for a caliper upgrade that looks amazing and holds up for years.
Prepping Calipers For A Flawless Finish
Let's get one thing straight: a killer decal finish is 90% preparation and only 10% application. If you want your brake caliper decals to look like they were done by a pro and actually last, you can't cut corners on the prep work. The entire goal is to give the vinyl’s adhesive a perfectly clean, smooth surface to grab onto for good.
Think of it this way—slapping a decal on a dirty caliper is like trying to put a screen protector on a dusty phone. Every single speck of brake dust, grease, or road grime you leave behind becomes a failure point. It's where a bubble will form or where the decal will inevitably start to lift and peel. Patience here is your best friend.
The Essential Toolkit For Caliper Cleaning
Getting the surface ready isn't rocket science, but you need the right tools for the job. Don't even think about using household cleaners; they just won't stand a chance against baked-on brake dust and road oils.
Here’s what you absolutely need to have on hand:
- A strong degreaser: This is your first line of attack. A quality automotive degreaser will break down the nasty layers of grease and brake dust that build up on calipers.
- Brake cleaner: After you degrease, a good spray-on brake cleaner blasts away any leftover gunk and evaporates fast, leaving zero residue behind.
- Isopropyl alcohol (IPA): This is the final, most critical cleaning step. A thorough wipe-down with 70% or higher IPA gets rid of any remaining oils or fingerprints, leaving the surface surgically clean.
- Stiff-bristled brushes: You'll need a few of these to get into the nooks and crannies of the caliper and scrub away stubborn grime.
- Lint-free cloths or shop towels: Using old, fuzzy rags will just re-contaminate the surface. Stick with lint-free material for that final wipe.
To Paint Or Not To Paint
This question comes up all the time. If your calipers are already painted and the finish is in great shape—smooth, no chips, no peeling—you’re good to go. Just move on to the cleaning steps.
However, if your calipers are bare metal, showing rust, or have a flaking, nasty finish, you have to deal with that first. Applying a decal over a failing surface is a guarantee that the decal will fail right along with it.
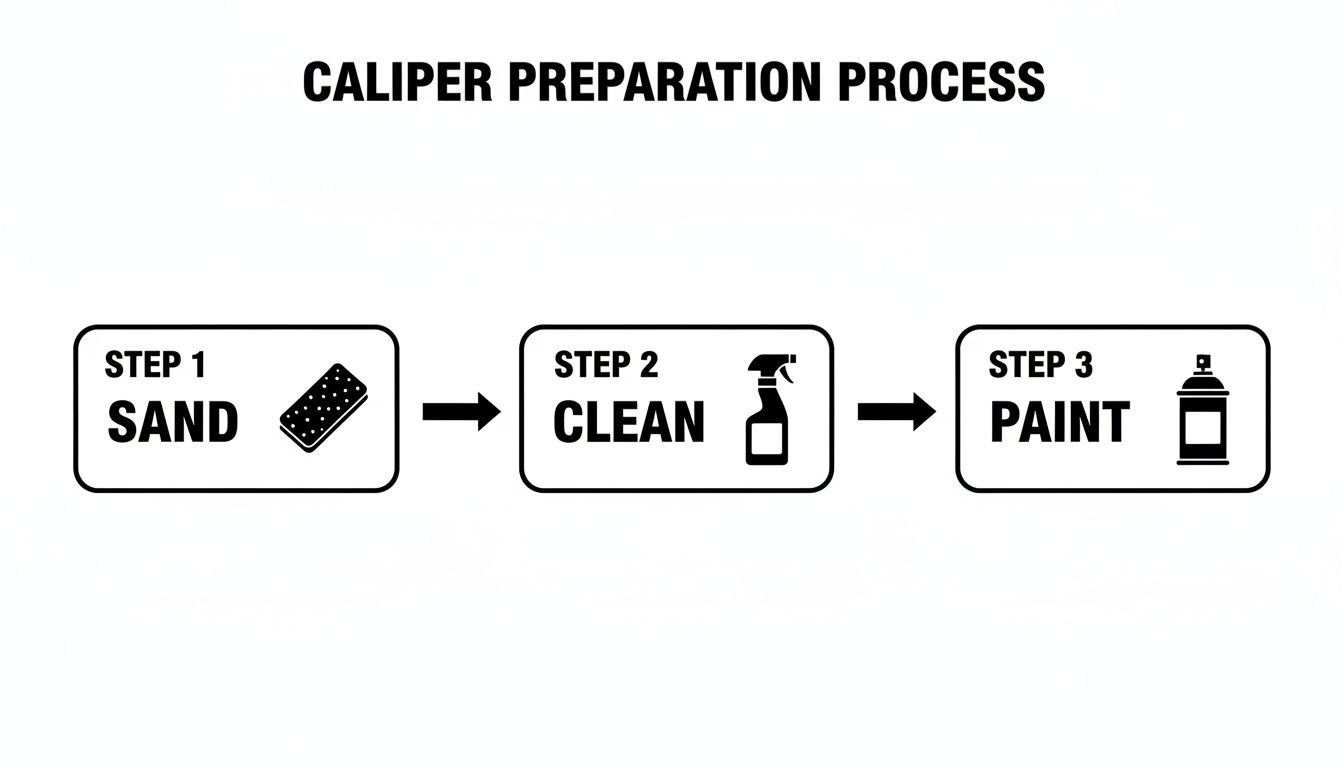
For a truly flawless finish that ensures decals adhere perfectly, meticulous surface preparation is key. This often includes sanding the caliper surface, and understanding how to use the proper sandpaper is crucial. A light scuffing with 220-grit sandpaper will give the new paint a textured surface to grab onto, creating a much stronger bond.
After sanding, hit the calipers with a few light coats of a high-temperature caliper paint. This isn't just regular spray paint; it’s specifically made to handle the extreme heat your brakes produce. It creates a durable, smooth canvas for your new brake caliper decals and protects the caliper from future corrosion. Make sure you let the paint fully cure according to the can's instructions—rushing this step will ruin both your paint job and your new decal.
How To Apply Brake Caliper Stickers Like A Pro
Alright, your calipers are prepped, painted, and looking sharp. Now comes the moment of truth—applying your new brake caliper decals. This is where the whole project comes together and your vision becomes a reality.
When it comes to laying down vinyl, there are really two schools of thought: the "wet method" and the "dry method." Each has its place, and the right one for you really depends on your confidence level and the decal you're working with.
The dry method is quick and clean, but it's a one-shot deal. Once that adhesive touches the paint, it’s not moving. I find it works great for smaller, simple logos. The wet method, on the other hand, gives you a safety net. It lets you slide the decal around until it's perfect, making it a much safer bet if you're new to this or working with a larger design.
The Wet Method For Perfect, Bubble-Free Placement
The wet application is a go-to for professional installers, and for good reason. It virtually eliminates the risk of trapped air bubbles and gives you a crucial window to get the placement just right. You're basically creating a slick surface that lets you float the decal into its final position.
All you need is a small spray bottle, water, and a tiny bit of dish soap.
- The Mix: Fill your spray bottle with water and add just one or two drops of a mild dish soap like Dawn. Seriously, that's it. Too much soap will kill the adhesive and you'll be starting over. Gently swirl it to mix.
- The Process: Lightly mist the surface of the caliper. Now, peel the paper backing off your decal and give the sticky side a quick mist, too.
- Position and Squeegee: Carefully lay the decal on the caliper. You’ll feel it glide on the thin film of water, allowing you to slide it into the perfect spot. Once you're happy, grab a felt-tipped squeegee and start pushing the water out from underneath. Work from the center outward with firm, overlapping strokes to lock it down.
After squeegeeing, you have to be patient. Let the decal sit for a while so the water can evaporate and the adhesive can properly bond to the caliper. If you're in a hurry, you can gently heat it with a hairdryer to speed things up.
The Dry Method Using The Hinge Technique
For those who want to move a little faster, the dry method is fantastic, especially when you use the "hinge" technique. This trick gives you perfect alignment without any application fluid. Honestly, it's my personal favorite for most caliper logos.
The infographic below shows the prep work that's essential no matter which application method you choose. A great finish always starts with a great foundation.
Here’s how you nail the hinge method every time:
- Place the decal—with the backing and transfer tape still on—exactly where you want it on the caliper.
- Run a piece of masking tape across the middle of the decal, securing it to the caliper on both sides. This is your "hinge."
- Lift one side of the decal up toward the hinge, peel the backing paper away, and snip it off with scissors near the tape.
- Lay that side of the decal back down, using your squeegee to apply it smoothly from the center hinge outwards.
- Now, remove the masking tape. Lift the other side of the decal, pull off the rest of the backing paper, and squeegee it down from the center.
The hinge method is foolproof. It stops the decal from shifting and gives you complete control, ensuring your logo is perfectly centered and level.
No matter which method you picked, be patient when removing the transfer tape. Peel it back slowly at a sharp, 180-degree angle, almost folding it back on itself. If any part of the decal starts to lift, just lay the tape back down, press firmly on that spot with your finger, and try again.
And if you're looking for another fun weekend project, check out how to install Chevy Camaro fender hash decals to add even more custom style to your ride.
Making It Last: Durability And Long-Term Care
Getting the decal on the caliper is only half the battle. What you do in the next 48 hours will determine whether your new brake caliper decals stickers look great for years or start peeling in a few weeks. This is all about letting the adhesive cure and create a permanent bond with that painted surface.
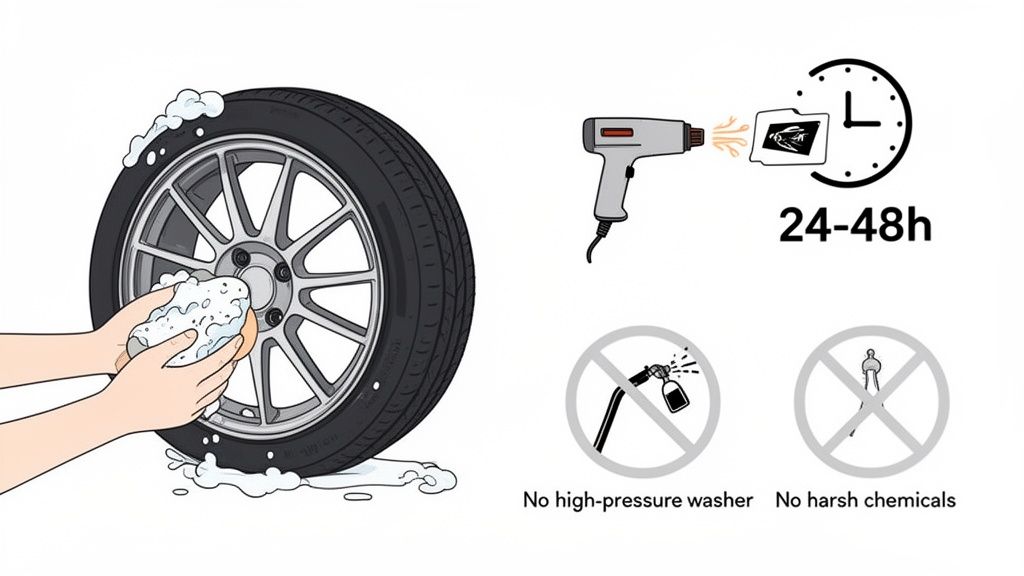
It's tempting to want to immediately go for a spin or wash the car to admire your work, but you have to resist. Let the vehicle sit for at least 24-48 hours after you've applied the decals. This cure time allows the adhesive to set up properly without being stressed by the heat from braking, moisture, or vibrations from the road. Honestly, being impatient during this window is the number one mistake that leads to premature failure.
The Heat Trick for a Bulletproof Bond
If you want to lock that decal in for good, a little bit of heat works wonders. Once you’ve peeled off the transfer tape and the decal is perfectly positioned, grab a heat gun or a hairdryer on its low setting.
Gently warm the decal, keeping the heat source moving from about 6-8 inches away. You’re not trying to cook the vinyl, just get it warm enough to soften. This helps the adhesive flow and conform to any tiny imperfections on the caliper's surface, which is especially useful on calipers with a rougher cast finish. Think of it as post-curing the adhesive, creating a bond that’s way tougher against heat and weather.
The secret to a decal that lasts is patience. Give the adhesive 24-48 hours to cure and hit it with some gentle heat. This makes the decal one with the caliper, ready to take on the road for years to come.
Long-Term Maintenance and Care
After your decals have fully cured, taking care of them is pretty straightforward. We use high-quality Oracal vinyl rated for up to 7 years of outdoor life, so it’s tough enough to handle normal driving and washing. That said, a few precautions will go a long way.
- Don't Use Pressure Washers: Never aim a high-pressure washer wand directly at the decal, especially the edges. That intense stream of water can get underneath the vinyl and lift it right off.
- Avoid Harsh Chemicals: Stay away from aggressive wheel cleaners, heavy-duty degreasers, and chemical solvents. These can eat away at the vinyl over time. A simple, pH-neutral car soap is all you need.
- Hand Washing is Best: The safest way to clean your calipers is with a soft wash mitt and regular car soap, just like you’d use on your car’s paint.
Your decals are built to last, but keeping an eye on the health of the caliper itself is just as important. Knowing how long brake calipers last will help you keep your entire setup looking and performing its best. And if you're looking to add more custom touches to your ride, our Compass Rose Vinyl Decal Stickers are a great way to personalize your vehicle's style.
Caliper Decal FAQs: What You Need to Know
Even with a detailed walkthrough, a few questions always seem to come up. It's smart to get those ironed out before you have a decal in one hand and a heat gun in the other. Let's tackle the most common concerns we hear from customers.
Heat, Durability, and Real-World Performance
Let's get right to the big one: Will these decals actually survive the intense heat coming off your brakes?
The short answer is a hard yes—if you use the right stuff. This isn't a job for cheap craft vinyl. Our decals are cut from premium Oracal 751/951 cast vinyl. This material is engineered for tough outdoor applications and rated for up to 7 years of durability. It's built to handle the heat cycles of a brake caliper without cracking, peeling, or fading away.
Think of it this way: standard vinyl will fail almost instantly. This professional-grade material, however, is made for the harsh environment inside a wheel well. When you combine that quality with a properly prepped surface, you get a bond that can handle daily driving, canyon carving, and even the occasional track day.
Application and Removal Questions
Another frequent question is about the condition of the calipers themselves. Can you just stick a decal over a rusty or flaking surface?
We strongly advise against it. For a decal to look good and stay put, the surface has to be clean, smooth, and stable. Putting a sticker over rust or peeling paint is just asking for it to lift right off, taking the loose paint with it.
For a professional, lasting finish, you have to do the prep work. Sand the caliper down to bare metal or a solid layer of paint. Then, clean it like you mean it and lay down a fresh coat of high-temperature caliper paint before you even think about applying the decal.
So, what happens when you want to change up your look? How tough are these to get off?
Fortunately, removing high-quality vinyl is a straightforward job. It’s not a lifetime commitment.
- Heat it up: Grab a hairdryer or a heat gun on its lowest setting and gently warm up the decal. This softens the adhesive and makes it much easier to work with.
- Lift a corner: Once it’s warm, use a plastic razor blade or even your fingernail to carefully lift an edge.
- Peel slowly: Pull the decal back on itself at a low, sharp angle (almost 180 degrees). Going slow and low is the key to preventing most of the adhesive from staying behind.
If you have any sticky residue left over, a little isopropyl alcohol or a dedicated adhesive remover on a clean rag will take care of it. The process is simple and won't damage the caliper paint underneath, so you can update your style whenever you feel like it.
At Custom Sticker Shop, we’re all about helping you get that perfect custom look with decals that are genuinely built to last. Our veteran-run shop is proud to make everything right here in the USA, ensuring your ride stands out. Ready to find your style? Explore our full collection at https://customstickershop.us.