
You’ve probably had this moment already. The Bronco is clean, parked in the driveway, and you’re standing there looking at a perfectly capable rig that still feels a little too factory.
That’s where a good ford bronco decal earns its keep. Not as an afterthought, and not as a cheap sticker you peel on in ten minutes, but as the detail that makes the truck feel like yours. For some owners that means a military tribute. For others it’s a family graphic, a hood script, a trail name, or a subtle badge overlay that looks like it could’ve come from the factory.
A Bronco has always had strong visual identity. The original Ford Bronco debuted in 1966 with a logo that placed FORD lettering above a stylized running horse emblem, a look that helped define the model from the start (Highland Ford’s history of the Bronco logo). That heritage is a big reason people care so much about getting modern Bronco graphics right.
The trick is that style alone won’t carry the job. Material matters. Placement matters. Surface prep matters more than commonly assumed. And if your Bronco sees mud, sun, brush, and regular washing, durability matters most of all.
Personalize Your Legend The Right Way
A stock Bronco already has presence. The problem is that a lot of them start to look alike once you’ve seen enough in parking lots, trailheads, and local meets.
The right decal fixes that fast. A small windshield banner can sharpen the whole profile. A hood graphic can make the front end look lower and more aggressive. A tribute design on the quarter glass can say more about the owner than any accessory catalog ever will.
What works best depends on what kind of Bronco owner you are.
Match the graphic to the truck’s personality
Some rigs want restraint. If the truck already has beadlock-style wheels, a lift, and aggressive tires, a clean die-cut side graphic usually looks better than a loud printed panel.
Other Broncos can carry more. Heritage-inspired layouts, military tribute themes, custom names, and family graphics all make sense when they fit the story of the vehicle instead of fighting it.
Clean design beats busy design every time on a Bronco. The body already has enough visual structure with its slab sides, hinges, ribs, and flares.
A lot of owners make the same early mistake. They shop only by artwork. They don’t think about panel shape, viewing distance, door gaps, or how the decal will age on a truck that gets used.
Good personalization looks intentional
That’s the difference between a decal that looks factory-clean and one that looks stuck on. You want the artwork to follow the body, not float awkwardly across it.
On Broncos, the best placements usually borrow from existing lines. The hood edge, lower door area, quarter window, and fender crease all give your eye a reason to accept the decal as part of the design.
If you want something fully personal instead of an off-the-shelf graphic, a make your own custom sticker option gives you more control over text, theme, and layout without forcing you into generic stripe kits.
How to Choose the Right Ford Bronco Decal
Choosing the right ford bronco decal starts with a simple reality. A Bronco that sees brush, mud, sun, and pressure washing needs a different decal than one that spends its life parked at cars and coffee. The right pick comes down to material, finish, and graphic type, and each choice affects how well the decal holds up off-road and how clean it looks a year from now.
Start with material, not artwork
In our shop, this is the first filter.
For Broncos that get used like Broncos, Oracal vinyl with a 7-year outdoor rating is the safer choice because it handles weather, wash cycles, and eventual removal better than bargain film, especially when removed with controlled heat (YouTube reference on durability and removal).
That matters on this body style. The hood sees heat. Door edges catch abuse. Flat side panels make lifting edges and installation flaws easy to spot. Cheap vinyl may look fine on day one, then start shrinking, hardening, or peeling after a season outside.
Material also affects installation. Good cast or premium calendared film responds better to the wet application method, which gives you more control during placement and lowers the odds of trapped air on larger Bronco graphics.
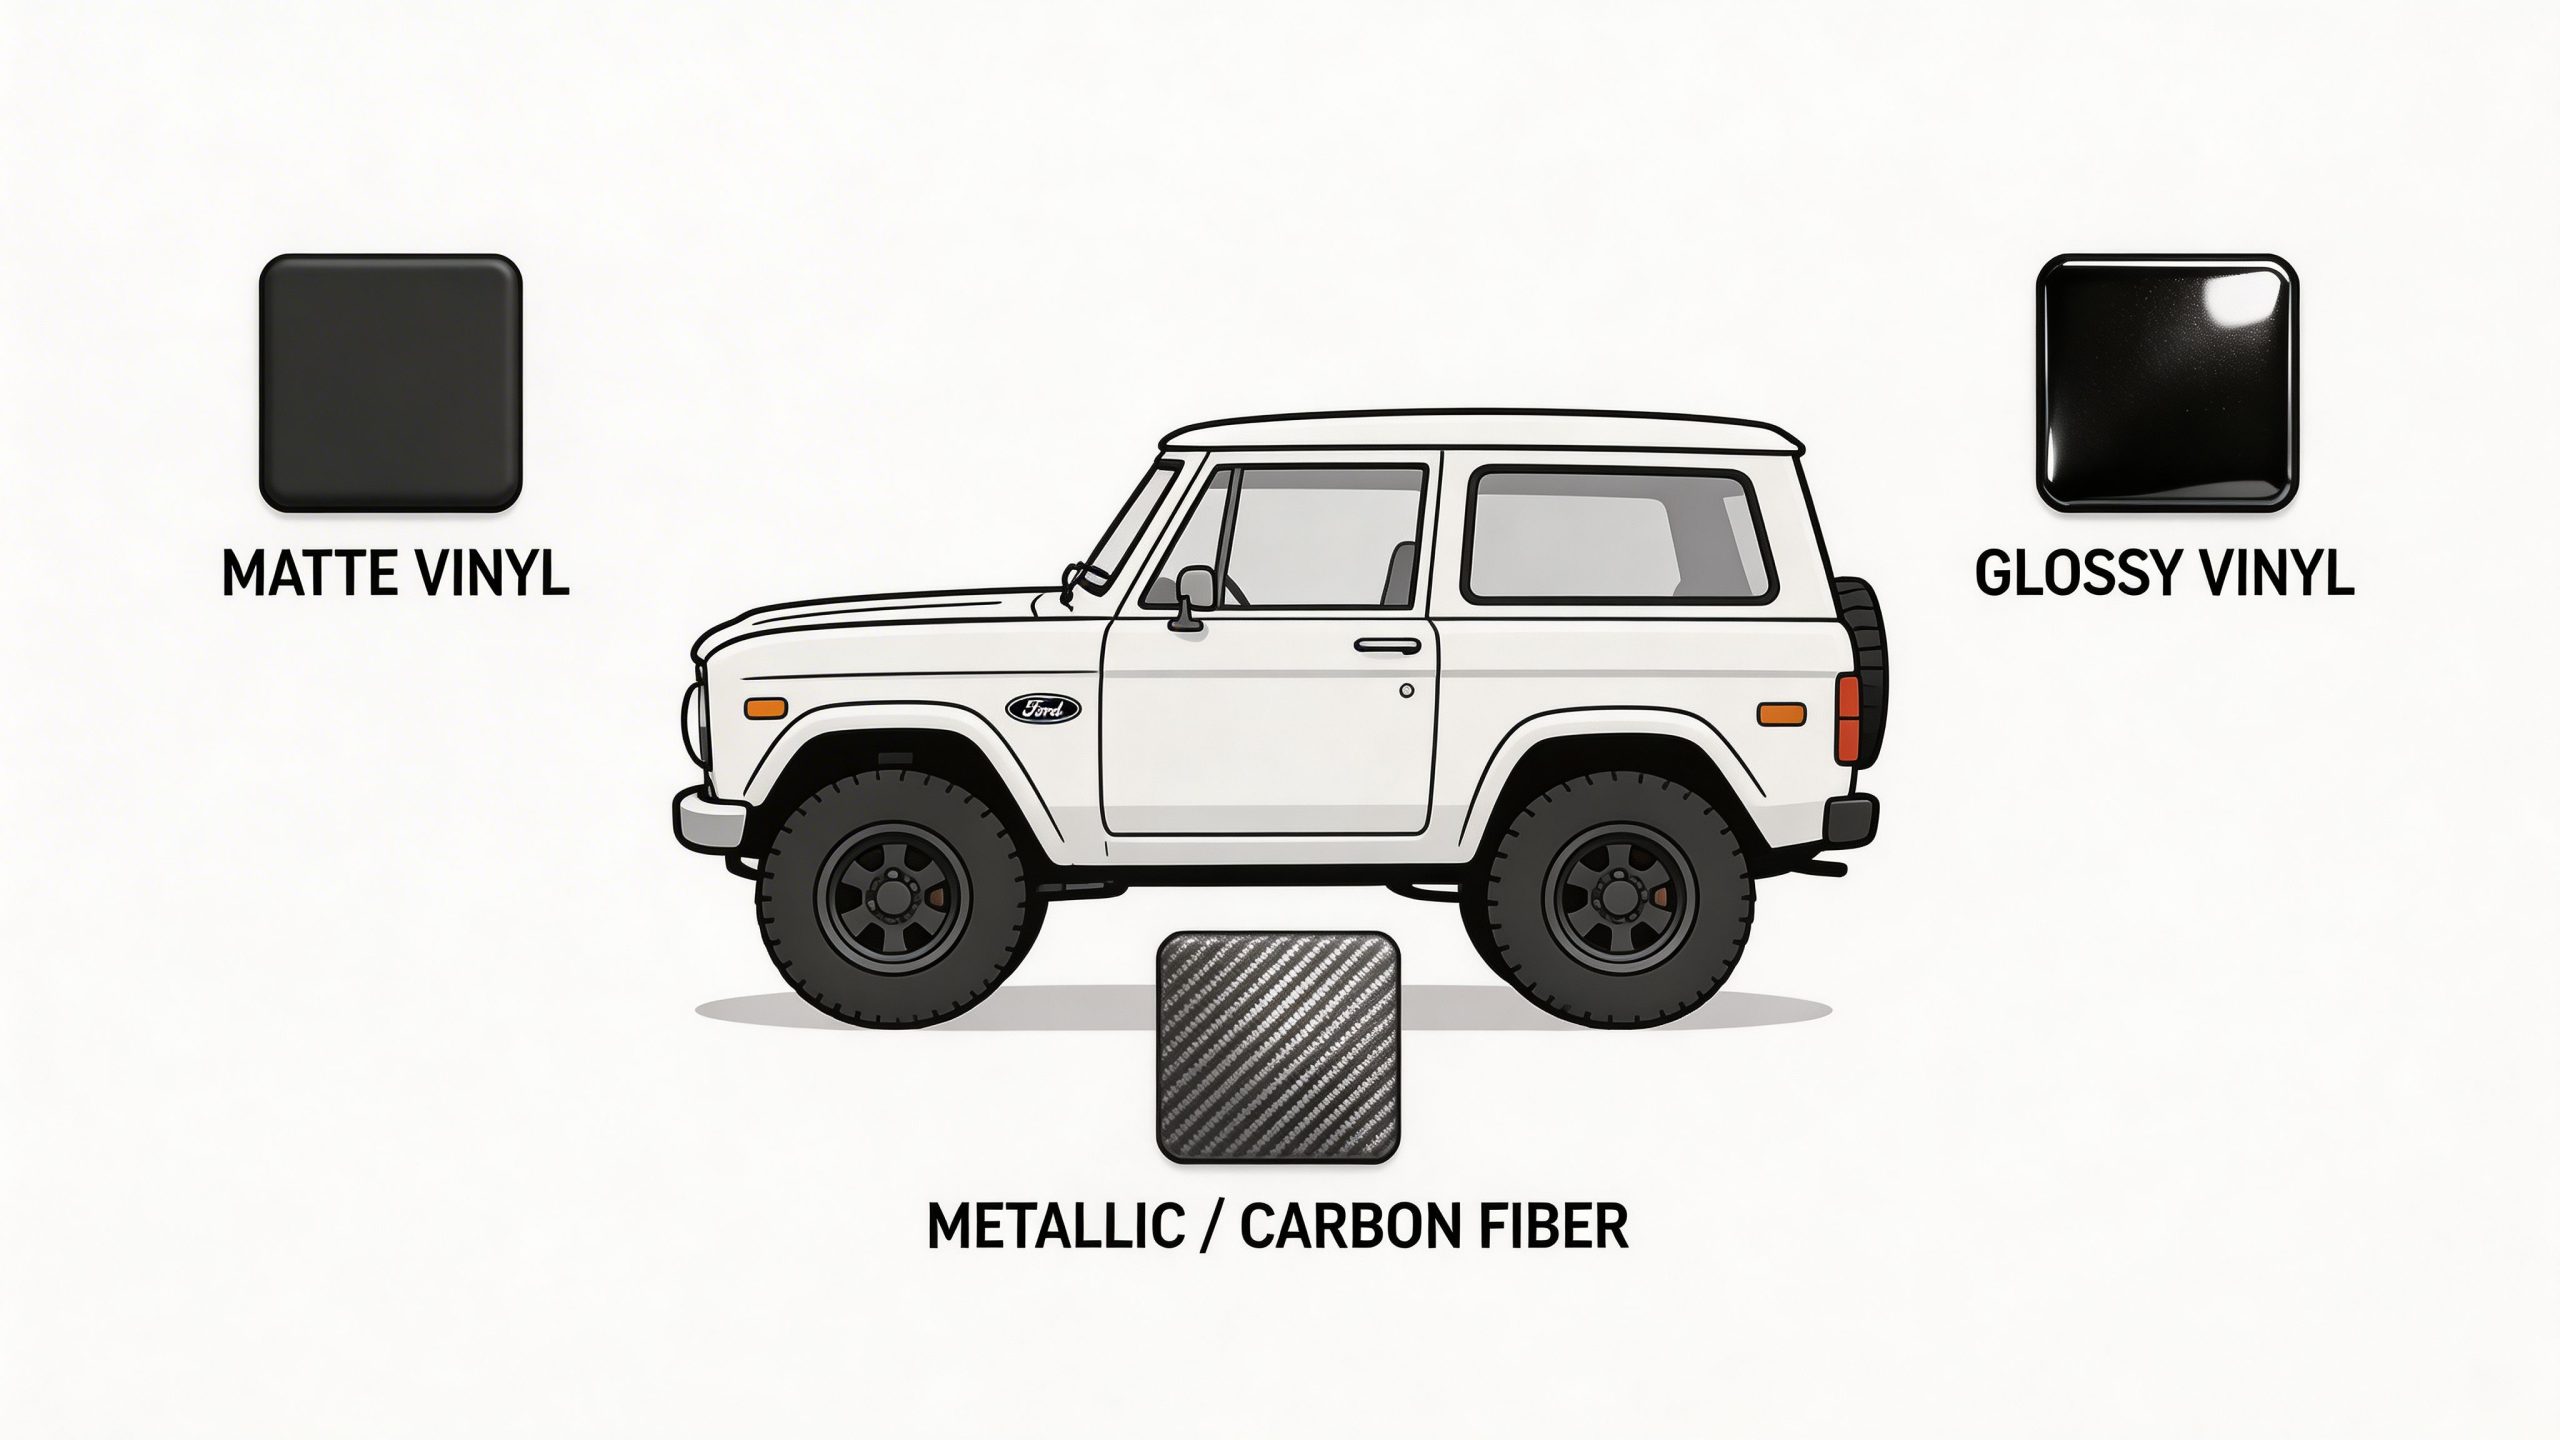
Pick a finish that fits the build
Finish changes the personality of the truck.
- Gloss vinyl fits owners who want a factory-style look and stronger contrast on clean body colors.
- Matte vinyl works well on Broncos with black trim, steel bumpers, off-road lighting, or a military-inspired theme.
- Specialty finishes such as carbon fiber or metallics have their place, but they usually work best as accents, not the whole statement.
I usually steer trail owners toward matte or standard gloss over flashy textures. Mud, dust, and trail rash already add enough visual noise. A clean finish ages better.
Choose color for visibility and use
A decal has to read at a distance, not just look good on a product page. Light paint usually pairs well with black, charcoal, olive, or deep red. Dark paint often needs silver, tan, white, or a stronger contrast color to keep the graphic from disappearing.
Subtle can work. Invisible usually does not.
Windshield graphics are a good example. A low-contrast banner may look refined up close, but from twenty feet away it can vanish into the glass. If that style is part of your build, a Ford windshield banner decal sticker should be chosen with visibility in mind, especially on dark tint.
Match the graphic type to the job
Die-cut decals are the better choice for names, unit markings, military tributes, family graphics, side scripts, and badge-style designs. They look cleaner because there is no background film surrounding the artwork, and they tend to feel more natural on Bronco panels with hinges, seams, and body breaks.
Printed graphics make more sense when the design needs gradients, layered color, distressed effects, or illustration work that cannot be cut as separate pieces.
That same practical thinking applies to the rest of the vehicle. If you tow with your Bronco or use it as part of a camping setup, buying by use case matters just as much with accessories as it does with graphics. The logic is similar to choosing the right 5th wheel hitch. Fit the equipment to real-world use, not just catalog appeal.
Personalization should mean something
A lot of generic Bronco decal catalogs stop at stripes and retro scripts. That misses what many owners want from their customization. Some want military branch tributes tied to family service. Some want ranch brands, call signs, kids' names, coordinates, or memorial graphics that still look clean on the truck.
Those projects usually work best in quality die-cut vinyl because they stay personal without becoming permanent hardware. The removable side matters. Owners can honor service, mark a family story, or update the build later without drilling holes or committing to a fixed badge.
Sizing and Placing Your Decal for Pro Results
Most bad decal jobs don’t fail because the vinyl was terrible. They fail because the size was off or the placement fought the body.
A Bronco is unforgiving that way. Its straight body lines make crooked work easy to spot. A decal that’s even slightly too high, too low, or too short can look wrong from across the driveway.
Use the truck’s body lines as your measuring system
Professional installers don’t eyeball this. They use templates and body references. For Bronco badge graphics, printed templates are aligned to body lines such as the lower fender crease, and installers also account for the vehicle’s natural rake angle so the finished graphic looks visually balanced (Bronco badge installation template reference).
That same thinking applies everywhere else on the truck.
If you’re laying out a hood decal, use the hood edges and cowl symmetry. If you’re placing door graphics, reference the lower body line and handle spacing. If you’re working with quarter windows, use the glass edge and visible trim reveal rather than the surrounding sheet metal alone.
Mock it up before the backing comes off
Painter’s tape saves jobs. Tape the decal in place. Walk away from it. Look from the front three-quarter angle, dead side view, and rear angle.
The eye catches problems that a tape measure won’t. A design can be centered by measurement and still feel wrong because it ignores a flare break or sits too close to a hinge.
For windshield layouts, it helps to compare proportions with purpose-built options like a vinyl windshield banner decal for Ford models, since those graphics are built around visibility and upper-glass balance.
Ford Bronco decal sizing guide
| Decal Location | Common Size (Width x Height) | Placement Tip |
|---|---|---|
| Hood side graphic | Varies by design | Keep clear of washer nozzles, hood folds, and heat vents if equipped |
| Fender badge area | Small format | Align to the nearby body crease, not the ground |
| Lower door or rocker area | Long and shallow | Watch door gaps and leave visual breathing room above the rocker |
| Quarter window | Sized to glass opening | Follow the glass shape and avoid crowding the trim edge |
| Windshield banner | Width based on glass span | Keep the bottom edge consistent and verify driver sightline |
Keep scale honest
A small decal on a Bronco can look sharp. An oversized one can look like it was meant for another vehicle entirely.
If you have to force the design into the panel, it’s the wrong size for that location.
The cleanest installs feel like they belong there. That usually means a little smaller, a little straighter, and a lot more deliberate than first-time buyers expect.
Prepping Your Bronco for a Flawless Finish
You get one shot at first contact between the vinyl and the paint. On a Bronco that sees trail dust, wash soap, road salt, and sun, prep decides whether that decal still looks tight six months from now or starts lifting at the edges after the first few trips.
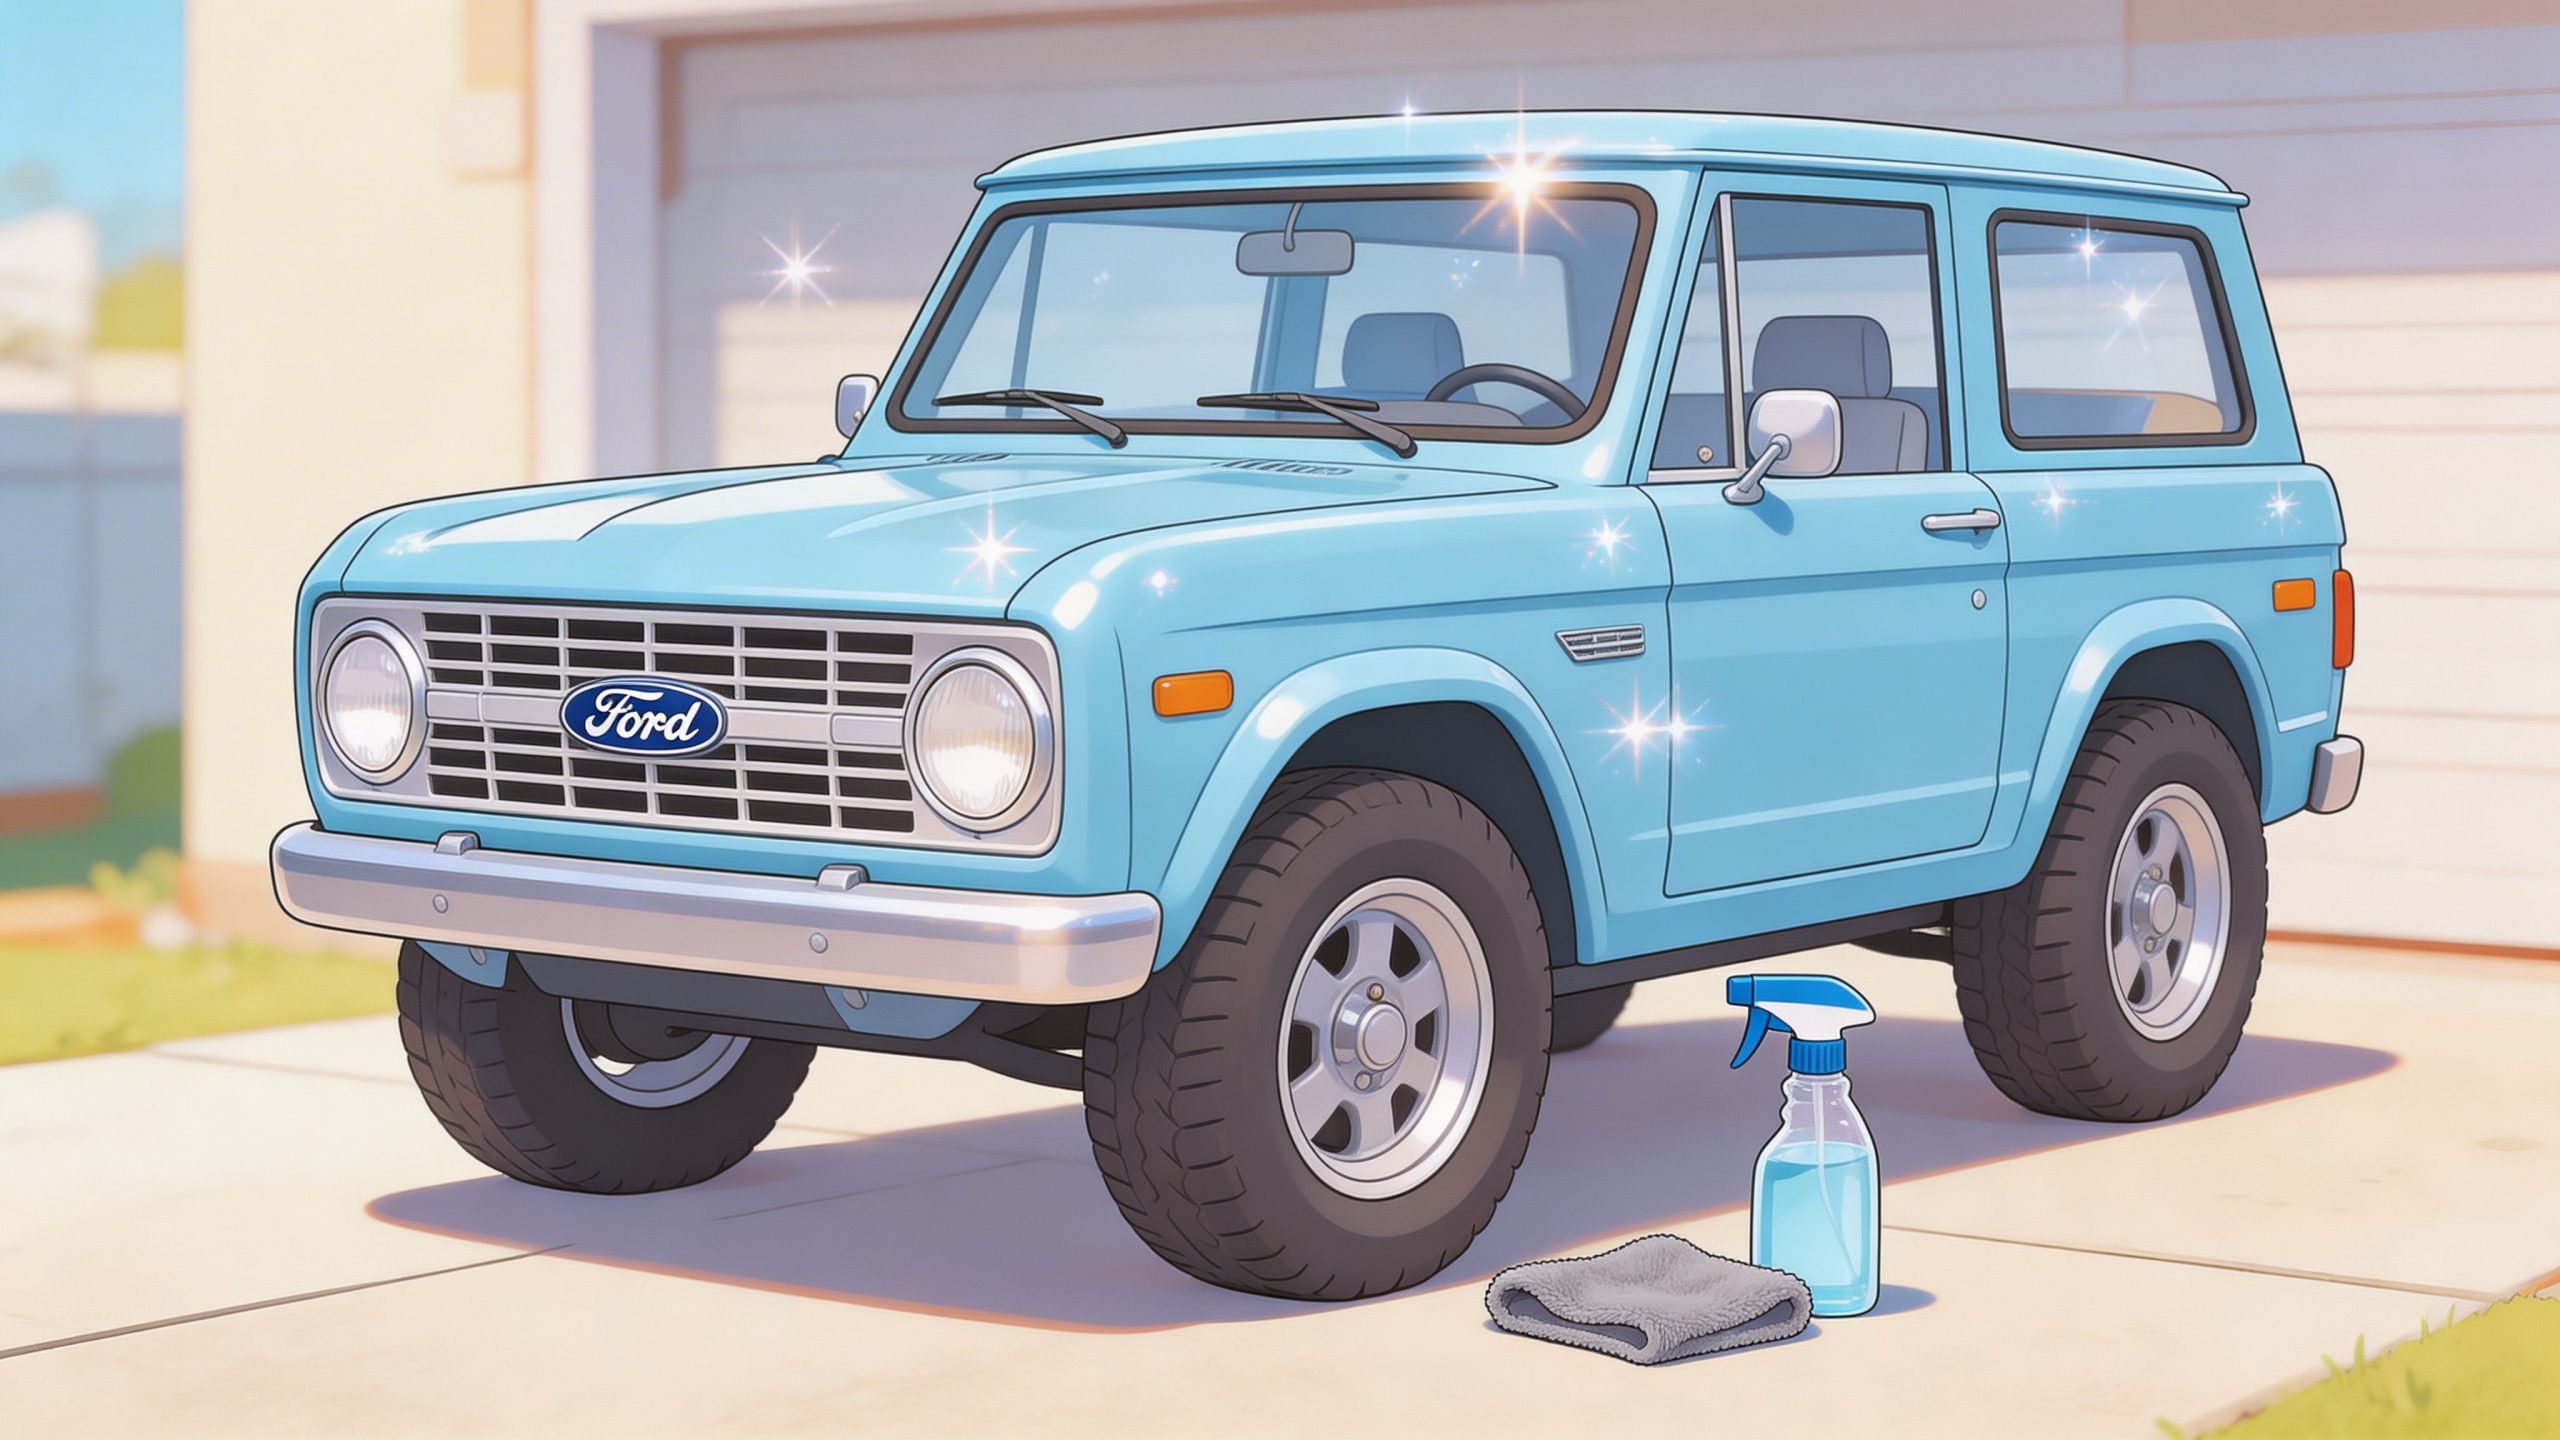
A lot of owners focus on the design and forget the surface. That is usually the mistake. High-grade film like Oracal holds up well off-road, but even good vinyl cannot bond properly over wax, tire dressing overspray, or fine grit packed into a body line.
Gather the right tools first
Set everything out before the backing paper comes off. Walking around the garage hunting for a towel while adhesive is exposed is how dust gets under a graphic.
Keep these on hand:
- Spray bottle with clean water and your application mix
- Squeegee with a good edge
- Isopropyl alcohol
- Lint-free towels
- Painter’s tape
- A clean, dry workspace
The same prep habits apply whether you are laying a Bronco stripe or a larger off-road graphic like this two-color hood decal styling sticker. Large pieces just punish shortcuts faster.
Clean in two stages
Start with a proper wash so you are not grinding dirt across the panel. Dry it fully, especially around trim, hood edges, hinges, and badge recesses where water likes to sit.
Then wipe the install area with isopropyl alcohol using a lint-free towel. That second pass removes the stuff you cannot always see. Old wax, silicone from detail sprays, greasy fingerprints, and residue from automatic car washes. On Broncos that spend time off pavement, I pay extra attention to lower doors, quarter panels, and any panel break where dust gets driven in.
Check the panel with your hands, not just your eyes
A panel can look clean and still be wrong for vinyl.
Run your fingertips across the full install area. If you feel sap, overspray, old adhesive, chipped paint edges, or rough contamination, fix that before the decal goes anywhere near the truck. Vinyl follows the surface under it. On flatter areas that is mostly cosmetic. On edges and recesses, it becomes a durability problem.
Temperature affects adhesion and workability
Moderate conditions make the job easier and the result better. Cold vinyl gets stiff and resists conforming. A hot panel makes the adhesive grab too fast, which cuts down your adjustment time and can trap moisture where you do not want it.
Shade is your friend. A clean garage is better. If the panel feels hot from direct sun, let it cool before you start.
Prep matters even more for tribute graphics and detailed cuts
Military insignia, heritage-themed graphics, and family tribute decals often have fine details, narrow lines, or layered elements. Those installs show contamination fast. One speck under a small line or star point can stand out more than it would under a simple block graphic.
That is why clean prep is part of personalization, not just part of installation. If you want a Bronco decal that honors service, family, or your own build story, the finish needs to look intentional up close, not just good from ten feet away.
Installing Your Decal with the Wet Application Method
You get one side lined up, step back, and it looks perfect. Then the vinyl grabs half an inch off where you wanted it. That is exactly why I recommend the wet method for most larger Bronco decals, especially door graphics, quarter panel layouts, and tribute designs with tight detail.
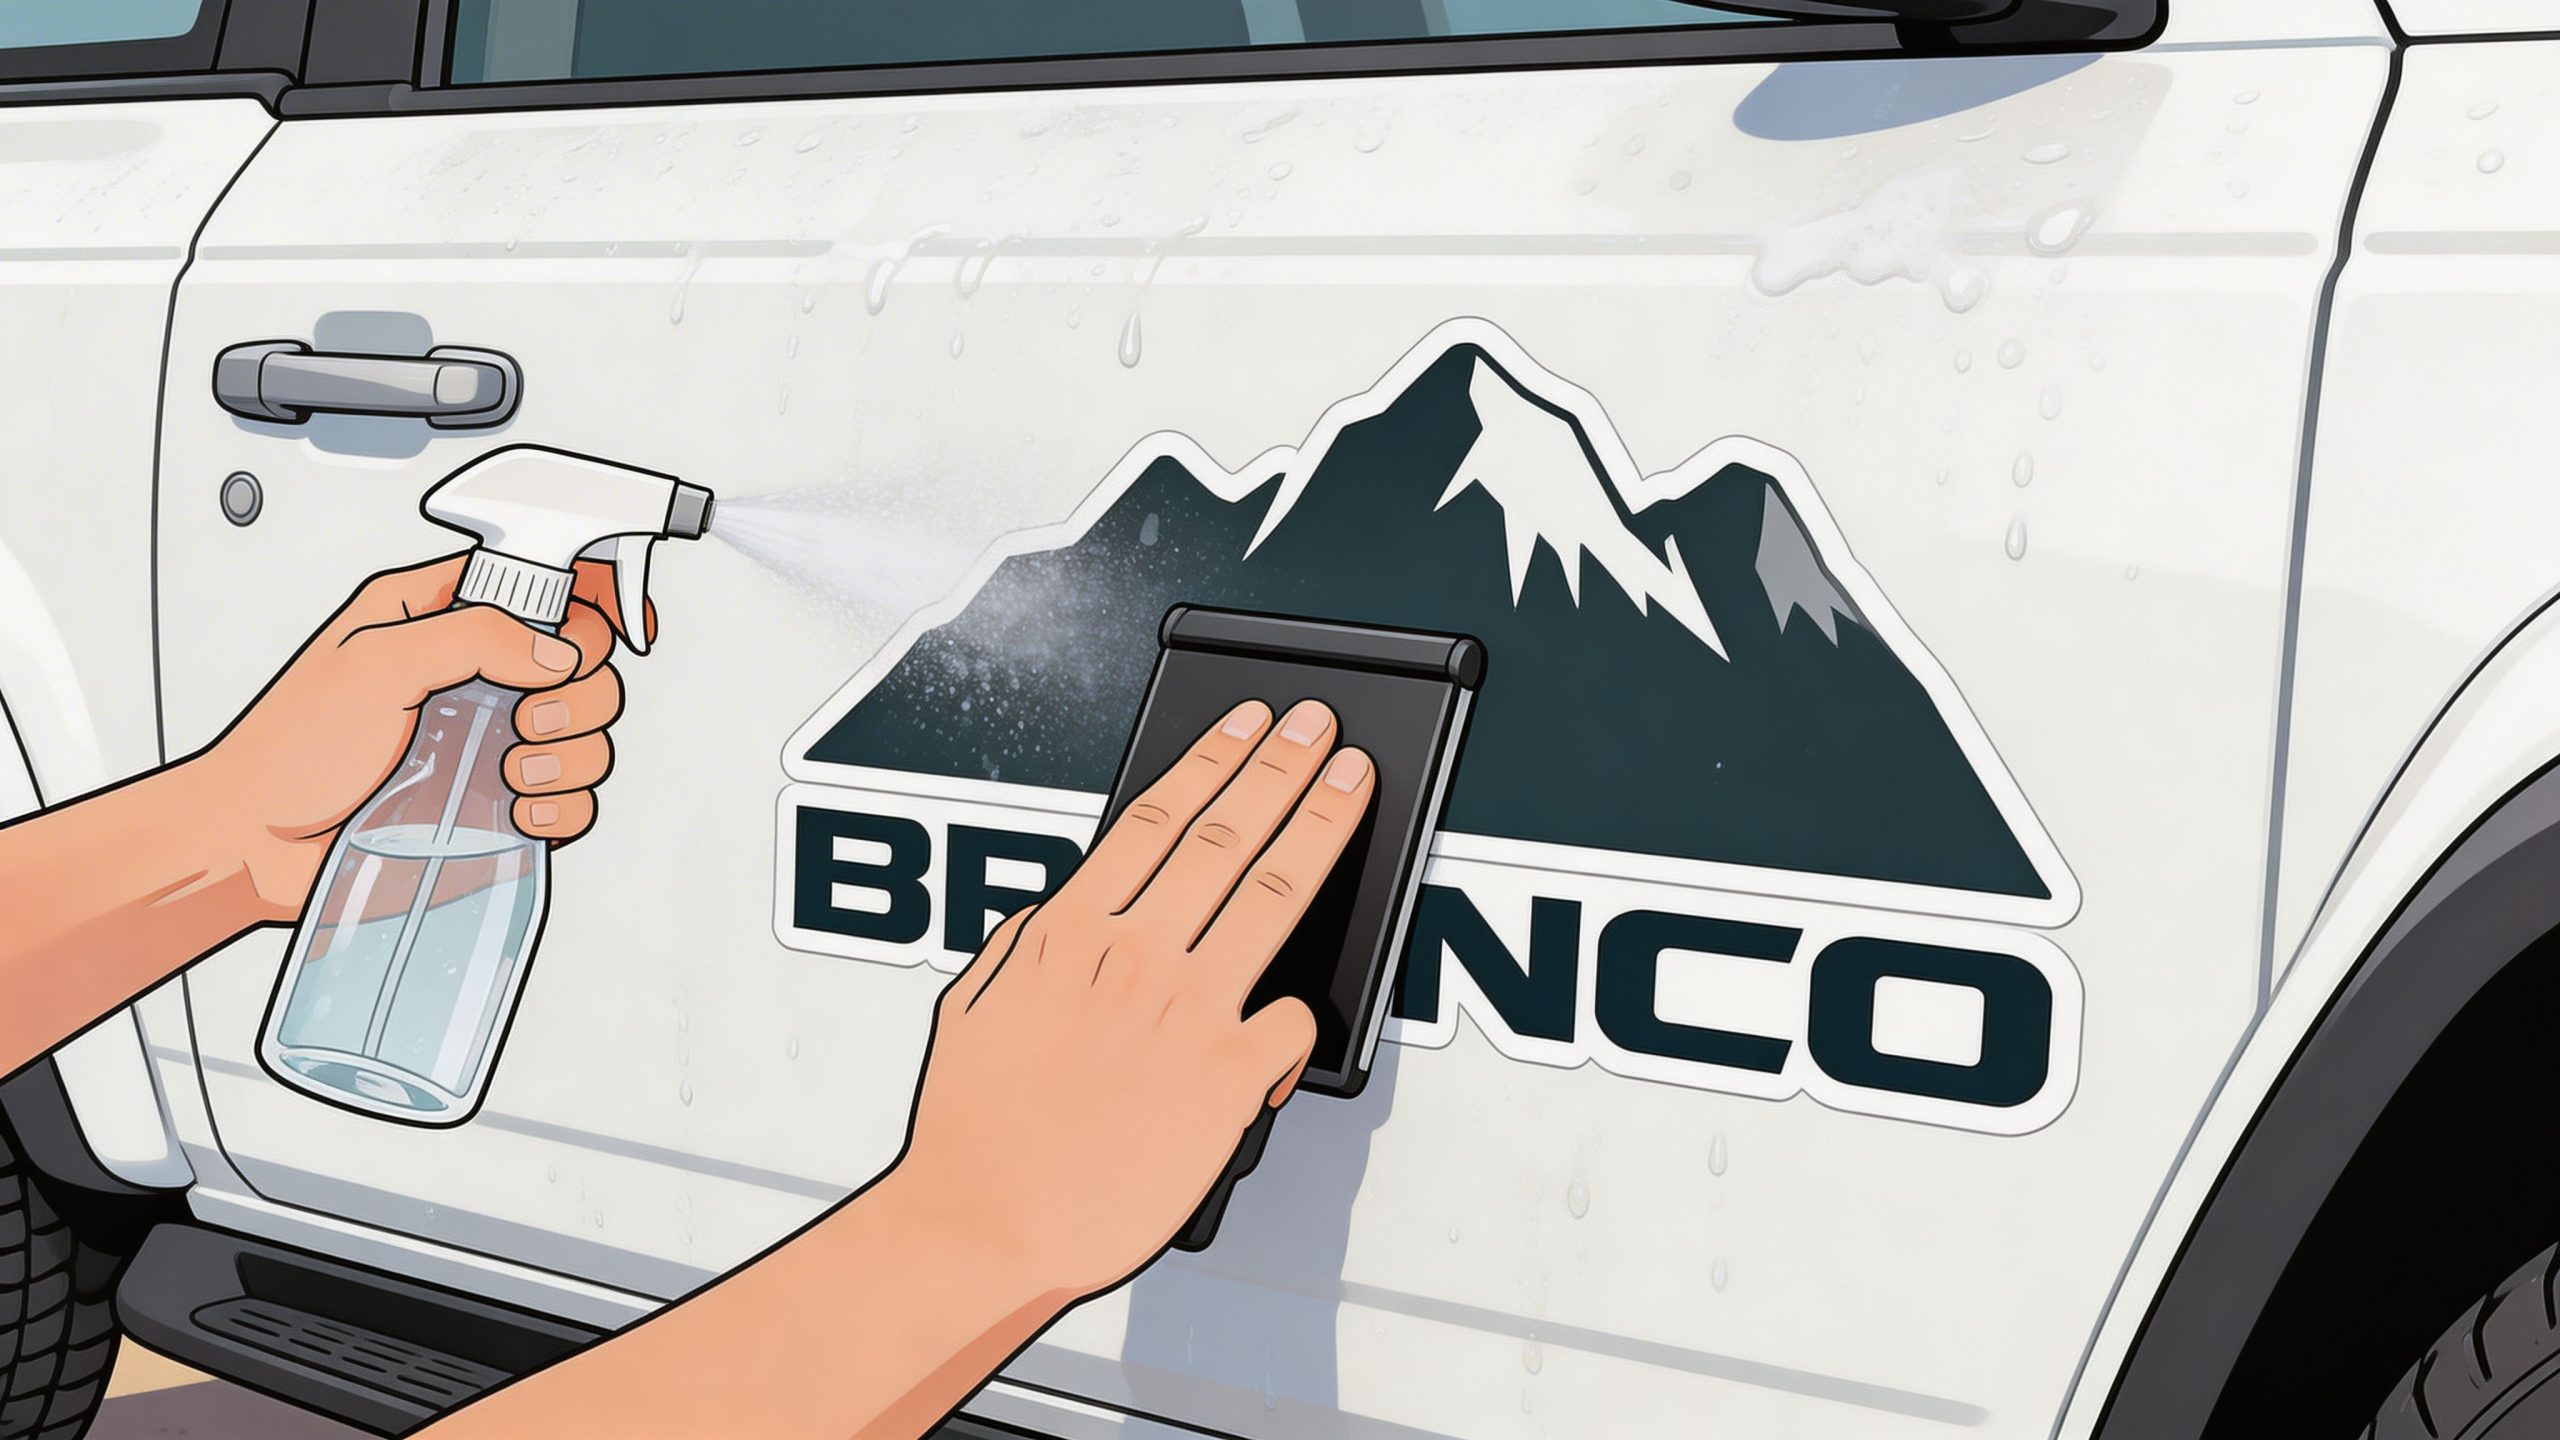
On an off-road rig, placement is only part of the job. Durability starts here too. A properly installed Oracal decal holds up better on wash days, dusty trails, and wind-loaded edges because the adhesive gets full contact instead of fighting trapped water or random pockets of air.
Mix the slip solution with a light hand
Use clean water with just a small drop of dish soap in a spray bottle. The goal is light slip, not foam and not a soaked panel.
Mist the surface and the adhesive side lightly after you peel the backing. That gives you a short window to slide the decal into final position. If you flood it, the vinyl will skate around too long, the edges will take longer to set, and detailed sections can shift while you squeegee.
With military stars, heritage badges, family name graphics, and other fine-cut designs, too much solution causes more trouble than too little.
Tape a hinge before you peel anything
A hinge keeps the layout where you already decided it belongs. For smaller graphics, a top hinge usually works. For a long side stripe or any design that needs to stay centered across body lines, a center hinge is often easier to control.
Peel back one section of liner at a time. If needed, trim the backing paper, not the decal. Keep tension on the graphic so it does not flop over and stick to itself.
Bronco panels have their own quirks, but the install discipline is the same one used on longer hood and side graphics, including a 2-color hood decal layout for Wrangler-style installs. Straight reference points, controlled peel, and patience matter more than the badge on the grille.
Squeegee with purpose
Start in the center and work outward in overlapping passes. Push the fluid to the nearest edge. Then repeat.
Use firm pressure, but stay controlled. Heavy-handed squeegee work can stretch narrow lettering, star points, or contour-cut details. Pressure that is too light leaves moisture behind, and that shows up later as silvering, edge lift, or bubbles that take too long to settle.
I tell Bronco owners the same thing we tell customers at the shop. The squeegee is doing two jobs at once. It is setting position and building long-term adhesion.
Peel the transfer tape low and slow
A lot of clean installs get damaged in the final minute.
Once the vinyl has started to grip, peel the transfer tape back against itself at a low angle. Go slow. If any part of the decal starts lifting, stop right there, lay the tape back down, and squeegee that area again before trying another pass.
This matters even more with tribute graphics. Small points, thin outlines, rank insignia details, and custom family elements do not forgive impatient tape removal.
For a visual walkthrough, this installation video is a useful companion to the written process:
Let the decal cure before you judge it
Wet application finishes in stages. It looks installed before it is fully cured.
A few small bubbles can show up early as the remaining moisture works out. That does not always mean the install failed. What matters is whether the graphic was squeegeed thoroughly, the edges were seated cleanly, and the Bronco stays out of bad conditions while the adhesive finishes bonding.
Do not wash it right away. Do not hit the edges with pressure. Do not assume a corner is bad just because it looks soft in the first day or two.
Where installs usually fail
After thousands of installs, the same problems keep showing up:
- Too much slip solution left under the film
- Weak hinge setup that let the decal walk off line
- Fast transfer tape removal before the vinyl had enough bite
- Poor edge squeegee work on body lines and panel ends
- Rushed installs on larger graphics where alignment mattered more than speed
Get those details right and the wet method gives you the best balance of control and durability. For a Bronco that sees trail miles, that trade-off is usually the smart one.
Long-Term Care and Safe Removal of Your Bronco Graphics
A Bronco decal proves itself six months later, after sun, trail grit, muddy washdowns, and brush dragging along the quarter panel. This is a critical durability test.
Owners who wheel their Broncos hard usually do not lose a graphic because the vinyl was weak in the middle. They lose it at the edges. Dirt works in, pressure washing lifts a corner, and that small failure grows every time the truck gets wet or dusty again. Good material helps. Good habits keep it that way.
Care for the edges and the decal lasts longer
High-quality 7-year-rated Oracal vinyl holds up well outdoors and takes abuse better than bargain film, but off-road use changes the maintenance routine. A mall-crawler wash routine and a trail-rig wash routine are not the same thing.
Use a few simple habits that make a real difference:
- Wash with control. Rinse mud off, but keep a pressure nozzle away from exposed edges and panel ends.
- Clean off grit before it bakes on. Dried mud and fine dust act like sandpaper when you wipe across the film.
- Inspect the corners after trail runs. A slight lift is usually easy to press back down or address early. A dirty lifted edge is a replacement job.
- Give tribute decals extra attention. Fine cuts in military graphics, unit markings, names, and family designs need a gentler wash mitt and a little more patience.
This is one reason Oracal is used for Broncos that frequently see dirt. It has the face film and adhesive quality to handle weather, but even premium vinyl needs proper care if you want the edges to stay clean and tight.
Removal doesn’t have to hurt the paint
A well-made decal on factory paint usually comes off clean if it was installed on a sound surface and removed with heat. Problems show up when owners grab a cold corner and rip. That puts stress on the film, leaves more adhesive behind, and can pull harder against older paint repairs or weak clear coat.
Warm the vinyl first with a hair dryer or a heat gun on low. Work a corner up carefully, then peel at a low angle while keeping gentle heat on the section you are removing.
Warm vinyl peels. Cold vinyl fights back.
Go slow, especially on larger side graphics or detailed cuts. If adhesive stays on the panel, warm it again and wipe it off with a paint-safe adhesive remover instead of scraping with a fingernail or hard tool.
I have seen the difference thousands of times. Premium film not only installs cleaner with the wet method. It also removes with less mess years later, which matters if you want to update a military tribute, swap in a new family design, or return the Bronco to a stock look without creating extra work.
Ford Bronco Decal Questions Answered
Can I take my Bronco through an automatic car wash after installing a decal
Hand washing is the safer choice, especially for graphics with exposed edges. If you do use an automatic wash, wait until the decal has fully cured and avoid washes known for aggressive brushes.
Will a decal stick to every Bronco surface
No. Smooth painted panels are the easiest and reliable surfaces. Textured plastic, rough trim, and heavily grained hard-top surfaces are far less predictable and usually need a different product approach or should be avoided.
Are military and family tribute decals better as die-cut graphics or printed panels
Most of the time, die-cut is better for those. It looks cleaner, sheds less visual bulk, and follows Bronco body lines more naturally. Printed panels make more sense when the artwork depends on multiple colors, gradients, or scenic detail.
What if the decal looks slightly unlevel even though I measured carefully
That can happen on Broncos because the body stance can create a visual illusion. If your placement was referenced to the correct body line, the install may be right even if the ground makes it look slightly off from one angle.
Is removable vinyl a better choice than replacing badges
For many owners, yes. Removable vinyl gives you freedom to personalize without committing permanently. It also makes seasonal, tribute, or name-based graphics easier to change later.
If you’re ready to add a ford bronco decal that fits the truck and holds up to real use, Custom Sticker Shop is worth a look. They’re a veteran-friendly, family-run shop in Topeka, Kansas, producing American-made decals in professional-grade Oracal vinyl with more than 1,200 designs, including military tributes, family graphics, windshield banners, and custom text options built for clean installation and long service.