
So, you're thinking about adding some personality to your ride. Car decals are way more than just stickers—they're adhesive vinyl graphics that let you customize your vehicle's look, from subtle lettering to bold, elaborate designs. It’s a fantastic, non-permanent way to express yourself, support a cause, or add that custom touch like racing stripes that makes your car or truck feel truly yours. This guide is your roadmap to getting it done right.
Why Car Decals Are More Than Just Stickers
Think of your vehicle as a blank canvas. While a full-blown paint job is a massive commitment of time and money, decals offer a flexible and affordable way to make a statement. They're more than just decoration; they're a form of self-expression that travels with you, turning a factory-standard vehicle into something that reflects who you are.
And this isn't just a niche hobby anymore—it's a huge movement. The global market for car decals is expected to jump from $3.345 billion in 2025 to over $5.5 billion by 2033. That surge tells us one thing: drivers everywhere are looking for unique ways to stand out. If you're curious, you can explore more insights into the car decal market to see just how fast this trend is growing.
What This Guide Will Cover
This guide is designed to give you all the know-how you need to transform your ride with confidence. We’ll walk through every step, making sure you can make great choices and get a finish that looks like it was done by a pro.
Here's what you'll learn:
- Select the Right Material: We'll break down the difference between premium cast vinyl and standard calendared vinyl, so you know exactly what you're buying.
- Craft the Perfect Design: Get practical tips on color, font, and sizing to create a look that perfectly complements your vehicle.
- Achieve a Flawless Application: Follow our step-by-step instructions for a clean, bubble-free installation.
- Maintain and Remove Your Decals: Learn the best ways to care for your graphics and how to safely remove them without a scratch on your paint.
A well-chosen and properly applied decal doesn’t just change your car's look—it becomes a part of its character. It's the difference between a car you drive and a car you love.
Whether you're adding a tribute to a loved one, showing off a favorite hobby, or just want some sleek racing stripes, the right decal makes your vehicle an extension of you. By the end of this guide, you’ll be ready to pick, design, and apply decals that capture your vision and turn heads wherever you go.
Choosing The Right Type Of Vinyl Decal
So, you're ready to add some personality to your ride. Before you dive in, you'll quickly realize that not all vinyl is created equal. The type you choose is the single biggest factor in how your decal looks, how long it lasts, and how it stands up to the weather. Getting this right from the start is the key to a professional look that holds up for years.
Think of it like choosing the right paint for a house. You wouldn't slap interior latex on your exterior walls and expect it to survive a rainstorm, right? Same principle applies here. Using the wrong vinyl on your car will lead to peeling, cracking, and fading much faster than you’d expect.
Let's break down the main options so you can get the perfect material for your project.
Die-Cut Versus Printed Decals
First up, let's talk about the two main styles of decals for car customization you'll see out there. Each one has a different job and creates a totally different look.
Die-Cut Decals: These are your classic, single-color designs cut from a sheet of solid-colored vinyl. Imagine a stencil where everything but the design is weeded away. This gives you a clean, bold graphic with no background, making it look like it was painted right onto your vehicle. They’re perfect for text, logos, and silhouette-style graphics like this Tower Life window decal.
Printed Decals: Think of these as super high-quality, full-color stickers. They're printed onto a sheet of white or clear vinyl, which allows for complex details, color gradients, and even photographic images. If your design has multiple colors or intricate shading, a printed decal is the only way to go.
The Two Faces Of Vinyl: Cast vs. Calendared
Beyond the style, the actual material the decal is made from is what truly separates the good from the bad. When it comes to quality, the whole game comes down to cast versus calendared vinyl. Understanding how they're made explains why pros will only use one of them on a vehicle.
Calendared vinyl is the budget-friendly option. It’s made by taking a lump of vinyl, heating it, and squishing it through giant rollers to flatten it into sheets—kind of like rolling out pizza dough. While this process is cheap and efficient, it builds tension into the material.
Think of a stretched rubber band. Over time, it always wants to shrink back to its original, smaller shape. Calendared vinyl does the same thing, which causes it to shrink, crack, and peel, especially when it's exposed to the sun or applied over curves.
Cast vinyl, on the other hand, is the premium stuff. It starts as a liquid formula that's poured onto a casting sheet and then baked in an oven. This process creates a super thin, stable, and durable material with zero tension built into it. Because it was "cast" in a relaxed state, it conforms beautifully to complex curves, rivets, and body lines without trying to shrink back.
This incredible flexibility and durability—often lasting 7+ years outdoors—is why cast vinyl is the undisputed king for professional vehicle wraps and high-quality decals for car bodies. It’s how you get that seamless, "painted-on" look that actually lasts.
Comparing Car Decal Vinyl Types
To make the choice crystal clear, here’s a quick breakdown of how these two vinyl types stack up against each other for automotive use.
| Feature | Cast Vinyl (Premium) | Calendared Vinyl (Economy) |
|---|---|---|
| Durability | 7+ years outdoors | 1-3 years outdoors |
| Conformability | Excellent; wraps complex curves | Poor; best for flat surfaces only |
| Shrinkage | Minimal to none | High; prone to shrinking & peeling |
| Thickness | Thinner (approx. 2 mil) | Thicker (approx. 3-4 mil) |
| Finish | Smooth, paint-like appearance | Less refined, can look like a sticker |
| Cost | Higher initial investment | Lower cost |
| Best For | Vehicle wraps, body decals, long-term use | Short-term signs, temporary flat graphics |
Ultimately, while calendared vinyl has its place for temporary projects on flat surfaces, cast vinyl is the only serious choice for your vehicle. Spending a little more upfront for a high-quality cast vinyl decal means your design will withstand the sun, rain, and road, looking sharp for years to come.
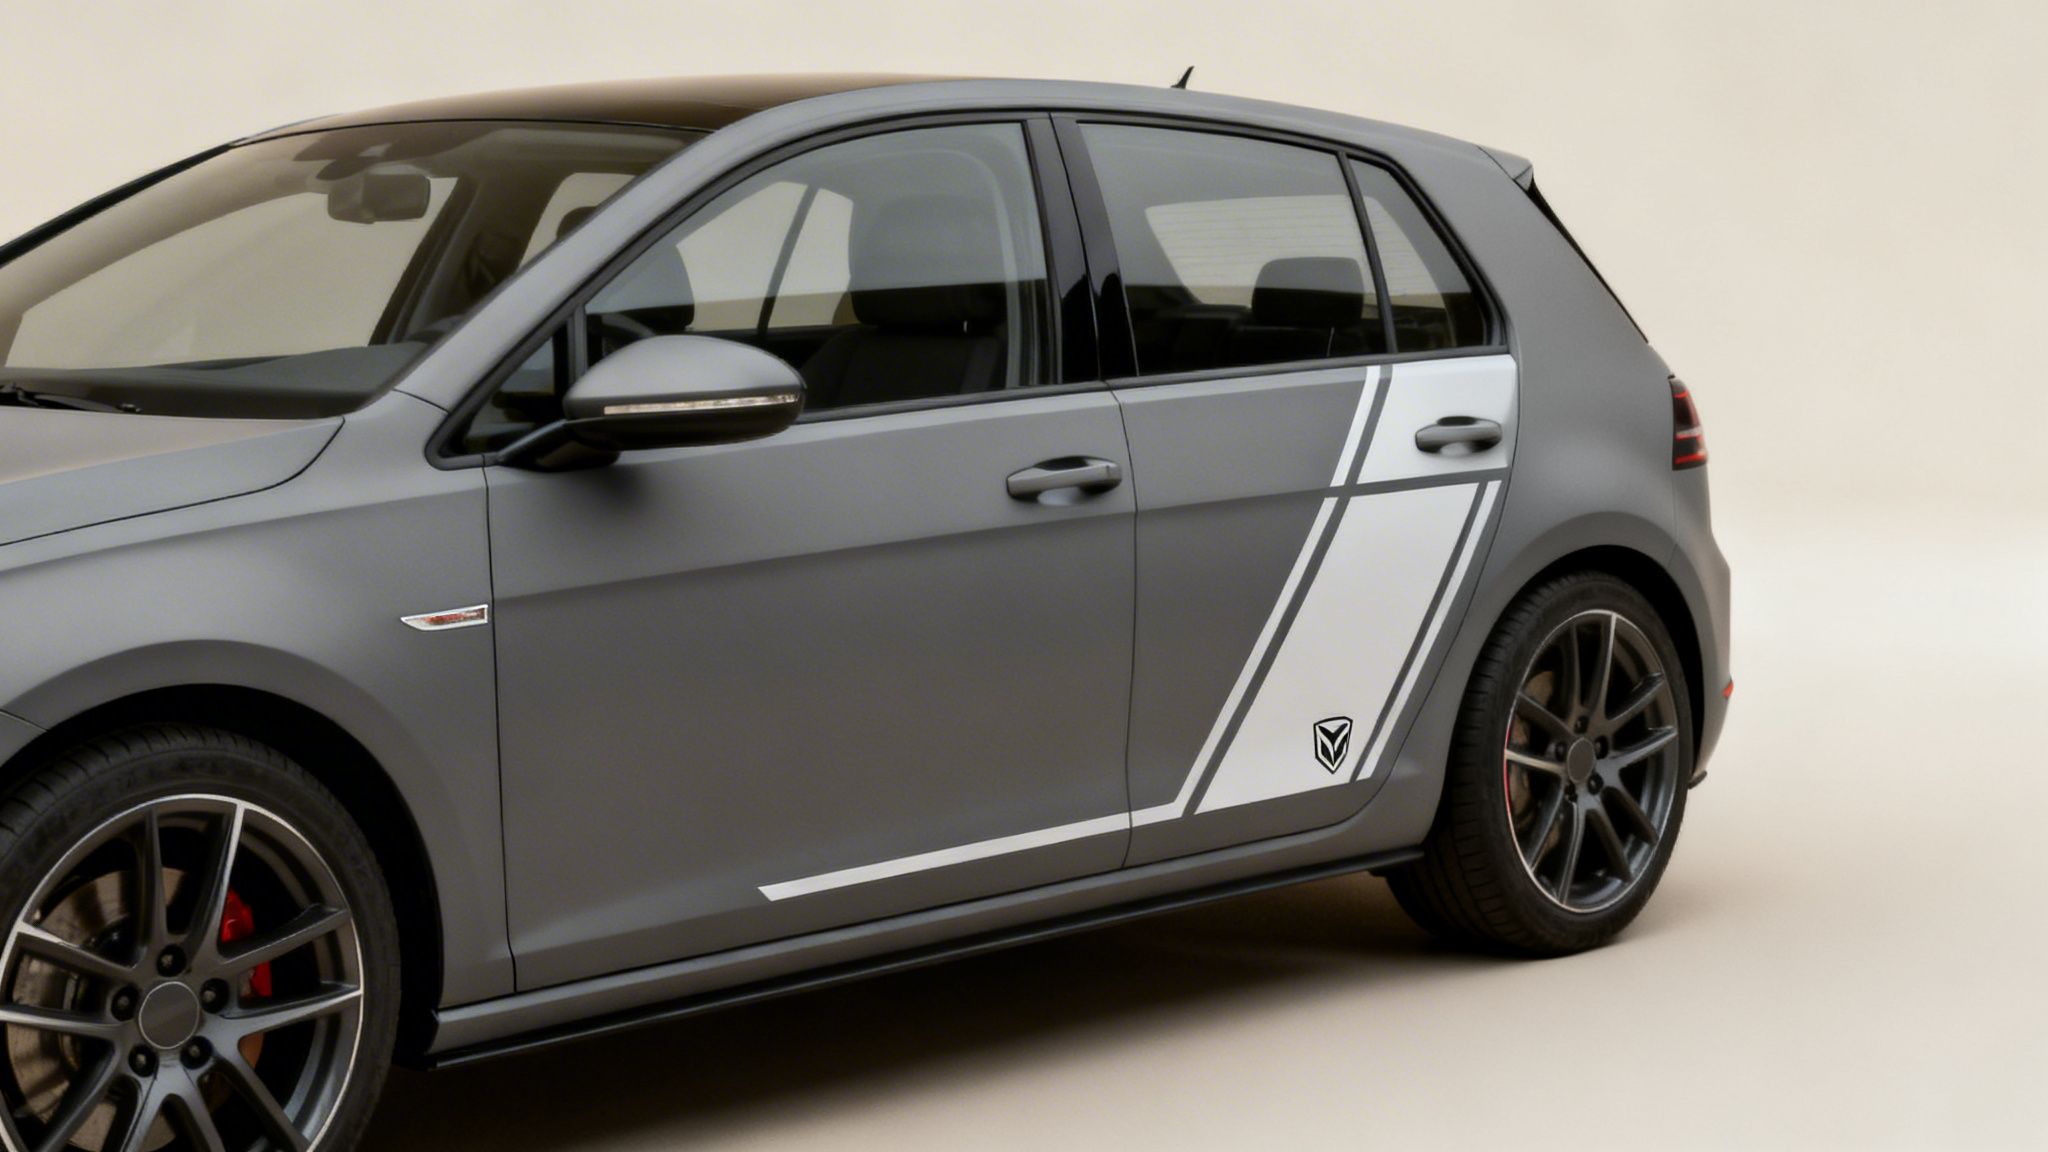
Designing Custom Decals That Turn Heads
This is where the real fun begins. Designing a custom decal is about more than just slapping a cool picture on your car; it’s about making a statement that looks like it belongs there. The goal is to create something that complements your vehicle’s lines and color, not just a random sticker that feels like an afterthought.
Vehicle customization isn't a niche hobby anymore. It's a huge part of car culture, driving massive demand for decals for car owners everywhere. The trend is especially strong in the U.S., where personalizing a ride is practically a national pastime.
Choosing Colors and Fonts
The first decisions you make—color and font—set the entire tone for your decal. Get these right, and you're halfway to a professional-looking design.
Color Contrast is King: Your decal has to be seen. A black decal on a dark-tinted window is just going to vanish, but a crisp white one will pop. Before you decide, hold a few color samples up to your car in different lighting—bright sun, on an overcast day, and at night. You might be surprised what works best.
Your Font Has a Vibe: The font you choose says a lot. Aggressive, blocky letters are a perfect match for a beefy off-road truck, while a flowing, elegant script can add a touch of class to a sedan. Just make sure it’s easy to read from a few feet away.
If you need some creative firepower to bring your ideas to life, an AI art generator can be an incredible starting point. It's a great way to experiment with different styles and concepts before you commit to a final design.
Getting the Technical Details Right
A brilliant idea can be totally ruined by a blurry, low-quality file. Paying attention to the technical side of your design is non-negotiable if you want a clean result.
The difference between a decal that looks sharp and professional and one that looks cheap and pixelated almost always comes down to one thing: resolution. An image that looks great on your phone screen can turn into a fuzzy mess when it's blown up to fit on a car door.
Always, always start with the highest quality file you can get. The gold standard is a vector format like .AI, .EPS, or .SVG. Unlike pixel-based images (like a .JPG or .PNG), vectors are made of mathematical lines and curves, so they can be scaled to any size—from a tiny emblem to a massive hood graphic—without losing an ounce of sharpness. It’s the secret to flawlessly crisp lines. For a simple and elegant touch, you might want to check out our custom name with heart sticker, which is designed with clean, vector lines.
Perfect Placement and Sizing
Finally, you need to think like a designer about where your decal is going to live. Proportions and balance are everything. Before you even click "order," grab a tape measure and head out to your vehicle.
Use a bit of masking tape to outline the decal’s exact dimensions in the spot you have in mind. This simple trick is a game-changer. It lets you step back and see how the size and shape really interact with your car's body lines, door handles, and existing emblems. Does it feel balanced? Is it crowded, or maybe too small for the space?
Consider these classic placement spots:
- Rear Window: The go-to spot for high visibility to anyone behind you.
- Side Doors: A huge canvas perfect for business logos or larger, more intricate graphics.
- Hood: The spot for making a bold, head-on statement with racing stripes or a centerpiece graphic.
Taking those few extra minutes to nail down the design, check your file quality, and map out the placement will ensure your custom decals for car windows or body panels turn heads for all the right reasons.
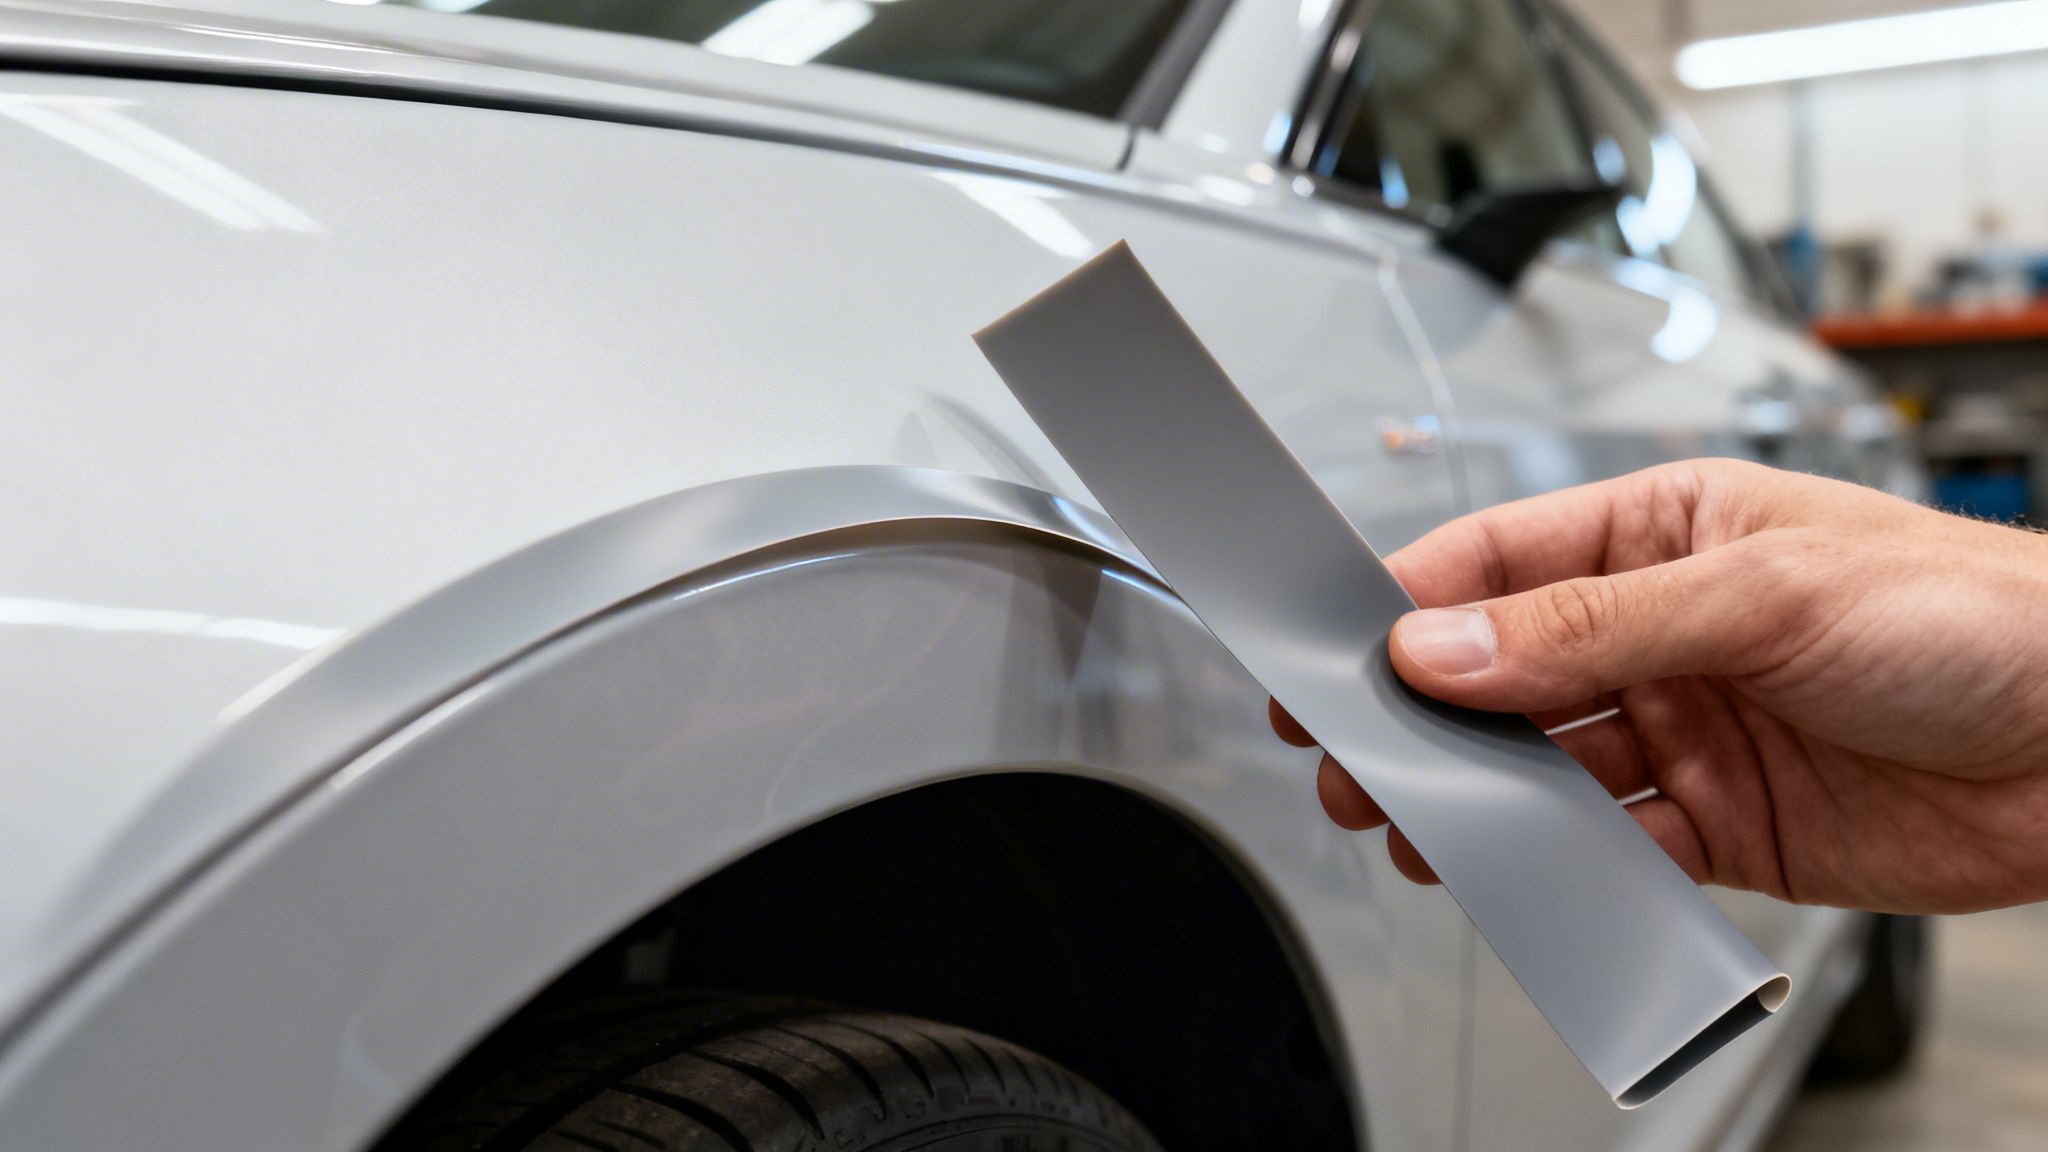
How To Apply Car Decals For A Flawless Finish
A premium decal is only as good as its application. While it might seem a little intimidating, getting that smooth, bubble-free finish is something anyone can do with the right technique and a bit of patience. This guide breaks it all down, step by step, to take you from a first-timer to a confident installer.
Proper prep is everything. Seriously. An unclean surface is the #1 reason for decal failure, since dust, wax, or oils will stop the adhesive from getting a solid grip. If you want your decals for car windows or body panels to last, skipping this step just isn't an option.
Prepare The Surface For Perfect Adhesion
First things first, pick your spot. The sweet spot for applying vinyl is somewhere between 50°F and 80°F (10°C to 27°C). Try to stay out of direct sunlight, which can make the surface hot and the adhesive grabby, and avoid extreme cold, which makes the vinyl stiff and hard to work with.
- Clean Thoroughly: Wash the area with regular soap and water, then give it a good rinse. This gets rid of the first layer of dirt and road grime.
- Degrease the Area: Once it's dry, wipe the surface down with isopropyl (rubbing) alcohol on a clean, lint-free cloth. This is the crucial part that removes any stubborn wax, grease, or residue that soap can't touch.
- Final Dry Wipe: Grab a fresh microfiber cloth and give it one last wipe to make sure it’s completely dry and free of any dust.
Position Your Decal With The Hinge Method
Before you even think about peeling off the backing, you need to lock in the perfect placement. This is where the "hinge method" comes in—it’s a pro trick that guarantees your decal goes on straight and exactly where you want it. There are no do-overs once that adhesive makes contact, so think of this step as your safety net.
Take a roll of masking tape. Position your decal on the vehicle, then step back and look at it from a few different angles to make sure it’s level. Once you’re happy with the spot, run a strip of masking tape horizontally across the center of the decal, sticking it firmly to the vehicle’s surface. This piece of tape is now your hinge.
The whole process of bringing a custom decal to life starts way before you get to this point—it's all about having a good idea, a solid design, and taking careful measurements.
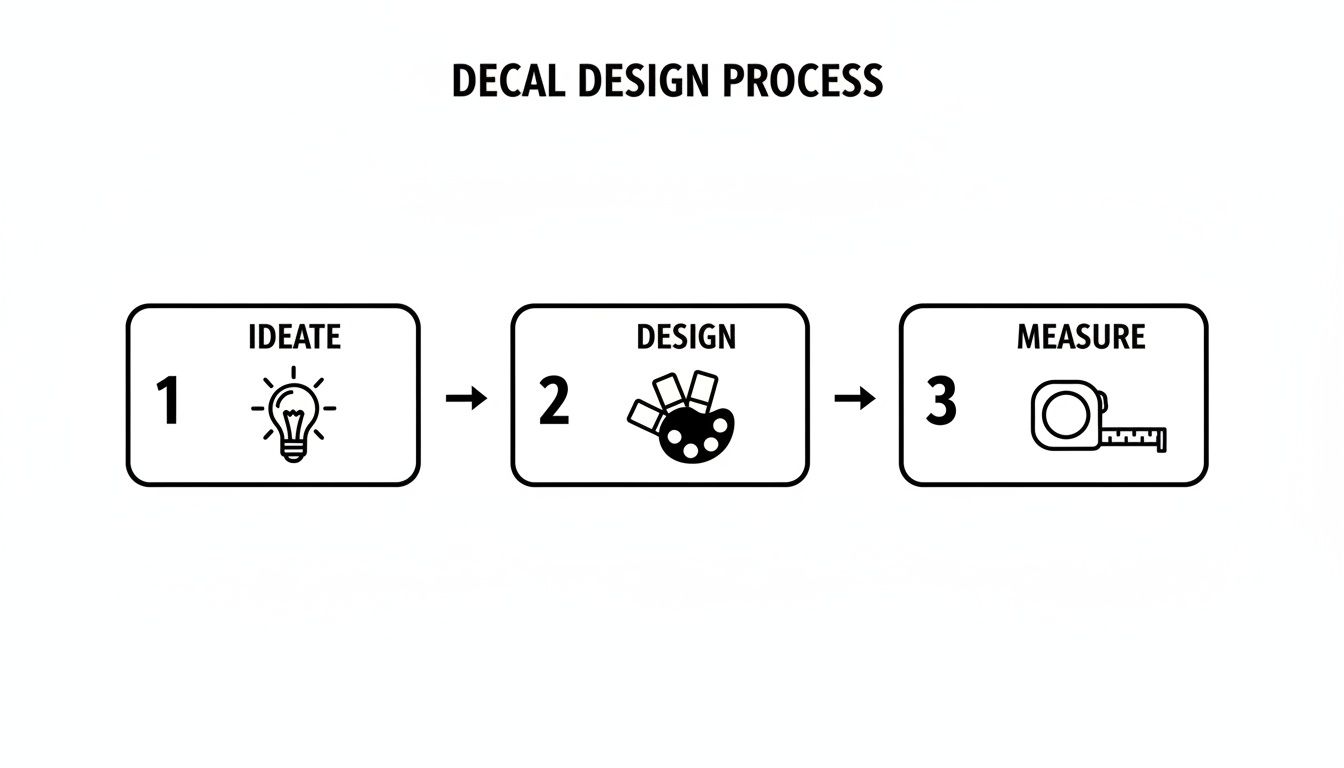
This just shows that a great result really depends on a thoughtful plan, starting long before the decal even gets printed.
Apply The Decal For A Bubble-Free Finish
With your hinge firmly in place, you're ready for the main event. By working on one half of the decal at a time, you keep total control over the process.
Lift one side of the decal up toward the tape hinge. Carefully start peeling the waxy backing paper away from the clear transfer tape, stopping right when you get to the hinge. Grab some scissors and cut off that loose piece of backing paper.
Now, holding the edge of the transfer tape taut, use a squeegee (or a credit card wrapped in a soft cloth) to press the decal onto the surface.
Pro Tip: Always start from the center hinge and work your way outwards. Use firm, overlapping strokes at about a 45-degree angle. This pushes any trapped air out toward the edges and is the secret to preventing bubbles.
Once that first half is down, you can carefully remove the masking tape hinge. Now just repeat the process for the other side: lift it up, peel off the rest of the backing paper, and squeegee it down from the center outwards. If you need some inspiration, check out our collection of Corvette racing stripe decals—they are a perfect example of graphics that really benefit from this precise method.
Final Steps: The Big Reveal
After the whole decal is squeegeed down, go over the entire graphic one more time with firm pressure to make sure you have a strong bond. Now for the satisfying part—removing the transfer tape.
Start at one corner and slowly peel the transfer tape back on itself at a sharp 180-degree angle. Don't pull it straight up and away from the vehicle, as this can pull the vinyl right off. If you see any part of the decal starting to lift up with the tape, just lay that section back down, press it firmly with the squeegee, and then continue peeling.
Once the transfer tape is completely off, you've got a perfectly applied decal. Just be sure to let the adhesive cure for at least 24-48 hours before you wash the vehicle. Following these steps will give your decals for car a professional, painted-on look that you can be proud of.
Keeping Your Decals Looking Great (And How to Remove Them)
Your new decal is on and it looks killer. Now, how do you keep it that way?
The good news is that high-quality cast vinyl is built to last. With just a little bit of care, a decal can easily survive 7+ years of blazing sun, icy winters, and everything in between. Better yet, the maintenance is incredibly simple, and when it’s finally time for a change, getting it off is just as easy.
Caring for your car and truck decals is all about being gentle. You can and should wash your vehicle normally, but a few small tweaks will make all the difference. The biggest enemy of a decal’s long life is a high-pressure washer aimed directly at its edges. That’s the weak spot.
Smart Washing Habits
Washing a car with decals doesn’t require special soaps or fancy tools—just a bit of common sense. You want to treat the decal with the same care you’d give your paint.
- Hand Washing is King: A classic two-bucket hand wash with a soft mitt and good automotive soap is the safest way to go. Just wash right over the decal like it’s part of the car.
- Pressure Washer Caution: If you're using a pressure washer, just stand back a bit and hit the decal at an angle. Never, ever aim the nozzle directly at the edges of the decal. That powerful stream of water can get underneath and start to lift it.
- Avoid Abrasives: Steer clear of rough brushes, cutting compounds, or abrasive polishes on the vinyl itself. Over time, these can scratch or dull the finish.
A well-maintained decal is a durable one. High-quality vinyl is engineered to be incredibly resilient, but protecting its edges from direct, high-pressure force is the single most important thing you can do to ensure it lasts for its full lifespan.
Think of it like this: your decal’s adhesive bond is incredibly strong across its entire surface, but its weakest point is that thin, fine line along the outer edge. Protect that edge, and the decal will stay perfectly sealed for years.
How to Safely Remove Old Decals
Sooner or later, the time will come to take an old decal off. Maybe you’re updating your style, or maybe you’re getting ready to sell the vehicle. The goal is a clean removal without leaving a sticky mess or, even worse, damaging the paint.
Thankfully, with a little heat and patience, it’s a painless job.
The whole secret is to soften the adhesive so it lets go. The best tool for this isn't anything fancy—just a standard hairdryer or a heat gun on its lowest setting.
Here’s the simple, paint-safe removal process:
- Heat the Surface: Gently warm up the entire decal by moving your hairdryer back and forth from about six inches away. You’re not trying to cook it, just get it warm to the touch. This softens both the vinyl and the glue underneath.
- Lift an Edge: Once it’s warm, use your fingernail or a plastic razor blade to carefully pry up one corner. Avoid metal tools at all costs—they’ll scratch your paint in a heartbeat.
- Peel Slowly: With a corner lifted, start pulling the decal off. The trick is to pull it back on itself at a sharp, low angle (almost 180 degrees), not straight up. If it starts to get tough, just hit it with a little more heat.
- Clean Up the Residue: After the vinyl is gone, you’ll probably have some sticky residue left. An adhesive remover like Goo Gone or some isopropyl alcohol on a microfiber cloth will take it right off without harming your paint.
- Final Polish: Once the sticky stuff is gone, just wash the area and hit it with a coat of wax to protect the paint and bring back that perfect shine.
Follow these steps, and your vehicle's surface will look brand new, ready for its next custom look.
Before you slap that awesome new windshield banner or side window graphic on your ride, pump the brakes for a second. Where you put your decals for car windows and body panels is more than just a style choice—it’s a matter of safety and, in many cases, the law. State and local rules are in place to make sure nothing gets in the way of your vision, and ignoring them can earn you a ticket you definitely don't want.
The most important real estate on your vehicle is the front windshield. Your view has to stay completely clear and unobstructed for you to drive safely, and there’s a specific, federally mandated mark that tells you exactly where the limit is.
The Windshield AS-1 Line
Take a close look at the upper corners of your front windshield. You should find some tiny lettering that includes "AS-1." This isn't just random text; it designates the American Standard 1 line, which marks the highest grade of safety glass. More importantly for us, it's a legal boundary.
In most places, it is flat-out illegal to place any non-transparent material—including decals—below this AS-1 line. This line usually sits about five inches from the top of the windshield, marking the legal limit for sun strips and stickers.
Putting anything below that line can seriously block your view of traffic lights, road signs, and other hazards. The golden rule is to always keep your main field of vision crystal clear.
Keeping Other Key Areas Clear
While the windshield gets the most attention, there are other spots on your vehicle that need to stay clear to keep you safe and legal on the road.
- Front Side Windows: The rules for the driver and front passenger windows are almost as strict as the windshield. Most states ban any decals that could block your view of the side mirrors or what’s happening around you.
- Headlights and Taillights: This one’s a no-brainer. Covering your lights with any kind of decal is a huge safety hazard. Even a light tint can dim your headlights or make it tough for other drivers to see you brake or signal, especially at night. It's illegal pretty much everywhere.
- Rear Window: You’ve got a lot more freedom here, especially if your vehicle has two good side mirrors. Still, you’ll want to avoid placing anything that blocks the view from your rearview mirror.
- License Plates: Never, ever cover any part of your license plate. This includes the state name, registration stickers, or the numbers and letters themselves.
The best thing you can do before applying any decal is to take five minutes and check your local DMV’s website. Traffic laws can be different from state to state, and a quick search can save you the headache of a ticket down the road. By placing your decals responsibly, you can show off your style without compromising your safety.
Your Top Questions About Car Decals, Answered
Jumping into the world of vehicle decals can bring up a few questions. To make sure you feel totally confident, we've rounded up the most common things people ask and laid out some clear, straight-up answers.
Can Decals Damage My Car’s Paint?
This is the number one concern we hear, and the answer is a solid no—as long as you’re using high-quality vinyl. Professional-grade cast vinyl is made specifically for cars and won't mess with your factory paint job.
The horror stories you hear usually come from cheap, low-grade stickers that were never meant for a vehicle. Those can leave a nasty, stubborn residue or even pull up paint when you try to remove them. Stick with reputable suppliers who use premium materials, and your paint will be perfectly safe.
Will Car Washes Ruin My Decals?
Your decals are tougher than you might think. You can absolutely take your car through an automatic wash or give it a good scrub by hand.
The only thing to watch out for is a high-pressure washer. If you aim that powerful, focused blast of water directly at the edges of the decal, it can work its way underneath the vinyl and cause it to lift over time. Just be mindful with the pressure washer, and your graphics will stay right where you put them.
The sweet spot for applying vinyl is between 50°F and 80°F (10°C to 27°C). If you try to apply decals in extreme heat, the adhesive gets overly sticky and tough to handle. In the cold, the vinyl becomes stiff and brittle, which keeps it from forming a strong bond with the surface.
How Long Do Car Decals Last?
How long your decal lasts comes down to one thing: the quality of the vinyl. An economy-grade calendared vinyl might only make it a year or two before it starts to crack, fade, and look tired.
On the other hand, a premium cast vinyl decal—the same stuff used for professional vehicle wraps—can easily last for 7 years or more with just basic care. It's built to stand up to sun, rain, and snow without giving up.
Can I Apply Decals Myself?
Absolutely! While you might want to call in a pro for a massive, full-body graphic, applying most decals for car windows and body panels is a totally doable DIY project.
The keys to success are simple: start with a perfectly clean surface, have a little patience, and use the "hinge method" with masking tape. This lets you lock in the perfect alignment before you peel off the backing and commit.
What Is The Best Way To Remove Old Decals?
Getting old decals off your car is a simple process that won't cause any damage if you do it right. The secret ingredient is heat.
- Warm It Up: Grab a hairdryer and gently heat the vinyl. This softens up the adhesive underneath, making it much easier to release.
- Peel Slowly: Once it’s warm to the touch, use your fingernail or a plastic razor blade to lift a corner. Then, peel the decal back on itself at a low, sharp angle. Don't just rip it off.
- Clean Up the Gunk: Any sticky stuff left behind can be wiped away easily with a good adhesive remover or some isopropyl alcohol on a soft cloth.
By following these simple tips, you can apply, maintain, and remove your decals with confidence, making sure your ride always looks its best.
Ready to give your vehicle a unique look that lasts? At Custom Sticker Shop, we craft premium, American-made vinyl decals designed to turn heads and stand up to the elements. Explore over 1,200 designs and find your perfect style today at https://customstickershop.us.