
A custom window sticker for your GMC is more than just a piece of vinyl; it’s a way to make your truck or SUV truly your own. Whether you’re personalizing a Sierra, Yukon, or Canyon, a high-quality decal lets you showcase your personality, hobbies, or affiliations.
First, Let’s Decode Your Original GMC Window Sticker
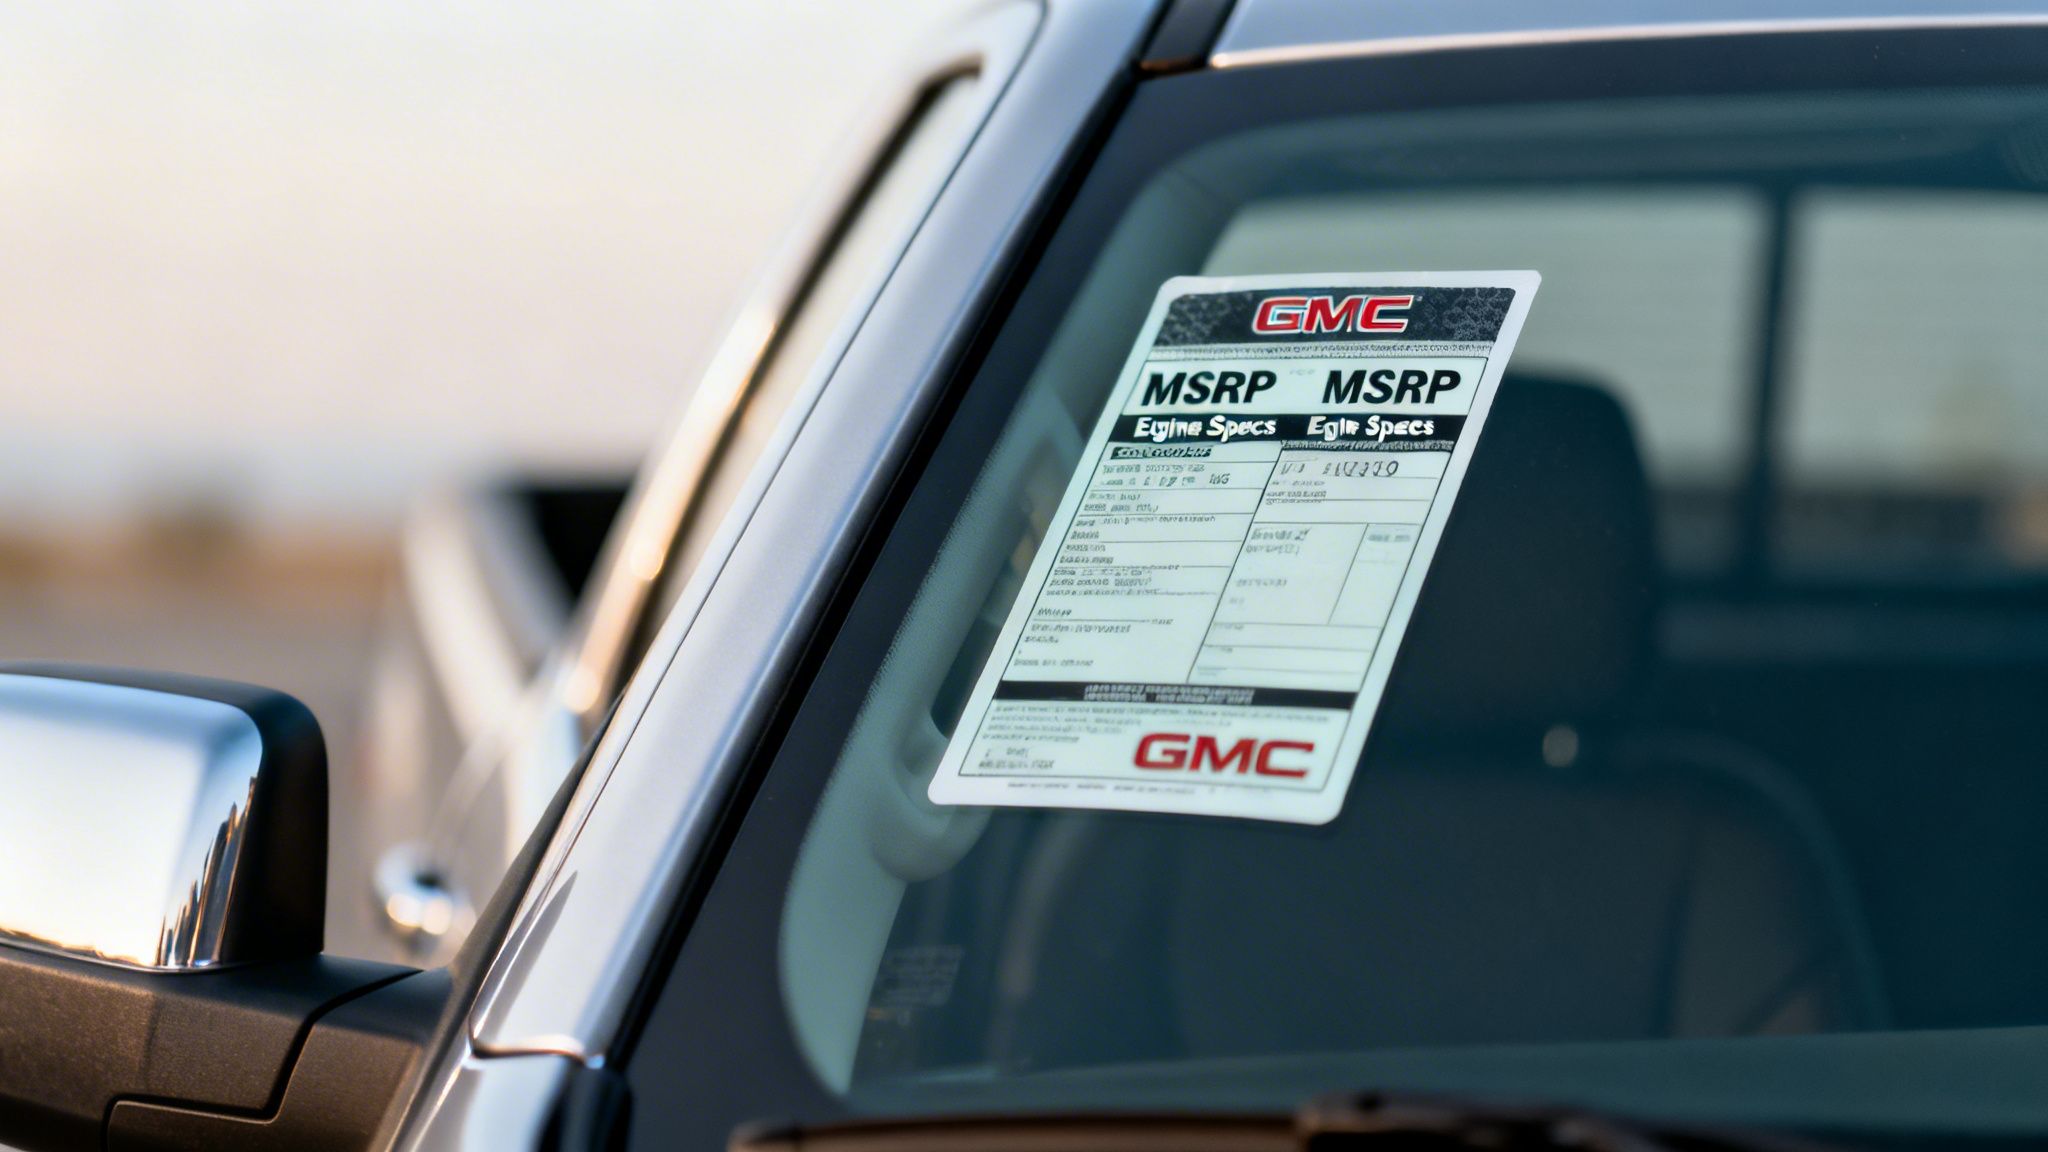
Before you start adding your own custom graphics, it’s a good idea to understand the sticker that came with your GMC from the factory. That sheet of paper isn’t just a price tag—it’s called a Monroney label, and it tells the complete story of your vehicle. Knowing what’s on it is the first step to smart, meaningful personalization.
Think of the original sticker as your truck’s birth certificate. It lays out exactly what makes your specific model unique, whether it’s a rugged AT4 with a special off-road package or a top-of-the-line Denali loaded with premium features.
What’s All This Info on the Factory Sticker?
The Monroney sticker is packed with crucial information that goes way beyond the Manufacturer’s Suggested Retail Price (MSRP). Here’s a quick rundown of what you’ll find:
- Vehicle Identification: The full Vehicle Identification Number (VIN), model, trim level, and official exterior/interior colors.
- Standard Equipment: A complete list of all the features that come standard on that particular trim.
- Optional Equipment: Every factory-installed add-on, from technology packages to towing upgrades, listed with its individual price.
- Fuel Economy: The official EPA-estimated miles per gallon (MPG) for city, highway, and combined driving.
- Safety Ratings: Crash test results from the National Highway Traffic Safety Administration (NHTSA).
- Warranty Information: The nitty-gritty details on your bumper-to-bumper and powertrain warranties.
This information is legally required to be on every new vehicle, ensuring total transparency for car buyers. It guarantees you know exactly what you’re paying for, from the engine specs right down to where it was assembled.
This legally required data is a goldmine. For a brand like GM, which held a 16.8% market share in the U.S. in 2024, details like parts content information are vital. For example, the window sticker on a GMC Hummer EV Pickup, which saw its sales rocket up by 517.09% in Q4 2024, breaks down its massive electric powertrain and U.S. assembly point. This helps buyers verify authenticity, especially since domestic content for some models has shifted over the years. You can dig deeper into this by checking out the full 2024 Made in America Auto Index.
Turning Factory Specs into Custom Style
So, how does this help you choose a custom decal? Simple. Understanding your truck’s factory details lets you make smarter, more personal choices.
Let’s say you see the “X31 Off-Road Package” listed on your Sierra’s sticker. That might inspire you to grab a rugged, trail-themed graphic that perfectly matches your truck’s capabilities. Or maybe you notice the exact paint code, which helps you pick a contrasting vinyl color that will seriously pop.
By starting with the facts on your original window sticker, your new custom decal won’t just be slapped on—it will feel like a natural, intentional upgrade that complements your GMC’s specific identity.
Finding a Decal That Matches Your GMC’s Vibe
Alright, let’s get to the fun part: picking a design that’s all you. A well-chosen decal does more than just decorate your truck—it gives it a personality. It’s about finding that perfect graphic that complements your GMC’s lines and speaks to your lifestyle.
Think of it like this: just as smart retail window display ideas can make a storefront pop, the right decal makes your truck stand out in a parking lot. You’re telling a story at a glance, whether it’s about your passion for the outdoors, pride in your country, or love for your family.
For a tough-as-nails GMC Sierra that spends more time on backroads than pavement, rugged graphics just make sense. We see a lot of hunting and fishing themes—think deer silhouettes or detailed bass designs—tucked onto the rear quarter window. These decals fit the truck’s purpose and show off what the owner loves to do.
Pairing a Style with Your GMC Model
Every GMC model has its own character, and the right decal can really amplify it. An Acadia, which is often the go-to family vehicle, is the perfect canvas for custom family stick figures or a decal celebrating the kids’ soccer team. On the other hand, a sleek, black Yukon Denali almost demands something more understated—maybe a clean, monochrome American flag or a minimalist mountain range graphic.
Here’s a look at how we see owners pairing decal styles with specific models.
GMC Model and Decal Pairing Guide
Find the perfect decal style to match your GMC model’s personality and common uses.
| GMC Model | Common Owner Profile | Recommended Decal Theme | Ideal Placement |
|---|---|---|---|
| GMC Sierra | Outdoorsman, Tradesperson, Patriot | Bold Hunting/Fishing Graphics, Off-Road, American Flags | Rear Window, Tailgate |
| GMC Canyon | Adventurer, Weekend Warrior | Topographical Maps, Compass Designs, Brand Logos | Rear Quarter Window, Bedside |
| GMC Yukon | Executive, Family Protector, Veteran | Minimalist Graphics, Military Tributes, Subtle Logos | Rear Window (Upper Corner), Side Window |
| GMC Acadia | Family Hauler, Sports Parent | Custom Family Decals, Sports Team Logos, Hobby Themes | Rear Window, Side Window |
This table should give you a solid starting point for brainstorming ideas that feel authentic to your specific truck and how you use it.
For a really assertive look, you can’t go wrong with a windshield banner. A well-designed banner, like a bold GMC Yukon sticker, frames the top of your windshield and adds a custom touch without getting in your line of sight. It’s a popular choice for owners who want to make an immediate impression.
Getting the Colors and Materials Right
The color of your decal is just as crucial as the design itself. The number one rule is contrast. A white or silver decal is going to pop against tinted windows or a dark paint job, while a black or dark gray graphic looks clean and sharp on a white or light-colored truck.
Don’t be afraid to pull in an accent color that matches your truck’s emblems or trim. It’s a pro move that creates a cohesive, almost factory-custom look.
You also need to pick the right material for the job. You’re generally looking at two main options:
- Opaque Vinyl: This is the workhorse of the decal world. The design is a solid color cut from a sheet of high-quality vinyl. It provides the best visibility and sharpest contrast on any surface.
- Clear Vinyl: With this option, the design is printed onto a transparent background. It’s perfect for intricate, multi-color logos where you don’t want a solid background interfering, letting your truck’s paint show through.
Pro Tip: If you’re on the fence about a color, grab a piece of colored paper from around the house. Hold it up against your truck’s window or paint in different lighting—sun, shade, dusk. It’s a simple trick that gives you a much better real-world idea of how a color will look before you order.
How to Install Your Decal for a Perfect Finish
Applying a vinyl decal can feel a little high-stakes, but trust me, getting a perfect, bubble-free finish on your GMC is way easier than you think. With the right prep and a steady hand, your new graphic will look like it was done in a professional shop. The secret isn’t speed—it’s patience and a perfectly clean surface.
Honestly, the most important step happens long before the decal even touches your truck. An impeccably clean surface is absolutely non-negotiable for a strong bond. Any little bit of leftover dust, wax, oil, or even fingerprints can create a weak spot that leads to peeling or bubbling down the road.
This process graphic breaks down the steps that lead to a great decal choice, from matching your truck’s personality to locking in the final style.
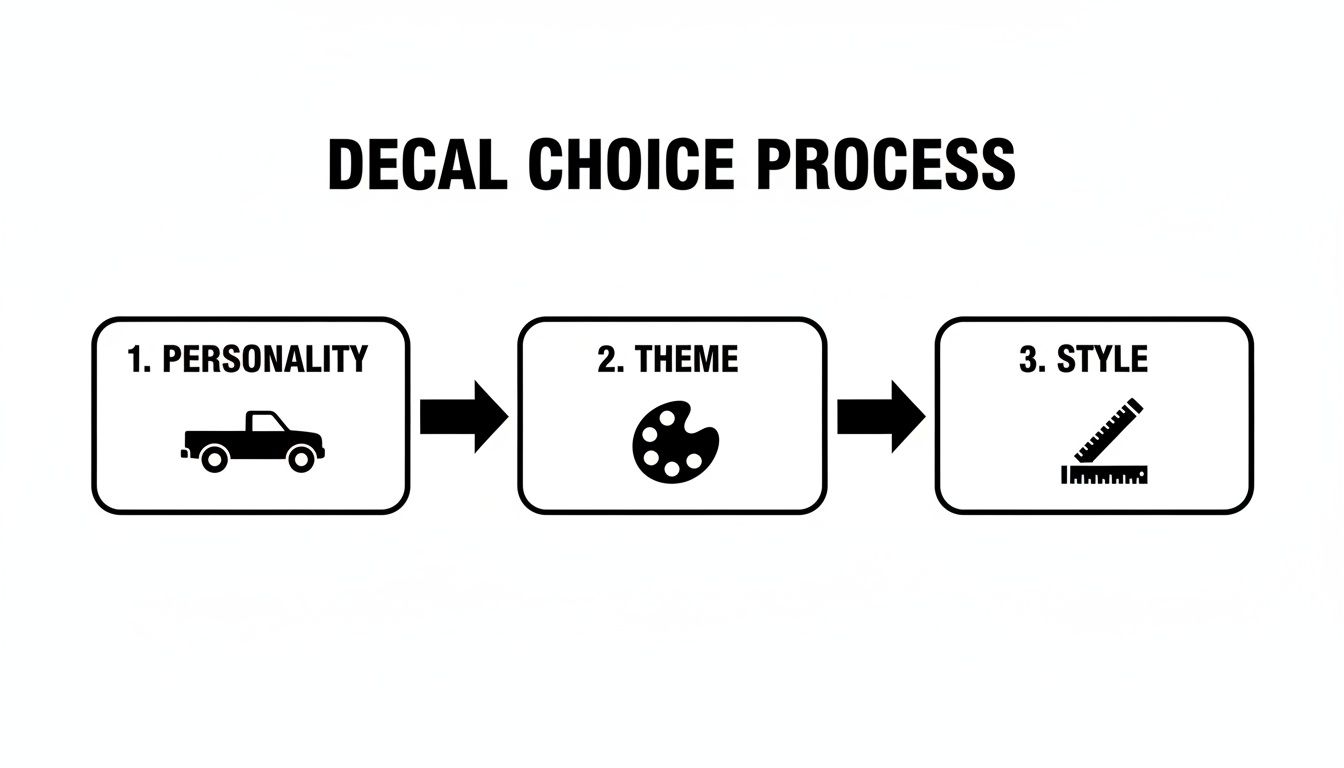
It’s a good reminder of how a little thought up front—connecting your truck’s identity to a specific theme—results in a look that feels cohesive and intentional.
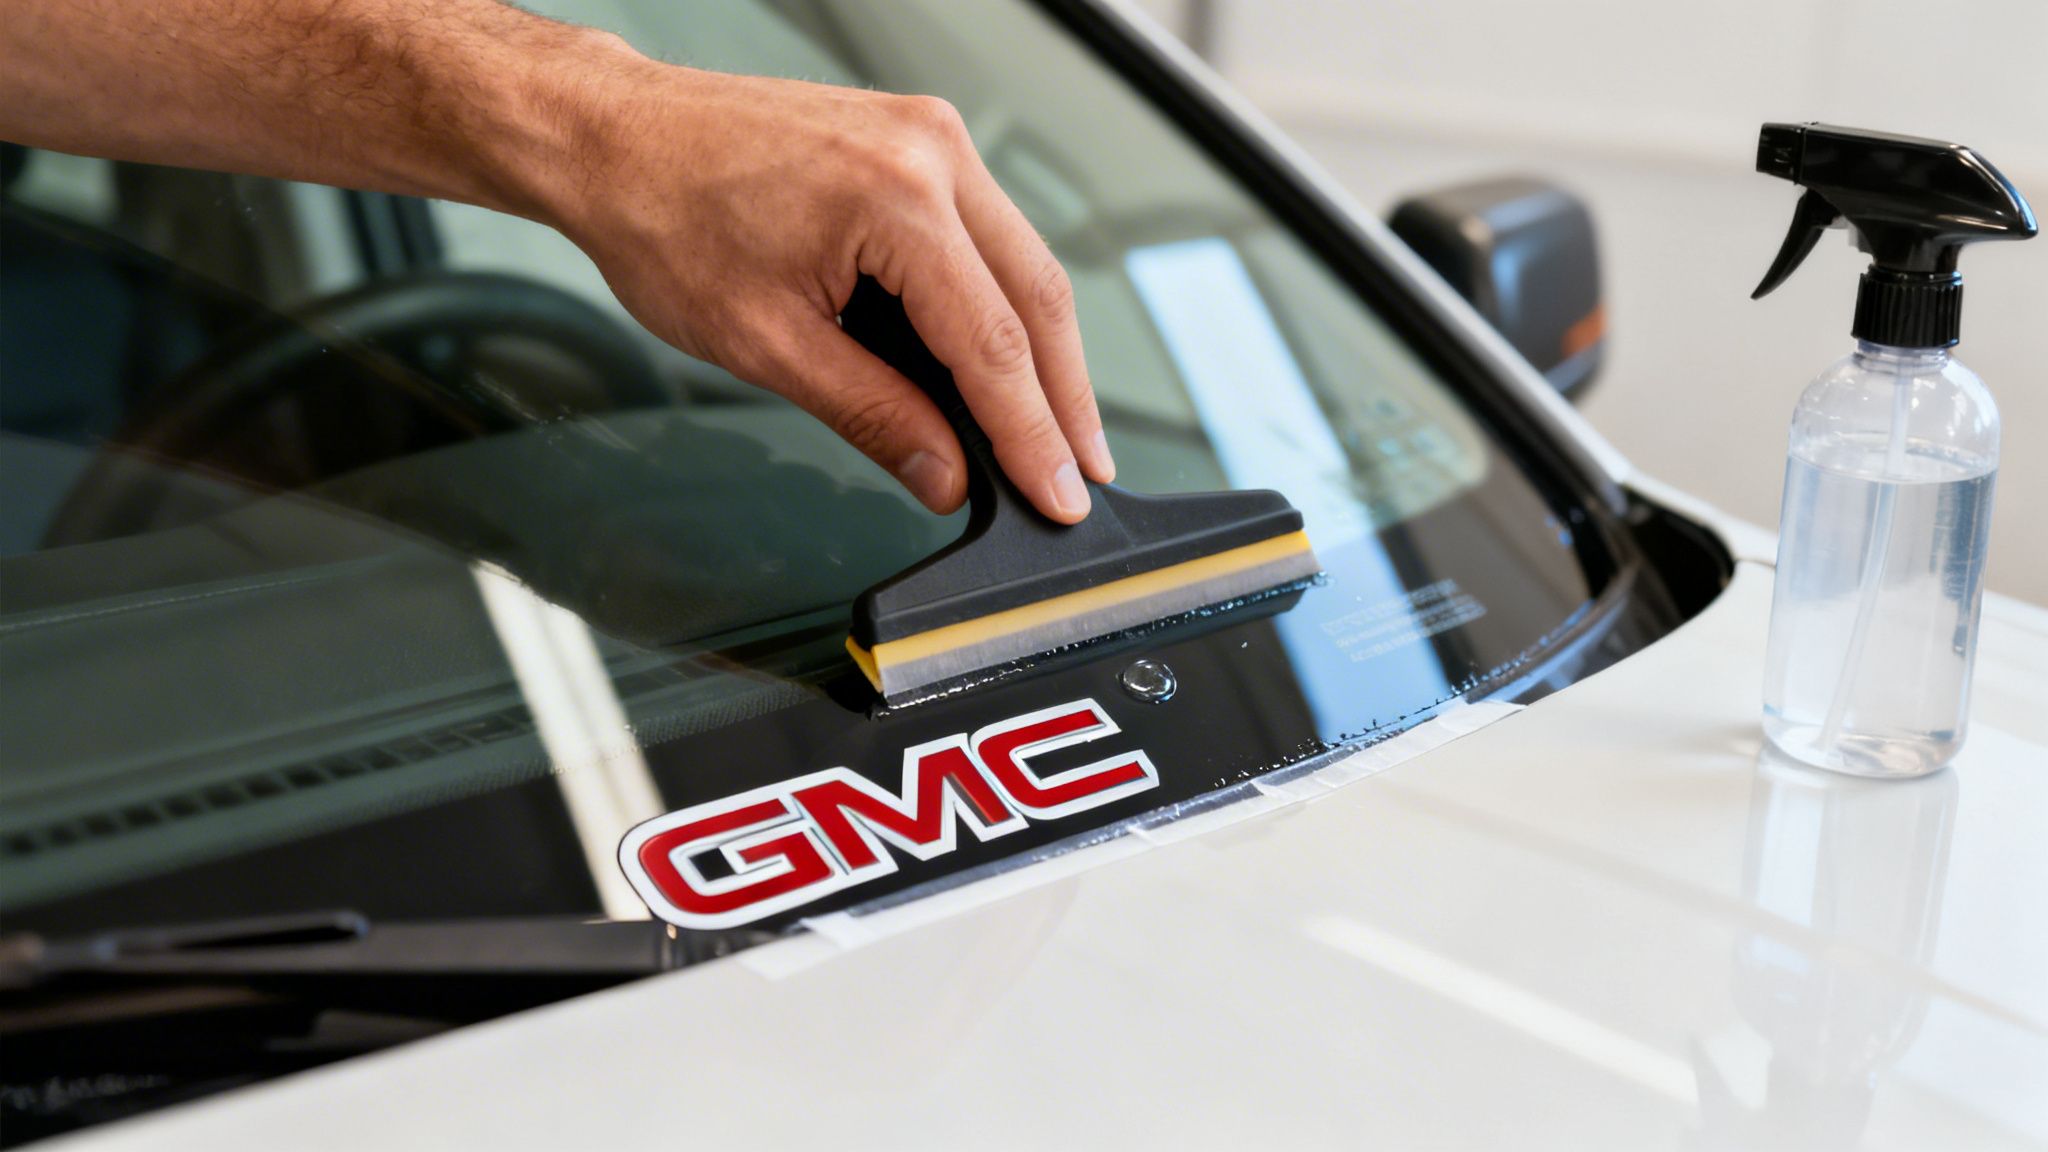
Getting the Surface Ready
First, let’s get your tools together. You’ll need a spray bottle with a mix of water and just a few drops of dish soap, a microfiber cloth, some isopropyl (rubbing) alcohol, and painter’s tape. A squeegee or even a rigid card like a credit card is also a must-have.
Start by washing the target area on your GMC’s window or body panel with the soap and water solution. This gets rid of the obvious dirt and grime. Dry it completely with a clean microfiber cloth.
Next, wipe the entire area down with isopropyl alcohol. This is the pro step that removes any stubborn oils, waxes, or residues that soap and water can’t touch. Let it air dry for a minute or so.
Don’t skip the alcohol wipe. Modern waxes and paint sealants are literally designed to repel things from sticking to your paint—and that includes your new decal. The alcohol gives the vinyl a perfectly clean surface to grab onto.
Positioning and Application Methods
With a clean slate, it’s time to position your window sticker gmc decal. Don’t peel anything yet! Just place the decal, backing paper and all, onto the spot you have in mind. Use painter’s tape to hold it in place while you step back and look at it from a few different angles.
- Measure Twice, Stick Once: Grab a tape measure to make sure the decal is level and centered. Check the distance from window edges or body lines to get the placement just right.
- Adjust as Needed: Painter’s tape is your best friend here. It lets you reposition the decal until you’re 100% happy with how it looks.
Once you’ve found the perfect spot, you’ve got two trusted methods to choose from for the actual application.
The Dry Hinge Method
This technique is my go-to for most decals because it gives you a ton of control. Place a strip of painter’s tape horizontally across the middle of your decal, sticking it firmly to the vehicle. This creates a “hinge.”
Now, carefully peel one side of the decal away from its backing paper, stopping right at the center tape hinge. Cut away the exposed backing paper with scissors. Using your squeegee, apply that half of the decal with firm, overlapping strokes, starting from the center hinge and moving outward.
Once that side is down, remove the center tape hinge. Then, peel away the remaining backing paper and squeegee the other half down, again working from the center outward. Finally, slowly peel the clear transfer tape off at a sharp angle, making sure the vinyl stays put.
The Wet Application Method
For larger or more complicated decals, the wet method is a lifesaver. It gives you some wiggle room. Lightly mist the application surface (not the sticky side of the decal) with your soap and water solution. This thin layer of water lets you slide the decal around to get the positioning perfect after you’ve removed the backing.
Once it’s in the right spot, use your squeegee to push the water out from underneath the vinyl. You’ll need to apply more pressure here to force the liquid out and get the adhesive to stick. The trade-off is that you’ll need to wait longer—sometimes a few hours—for the solution to dry before you can safely remove the transfer tape.
If you’re still looking for the perfect design, our shop has a huge variety of vinyl decal stickers that fit GMC trucks.
Keeping Your Custom GMC Decals Looking Sharp
Your new decal is on, perfectly installed, and your GMC has never looked better. Now, the real work begins: keeping it that way. The right long-term care is what separates a graphic that looks good for a year or two from one that stays crisp for the better part of a decade.
The single biggest factor in your decal’s lifespan is how you wash your truck. It’s tempting to blast away a week’s worth of dirt at the self-serve car wash, but you have to be incredibly careful with pressure washers. If you get the nozzle too close or aim it directly at the decal’s edges, you can easily lift the vinyl and force water right underneath.
Washing Your Truck the Right Way
Honestly, a gentle hand wash is always the safest bet for preserving your window sticker gmc decal. Just grab some quality automotive soap and a soft microfiber mitt, and wash over the decal with the same care you’d use on your truck’s paint.
If you’re set on using an automatic car wash, stick with the touchless systems. The high-pressure jets can still be a bit of a concern, but they are far less damaging than the giant, abrasive brushes and cloths you’ll find in traditional tunnel washes. Those spinning brushes are notorious for catching a decal’s edge and causing it to peel way before its time.
The passion for customizing GMC trucks is as strong as ever. Protecting that customization with durable materials and proper care ensures your investment lasts, keeping your truck looking its best.
Back in 2005, when GMC trucks were a common sight everywhere, General Motors held an impressive 28% of the U.S. vehicle sales market. While today that share is 16.8%, the desire to personalize these powerful trucks hasn’t faded one bit. Using premium, long-lasting materials like Oracal vinyl, which is rated for up to seven years outdoors, makes sure that decals celebrating family, military service, or hobbies can easily withstand the elements on a modern Sierra or Canyon. You can read more about GM’s historical market share if you’re curious.
Safe Cleaning Products and Sun Protection
When it comes to cleaning agents, simpler is always better. You’ll want to avoid any harsh chemicals, solvents, or abrasive polishes on or even near your decal. Just stick to your standard car wash soap.
- Avoid: Solvents, degreasers, and harsh chemicals. These can strip the color right out of your decal and weaken the vinyl’s adhesive over time.
- Avoid: Abrasive polishes or cutting compounds. These will scratch and permanently dull the surface of your decal.
- Do Use: A quality spray wax or a ceramic coating spray. Applying a thin layer of protection helps shield the decal from harsh UV rays and makes it much easier to clean next time.
Think of it like putting sunscreen on your decal. A regular application of wax or a sealant helps prevent the sun from fading the colors and drying out the vinyl. Once the vinyl gets brittle, it starts to crack and peel. This simple step is your best defense for keeping your custom graphics vibrant for years to come.
Fixing Common Decal Problems Like a Pro
Even with a perfect installation, you might spot a small issue with your new window sticker gmc decal later on. Don’t sweat it. Most of these little hiccups are easy to fix with a bit of patience and the right touch, keeping your truck’s new look sharp and clean.
The most common problem by far is a tiny air bubble that snuck past you during the application. It usually happens when the squeegee misses a spot, trapping a pocket of air between the vinyl and the glass. Thankfully, the fix is simple and doesn’t require peeling anything back up.
Tackling Annoying Air Bubbles
If you find a stubborn air bubble, just grab a fine needle or the very tip of a craft knife. Gently prick a tiny hole right in the center of the bubble. You barely need any pressure—just a small puncture is all it takes to give the trapped air an escape route.
Next, use your thumb or the corner of your squeegee to carefully press the air out through that new hole. I find it works best if you start from the outer edge of the bubble and work your way toward the center. The vinyl will lay down flat, and the tiny hole will be practically invisible when you’re done.
Here’s a pro tip: Small bubbles often fix themselves after a few weeks, especially in the summer. The sun’s heat causes the vinyl to expand and contract just enough to let trapped air escape naturally through the material.
Dealing with Lifting Edges
Noticing an edge of your decal starting to peel up? This is almost always caused by a little bit of leftover oil or wax that was missed during the cleaning step. You’ll want to address it quickly before dirt and grime get underneath and kill the adhesive for good.
First, use a cotton swab dipped in isopropyl alcohol to carefully clean under the lifted edge. Let it air dry completely.
Now, grab a hairdryer on its lowest heat setting and gently warm the vinyl. This makes the material more flexible and helps reactivate the adhesive. Once it’s warm to the touch, press the edge down firmly with your thumb or a clean microfiber cloth for about 30 seconds until it sticks securely again.
This is a common issue with large banners that face constant abuse from wiper blades, which is why a professionally installed windshield banner like the popular GMC Sierra AT4 banner is often the best bet to avoid edge-lift altogether.
GMC Decal FAQs: Your Top Questions Answered
When you’re ready to personalize your truck, a few questions always pop up. We get it. Here are straight-to-the-point answers to the most common things GMC owners ask us about choosing, applying, and caring for their custom decals.
How Long Will My Decal Last on My Truck?
Absolutely. We build our vinyl decals from professional-grade Oracal vinyl, which is made specifically for the abuse of outdoor automotive life. This isn’t your craft store stuff.
This material is rated to last up to 7 years, fighting off sun fade, cracking from the cold, and peeling from rain or snow. That means your window sticker for a GMC will look just as sharp years from now, whether it’s on a daily driver Sierra or a weekend warrior Canyon.
Can I Put a Decal on My Truck’s Paint?
Yes, you can safely apply our vinyl decals right onto your GMC’s paint. The adhesive is engineered to hold on tight for years but is also formulated to come off clean without wrecking your factory clear coat—as long as the paint is in good shape to begin with.
Just make sure the surface is spotless before you start. Any leftover wax, ceramic coating, or road grime will stop the decal from getting a good grip.
One pro tip we always share: never apply decals over fresh paint. Most body shops will tell you to wait at least 30-60 days. The paint needs time to fully cure and “outgas” before you stick any vinyl graphics on it.
It’s also easier than ever for owners to verify their truck’s original specs before adding that personal touch. The move toward digital window stickers is changing how dealerships track inventory, which is a huge help as more GMCs, like the Canyon (with sales that recently shot up 262%), hit the used market. For you, this means more vehicle history is available online, so you can confirm original details before adding that perfect family or military-themed decal. You can learn more about the advantages of digital window stickers and how they’re helping owners.
Are Decals Legal on My Windshield or Windows?
Legality is a big concern, and the rules can be a little different from state to state. But generally speaking, putting decals on your truck’s windows is perfectly legal as long as they don’t block the driver’s critical line of sight.
Here are a few solid guidelines to follow that will keep you on the right side of the law almost anywhere:
- Front Windshield: Most states are fine with small stickers in the lower corners (passenger or driver side). You can also usually run a narrow banner, often called an “eyebrow,” along the very top edge above the AS-1 line.
- Side Windows: The front side windows by the driver and passenger are often restricted. The rear side windows? They usually have far fewer limitations.
- Rear Window: This is the most popular and least restricted spot for a reason. It’s the perfect canvas for larger graphics without causing any legal headaches.
It’s always smart to double-check your local state regulations to be 100% sure, but sticking to these placements will keep you in the clear in most places.
How Do I Get an Old Decal Off?
Taking off an old vinyl decal is actually pretty simple. The whole trick is using a little bit of gentle heat to soften up the vinyl and loosen the adhesive. A hairdryer on a low or medium setting is the perfect tool for the job.
Gently warm up one corner of the decal until it gets soft and pliable. Once it’s warmed up, you should be able to peel it back slowly at a sharp angle. If it leaves any sticky gunk behind, a little isopropyl alcohol or an automotive-grade adhesive remover on a microfiber cloth will clean it right up without hurting your glass or paint.
Ready to find the perfect decal for your ride? Custom Sticker Shop is a veteran-friendly, family-run business that’s been making American-made vinyl graphics since 2001. Check out over 1,200 designs and take advantage of our Buy 2 Get 1 Free offer today.
Find your next decal at https://customstickershop.us.