
TRD decals are more than just stickers. They're a badge of honor, a direct link to Toyota's legendary dominance in off-road racing. When you add those graphics, especially the classic tricolor designs, you're connecting your truck to a history of high-performance engineering that’s been proven in the dirt.
Picking the Right TRD Decal for Your Truck
Before you even think about adding a decal to your cart, it helps to know why they look the way they do. That famous tricolor logo isn't just a cool design; it carries a legacy forged over decades of off-road victories.
The whole look became a motorsport icon thanks to the legendary driver Ivan "Ironman" Stewart. Those unmistakable red, orange, and yellow stripes tearing across the desert on his race trucks meant something. Red stood for his passion, orange for his fierce determination, and yellow for his optimism about the future of racing. This history is why a simple graphic can completely transform your truck's identity.
Match the Decal to Your Truck's Vibe
Choosing the right Toyota Racing Development decals really comes down to the statement you want to make. Are you going for a subtle nod to performance or an aggressive, in-your-face, race-inspired look?
There are a few popular routes you can take.
Comparing Popular TRD Decal Styles
Use this quick comparison to find the TRD decal style that best fits your vehicle and personal taste.
| Decal Style | Best For | Common Placement | Design Vibe |
|---|---|---|---|
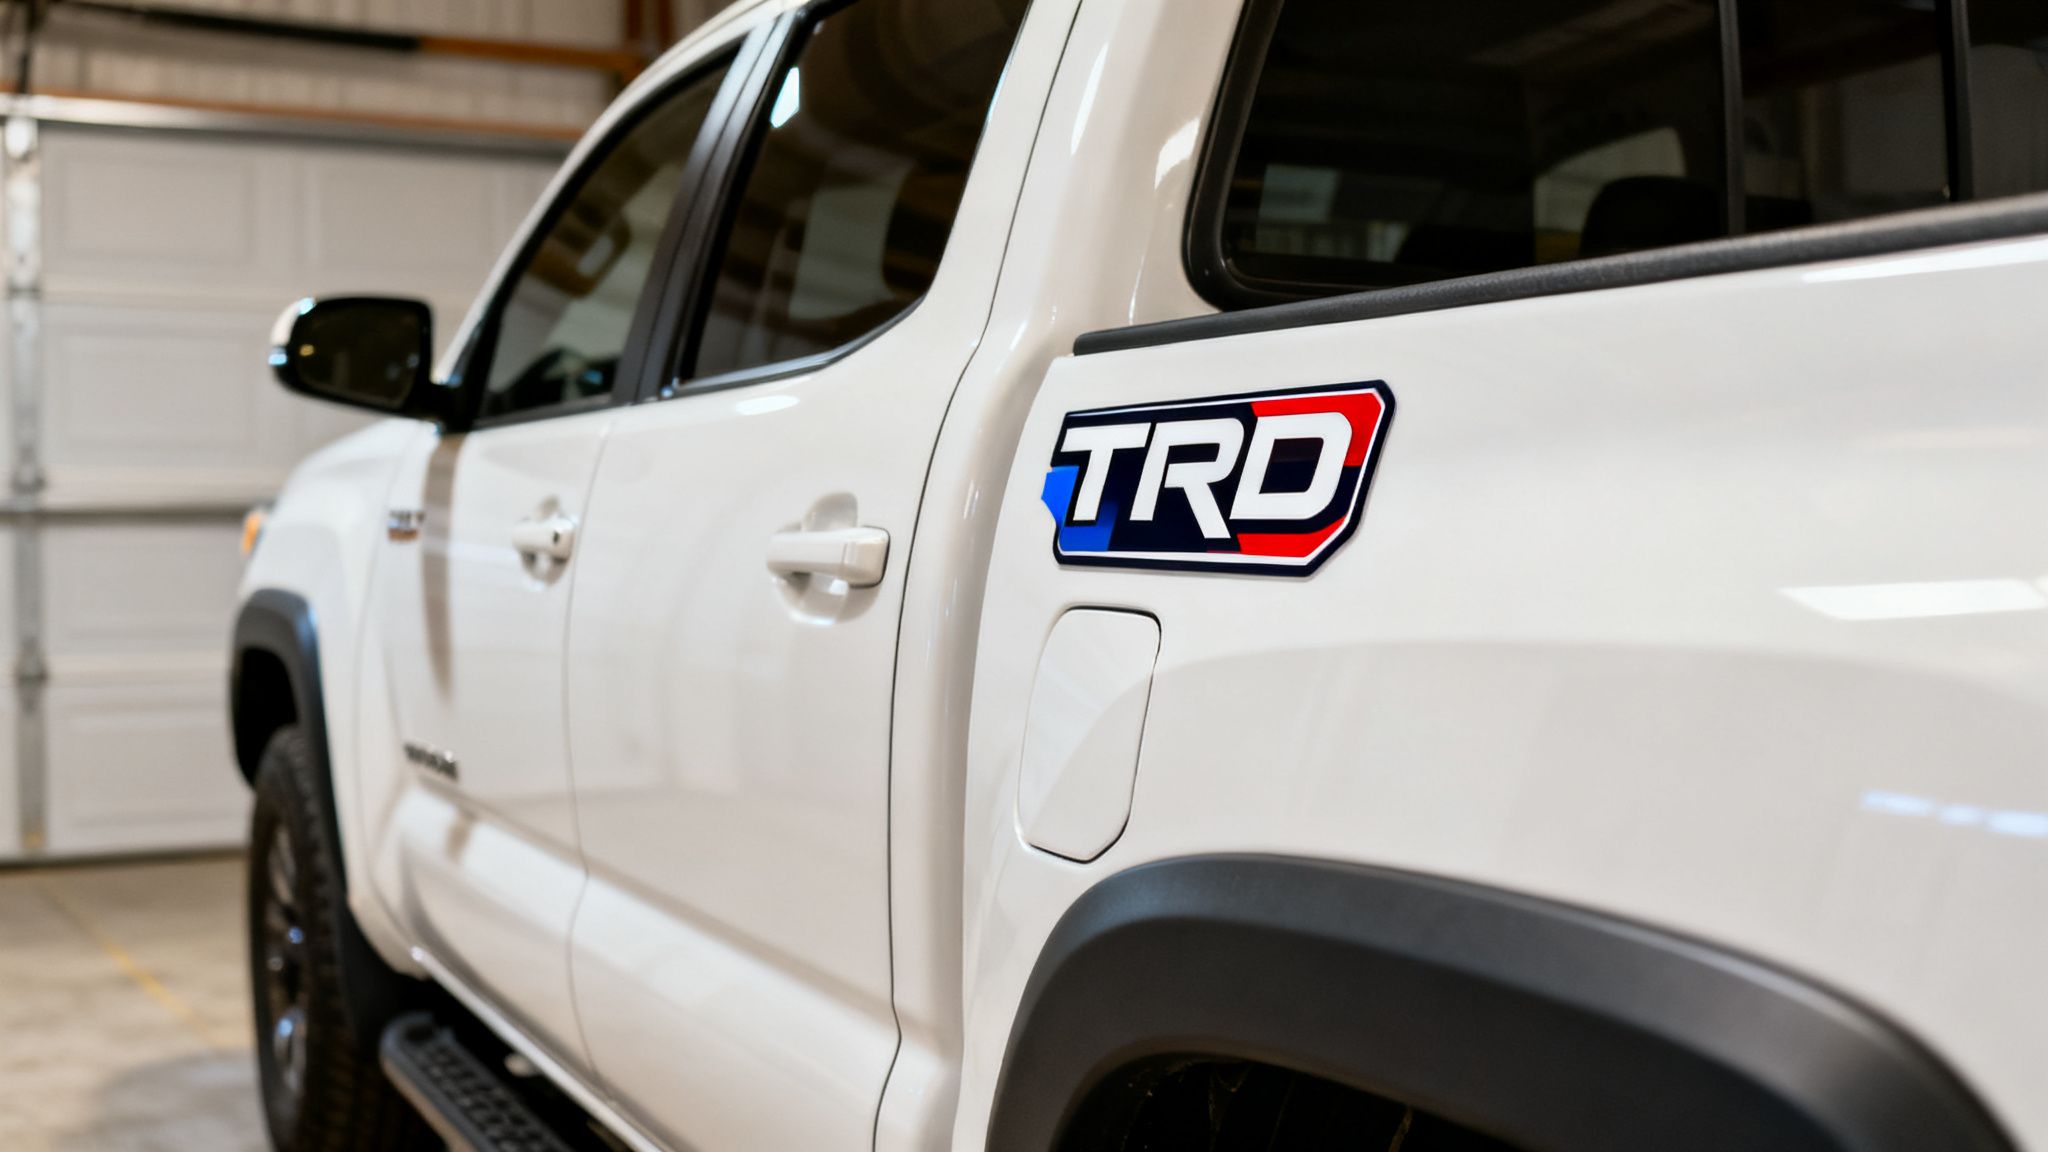
| Classic Bedside | Tacoma & Tundra owners wanting an OEM+ look | Rear quarter panel, bedside | Bold, Factory-Inspired, Rugged |
| Tricolor Stripes | Anyone wanting a direct nod to racing heritage | Grille, hood, tailgate | Retro, Motorsport, Classic |
| Subtle Window Accents | Owners who prefer a clean, understated aesthetic | Rear window, quarter glass | Minimalist, Clean, Subtle |
| TRD Pro Style | Creating an aggressive, top-trim appearance | Hood scoop, bedside | Aggressive, High-Performance |
Each style offers a different way to show your TRD pride, from loud and proud bedside graphics to the more refined look of small window accents.
The best decal applications always work with your truck’s existing body lines. It makes the graphic look like it belongs there, not like an afterthought.
No matter which style you land on, material quality is absolutely non-negotiable. Always go for professional-grade vinyl. It’s specifically engineered to stand up to sun, rain, and mud for years, ensuring your investment looks crisp and vibrant long after you’ve put it on.
And if you have a totally unique vision, you might want to explore how to make your own custom sticker to create a look that's 100% yours.
How to Perfectly Size and Position Your TRD Graphics
The difference between a decal that looks like it came from the factory and one that screams “afterthought” almost always comes down to two things: size and placement. Getting this right is the most critical part of the process, and it happens before you even think about peeling off the backing paper.
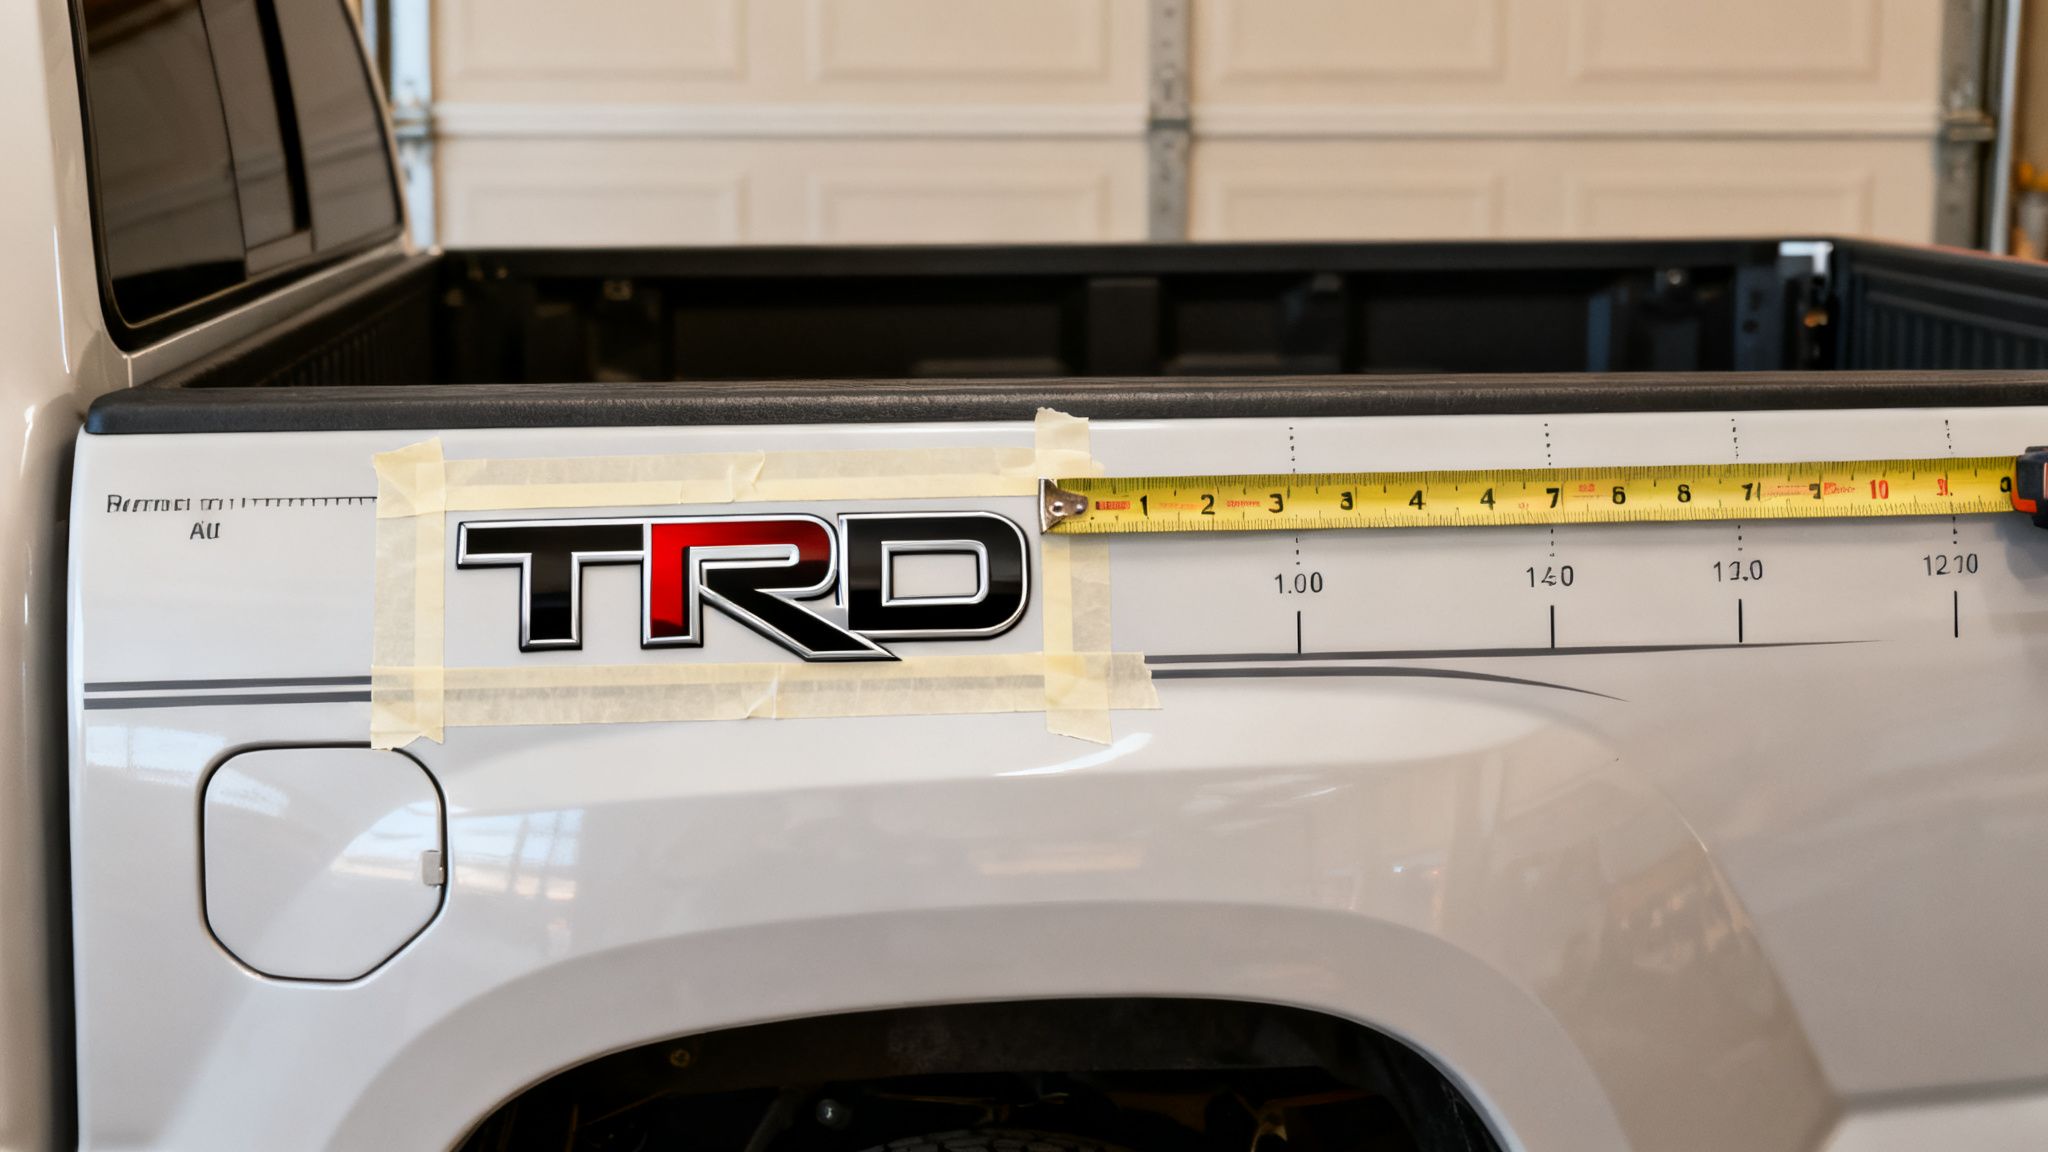
Your best friends for this job are a simple roll of painter’s tape and a measuring tape. First, figure out exactly where you want the graphic to go—the truck bed, a window, the hood—and measure the total available space. Use that measurement to create a temporary outline on your vehicle with the painter's tape.
This little trick is a game-changer. It lets you step back, walk around the truck, and really see how the decal will look from different angles. It’s a five-minute job that prevents the classic mistake of ordering a decal that’s way too big for the panel or so small it just gets lost.
Working With Your Vehicle's Body Lines
Every truck has its own unique curves and creases. The best decal jobs I've seen are the ones that work with these body lines, not against them.
For a classic bedside graphic on a Tacoma, for example, try aligning the top or bottom edge of the decal perfectly with a prominent body crease. It instantly makes the graphic look like it belongs there, creating a clean, integrated appearance.
A great rule of thumb is to maintain consistent spacing from all the edges. If you decide to place the decal two inches from the taillight, make sure it's also two inches from the wheel well. This creates that balanced, centered look you're going for.
While every project is different, here are some common starting points for different models:
- Tacoma/Tundra Bedside: Most graphics land between 18 to 22 inches in length. This size fits perfectly in that sweet spot between the wheel well and the taillight.
- 4Runner Rear Window: To avoid blocking your view, a decal around 12 to 15 inches wide usually looks best.
- Windshield Banners: These are often model-specific, and you can check out different windshield banner decals that fit a Toyota Tacoma to see how size and design play together.
In the end, it’s all about achieving visual balance. Take your time with the painter’s tape mock-up, make adjustments, and trust your gut. A little bit of prep work here makes a massive difference in the final result.
Preparing Your Vehicle for a Flawless Application
Let’s be honest, the single biggest factor for a bubble-free, long-lasting decal isn't your squeegee game—it's the prep work. This is the one step you absolutely cannot afford to rush. Think of it like this: you're creating the perfect canvas for your new TRD graphic, and a dirty canvas ruins the final look every single time.
A quick trip through the car wash just won't cut it. Most car wash soaps are designed to leave behind a thin layer of wax or silicone to make water bead off your paint. That's great for your clear coat, but it's the absolute enemy of vinyl adhesion. It creates a barrier that stops the decal's adhesive from getting a solid grip on the surface.
The Right Cleaning Method
To get the surface truly ready, you need to strip away any oils, waxes, and road grime.
- Mix up your cleaning solution: Grab a spray bottle and mix a simple solution of 70% isopropyl alcohol and 30% water. This combo is aggressive enough to dissolve contaminants but is perfectly safe for your vehicle’s clear coat.
- Apply and wipe it down: Generously spray your solution onto the area where the decal will go. Wipe it clean with a fresh, lint-free microfiber towel. Then, use a second, completely dry microfiber to wipe the surface until it's bone-dry.
Don't skip that final wipe-down with a dry cloth. Any leftover moisture, even a thin film you can't see, will get trapped under the decal. That's a surefire way to get peeling or bubbles down the road.
Getting a flawless decal application starts with a pristine surface. Many of the techniques learned from professional car detailing can give you that meticulous clean you need before installation.
Finally, you have to work with the weather, not against it. The sweet spot for applying vinyl is between 50°F and 90°F (10°C and 32°C). If you try to apply a decal in direct sun on a hot panel, the adhesive gets overly sticky and becomes a nightmare to position. On the other hand, cold temps make the vinyl brittle and prevent it from sticking properly in the first place.
Installing Your TRD Decal Like a Pro
This is where all that careful prep work pays off and your vision for your truck becomes a reality. Don't even think about trying to eyeball a big decal and just hope for the best—that’s a one-way ticket to a crooked graphic loaded with frustrating air bubbles.
Instead, we're going to use the "hinge method." It's a classic technique the pros use to guarantee perfect alignment every single time, even with massive bedside graphics.
First, leave the decal's paper backing on for now. Position it exactly where you want it on the truck, using the painter’s tape outline you already made as your guide. Once you're 100% happy with the placement, run a long strip of painter's tape vertically right down the center of the decal. Make sure it sticks firmly to both the decal and the vehicle's surface. This tape is your "hinge," and it's the key to locking in your alignment.
Applying the Decal
With the hinge in place, you’ll work on one side at a time. Go ahead and lift one side of the decal off the truck, folding it back over the center hinge. Carefully start peeling the paper backing away from the vinyl until you get to that center tape line. Now, grab some scissors and cut away the exposed backing paper.
You’ve got an exposed adhesive side now, so be careful. Slowly and steadily lay the decal back down, starting from the center hinge and working your way outward. Use a felt-tipped squeegee to apply smooth, firm, overlapping strokes. It’s this pressure that forces the air out and creates a solid bond between the vinyl and your paint.
Once the first half is down, you can remove the center hinge tape. Now just repeat the exact same process for the other side: lift, peel the backing, and squeegee from the center out.
This visual guide shows the simple but crucial steps for surface prep before you start.

Following this process ensures no stubborn wax, oil, or dust gets between the decal's adhesive and your paint. That’s the real secret to a long-lasting, bubble-free finish.
Pro Tip: When you're working over curved body panels or sharp corners, make a few small relief cuts in the clear transfer tape (but not the decal itself!). This little trick helps the tape conform to the shape without creasing the vinyl underneath.
The last step is easily the most satisfying. Give the adhesive about 30 minutes to set up, then you can slowly peel the clear transfer tape off. Always pull the tape back on itself at a sharp 180-degree angle, keeping it low and flat against the surface. This is critical for making sure the Toyota Racing Development decals stay put without lifting.
If you're skilled enough to design a fully custom text windshield banner, you've definitely got what it takes to nail this installation.
Long-Term Care for Your New Decals
Your new decal is on and your truck looks fantastic—now the goal is to keep it that way. The good news is that high-quality vinyl is incredibly tough, but a few simple habits will ensure your Toyota Racing Development decals stay sharp for years, not just a few months.
The single biggest threat to any decal is a high-pressure washer. It's the number one enemy of vinyl graphics, period. Blasting the edges with a high-pressure nozzle is a surefire way to lift the vinyl and cause it to peel. A little finesse goes a long way.
Best Washing Practices
When it's time to wash your truck, just give the graphic a little extra attention.
- Hand-Washing: This is always the safest bet. Use a soft microfiber mitt and a quality, pH-neutral car soap. Wash over the decal gently, moving with the grain of the graphic, not against it.
- Automatic Car Washes: Touchless car washes are generally okay, but the harsh chemicals and high-pressure jets can still pose a risk. If you have to use an automatic wash, always choose a touchless option over one with spinning brushes that can snag a decal's edge.
- Drying: After a wash, gently pat the decal dry with a clean microfiber towel. Avoid aggressive wiping, which can accidentally catch an edge and lift it.
A common mistake we see is people waxing over matte or textured decals. Wax builds up in the texture and leaves behind a chalky, white residue that’s a real pain to remove. For these finishes, just stick to soap and water.
TRD decals are a direct nod to Toyota's legendary racing heritage, representing motorsport-tested components that add both style and durability. This legacy is why they’ve become so popular with truck owners and off-road adventurers. Protecting them properly ensures they continue to represent that quality on your rig. To see more about this history, check out TRD's transition from the track to the trail and see why these graphics are so sought after.
Got Questions About TRD Decals? We’ve Got Answers.
Even after you've picked the perfect design, a few questions might pop up. We get emails and calls about this stuff all the time, so let's clear up some of the most common things people ask about their Toyota Racing Development decals.
How Long Will My Decals Actually Last?
This is probably the number one question we get. You want to know if your investment will survive the real world, from scorching sun to freezing winters. The short answer? Absolutely.
We use premium Oracal vinyl for a reason. This isn't some cheap sticker material that fades in a year. It's specifically engineered for outdoor use and is rated to last up to 7 years. That means it’s built to resist UV fading, cracking from temperature swings, and peeling when it gets hit with rain, snow, or a car wash. It's tough stuff.
What Happens When I Want to Take Them Off?
Tastes change, and you might want a new look down the road. A lot of folks worry that removing a decal will strip their paint or leave a mess. Good news: when you do it right, removing our vinyl decals is perfectly safe for your vehicle’s factory clear coat.
The secret is a little bit of heat. Grab a hairdryer or a heat gun on its lowest setting and gently warm up one corner of the decal. You’ll feel the adhesive soften up, allowing you to slowly and carefully peel it back. No brute force required.
If you find any sticky stuff left behind, don't panic. A little bit of isopropyl alcohol or a dedicated adhesive remover on a clean microfiber towel will wipe it away clean, with no damage to your paint.
Are These Decals Street Legal?
This question comes up a lot, especially for windshield banners and larger window graphics. The rules can be a bit tricky because they change from state to state, so a quick check of your local regulations is always the best move.
But, generally speaking, here are the basics:
- Windshields: Most states have a rule about how far a decal can come down from the top of your windshield. Look for the AS-1 line marked on your glass—anything above that is usually fair game.
- Side & Rear Windows: These are typically less strict, but you can still get a ticket if a decal is so large that it obstructs your view of the road or your mirrors. Common sense is key here.
- Headlights & Taillights: This one is a hard no. Covering your lights with any kind of decal is illegal pretty much everywhere and is a major safety hazard.
Taking a few minutes to look up your local vehicle code can save you from an unwanted conversation on the side of the road.
Ready to give your Toyota a fresh look with graphics that are built to last? Custom Sticker Shop offers hundreds of designs, all made from premium, American-made vinyl. Find the perfect style for your truck and take advantage of our Buy 2 Get 1 Free offer.
Shop All Toyota Racing Development Decals Now at customstickershop.us